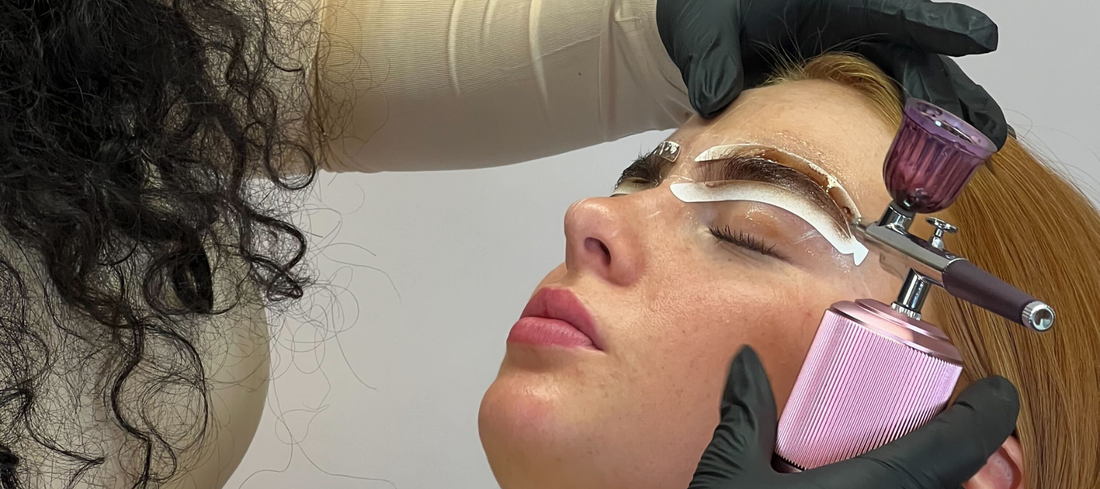
How to make your airbrush dye mixture
written byŽaneta Mlčáková
In This Article
Why is it important to reach the right consistency for your airbrush?
Achieving the perfect consistency in your Airbrush dye mixture isn't just about following instructions — it's about making sure that you create the most beautiful brows that last. Here at Supercilium, we understand the importance of getting it just right. Let's look at the benefits of the right Airbrush dye mixture!
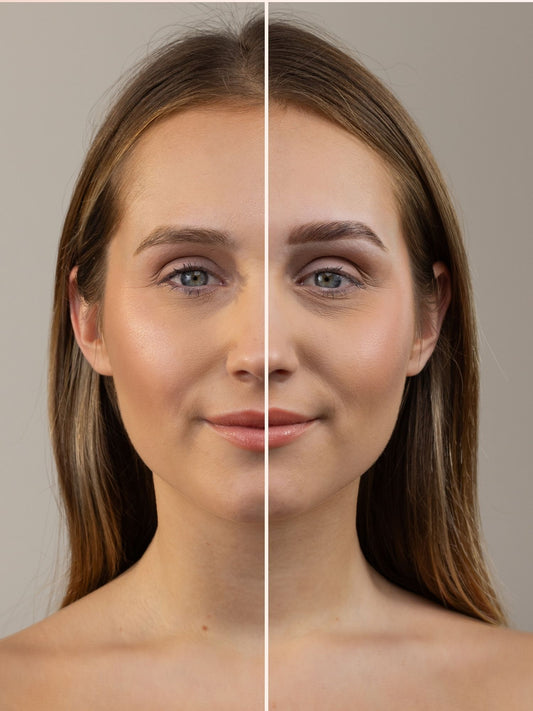
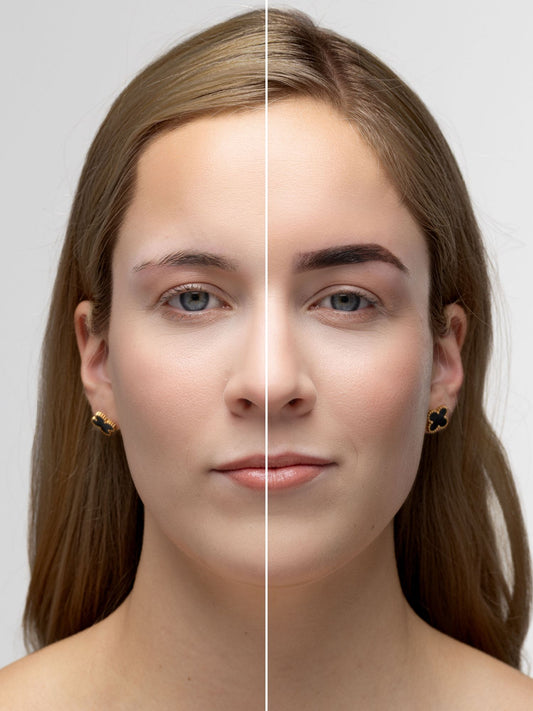
- Flawless results: With the right consistency, your Airbrush glides smoothly, leaving behind a flawless finish that speaks volumes about the quality of your services.
- Long-lasting brows: Our goal? Brows that stand the test of time. A well-mixed dye ensures optimal adherence, meaning your clients enjoy brows that maintain their beauty for weeks to come.
- Efficiency: We know your time is precious. That's why a dye mixture with the right consistency ensures smooth application, precise control, and no frustrations. No more clogs and uneven color stain!
- Client satisfaction: By delivering flawless, long-lasting results with a perfectly mixed dye, you're not just meeting expectations — you're exceeding them. Flawless results = happy clients!
- Smooth working machine: As a Brow Artist, your tools are your best friend. By working with the right mixture, you make sure your airbrush works as smoothly as possible.
What should be in your Airbrush dye mixture?
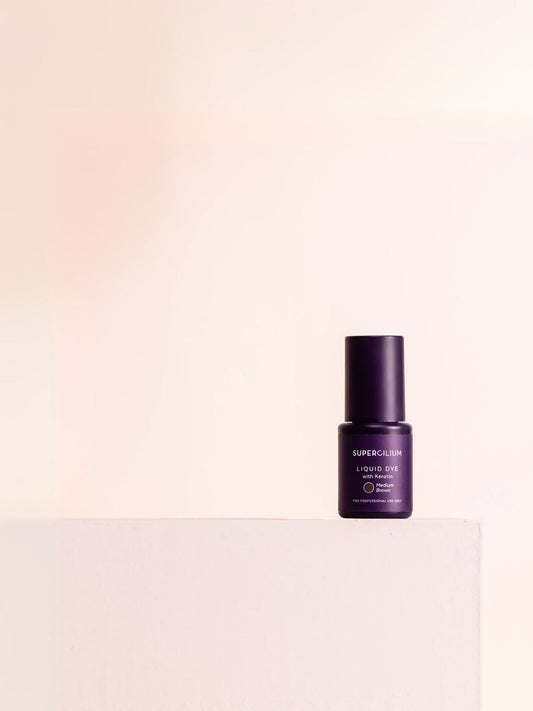
Part 1: Liquid Dye with Keratin
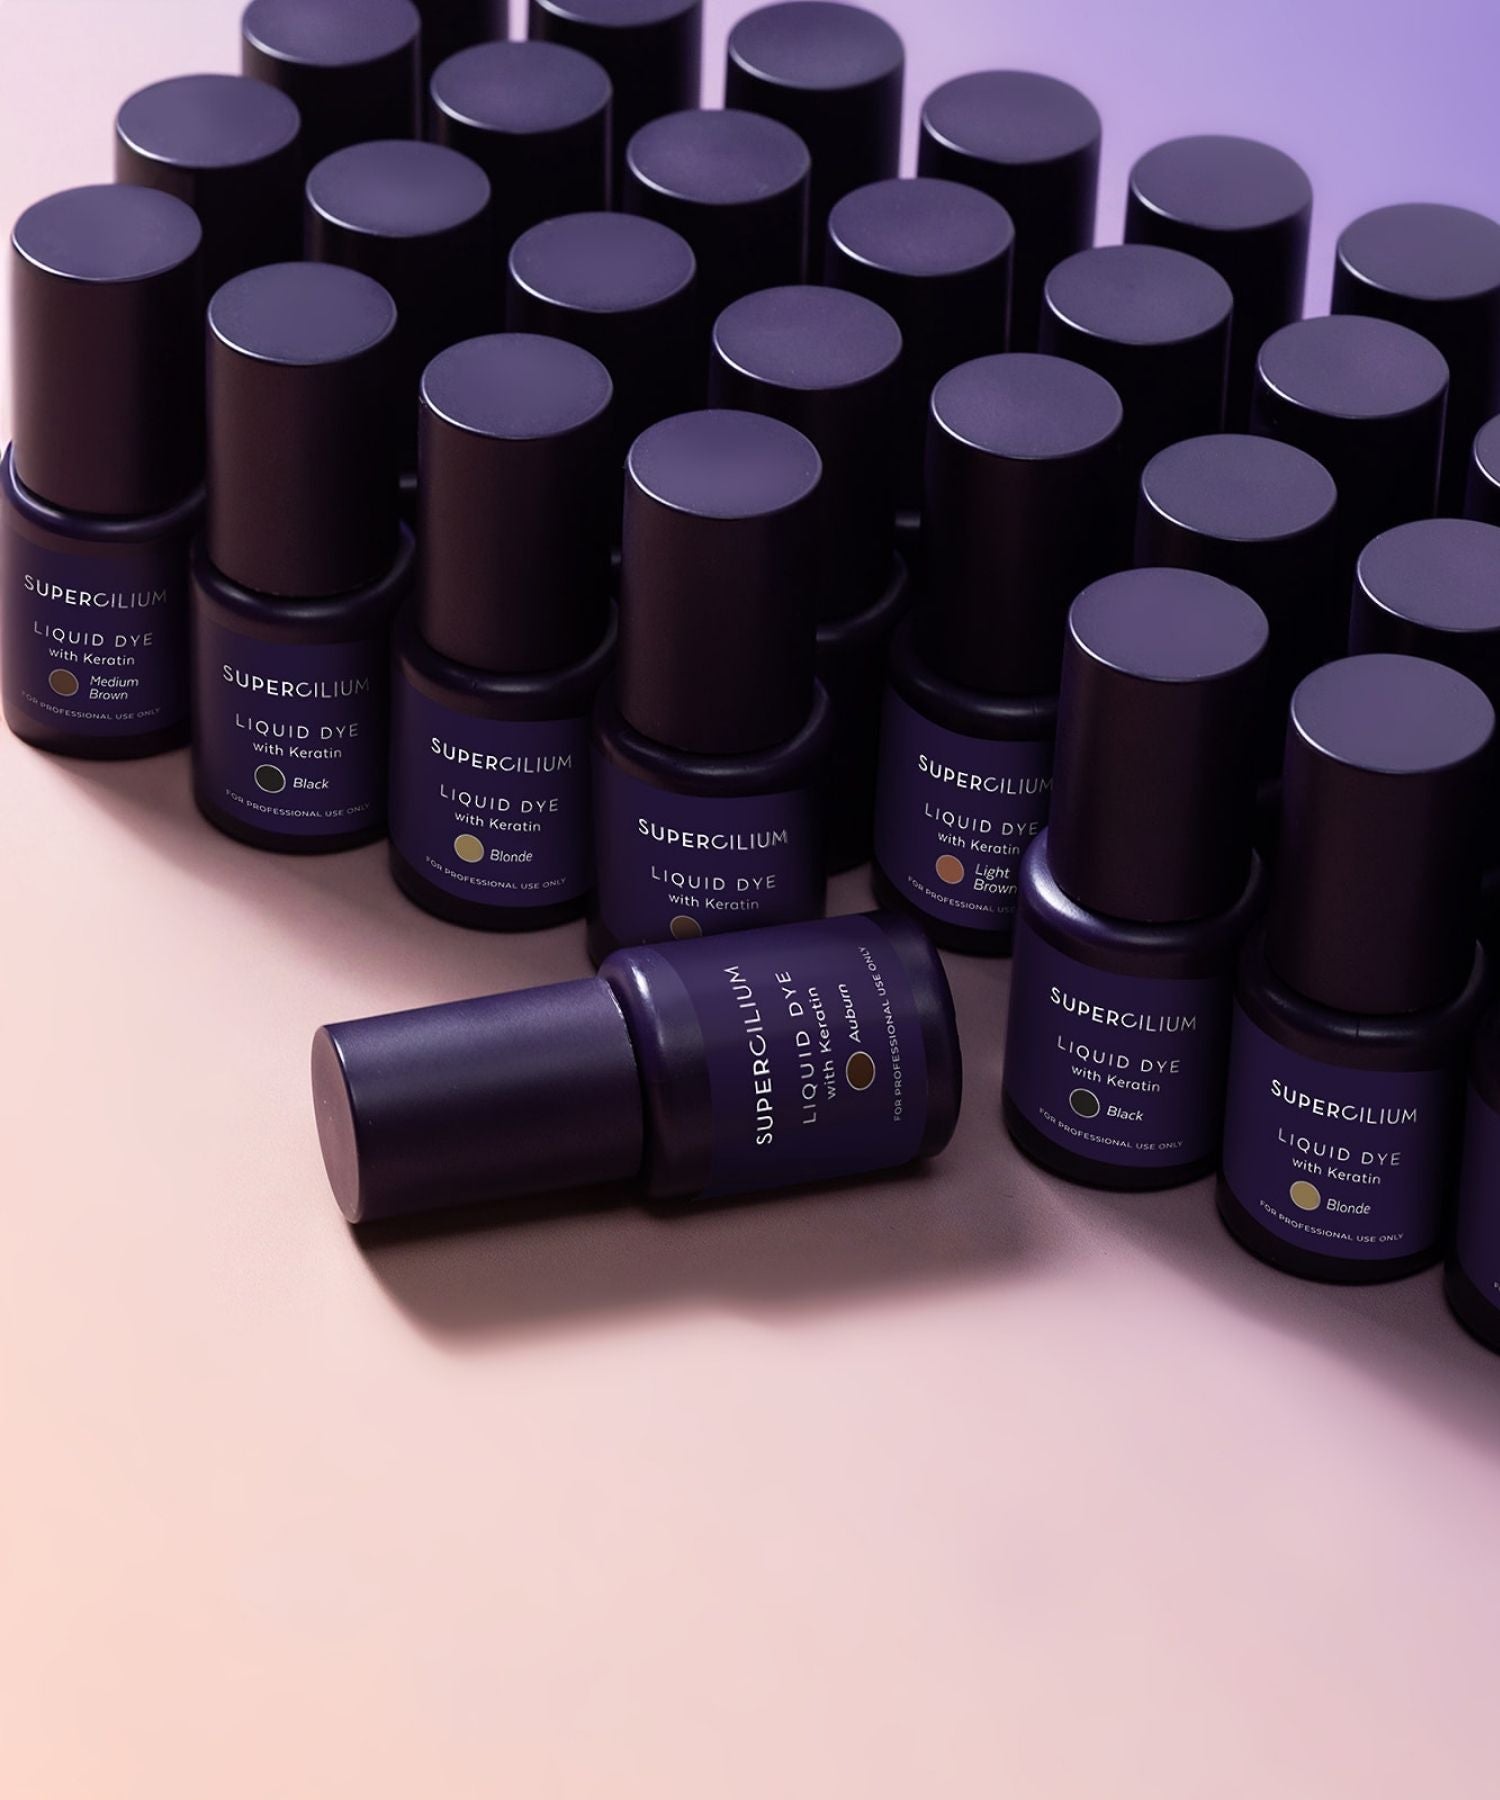
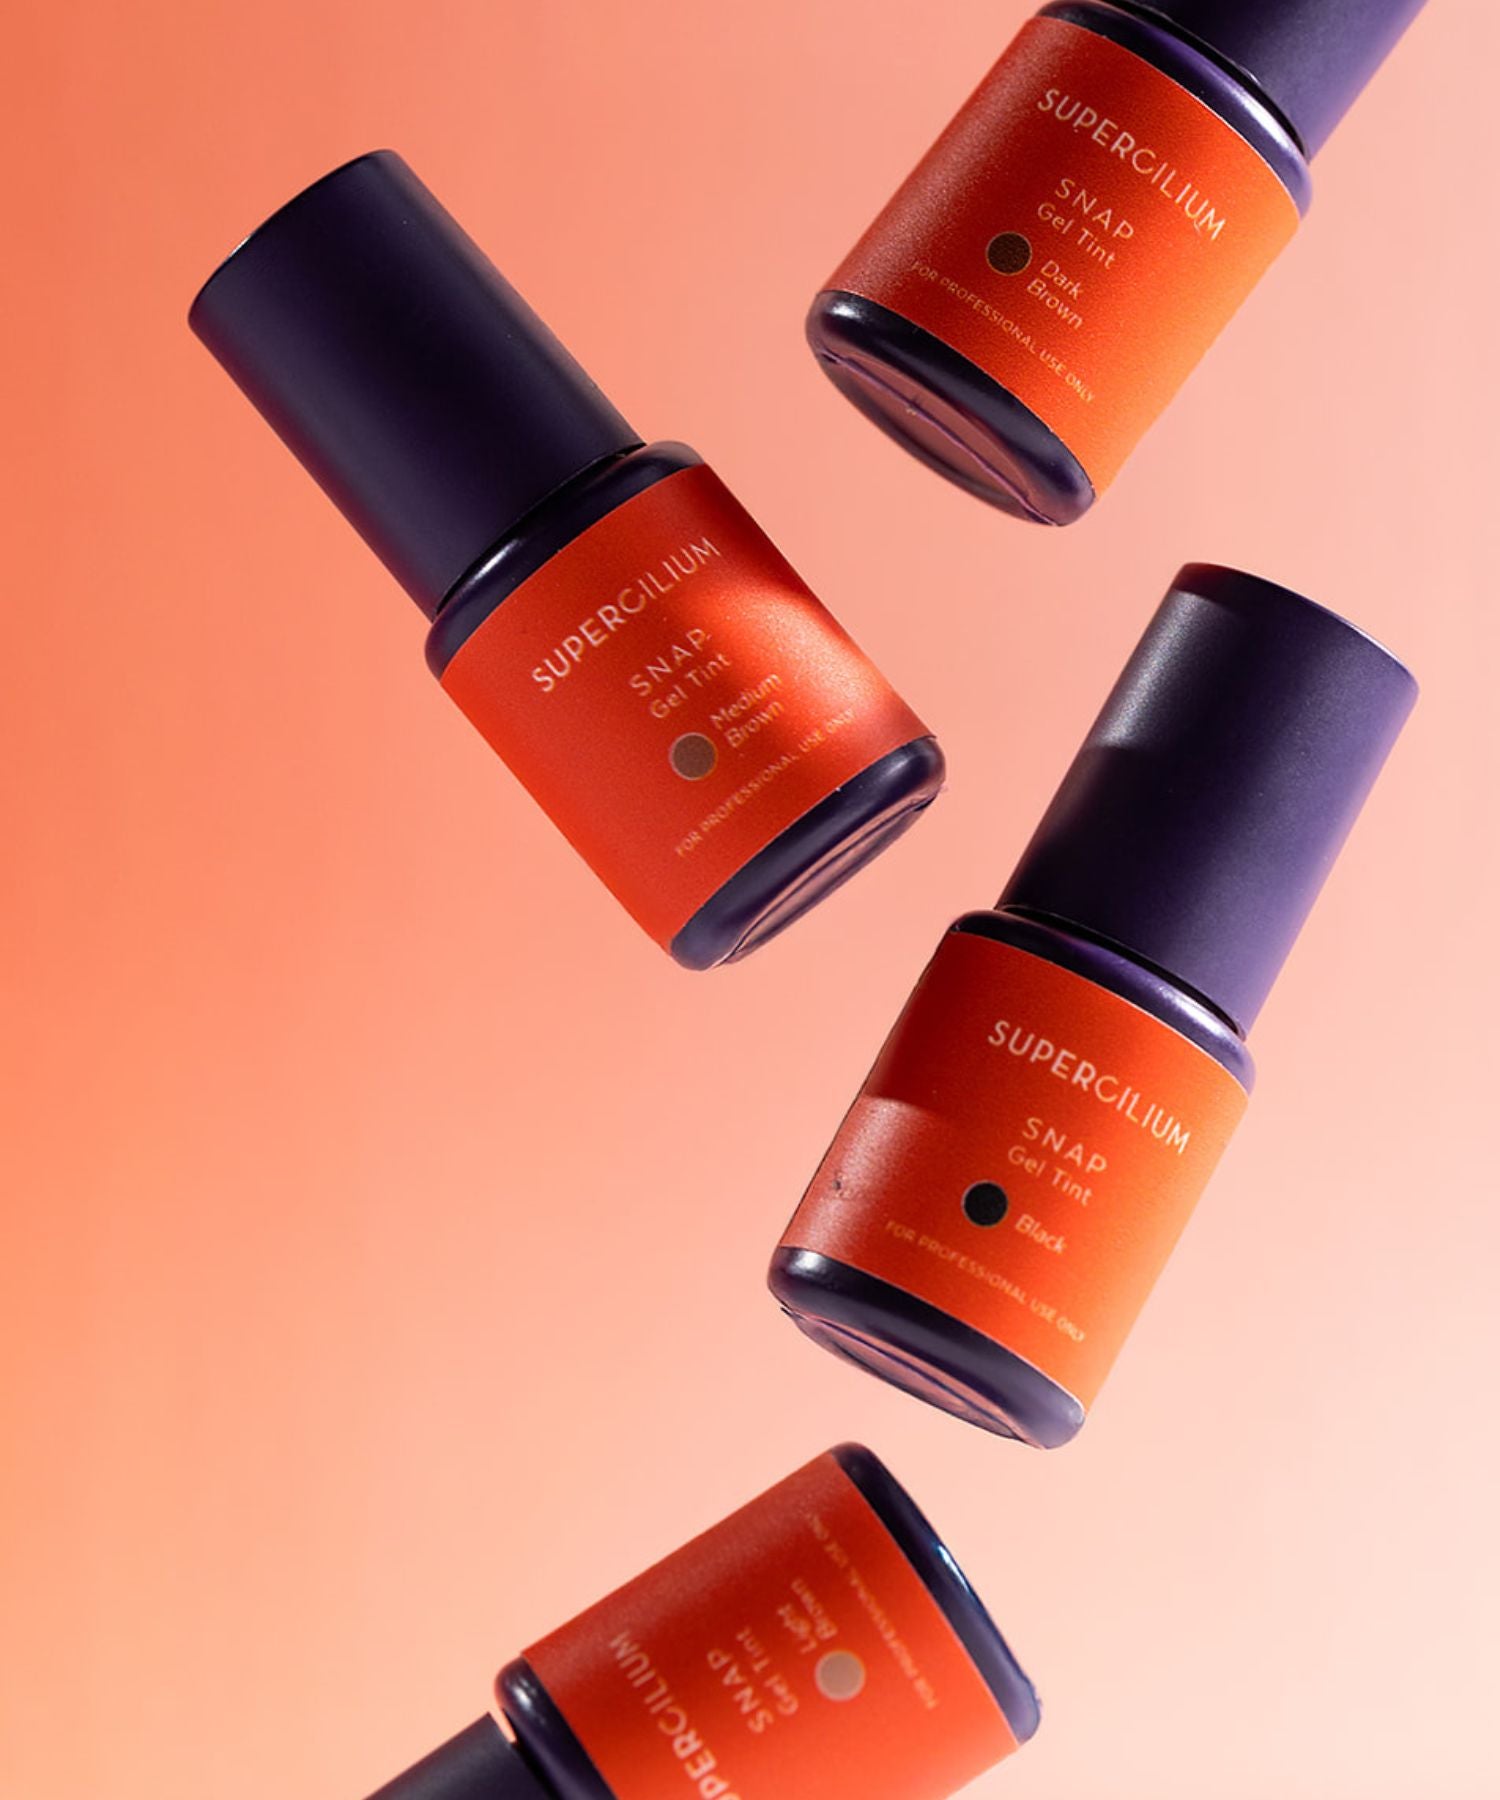
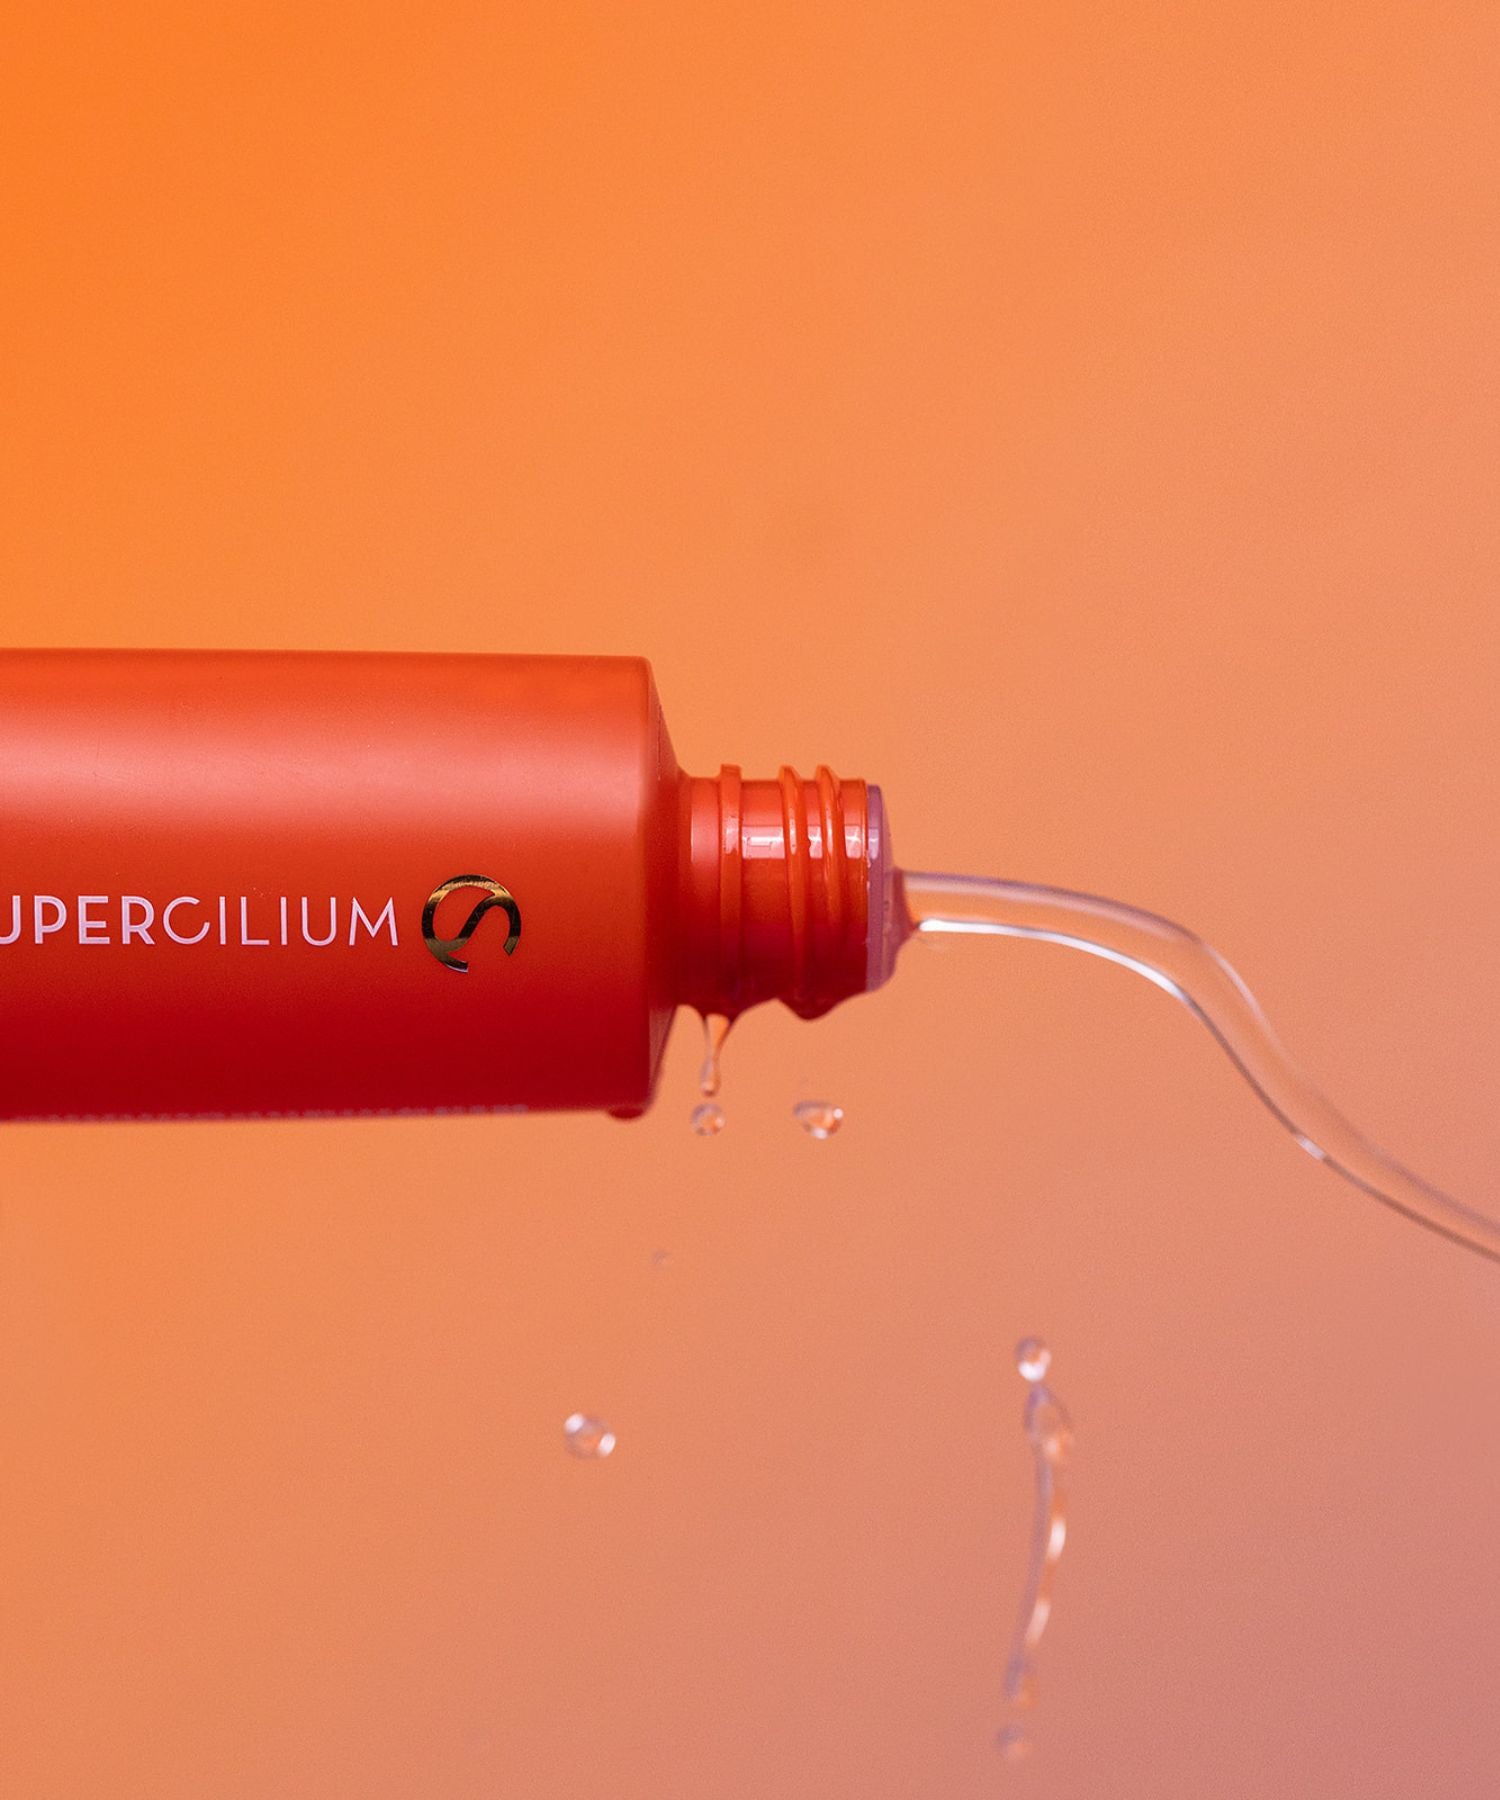
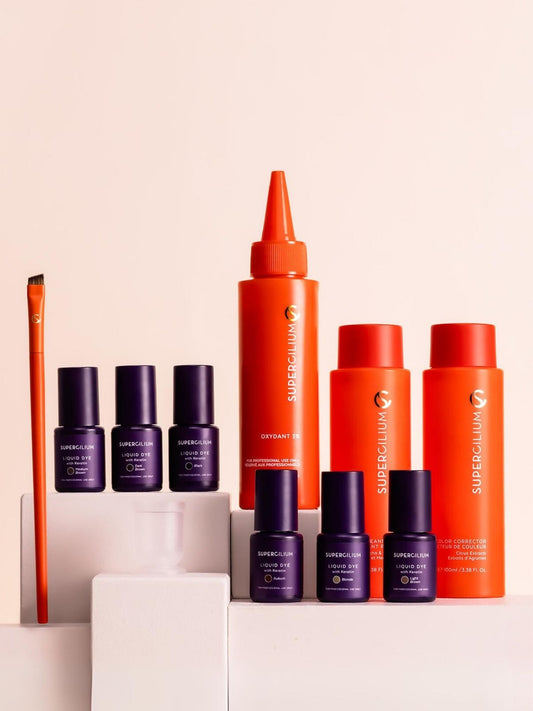
When it comes to making the perfect Airbrush dye mixture, selecting the right ingredients is really important. We've developed a Liquid Dye infused with Keratin care — a true game-changer in the brow industry. It isn't just about delivering stunning color, it's also specifically crafted to be used with Airbrush techniques. Its lightweight, liquid consistency ensures seamless flow through your Airbrush, allowing for precise, even application with minimal effort. Whether you're creating ombré effects or crisp lines, our Liquid Dye with Keratin is the ideal choice for your Airbrush technique.
Why not use brow henna for the airbrush?
We get it — eyebrow henna has its devoted fans, and we understand the hype. But when it comes to Airbrush dye, Brow Henna is just not a good fit. Here's why: henna's thick and powdery consistency and tiny particles might seem harmless, but they're a recipe for disaster when it comes to your Airbrush. The powder can easily clog your airbrush. Our Airbrush-friendly Liquid Dye is specially formulated for smooth, flawless application — no clogs, no headaches, just perfect brows every time. So, while Brow Henna might be your favorite, trust us on this one: when it comes to Airbrushing, it's a no-go.
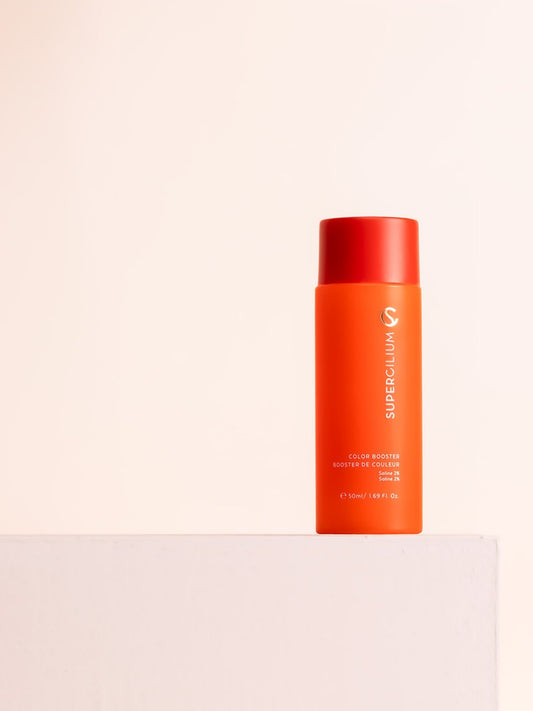
Part 2: Airbrush Developer 3%
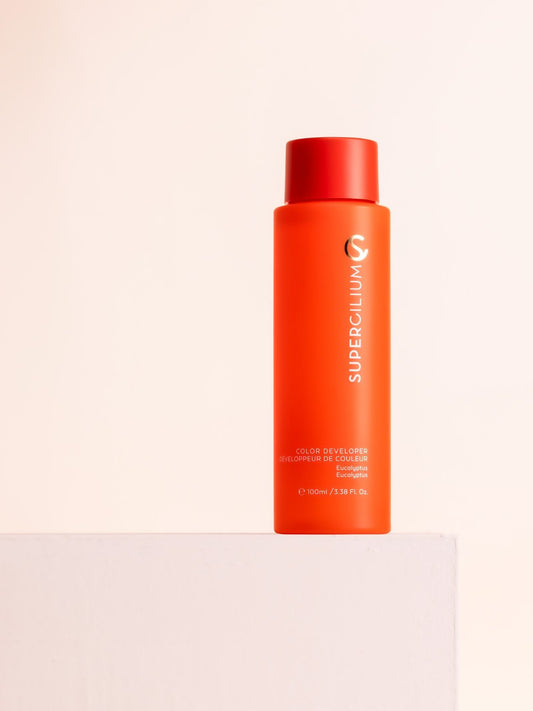
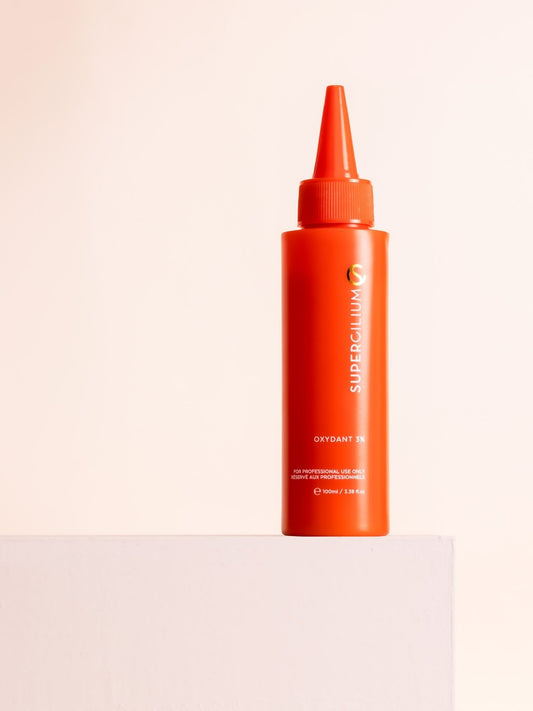
Unlike other developers, our Airbrush Developer is especially created with a unique, more liquid consistency. Why does this matter? Well, it's about achieving the perfect balance of color intensity and smooth application. With its liquid texture, our Airbrush Developer effortlessly blends with our Liquid Dye so you can create flawless Airbrush brows!
Why not water in your mix for the airbrush?
Some might suggest making your mixture with water for your Airbrush machine, but there's a downside to it. Thinning it out compromises its staining power—the very essence of our Liquid Dye. At Supercilium, we're committed to vibrant, long-lasting results. That's why we recommend our new Airbrush Developer. With it, you can ensure the bold, flawless staining power your clients expect!
Step-by-step: Airbrush dye mixture
Let's break down the process of creating the best airbrush brow mixture into easy-to-follow steps:
Step 1: Measure the ingredients
Start by adding 5 drops of our Liquid Dye to your Airbrush cup.
Step 2: Add the Airbrush Developer
Now, introduce 5 drops of our Airbrush Developer into the same cup.
Step 3: Mix with the backflush technique
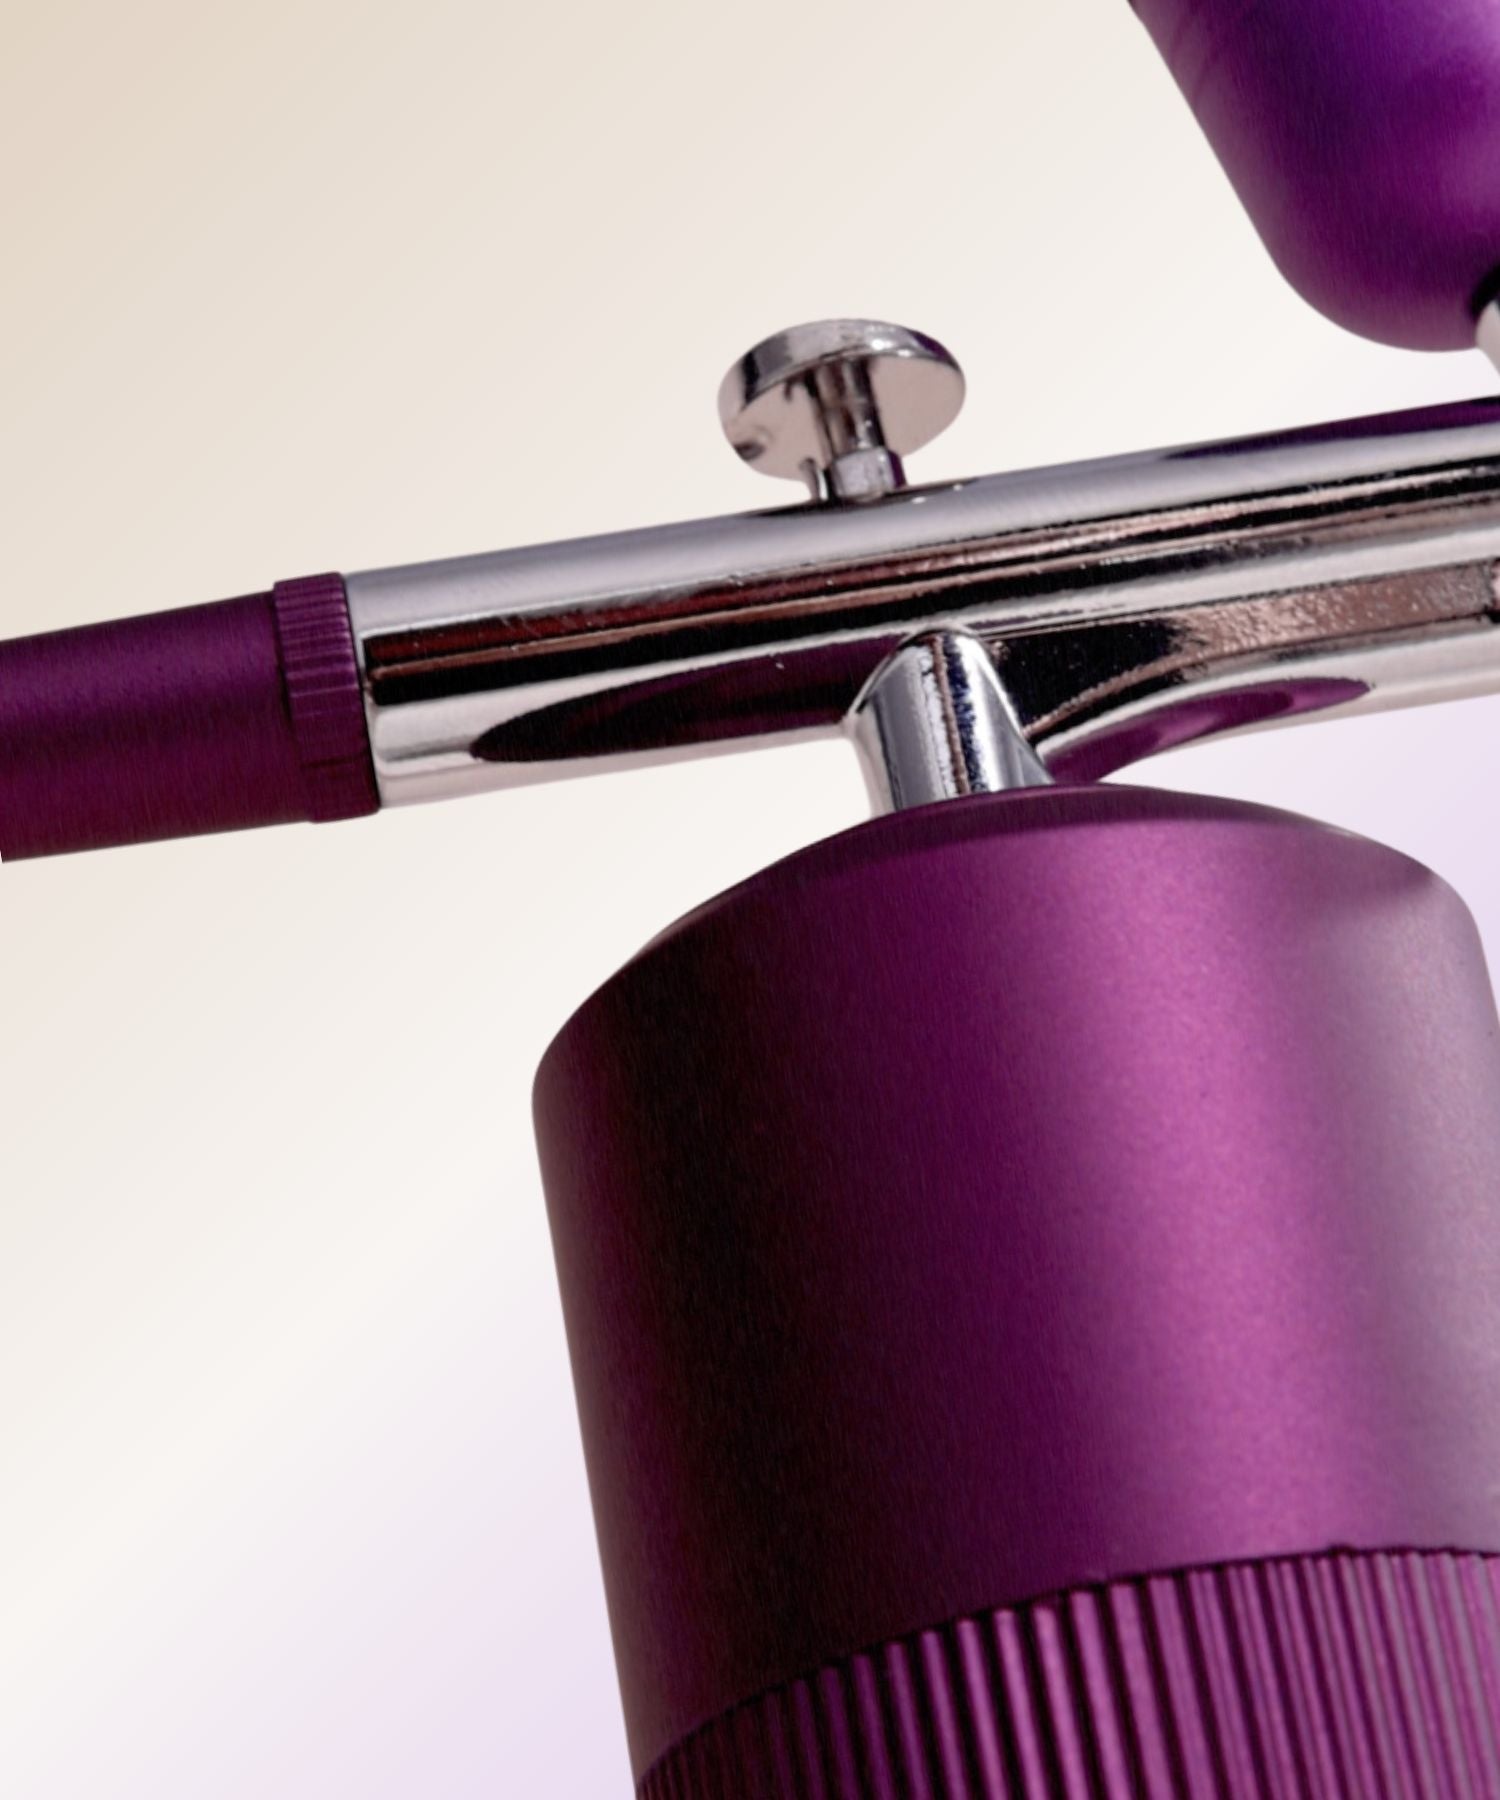
Use the backflush technique to ensure thorough mixing of the Liquid Dye and Airbrush Developer in the Airbrush cup. You can easily backflush by covering the nozzle with a cotton pad or just your finger and by pulling the trigger. The air floating back to the cup will make sure the two ingredients blend perfectly together.
Step 4: Let it sit
Before you apply the dye to the brows, let it sit in your airbrush for at least 1 minute so the dye can oxidize.
Remember, the mixing ratio is 1:1—5 drops of Liquid Dye to 5 drops of Airbrush Developer.

Where to mix the eyebrow dye:
In the airbrush cup, of course! At Supercilium, we prefer to mix the dye directly in the cup on the top of your Airbrush machine. Why? It's simple—we don't like waste. By combining the ingredients right away in the Airbrush machine's cup, you avoid losing any product during the transfer from one cup to another. It's a small step that makes a big difference in maximizing efficiency and minimizing waste!
Always prioritize your safety
Protecting yourself is important in any beauty procedure, and Airbrushing is no exception. That's why we strongly advise always wearing gloves during your Airbrush treatments! The Airbrush Developer contains Hydrogen Peroxide, which is a pretty strong ingredient for the skin when not mixed with eyebrow dye yet. Wairing gloves not only protect your fingers from coming into direct contact with the Airbrush Developer, but it also shields them from potential staining caused by the Liquid Dye. Wearing gloves is a standard policy for your and your client's safety.
Troubleshooting for airbrush brows
Learning the Airbrush technique can be tricky, and you might run into some problems. But don't worry! We're here to help you every step of the way. Here are some practical tips to help you avoid common problems with your Airbrush technique:
- Perfecting the mixture: Ensuring that your mixture is right, is more than important in preventing clogs. Stick to the recommended ratios but also feel free to experiment to find what works best for you and your clients.
- Keep It clean: A clean Airbrush is a happy Airbrush. Make it a habit to clean your Airbrush thoroughly after each treatment. For detailed instructions on proper Airbrush maintenance, check out our latest blog on cleaning your Airbrush.
- Regular maintenance: Don't wait for issues to arise — incorporate regular maintenance into your routine. This includes checking for any build-up or residue and addressing it promptly.
- Stay informed: Stay up-to-date on the latest tips and techniques for Airbrush maintenance. We're always here to provide guidance and support, so don't hesitate to reach out with any questions or concerns!
- Wearing gloves: Always wear gloves to protect your hands from the Airbrush Developer and Liquid Dye, and to prevent staining.

Master the Airbrush Technique
Are you eager to stay ahead of the curve and learn the latest trends in the brow industry? Look no further! With the demand for Airbrushed brows on the rise, now is the perfect time to level up your skills and offer the best services to your clients with our Certified Airbrush Course. Don't miss out on this opportunity to jump on the newest trend and boost your career. Enrol in our course today and become a trendsetter in the brow world!
Practice makes perfect: Exploring the mixture
As we explained today, mastering the mixture is key to achieving flawless results. But here's the beauty of it—it's not an exact science. The ideal mixture can vary depending on factors like your client's skin and hair type, your personal preference, and the intensity of the dye. For instance, while the standard ratio is 1:1, we've also noticed some of you experimenting with ratios like 2:1. And guess what? That's perfectly okay.
Airbrush technique is still a relatively new trend, and we're all on this journey of discovery together. Your feedback and experiences play a big role in shaping the best practices for our brow community. We're all ears and eager to hear your thoughts, so please don't hesitate to share your recommendations with us! Whether it's through social media or email at hello@supercilium.com, your insights help us continue to provide top-notch services and products to our beloved brow community.
Let's keep exploring, experimenting, and elevating our brow game together!

