


How to create Ombre Brows
written bySima Ahmed
In This Article
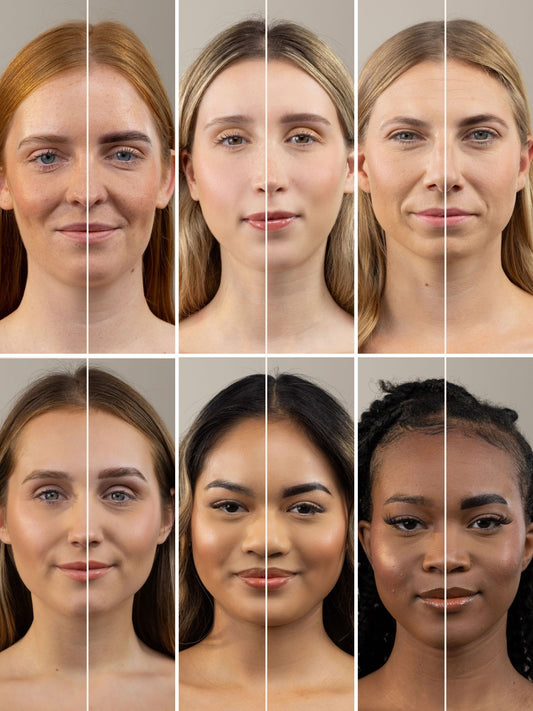
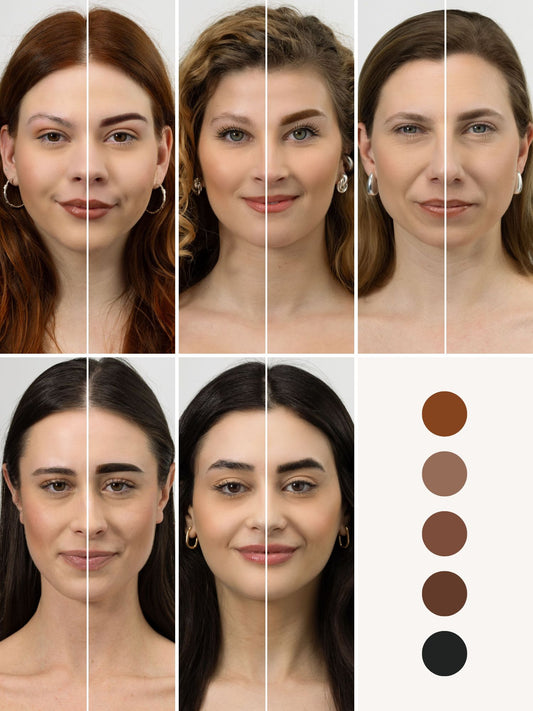
What is the ombre brows effect?
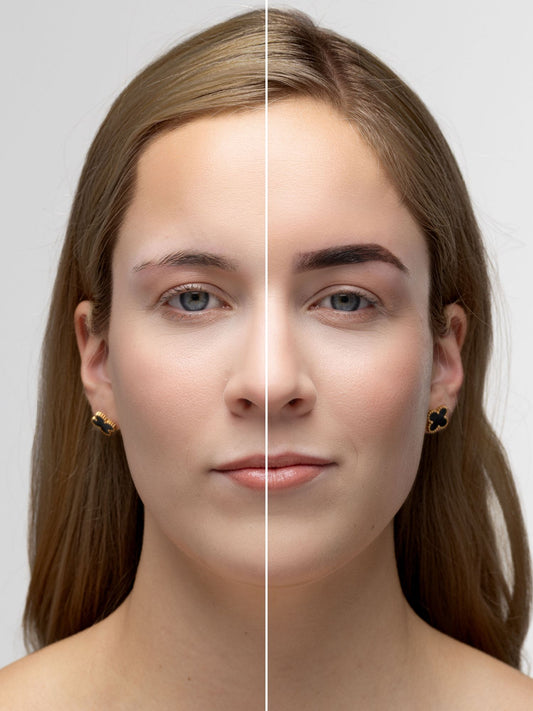
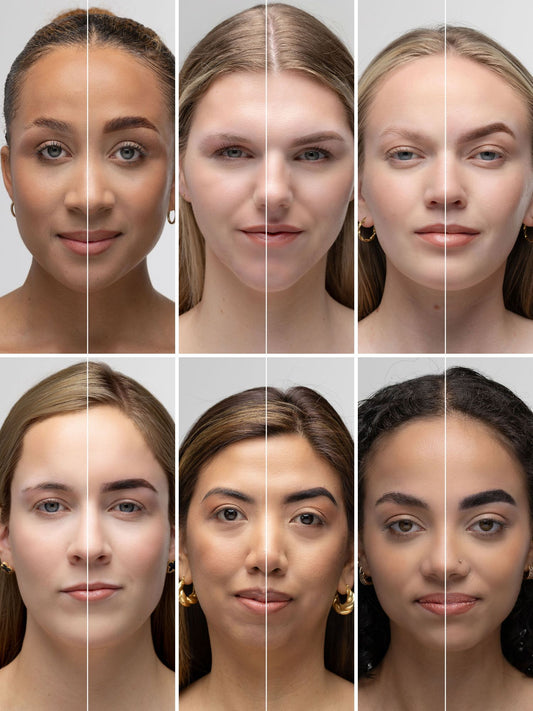
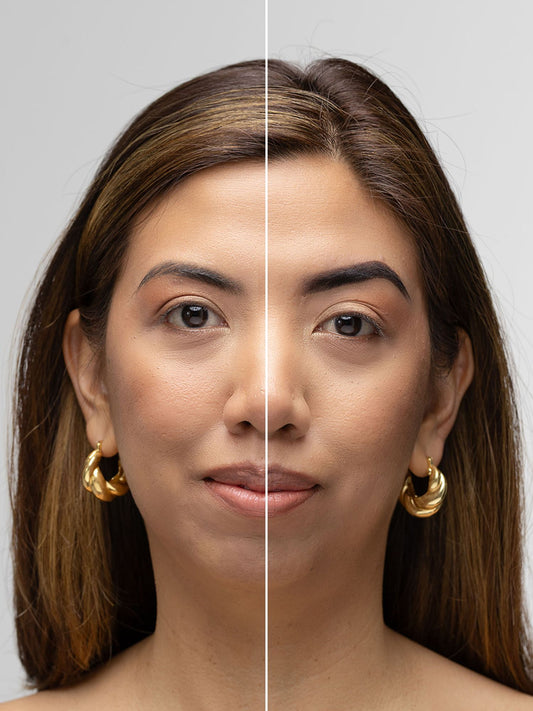
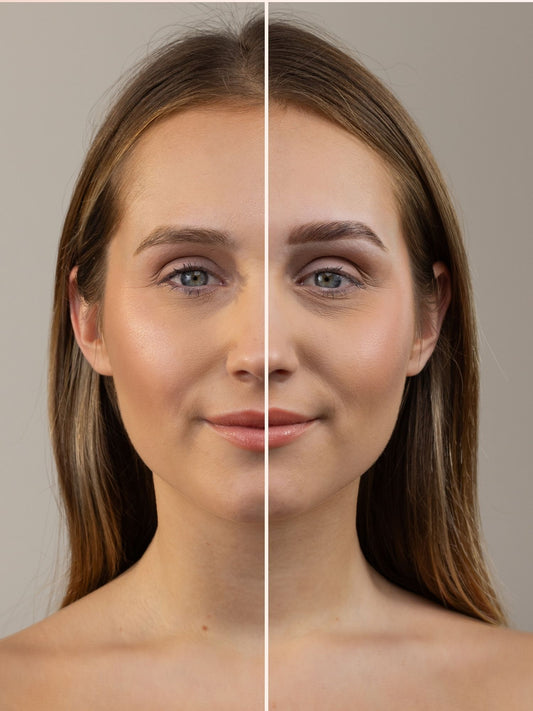
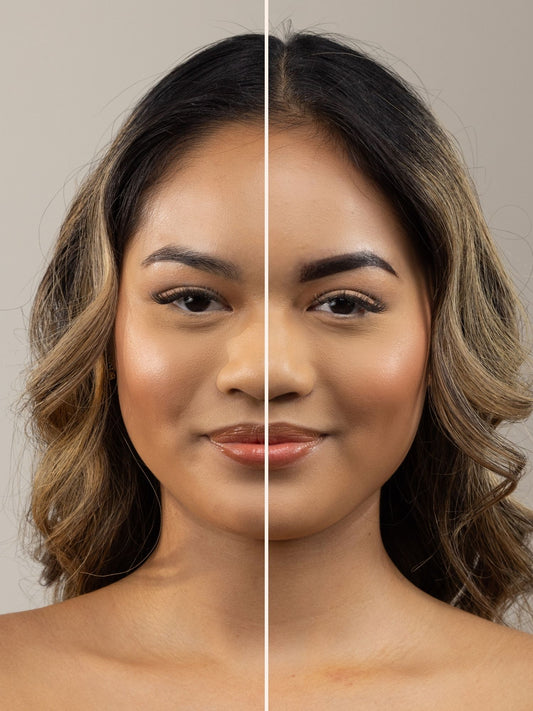
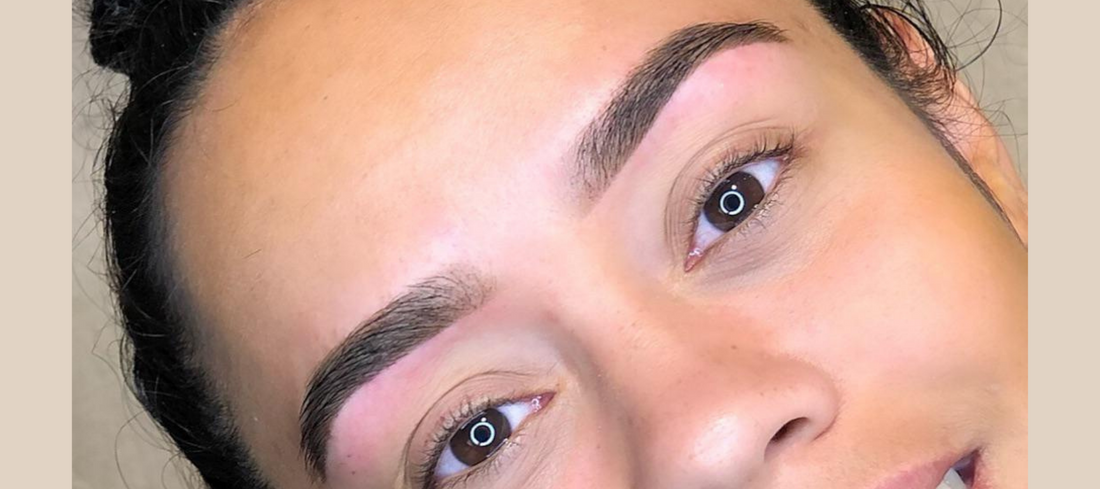
The ombre brows effect means that your eyebrow flows from light to dark. The beginning of the eyebrow is very natural and has a light shade which gradually becomes dark. The arch and tail of the eyebrow are the darkest. This actually creates the natural eyebrow overflow. Therefore, the ombre brow is the perfect brow treatment for people who want a natural look.
This technique is often used with semi-permanent makeup also called ombre powder brows. With both henna, hybrid, and ombre eyebrow powder, you want to achieve a natural result. Otherwise, eyebrows can look harsh and unnatural. This doesn't do much good for a client's face.

brows by @browstories
How to create Ombre Brows
It's quite simple and totally doable for all brow artists to create the ombre effect! For the ombre brows there are a few factors to take into consideration which are: The dye product, application technique and processing time.
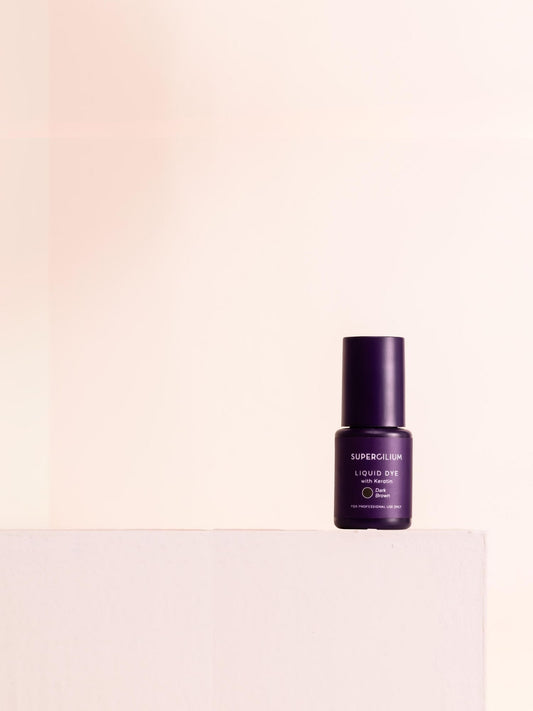
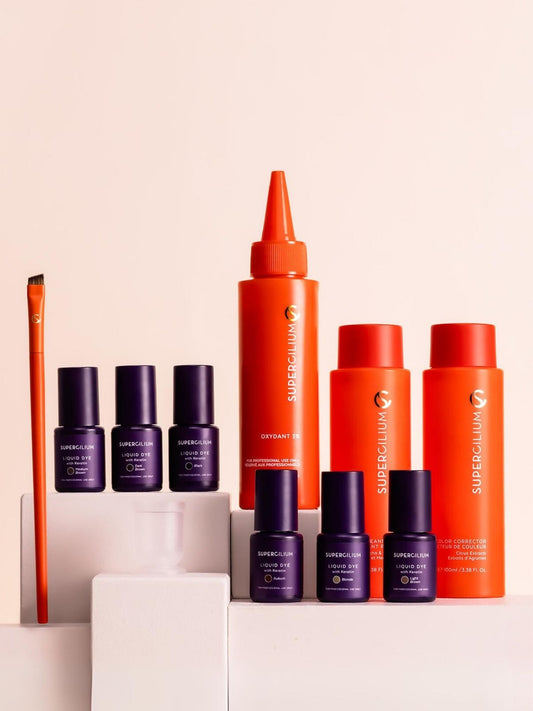
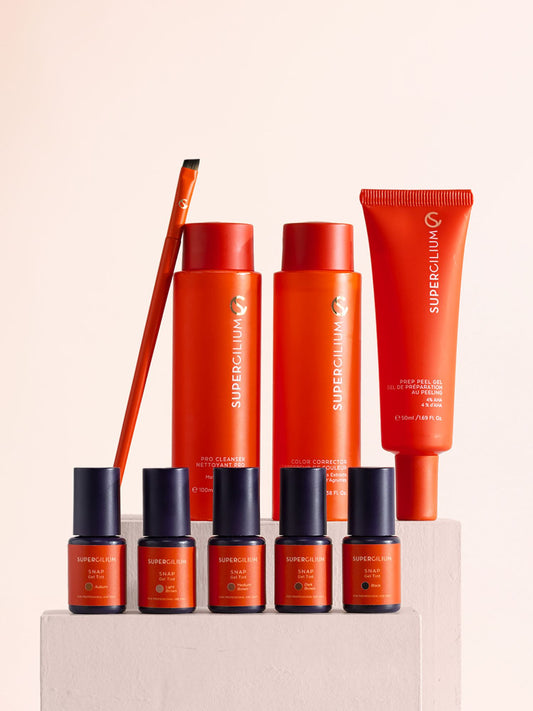
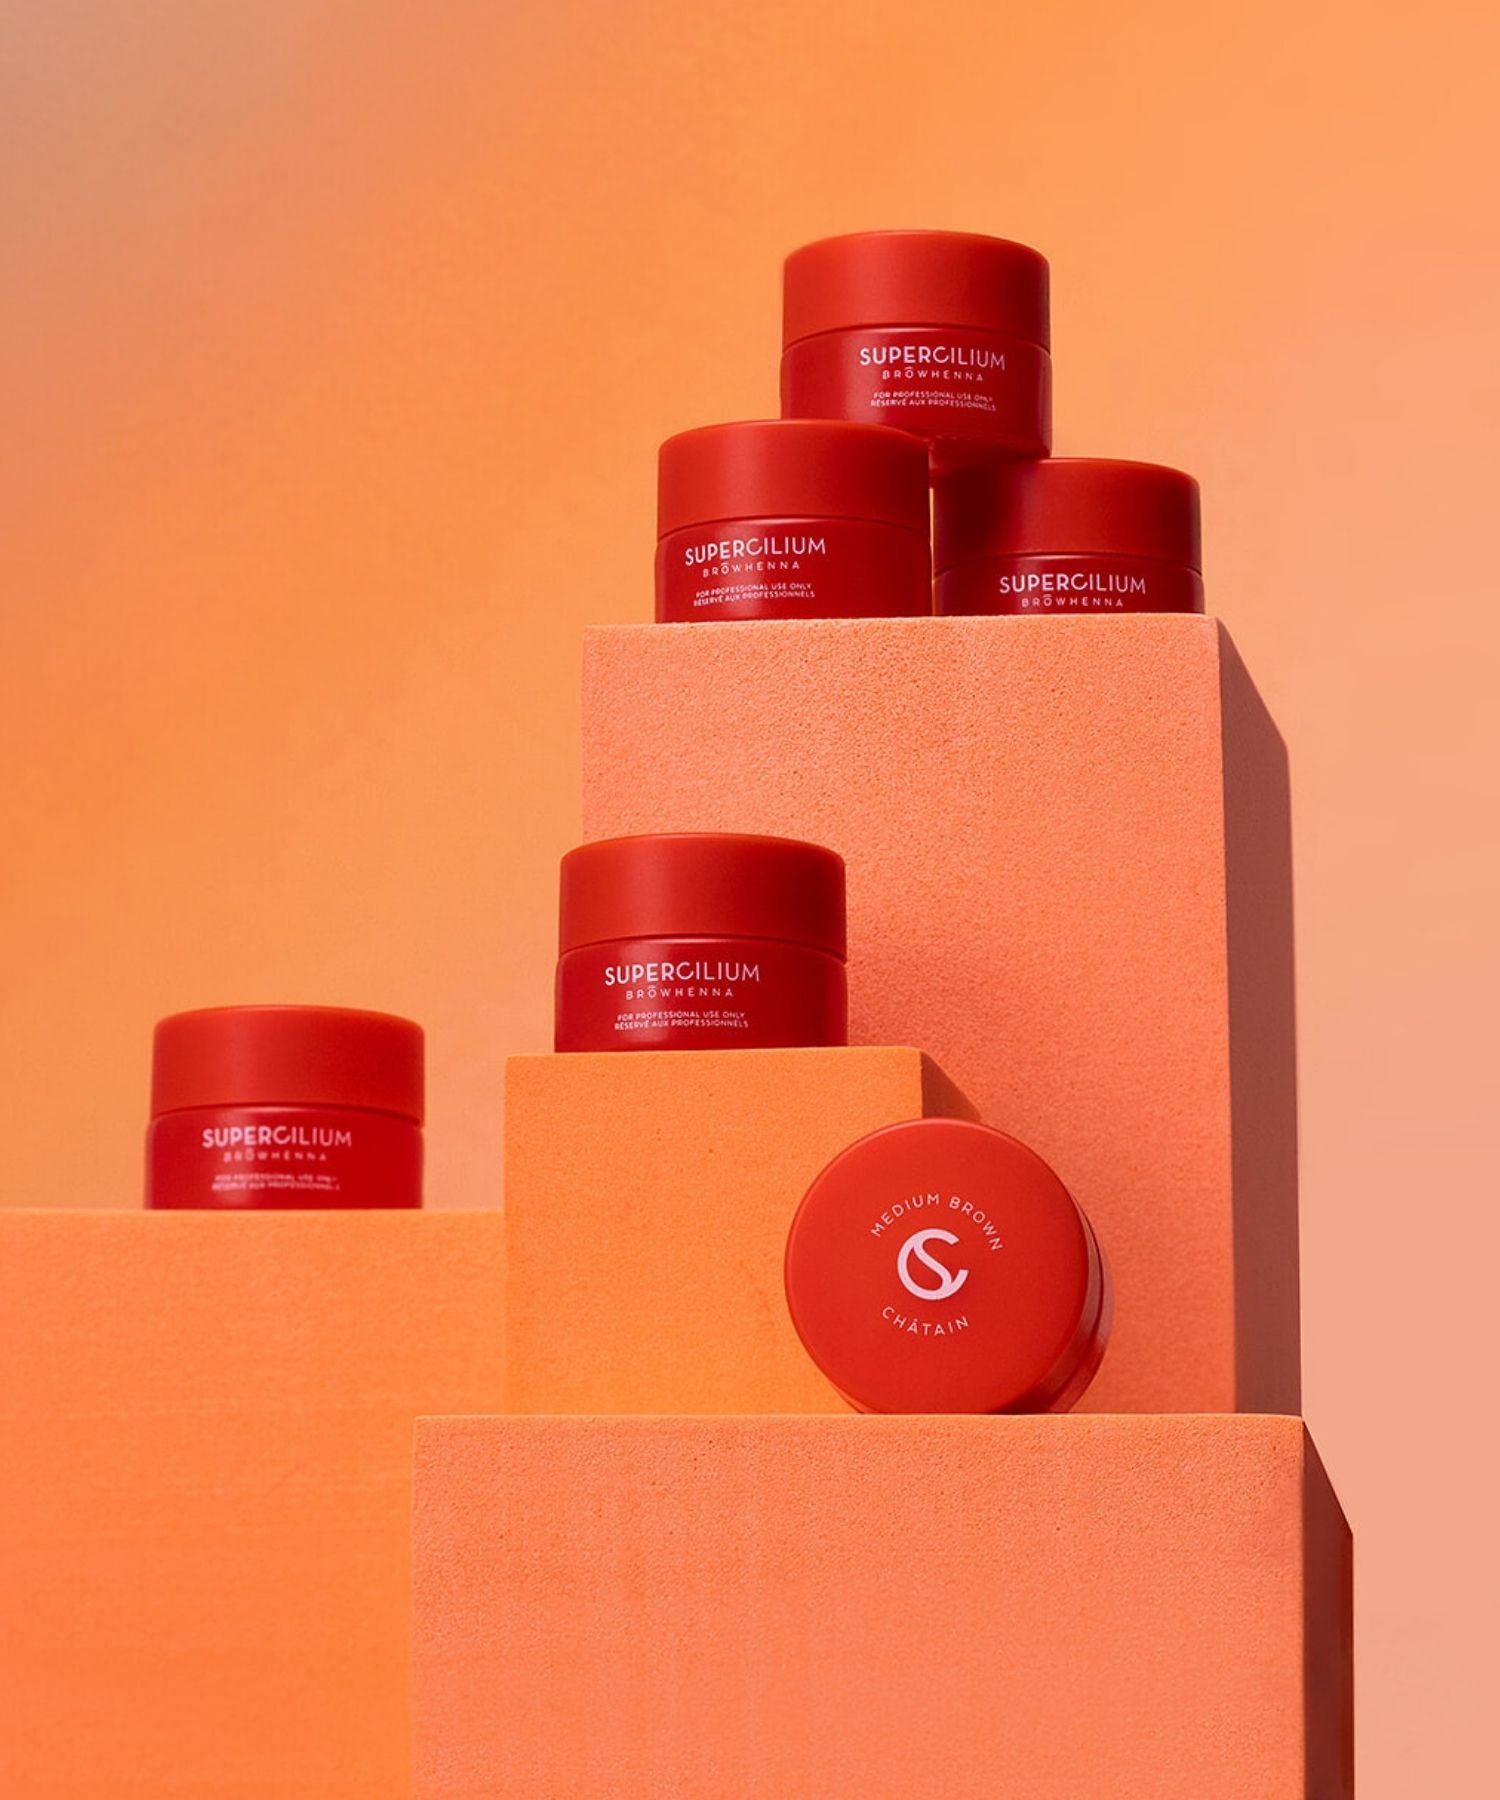
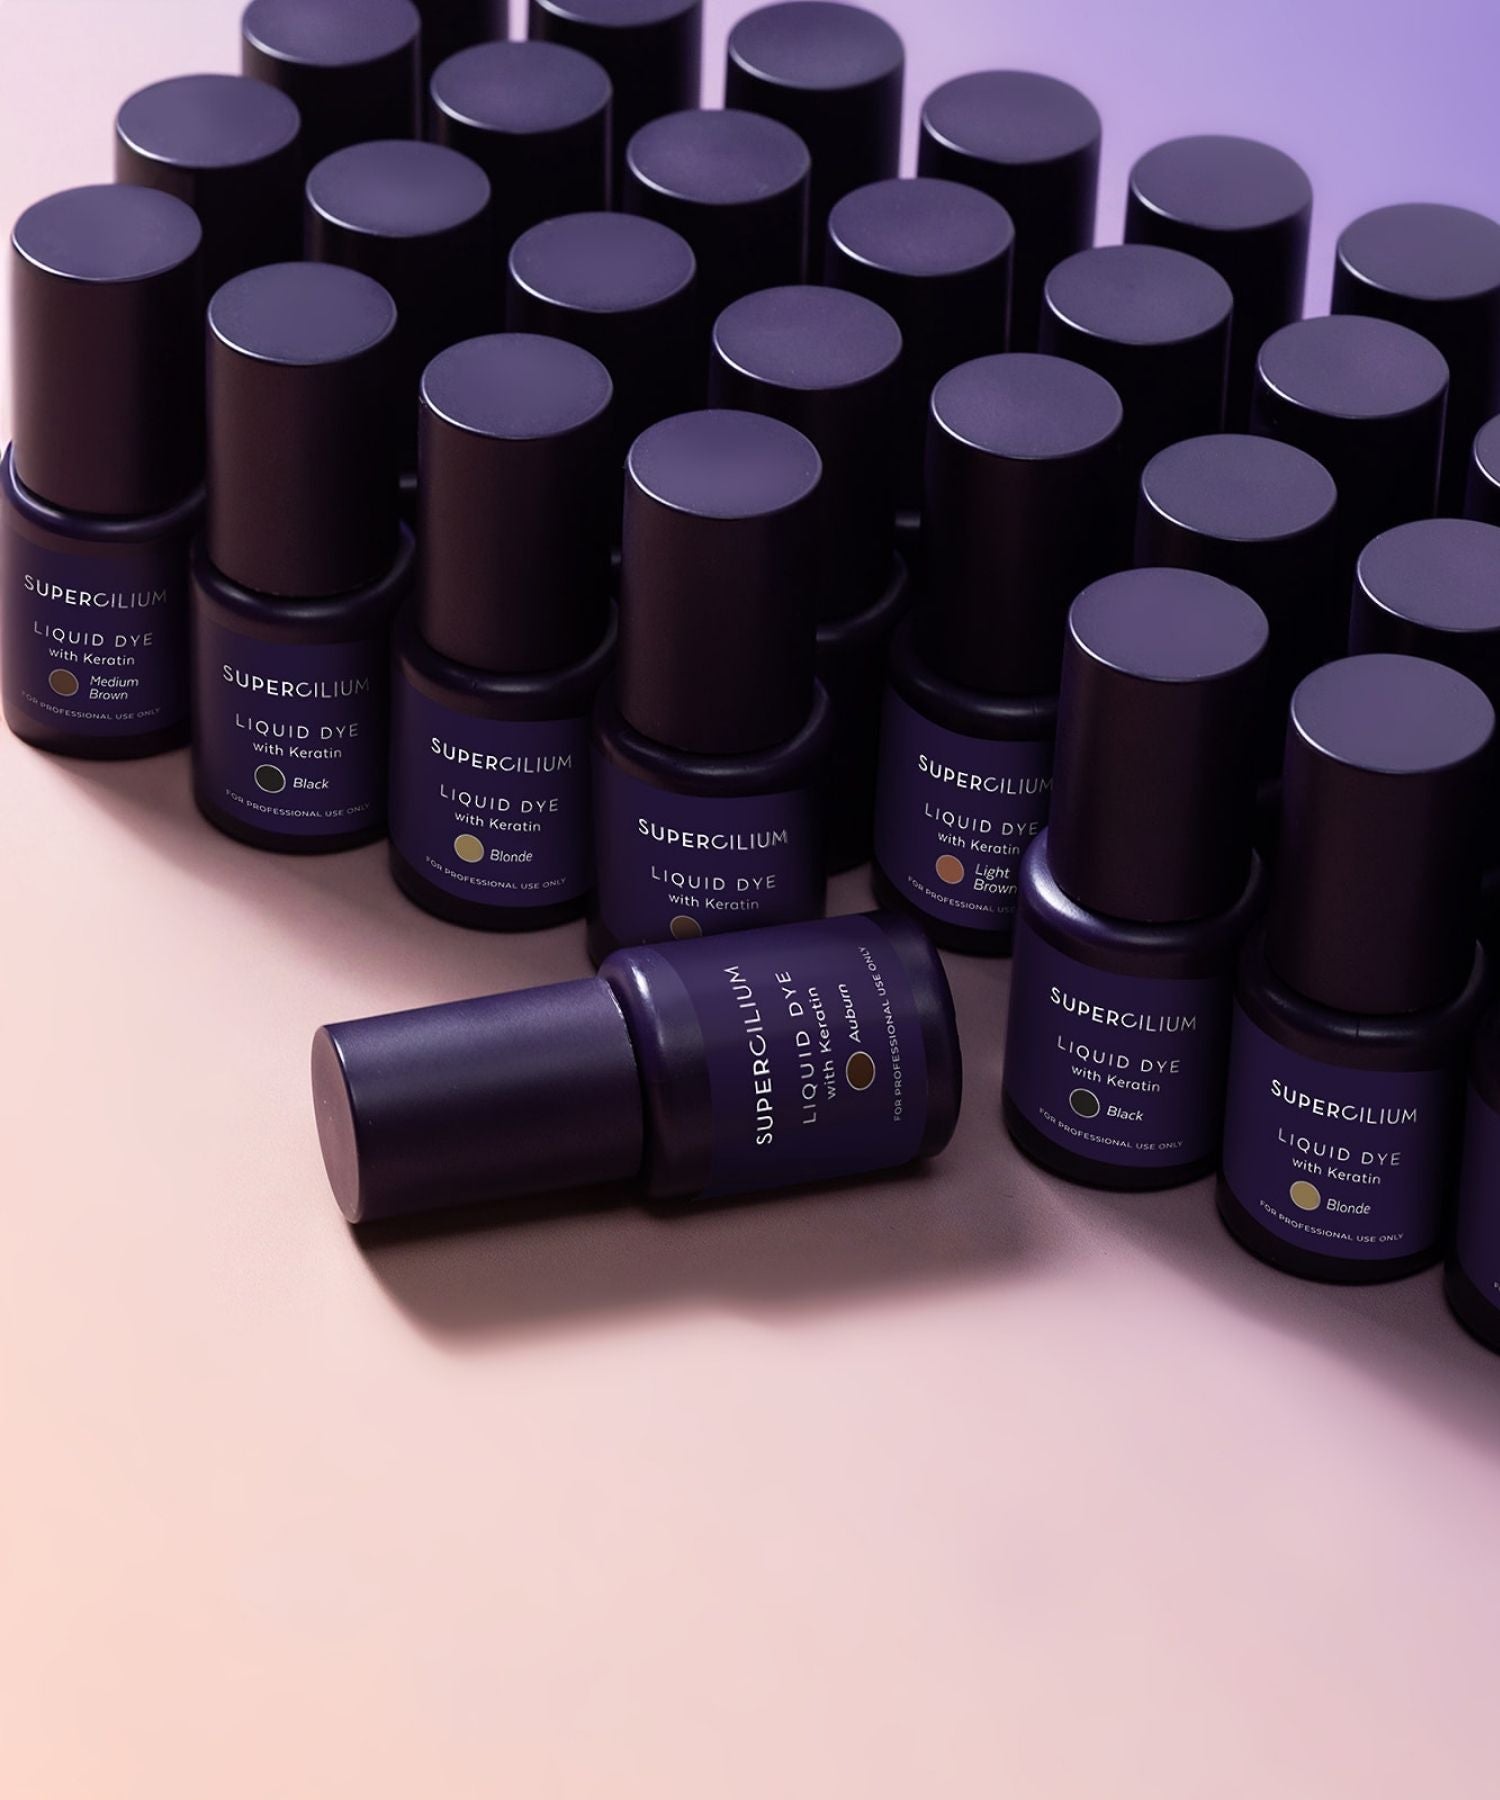
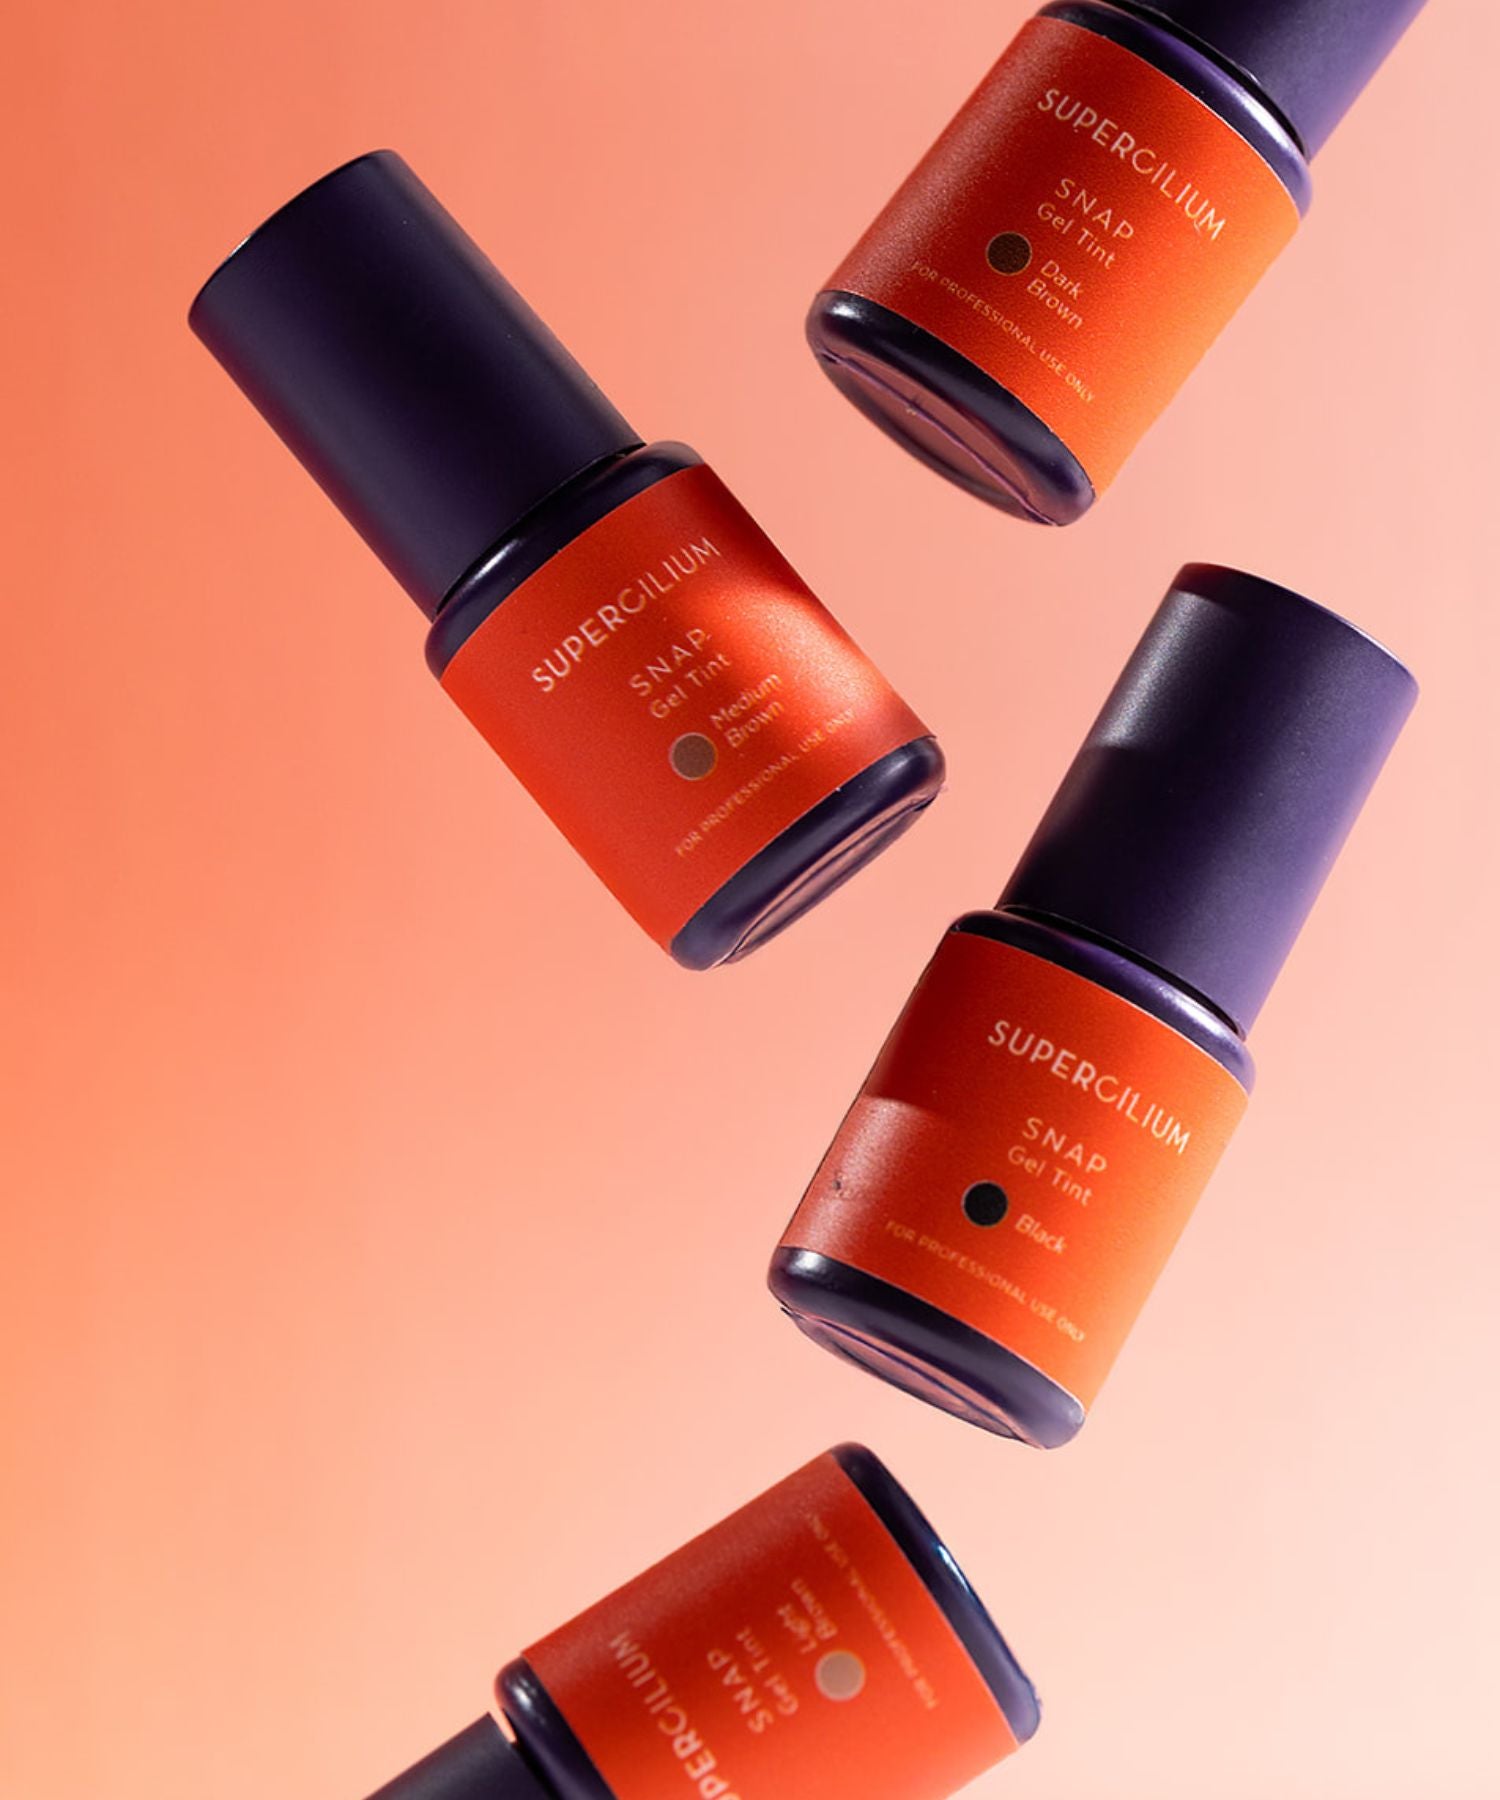
The dye product
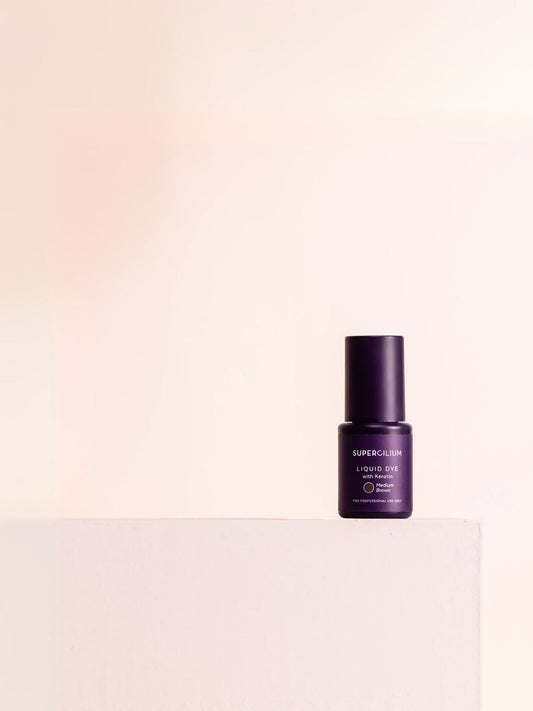
Depending on the client's desire, you can use Henna dye and Hybrid dye. Both dyes dye the hair and skin. However, the Henna dye can stay on the skin for up to 14 days compared to the Hybrid dye which stays on the skin for up to 9 days. The hybrid dye has a more intense and ash look, and the henna is more natural. However, you can really achieve the same effect with both dyes.
Application technique
The application of the dye is perhaps the most important part of creating an ombre effect. By using the technique that I will explain further on in the blog. You can create the perfect ombre brows. If you do this in a different way and do not follow the guidelines. Then there is a good chance that the transition of shade colors will be less smooth.
Processing time
The processing time is extremely important because it can make or break the ombre look. It is important to know that the Hybrid dye has a shorter processing time of 5 - 20 minutes and the Henna dye a processing time of 8 - 25 minutes. So the henna needs more time to process on the skin. In the next chapter I will explain how long you need to leave dye on the eyebrows to create the perfect ombre brows.
Ombre Brows application
There are only 7 steps that you have to follow to create the perfect ombre brows.
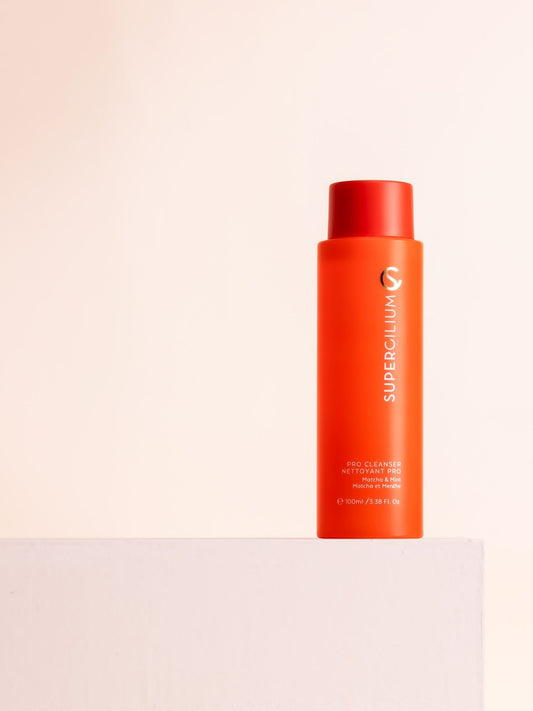
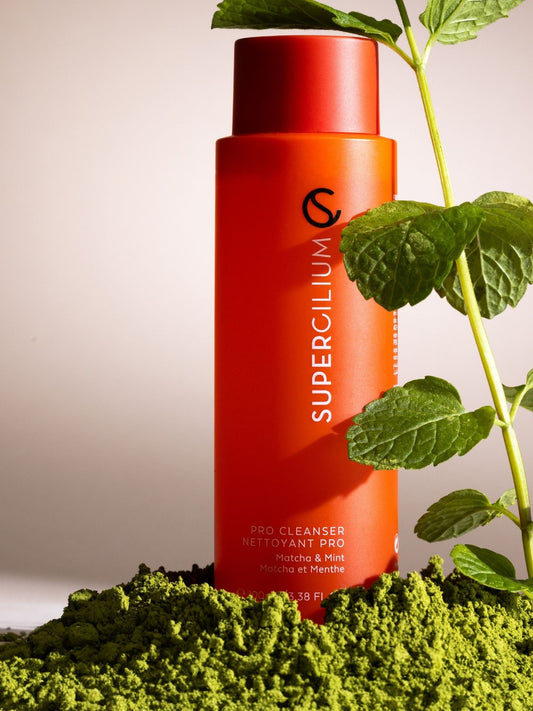
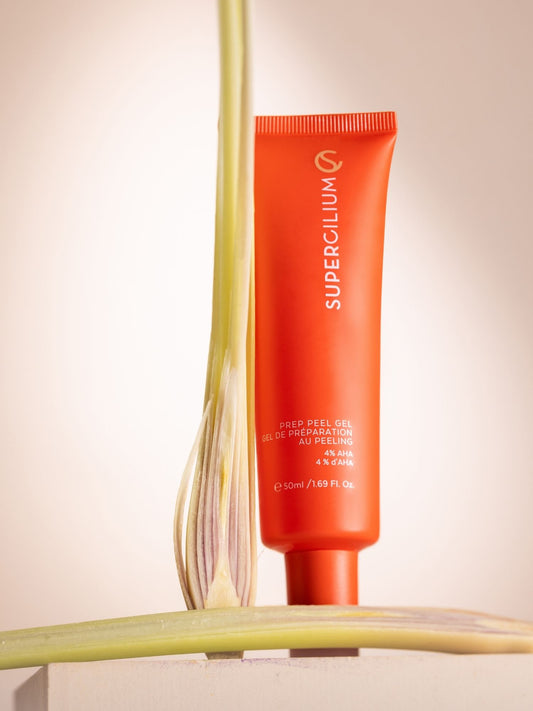
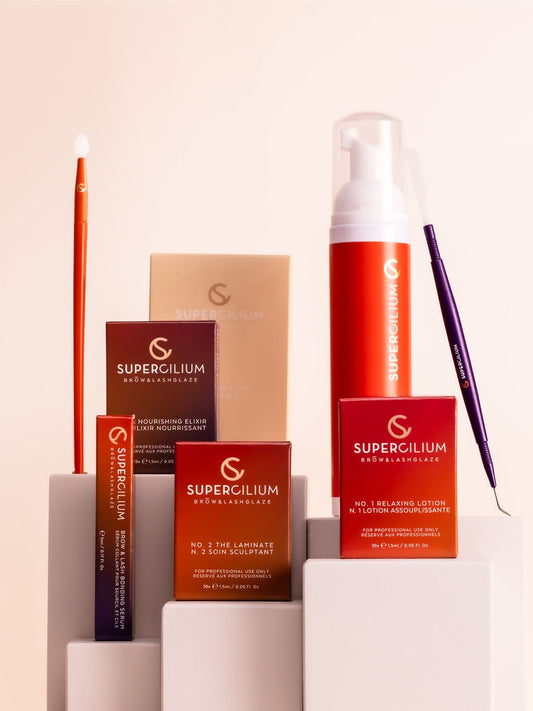
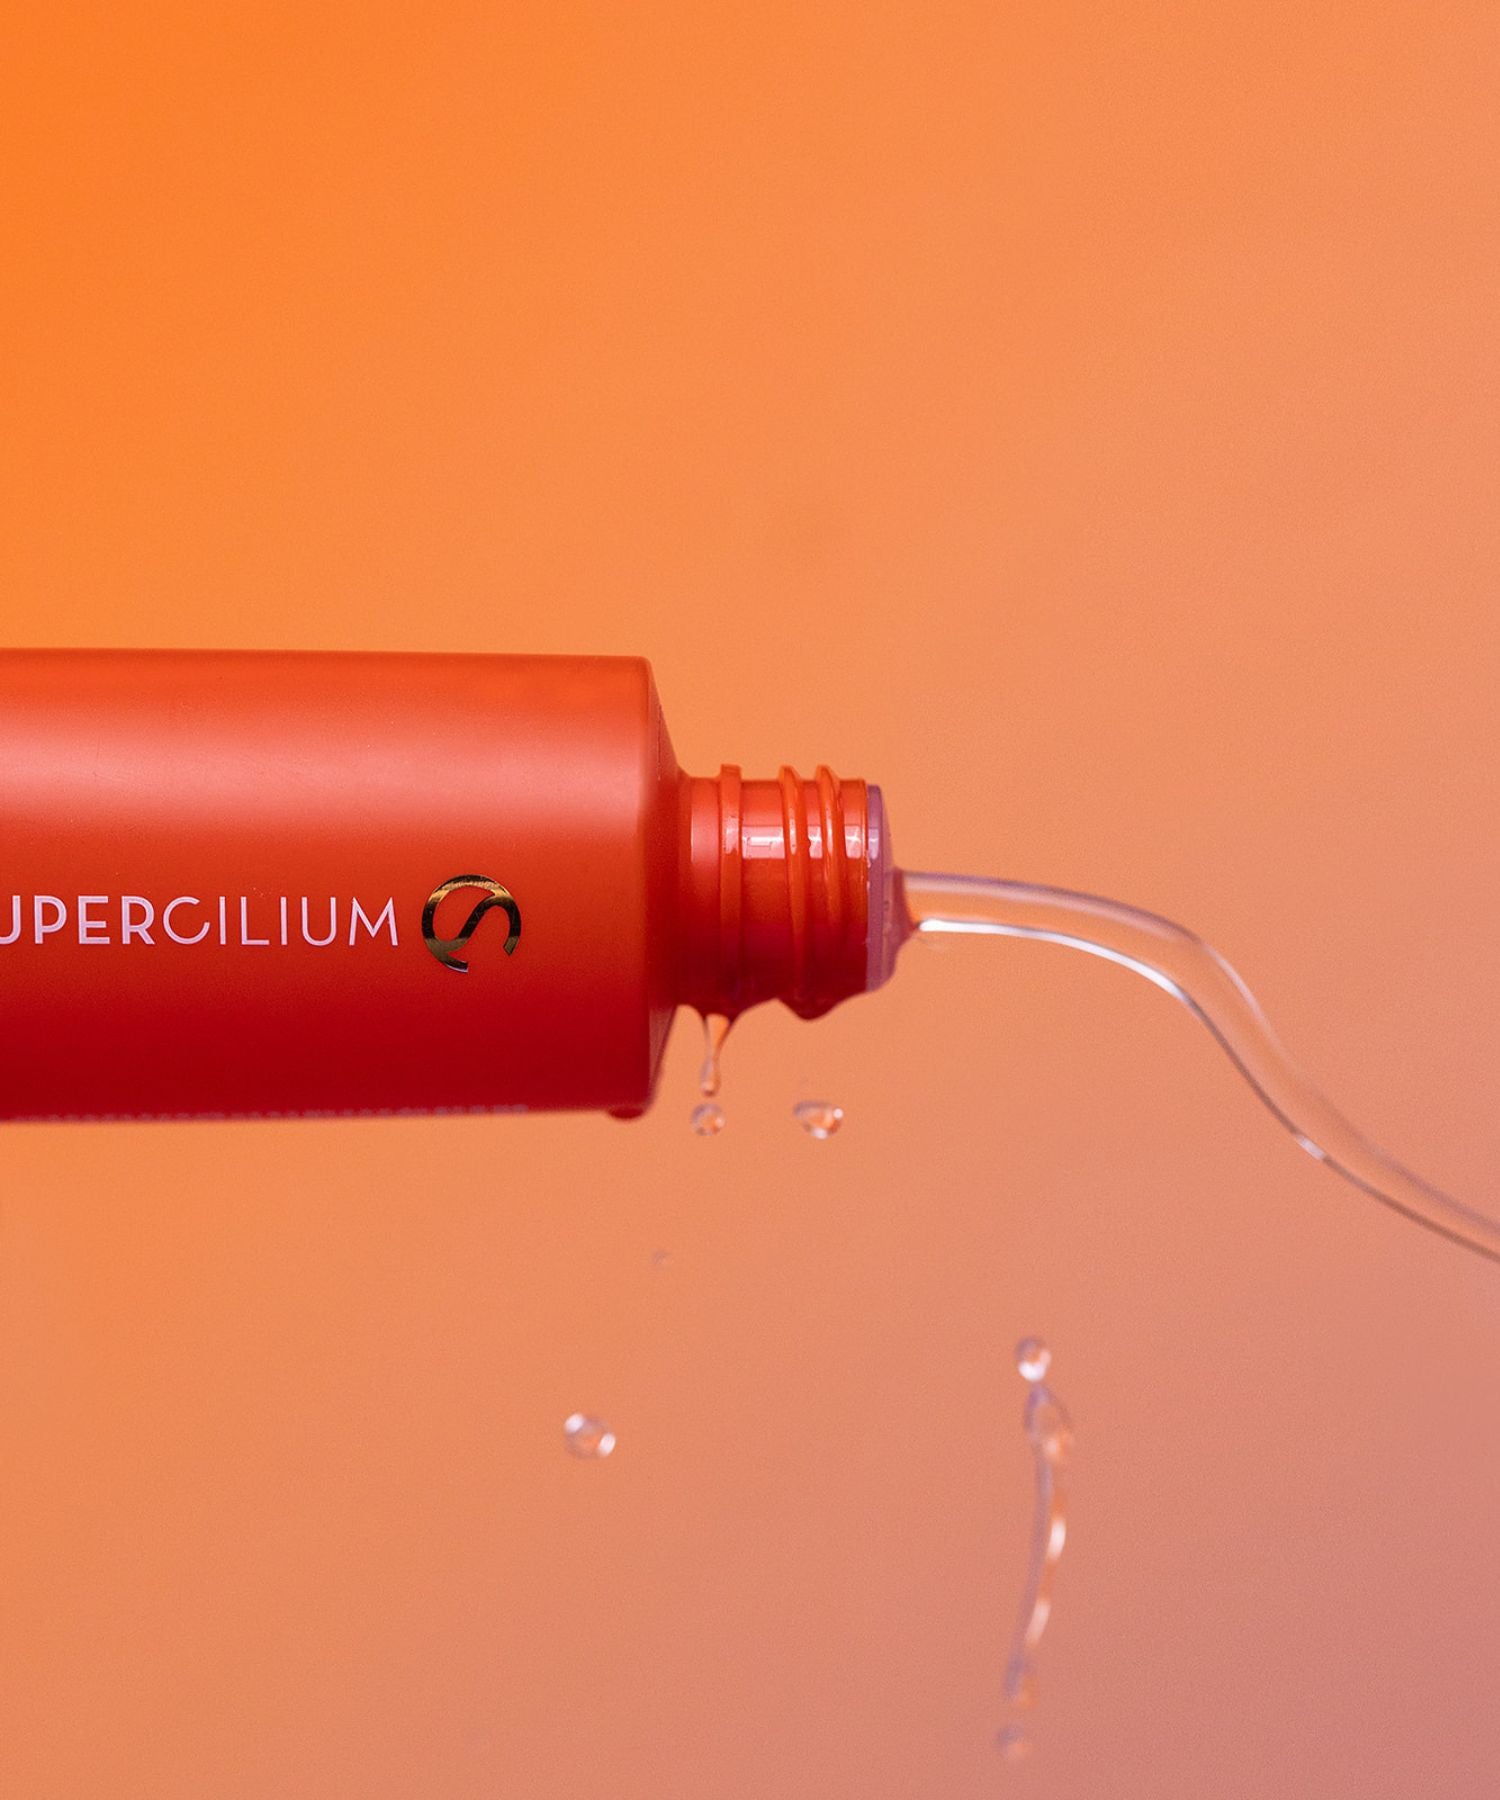
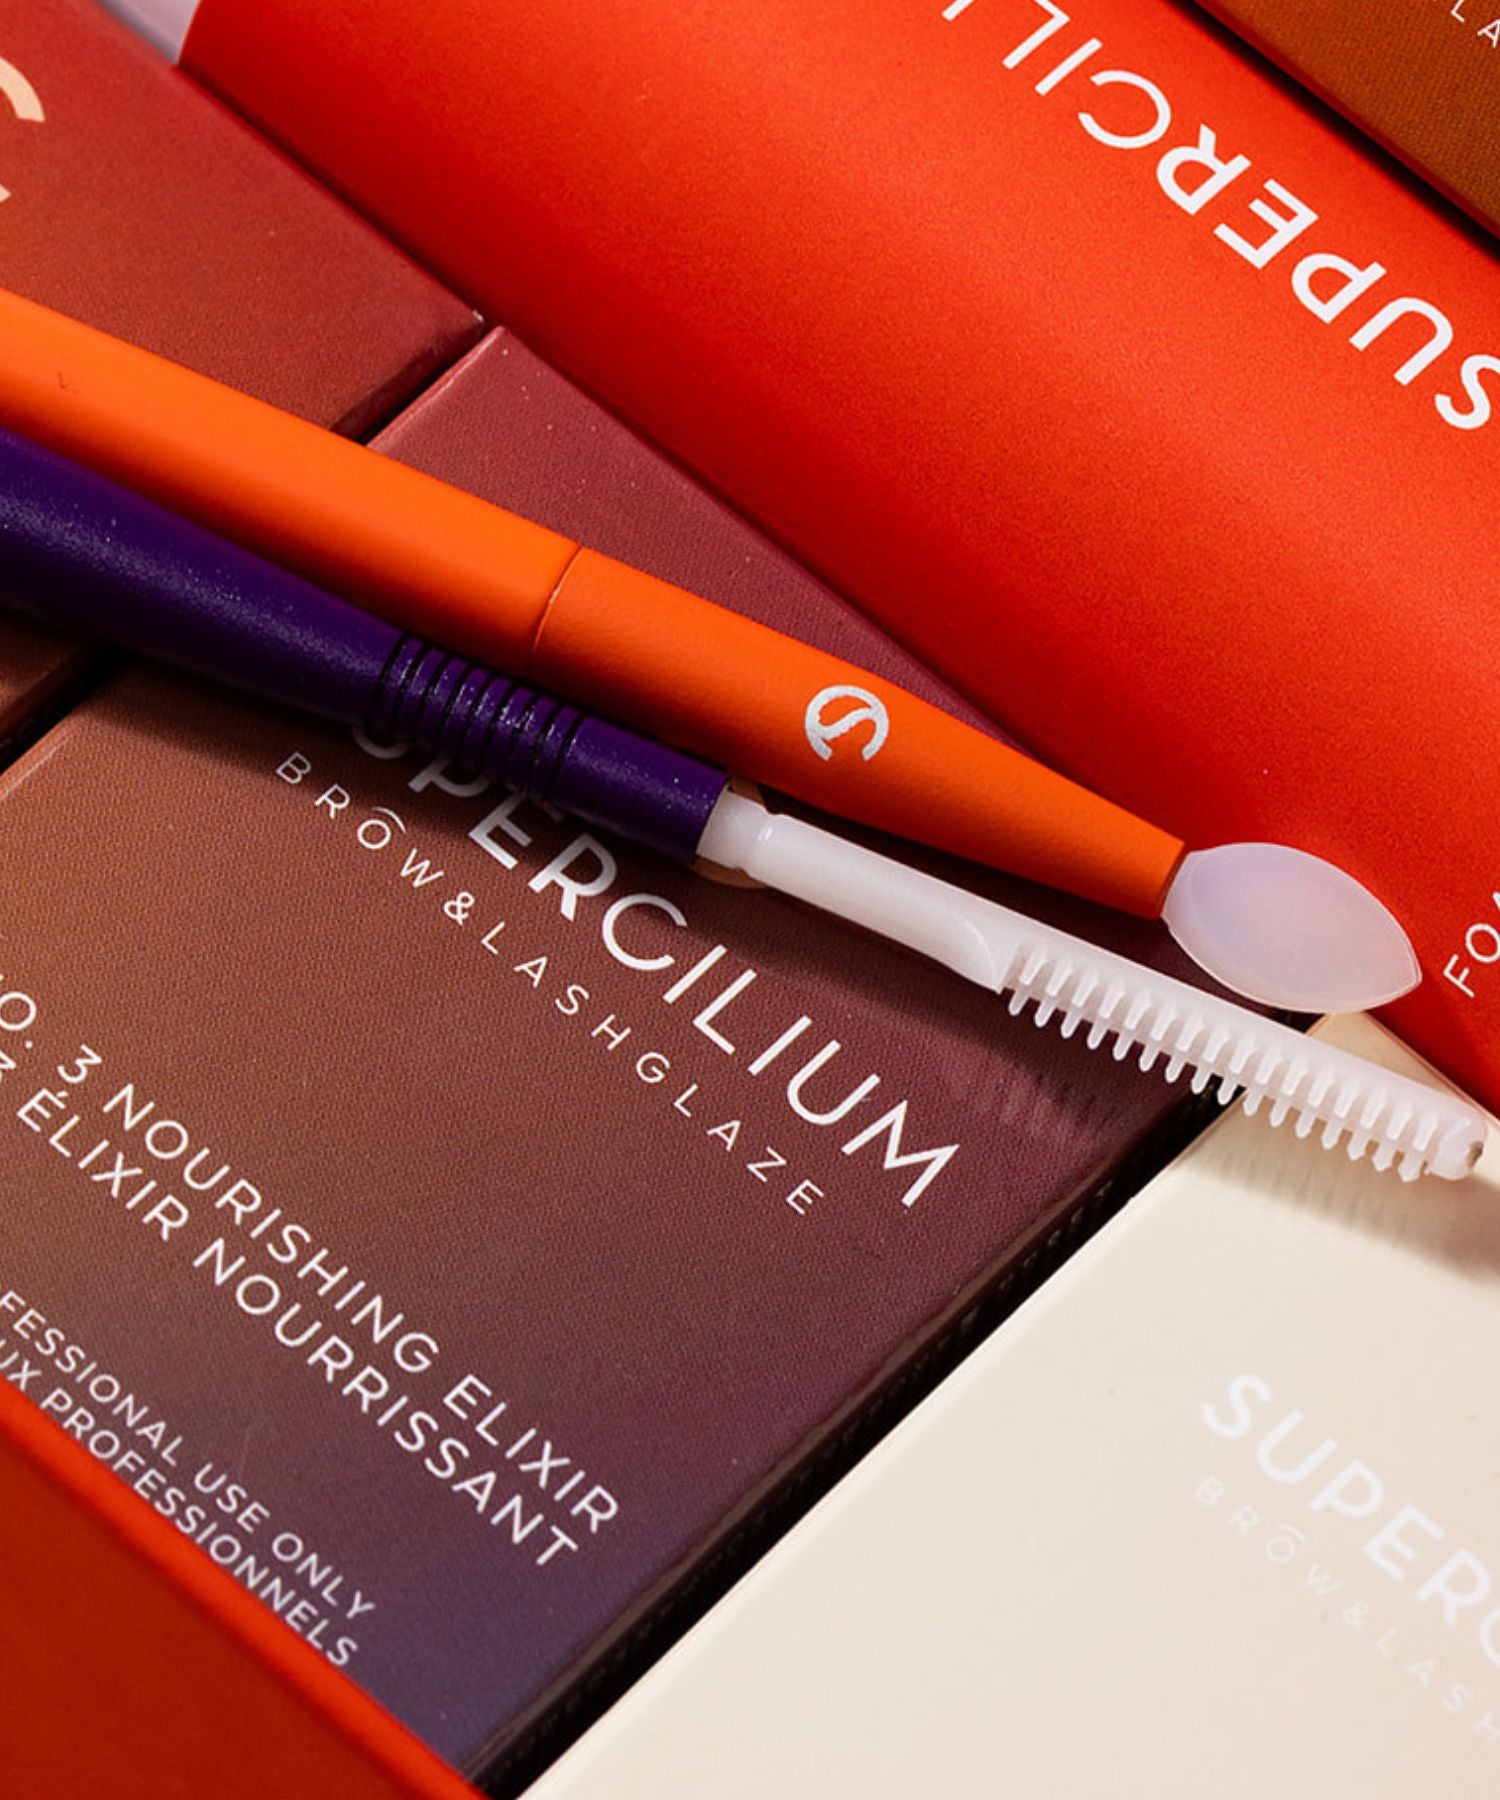
Step 1: Clean the brows with the Supercilium Pro Cleanser. Use the Supercilium Prep Peel Gel to get rid of excess sebum, makeup build up and dead skin cells to ensure the longevity of the Brow Dye treatments. Apply one drop to each brow, massage gently for 15 seconds and gently remove with a cotton pad with Supercilium Pro Cleanser. If needed, add a double cleanse by using the Color Booster to degrease the skin and hair.
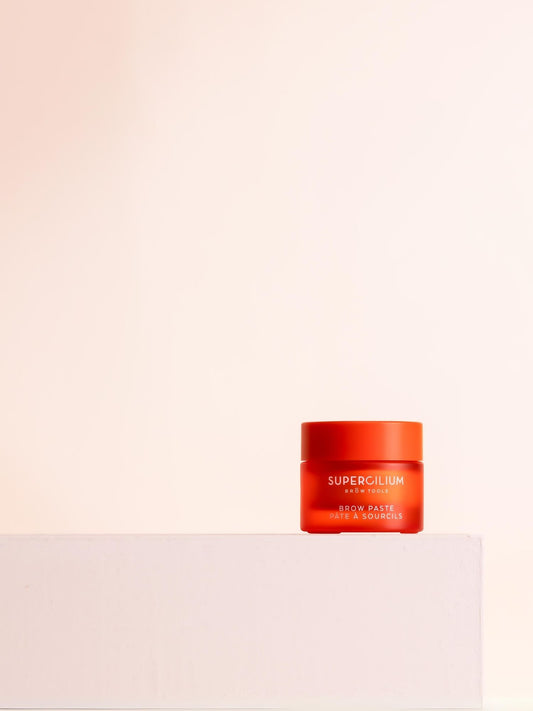
Step 2: Apply Brow Paste to the area around the eyebrows, avoiding the areas you will be tinting. Apply a thin layer of Brow Paste to the area around the eyes, avoiding contact with the lashes. Place the protective eye pads along the edge of the lower eyelids and allow the lower lashes to extend under the eye pads.
Step 3: For hybrid: Mix Oxydant Developer and Brow & Lash Dye in a non-metallic container in the ratio of 1:1 until an even consistency. We recommend using 0.5 cm of paint and an equal ratio of Oxydant Developer.
For henna: Mix a scoop of Supercilium Henna Powder with 15 - 20 drops with the Supercilium Color Developer. Mix until well until a smooth substance is achieved. It is important that the substance is neither too watery nor too thick.
Let the dye sit for 1- 5 minutes before applying. Make sure you have done a patch test before applying the brow tint!
Step 4: Here is the golden trick for the ombre brows effect!
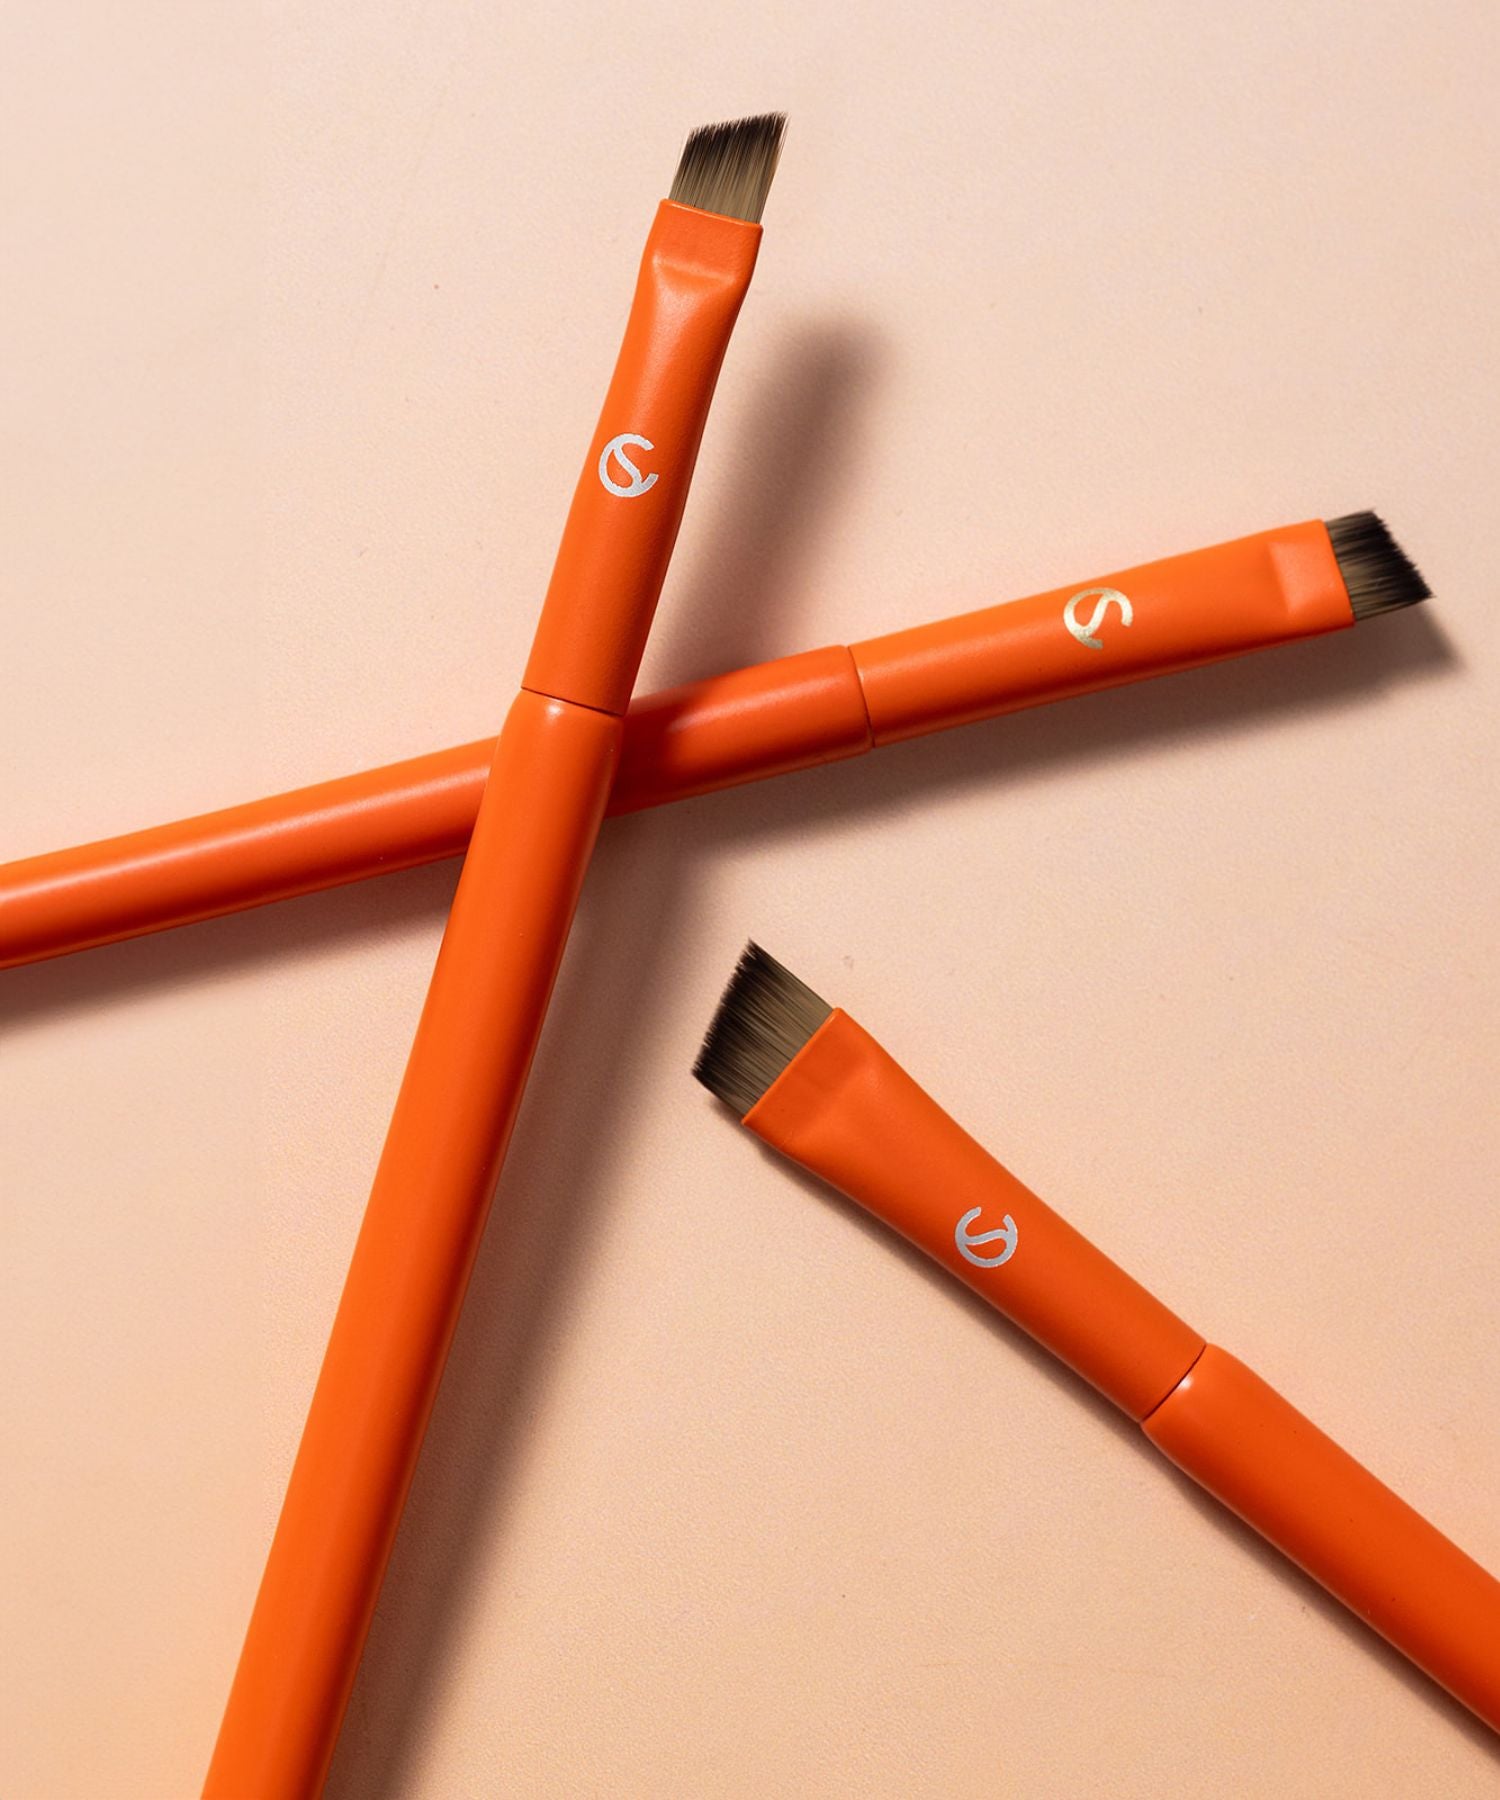
Begin by applying henna to the bottom line of the eyebrow with the Supercilium Angled Brush. Draw a tight line from the beginning of the eyebrow to the tail of the eyebrow. Repeat the same process with the upper line of the eyebrow. Next, fill in the entire eyebrows from back to front. This means that you color the beginning of the eyebrows as last. Also, check our other eyebrow brushes.
Step 5: Remove the Henna Brow tint from the inside of eyebrows after 3-5 minutes3-5 minutes for an ombre effect, with a damp – not too wet – cotton pad. If still too light, reapply and leave on for another 3-5 minutes. When removing the henna sooner from the inside and leaving for longer on the outside, it stains darker there while giving you a natural fade effect.
For Hybrid dye: remove after 3-4 minutes.
For Henna dye: remove after 4-6 minutes.
Step 6: Finally remove the rest of the henna after 15-20 minutes. with a wet cotton pad. The result of the coloring depends on the skin type, color type, individual characteristics of the organism.
Step 7: If you have accidentally colored the skin, apply a small amount of Color Corrector to a micro-brush or cotton swab and gently wipe this area clean. Repeat if necessary. Wash off the residue with water.
And that was it! You really got a not permanent effect of the ombre powder brows. I told you it was easy! But just wait for the game changer effect.

Before you apply Henna or Hybrid dye
Before you start with applying any brow tint on any brows--we advise all our brow babes to start with doing a skin patch test. Although our henna is 88% natural, there is still a small chance that certain skin types have allergic reactions or some discomfort. We strive to prevent any mishaps with performing an allergy test 48 hours before use, even if your client is already familiar with coloring products.
Contraindication for Henna and Hybrid dye
Although Henna and Hybird are amazing treatments it's not for everyone. Below is a list of the main contraindications for Henna and Hybrid dye.
Allergy to PPD
In every dye you have a dye pigment called: PPD, which ensures that you can make different shades. However, many people are allergic to this substance. Therefore, we emphasize continuous prior to the brow treatment to do a test to exclude that you are allergic. An allergic reaction to PPD can lead to swollen, red and itchy eyebrows. In worst case, your eyebrow hairs may fall out.
Pregnancy: During pregnancy the hormones in your body change. Because of this, your skin can react differently than normal. Your skin color can change for example. You can have more sensitive skin than usual. If you want to get your brows tinted. Then we recommend you do this after you have stopped breastfeeding.
Damaged skin: Do you suffer from psoriasis, eczema, rashes, or blisters around the eyebrows then putting Henna Brows at that time is not recommended. If you are getting your brows tinted you want to work with perfect healthy skin. If that's not the case then you must wait until your skin is fully healed to prevent infections and inflammations. The same applies to skins that have recently undergone chemical peels.
Oily skin: Oily skin type is not necessarily a contraindication to Henna Brows. However, it is important that you know that Henna Brows don't work very well on oily skin types. An oily skin will repel the pigment faster than a dry skin.