How to create trendy henna freckles
written byMyriam van Engelen
In This Article
Henna freckles: The cutest summer add-on
Sun-kissed freckles? Yes, please. But UV rays and daily makeup touch-ups? Not so much. That’s where Henna freckles come in - your secret weapon for that effortless freckled glow, no sun required. We love it! Whether you’re a brow artist looking to surprise your client with something extra, or just in the mood to switch up your look, this semi-permanent freckle hack is for you.
And the best part? You only need a tiny bit of leftover Brow Henna to get started. In this guide, we’ll walk you through exactly how to do henna freckles, what tools you’ll need, and tips to make them look as real as the sun itself.
How to create Henna Freckles – Step by step
Step 1 - Prepare the henna paste
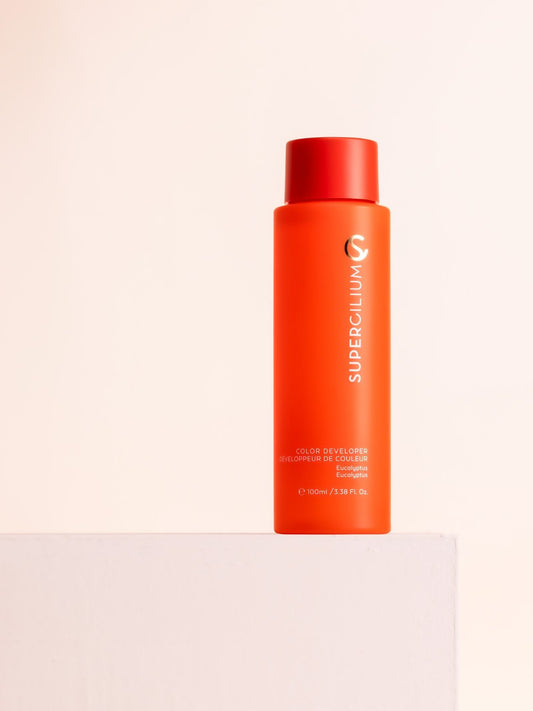
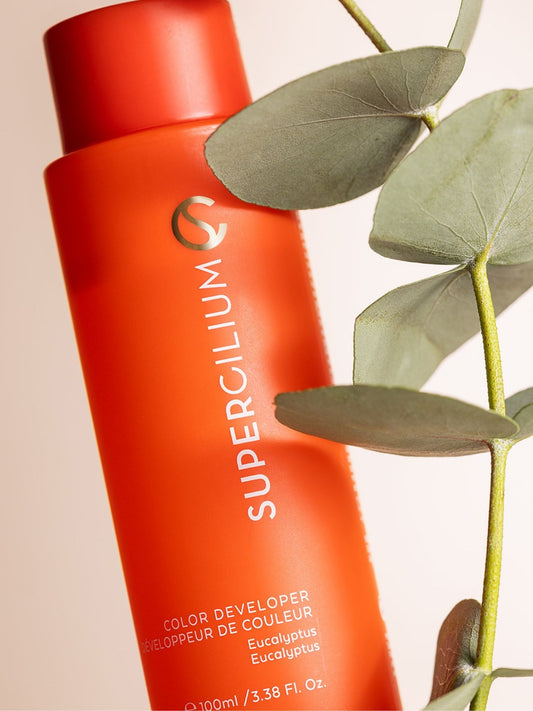
After you have consulted your client, you always start with preparing the henna paste, since it has to sit for a few minutes before applying. Create the henna just like you normally do, by adding Color Developer to the henna. Make sure the mixture is not too runny, to prevent the dots from running out and becoming too big.
Step 2 - Clean the skin
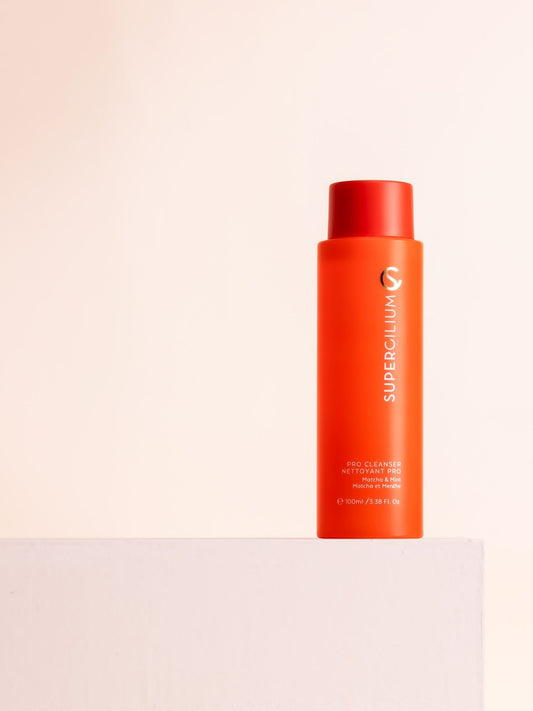
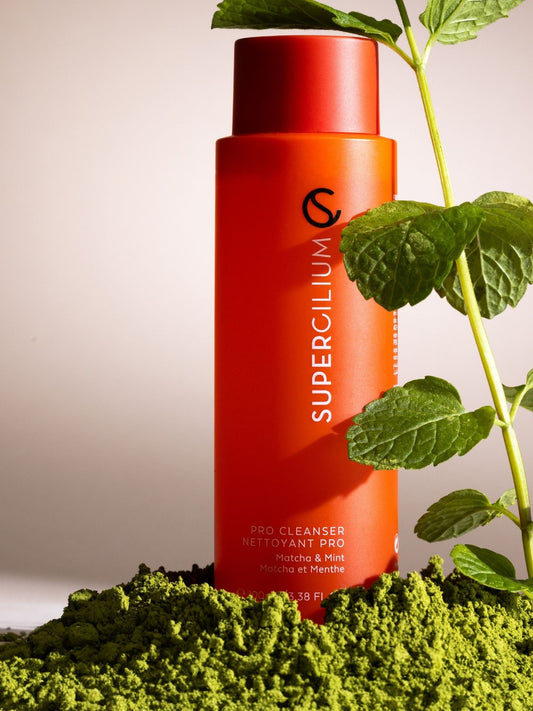
To apply the freckles to the face, start by cleansing the skin carefully. For example with our Pro Cleanser. The cleaner the skin, the better the henna can penetrate the skin and the longer lasting the results.
Step 3 - Apply the henna paste
Apply the henna on your nose and around the edges of your nose with a fine liner brush or precision swabs. All the way onto the cheeks. Vary in the size and in the places where you put the dots.
Step 4 - Let the henna dry
Depending on the desired intensity of the color, wait for 5-20 minutes before you remove the color.
Step 5 - Remove the henna
Remove the henna paste with a damp, not too wet cotton pad. Want to add more? Repeat the above steps to create a more intense look.
Step 6 - Shine bright!
You’re ready so shine with your new and cute summer look! Don’t forget to share the results with #supercilium. We can’t wait to see your looks.

All the tools you need!
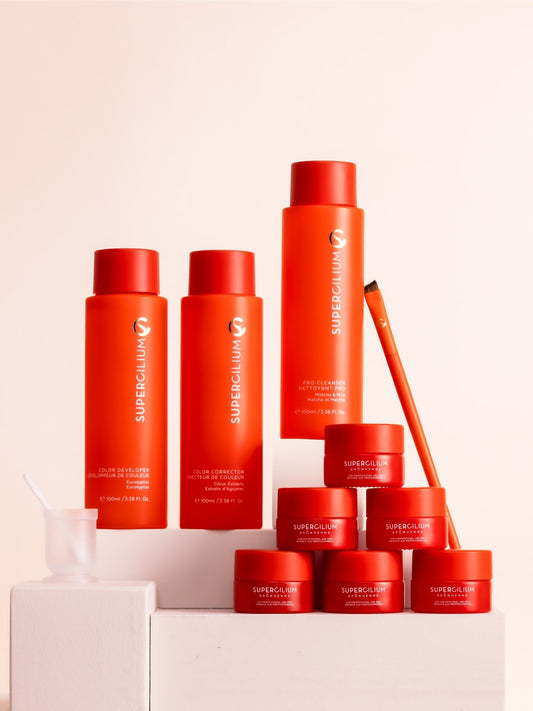
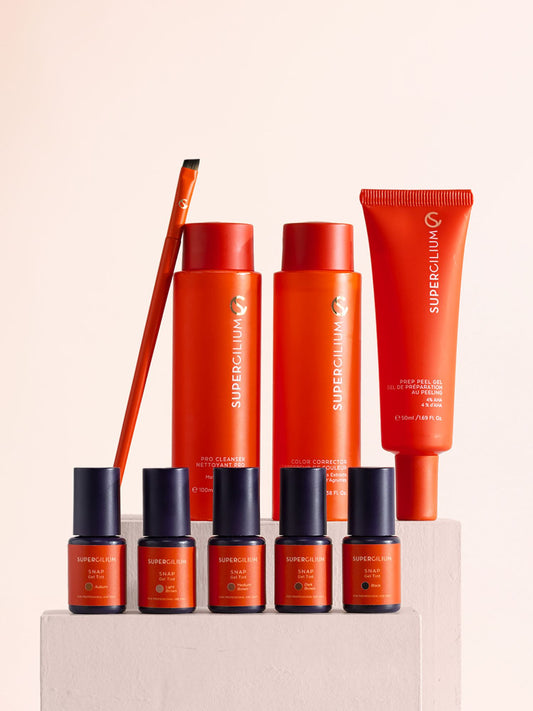
Easy! We got everything you need to create beautiful Brow Henna Freckles! Use the shop list below to get everything you need to create the perfect faux freckle look:
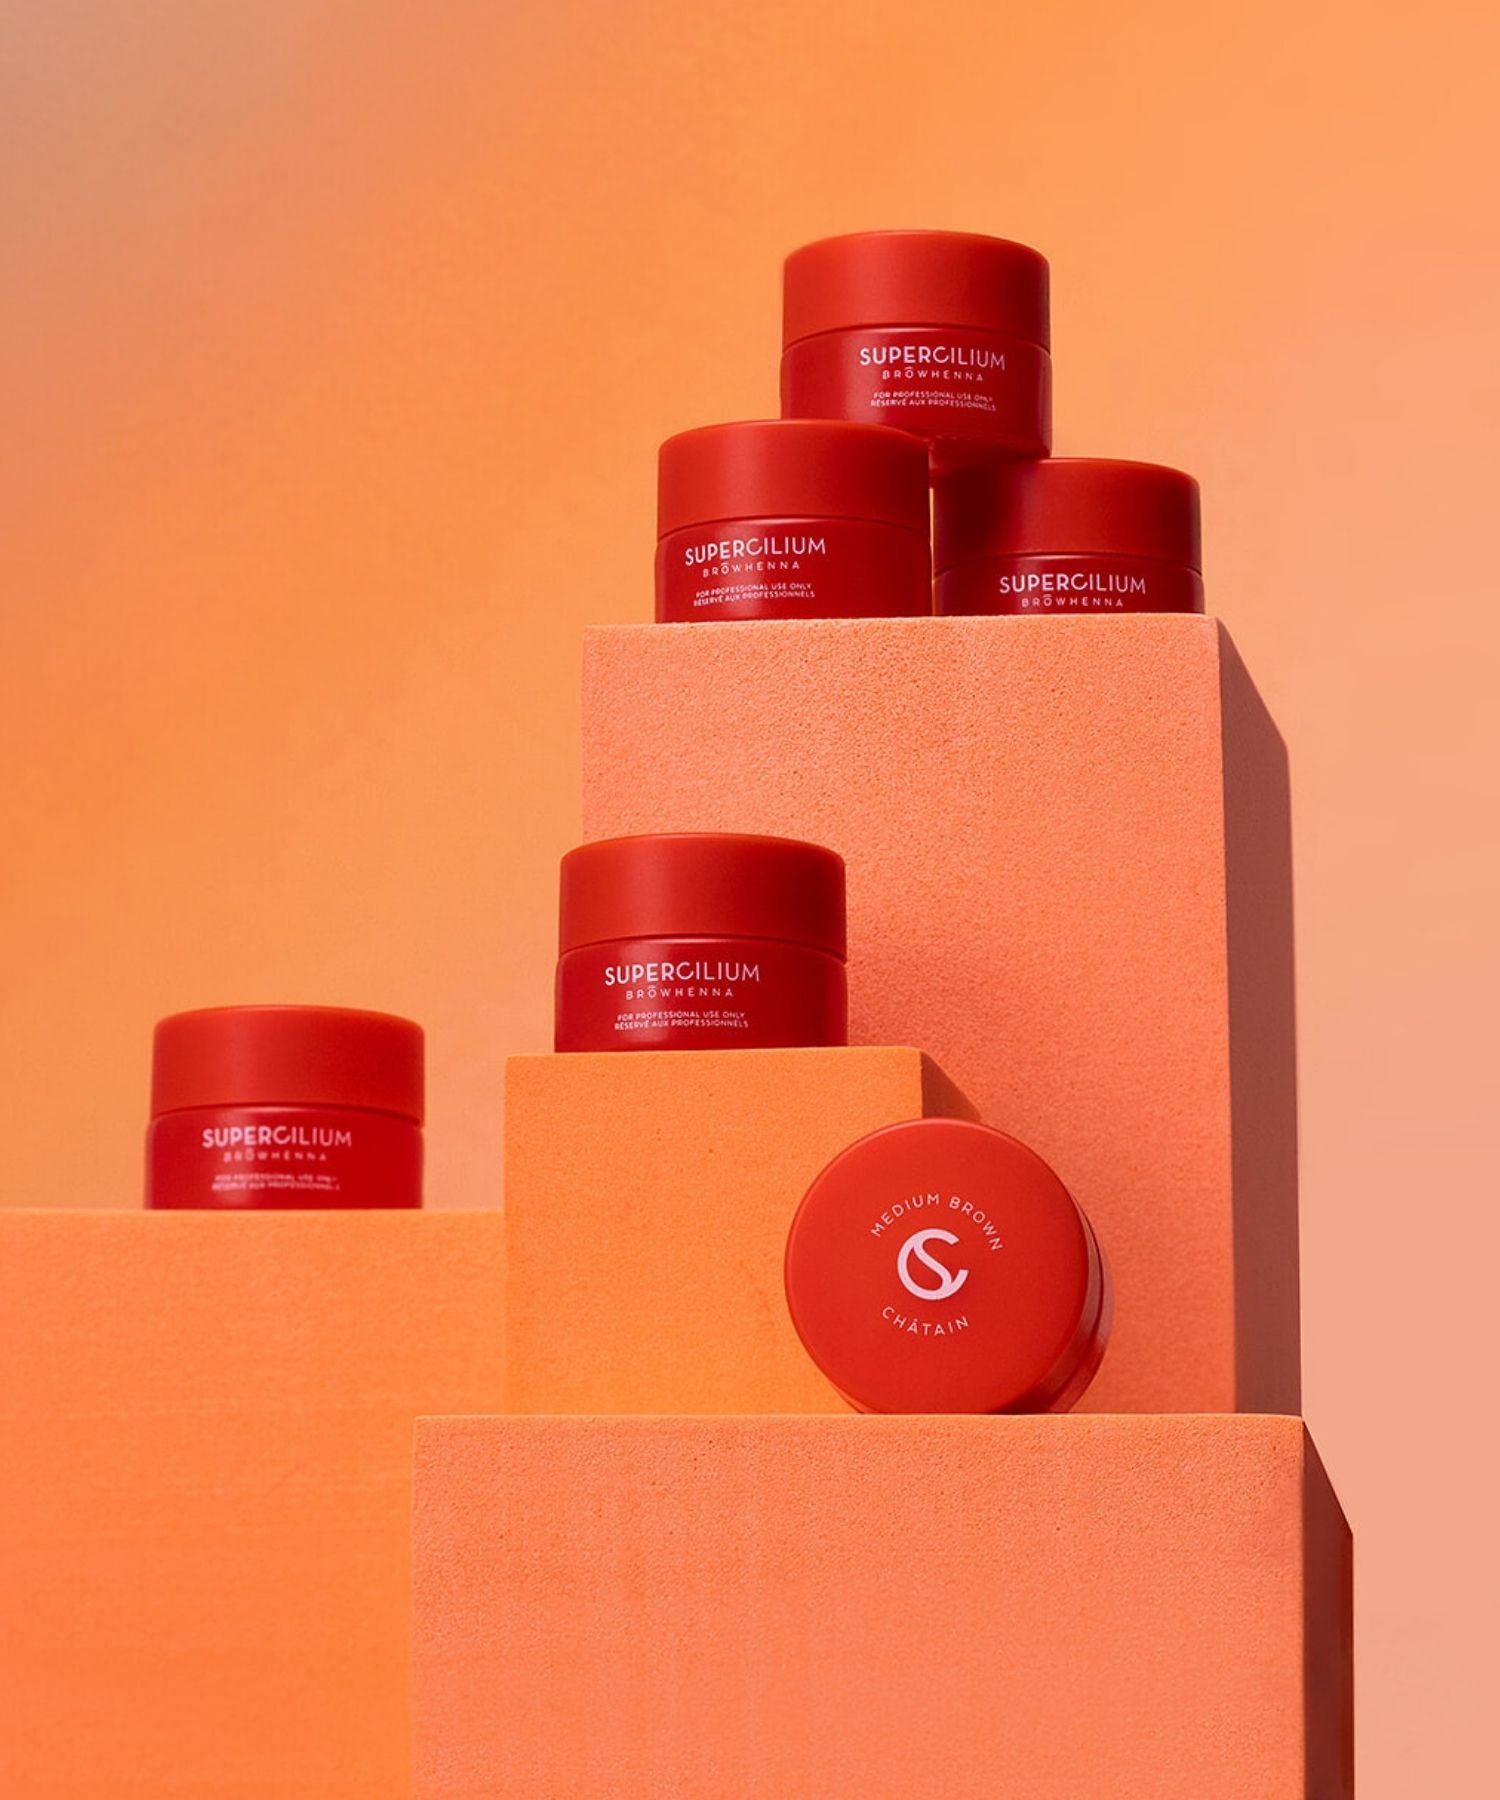
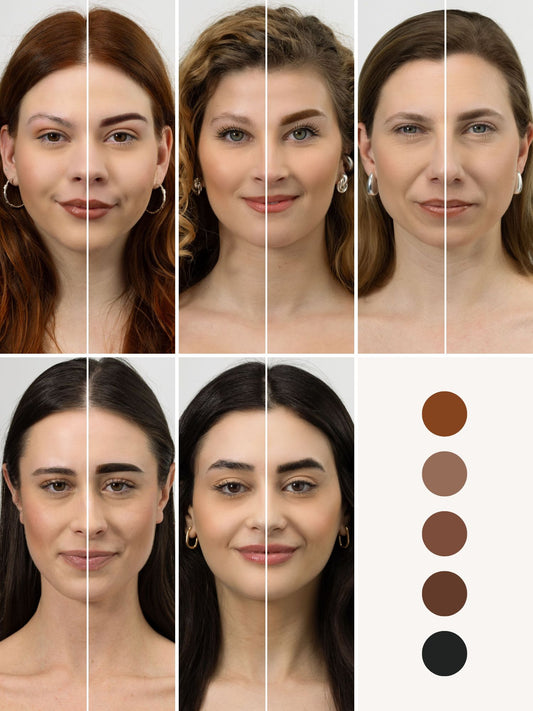
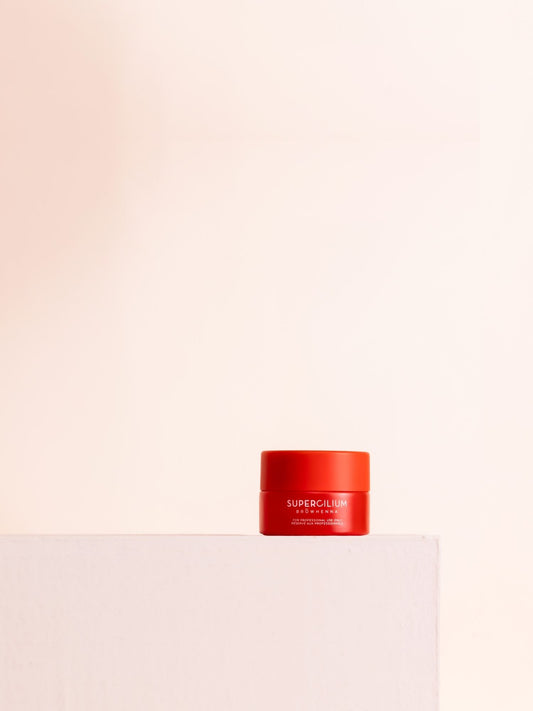
- Brow Henna: Blonde, Light Brown, or Medium Brown
- Pro Cleanser: For clean skin and better staining.
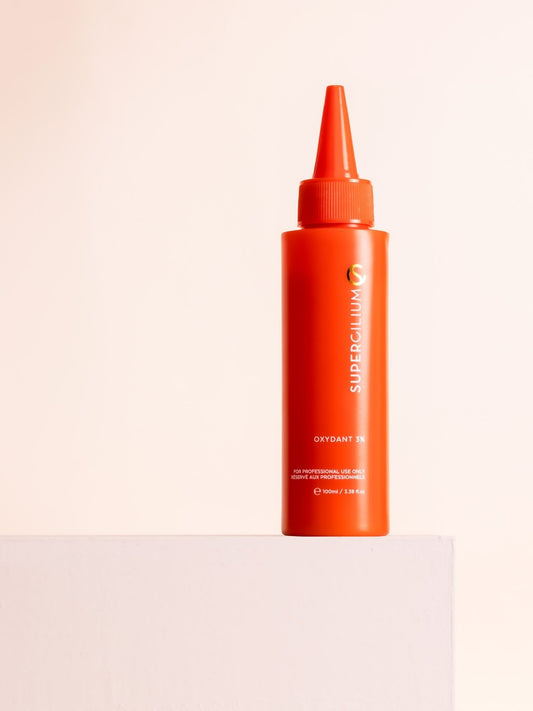
- Color Developer: To mix Henna.
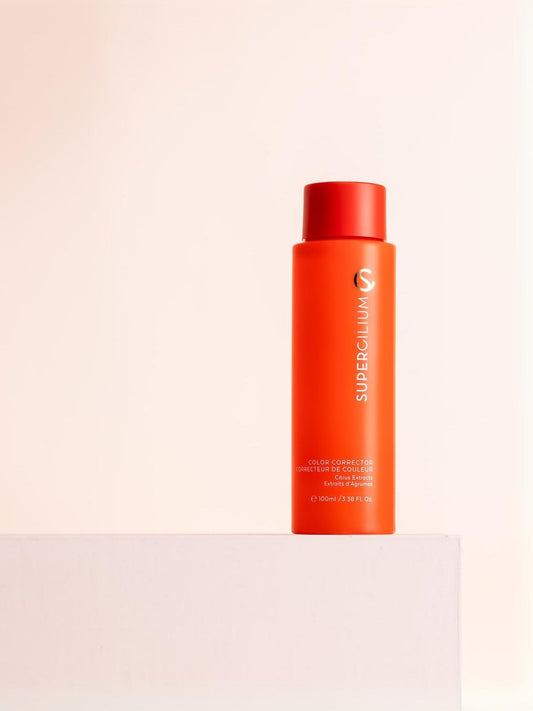
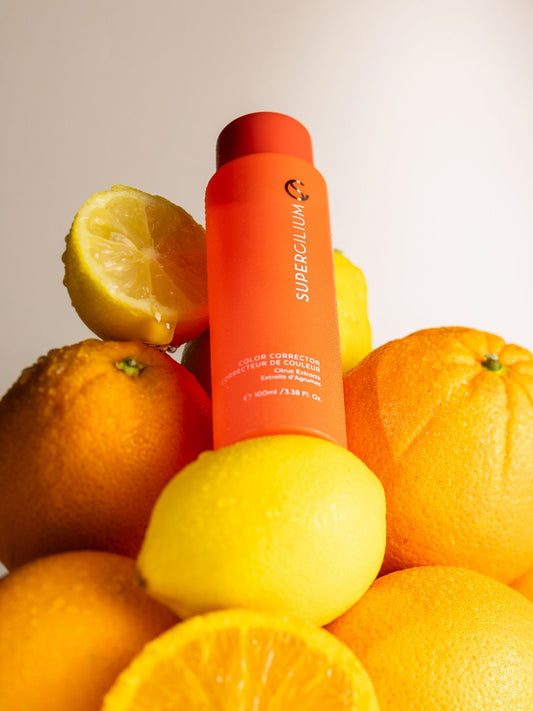
- Color Corrector: Your life-saver if the stain is too intense.
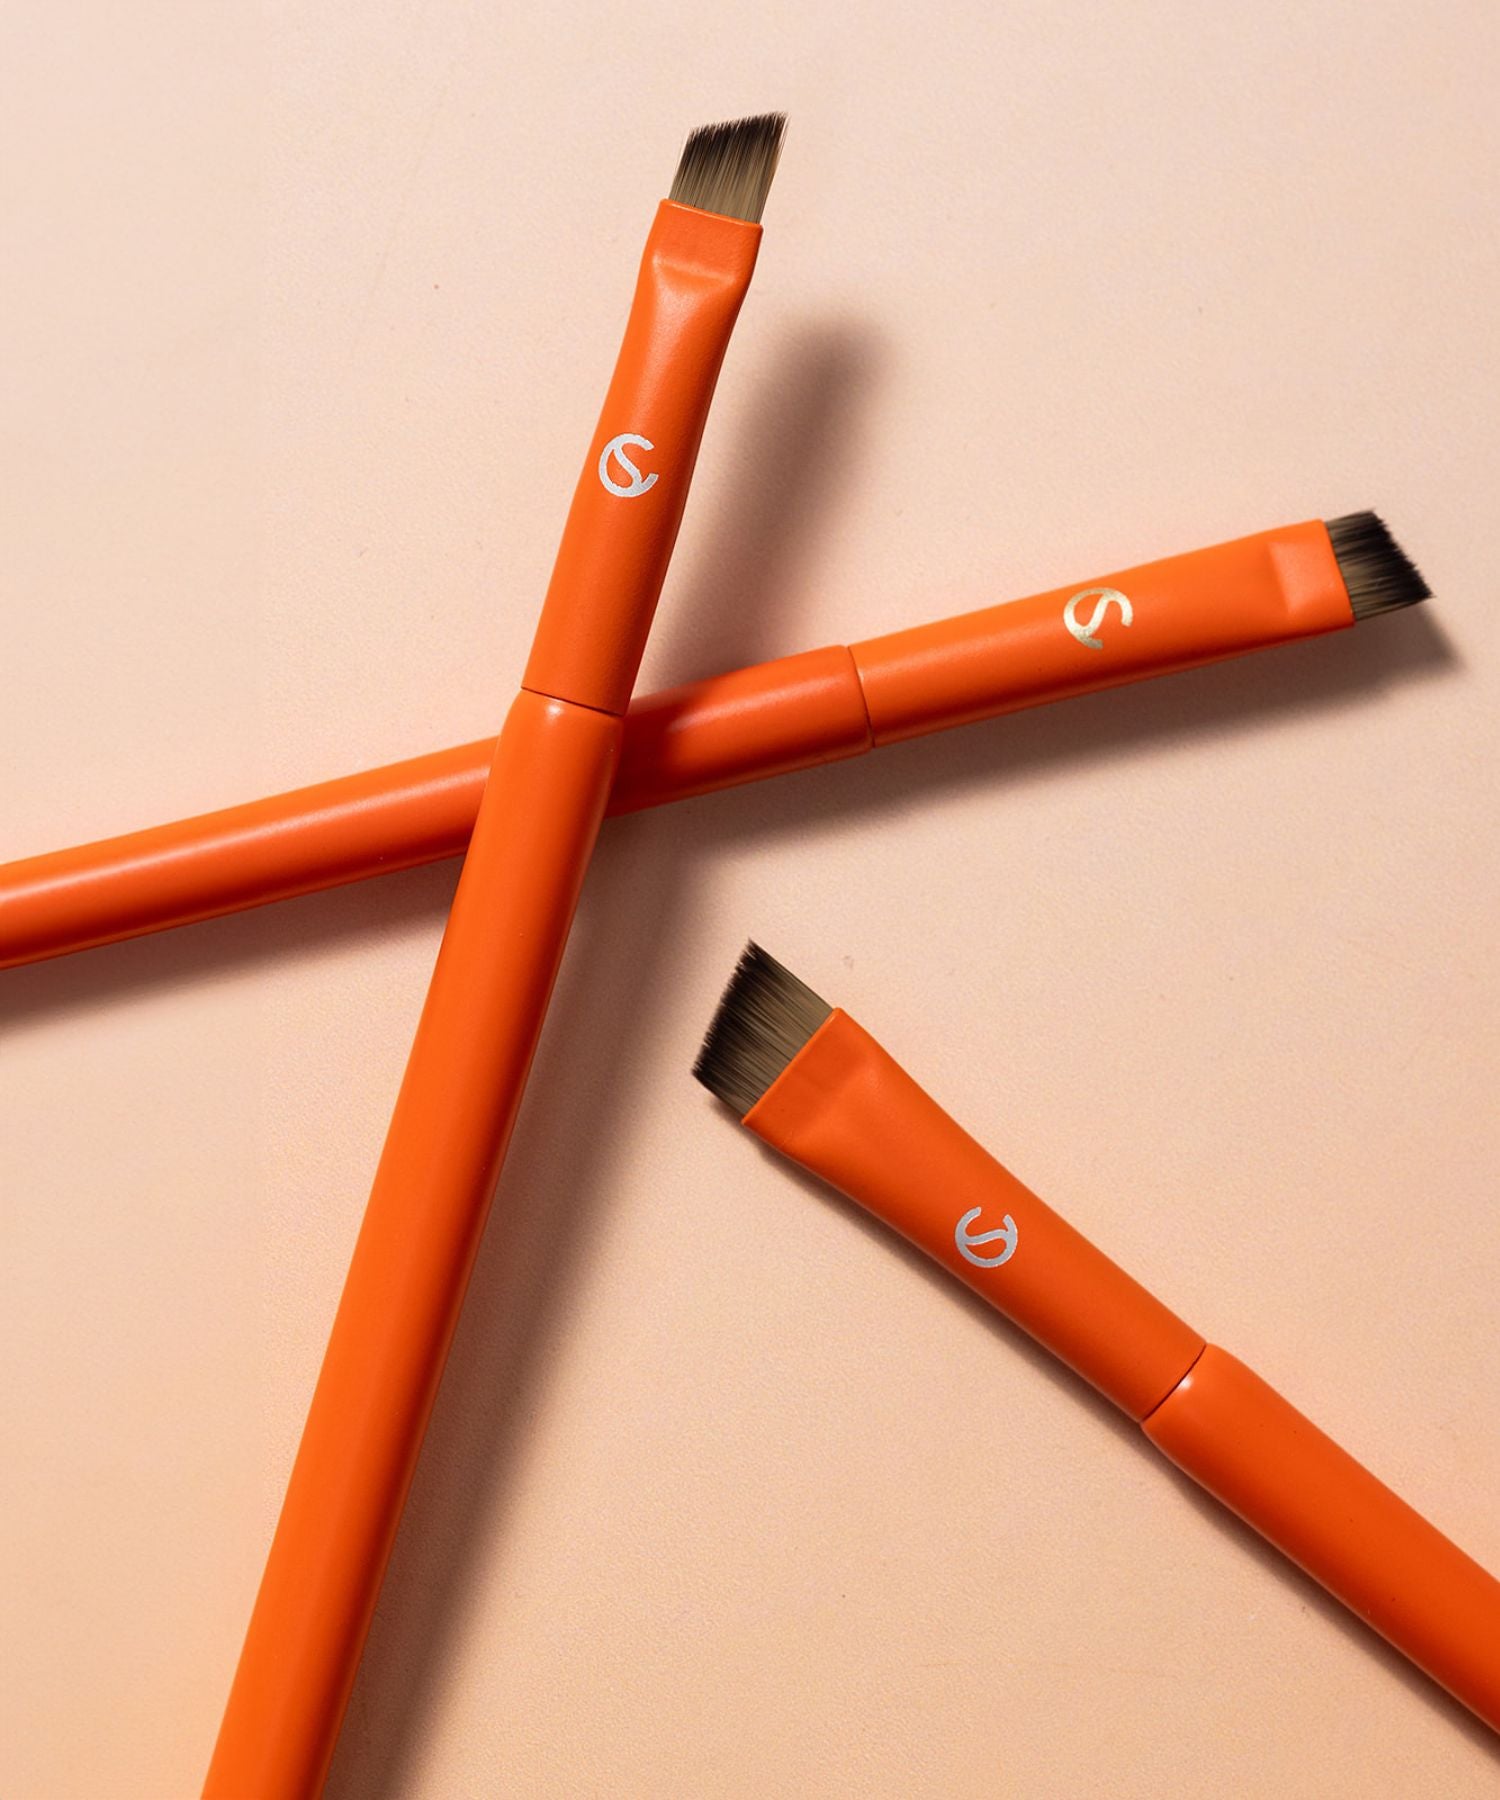
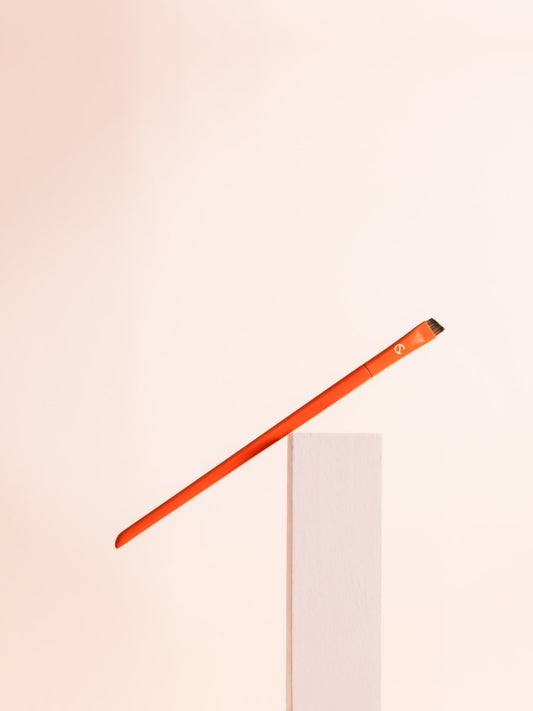
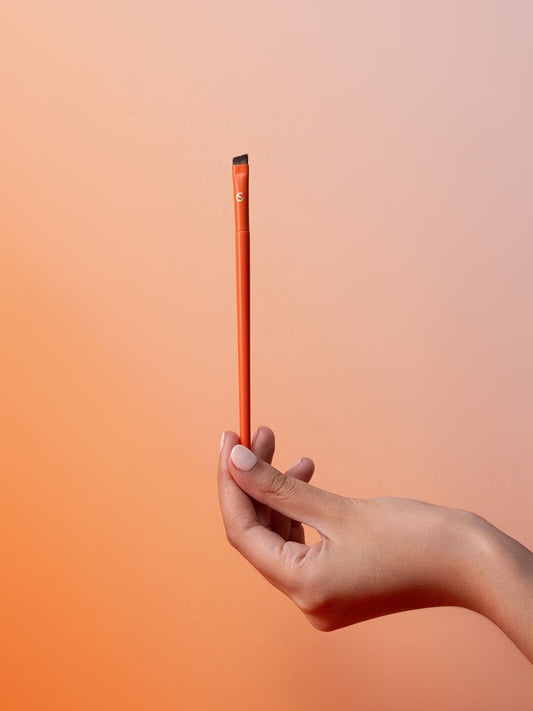
- Fine Liner Brush: This Fine liner brush is the perfect tool to create subtle small dots.
- Precision Swabs: Use these to easily correct the henna, or to apply the henna if you prefer a one use only tool.
EXTRA TIPS
Want to make sure you nail it? Here are some extra tips for creating the prettiest summer freckles with brow henna.
- Real freckles are random - avoid symmetry and perfect placement
- Start light - you can always add more if needed
- Choose a lighter shade than your usual brow color for a soft, natural effect
- Blend a few spots gently for a sun-kissed fade
- Keep the skin dry for a few hours after application to let the stain develop
FRECKLED QUEENS INSPIRATION
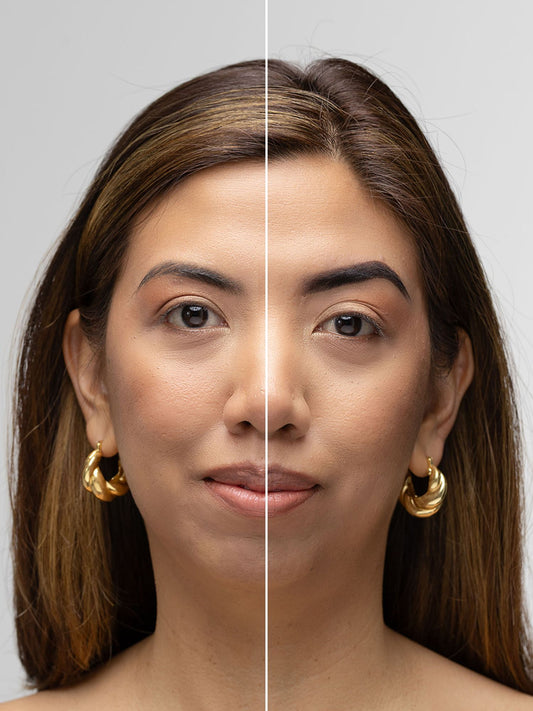
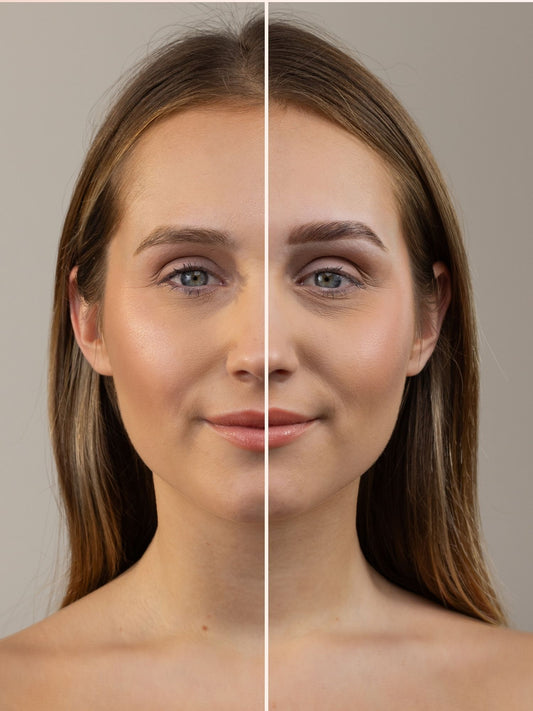
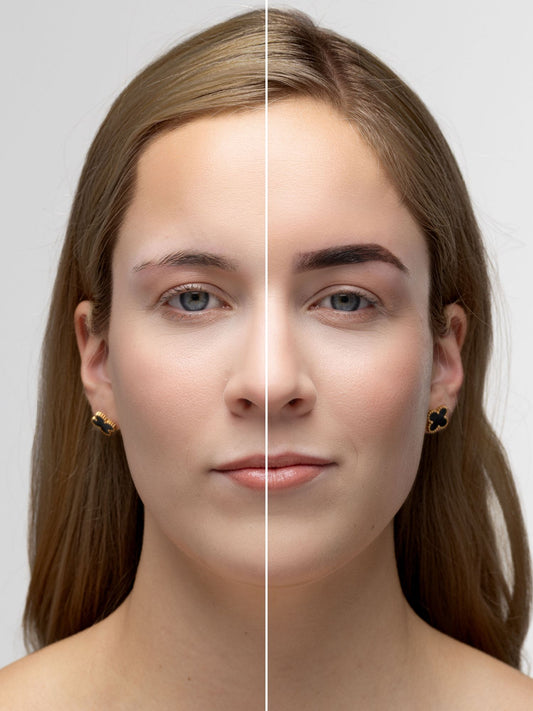
One of our beautiful brow bosses Megan Jergens shows how it’s done on her client in the image below. A natural, simple, and temporary add on to your look! It looks like you've got some perfect sun-kissed freckles, without a single sun ray needed.
GLOWY SUMMER LOOK
Freckles are just the beginning. Pair your new frecks with dewy bronzer, a swipe of gloss, and of course - freshly tinted brows. It’s giving: effortless summer glow.

Seal the Look with Brow Control
Your henna freckles are cute, but don’t forget to finish the look with flawless brows. Our tip? Lock those brows in place with Brow Gel - a transparent brow gel that keeps every hair perfectly styled without flaking or leaving white residue. It’s the cherry on top of your fresh, freckled glow.
- Freckles ✔
- Fluffy brows ✔
- Summer glow-up? 100% complete. All with Supercilium Products.
Now go glow, freckled queen!
Tag us @supercilium and show off your faux frecks - we can't wait to see your look!
Henna Freckles FAQ
1. How long do henna freckles last?
Henna freckles usually last between 3 to 7 days. Factors like skin type, placement, and aftercare affect longevity. Oily skin may fade them faster, while dry skin helps them last longer. For a full weekend glow or temporary summer look, henna freckles are the perfect semi-permanent freckle solution.
2. Can I use brow henna to create freckles?
Absolutely! If you're wondering how to do henna freckles at home or in the salon, the good news is that Brow Henna works beautifully. Just make sure it's freshly mixed and applied with precision.
3. Do henna freckles look real?
Yes, when applied correctly! The secret to realistic, natural-looking freckles is to vary the size and spacing of each dot. Avoid perfect symmetry for the most authentic sun-kissed effect.
Yes! If you're confident with DIY beauty, you can apply henna freckles at home. Always perform a patch test 24–48 hours before, and follow the steps carefully. A henna freckle kit with a light shade, brush, and clear instructions is ideal.
4. Will henna freckles stain clothes or towels?
Only when wet. Once developed and wiped off, the stain sets into the skin and won’t transfer to clothing or bedding.
5. Are henna freckles semi-permanent?
Yes, henna freckles are considered a semi-permanent freckle treatment. They gradually fade with time and cleansing, without the need for makeup or touch-ups.

