What is Brow Mapping and why is it so important?
written bySima Ahmed
In This Article
What is Brow Mapping?
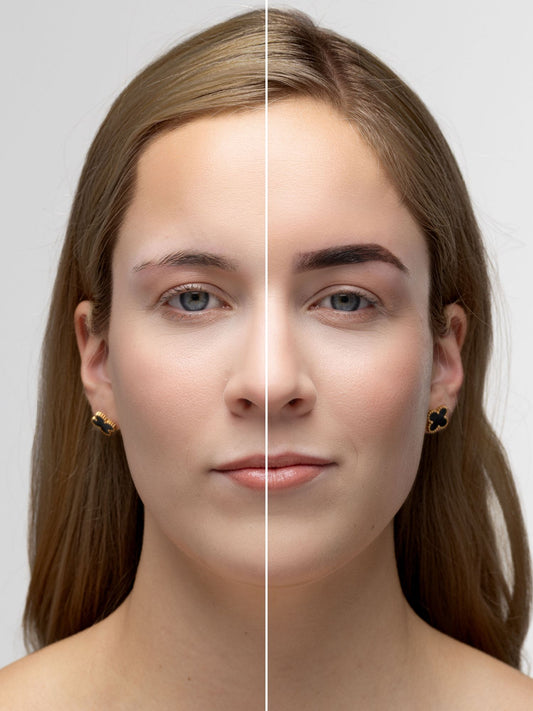
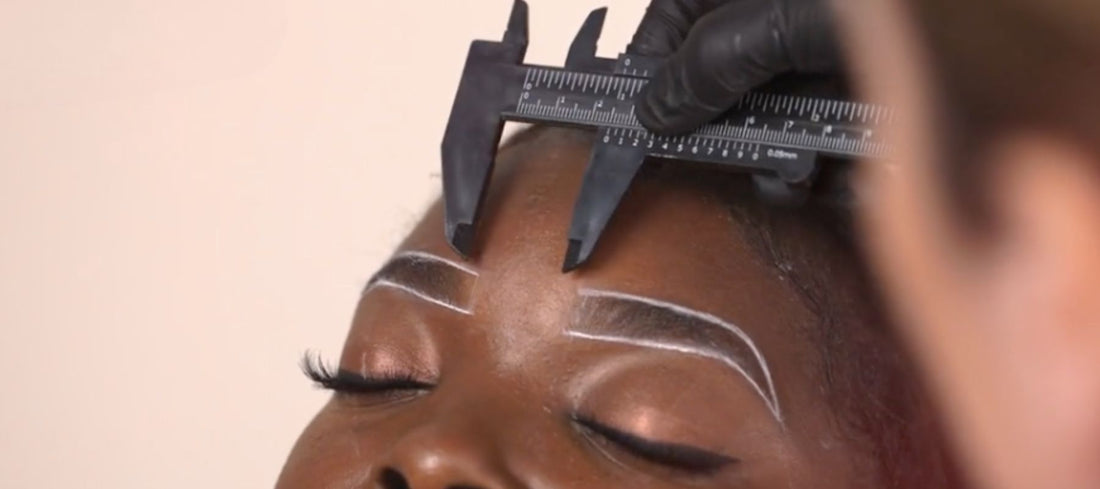
First thing first, what exactly is Brow Mapping? Brow Mapping is an amazing brow technique that allows you to define the desired ideal brow shape for yourself or your client before any brow treatment using Brow Mapping tools.
Through Brow Mapping, you create symmetrical lines that eventually form a perfect eyebrow shape. Basically, you create a template of the desired brow shape. Want to become an expert and learn all the in-depth information about Brow Mapping? Follow our Brow Mapping course. In this course, we go deeper into the Anatomy of the brow.

Why is Brow Mapping used?
Let's look at a few reasons why Brow Artists love Brow Mapping:
To map brows that will stay forever
Brow mapping is mainly used by Brow Artists who do PMU brows, as they have to be extremely precise. Also, many Brow Artists who use Henna Brows or Brow dye use Brow Mapping for some extra guidance in their process, since the stain will also remain for up to 2 weeks.
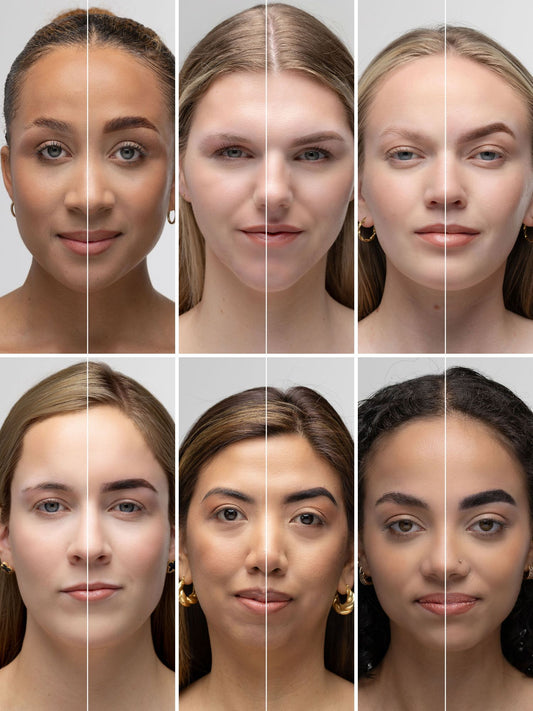
The reason why Brow Mapping is important and why will you love it is that it allows you to make the eyebrows as symmetrical as possible. Especially with PMU, it is a must to have eyebrows that are as symmetrical as possible since they will be visible for a couple of years.
For clients with uneven brows
When a client has very uneven eyebrows and it's hard to restore them into the desired shape before you start tinting, the uneven eyebrows can be accentuated even more after the dye treatment. This is what you want to avoid at all costs. As we all know, brows are usually sisters, not twins.
Brow Mapping will make it easier for you to create sisters. In addition, Brow Mapping is a useful tool to use when you get a client with very challenging eyebrows that don't have a clear shape.
Show clients their future shape
Brow Mapping can also be a good method to show the eyebrow shape you want to create to your client before you start applying Brow Henna, Liquid Dye, or PMU. In this way, you can check with them if this shape meets their expectations.
For new clients, it's always scary to put their brows in your hands. Showing the map can gain some trust with your brow skills, and help them feel confident that their brows will turn out beautifully!
Extra confidence
Especially when you are just getting started with doing brows, Brow Mapping can give you extra confidence that you are creating the right eyebrow shape, and especially to know for sure that you are creating symmetry.
Brow Artists with years of experience usually only need a blink of an eye to create symmetry. But when you’re just starting out, every trick is helpful to grow into a confident Brow Artist. Enroll in our Brow Mapping Course to become a Pro!
What products do you use for Brow Mapping?
For Brow Mapping you can use different products. Below we will show you the 3 most commonly used products in our range:
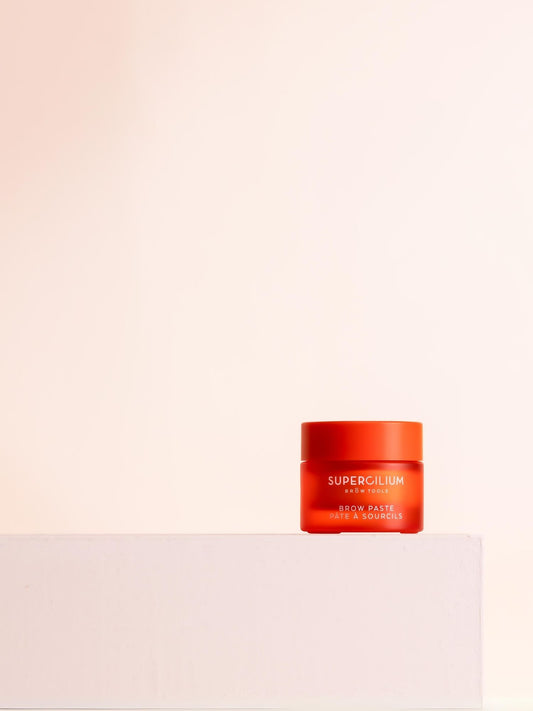
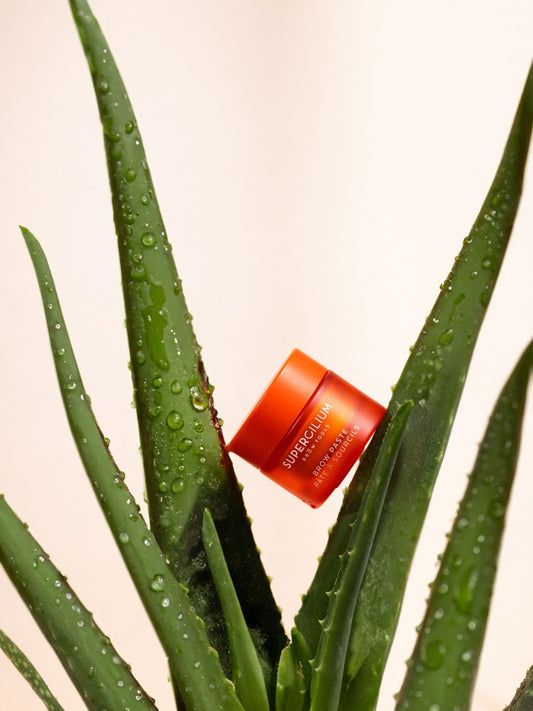
Brow Mapping Paste: This is a super smooth and nourishing paste that you can use with a brush to draw a clear line. The Brow Mapping Paste also serves as a barrier for Brow Henna or Liquid Dye, so the brow tint will stay within the shape and won’t run out. The barrier ensures that the skin outside the desired shape is not colored by the brow tint.
We understand the importance of gentle care, especially around the delicate brow area. That's why our Brow Paste is infused with Aloe Vera! This natural powerhouse soothes, calms, and hydrates the skin, providing a boost of vitamins and amino acids.

Mapping String: This product is ready to use because the Mapping String is already pre-inked. This allows you to easily create straight lines within a hand turn. Ideal if you don't have much time to fully map out the eyebrows.
It’s also nice to first start with the Mapping String, before you apply the Brow Mapping Paste since when a mistake is made, the mapping string is way easier to remove. Once you’re sure about the brow shape, you can do the full mapping with Brow Mapping Paste.
Brow Ruler: With a ruler you can measure the eyebrows as symmetrically as possible. The Brow Ruler comes in 2 different options. A sticker form that you stick to the face or plastic that can be reused with every treatment.
We believe that in combination with the above products you will have all the brow tools needed to create a complete brow map. In our course, our trainer shows you how to use these products together.
Mapping techniques
There are several ways you can use Brow Mapping. Most of them follow the same pattern and that is by following the golden ratio technique. However, we see that everyone adds their own twist to it, and that's totally okay. Every artist has its own tricks, right?
What usually is similar in every technique used, are these 3 basic points that are explained below. These 3 points indicate where the eyebrow should start, where the arch of the brow is, and where the brow ends.
Point 1: Starts on the crease of the nostril, all the way up until your eyebrow. This line is the starting point of your eyebrow.
Point 2: Starts from the side of your nose, right through the iris, to the arch of the eyebrow. The point indicates where the highest part of the brow arch should be.
Point 3: Start at the bottom of the outside corner of the nostril, and draw a line until the outer corner of the eye and a bit up. This should be the endpoint of your eyebrow.

Are you curious about the Supercilium Brow Mapping technique? You can follow our Brow Mapping course here. In this course, our Supercilium Trainer will show you step by step how to map the brows. Also, check our Step-by-step Brow Henna application video on our Youtube channel.
The pros and cons of Brow Mapping
Not yet convinced? As you have already read above, Brow Mapping is very useful to use during brow treatments to create the right shape that fits your client. Below we have made a list of all the pros and cons of brow mapping.
Pros of Brow Mapping
- Helps to create a flawless, symmetrical eyebrow.
- Brow Mapping Paste helps to act as a barrier between the desired brow shape and the skin outside it, which reduces the change of mistakes.
- Gives an indication of the eyebrow shape you want to create on your client and you can show it to them if they like it and continue with the brow treatment.
- Makes applying Brow Henna or Liquid Dye easier since you have already determined the shape through mapping. You only need to fill in the shape. Like coloring!
- Very useful and favorite tool for difficult eyebrows and uneven eyebrows.
- Gives you extra confidence that you are creating the right shape. It's a total game-changer for your brow game!
Cons of Brow Mapping
- Full Brow Mapping takes 5 to 10 minutes, so the treatment takes a little longer. However, once you master this technique, you can get faster and faster!
- You will have to put lines on someone's forehead, and you will also have to take them off. If your clients are wearing makeup, they have to do a touch-up after the treatment. But at least they will have beautiful brows!
- If you make create crooked lines, you will have to start again with your map. That happens even to the best of us.
Our full Brow Mapping range
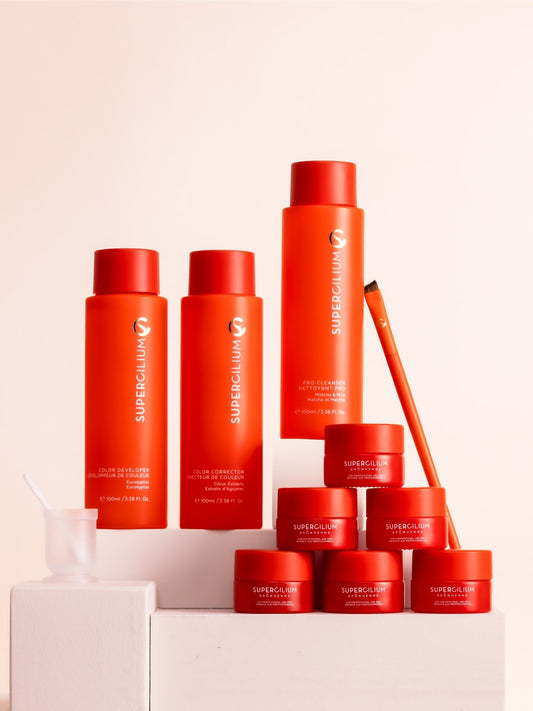
Prefer all the products you need in one kit? Then the Brow Mapping Kit is your best friend! Would you rather have eyebrow Mapping Strings for mapping? You can find that handy tool here.
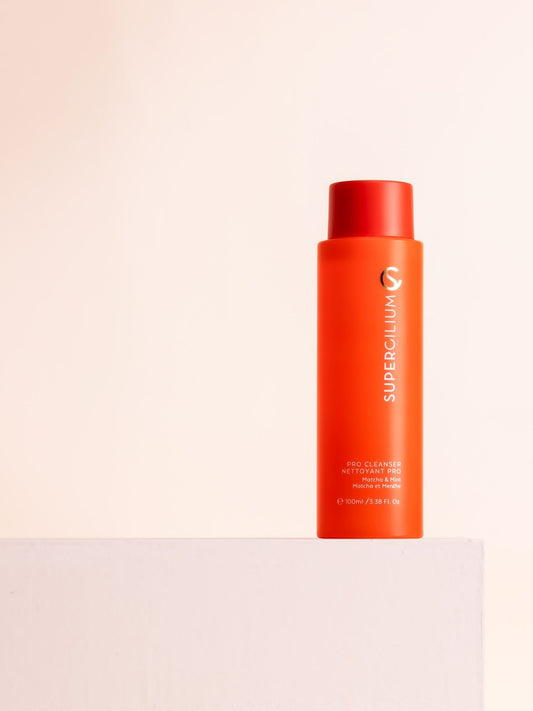
The Pro Cleanser is the ideal cleanser to get Brow Mapping lines off the face. Make sure you always have it by hand. And if you don't have it in stock, we always do!
For Brow Mapping we have two great Brow Brush options available:
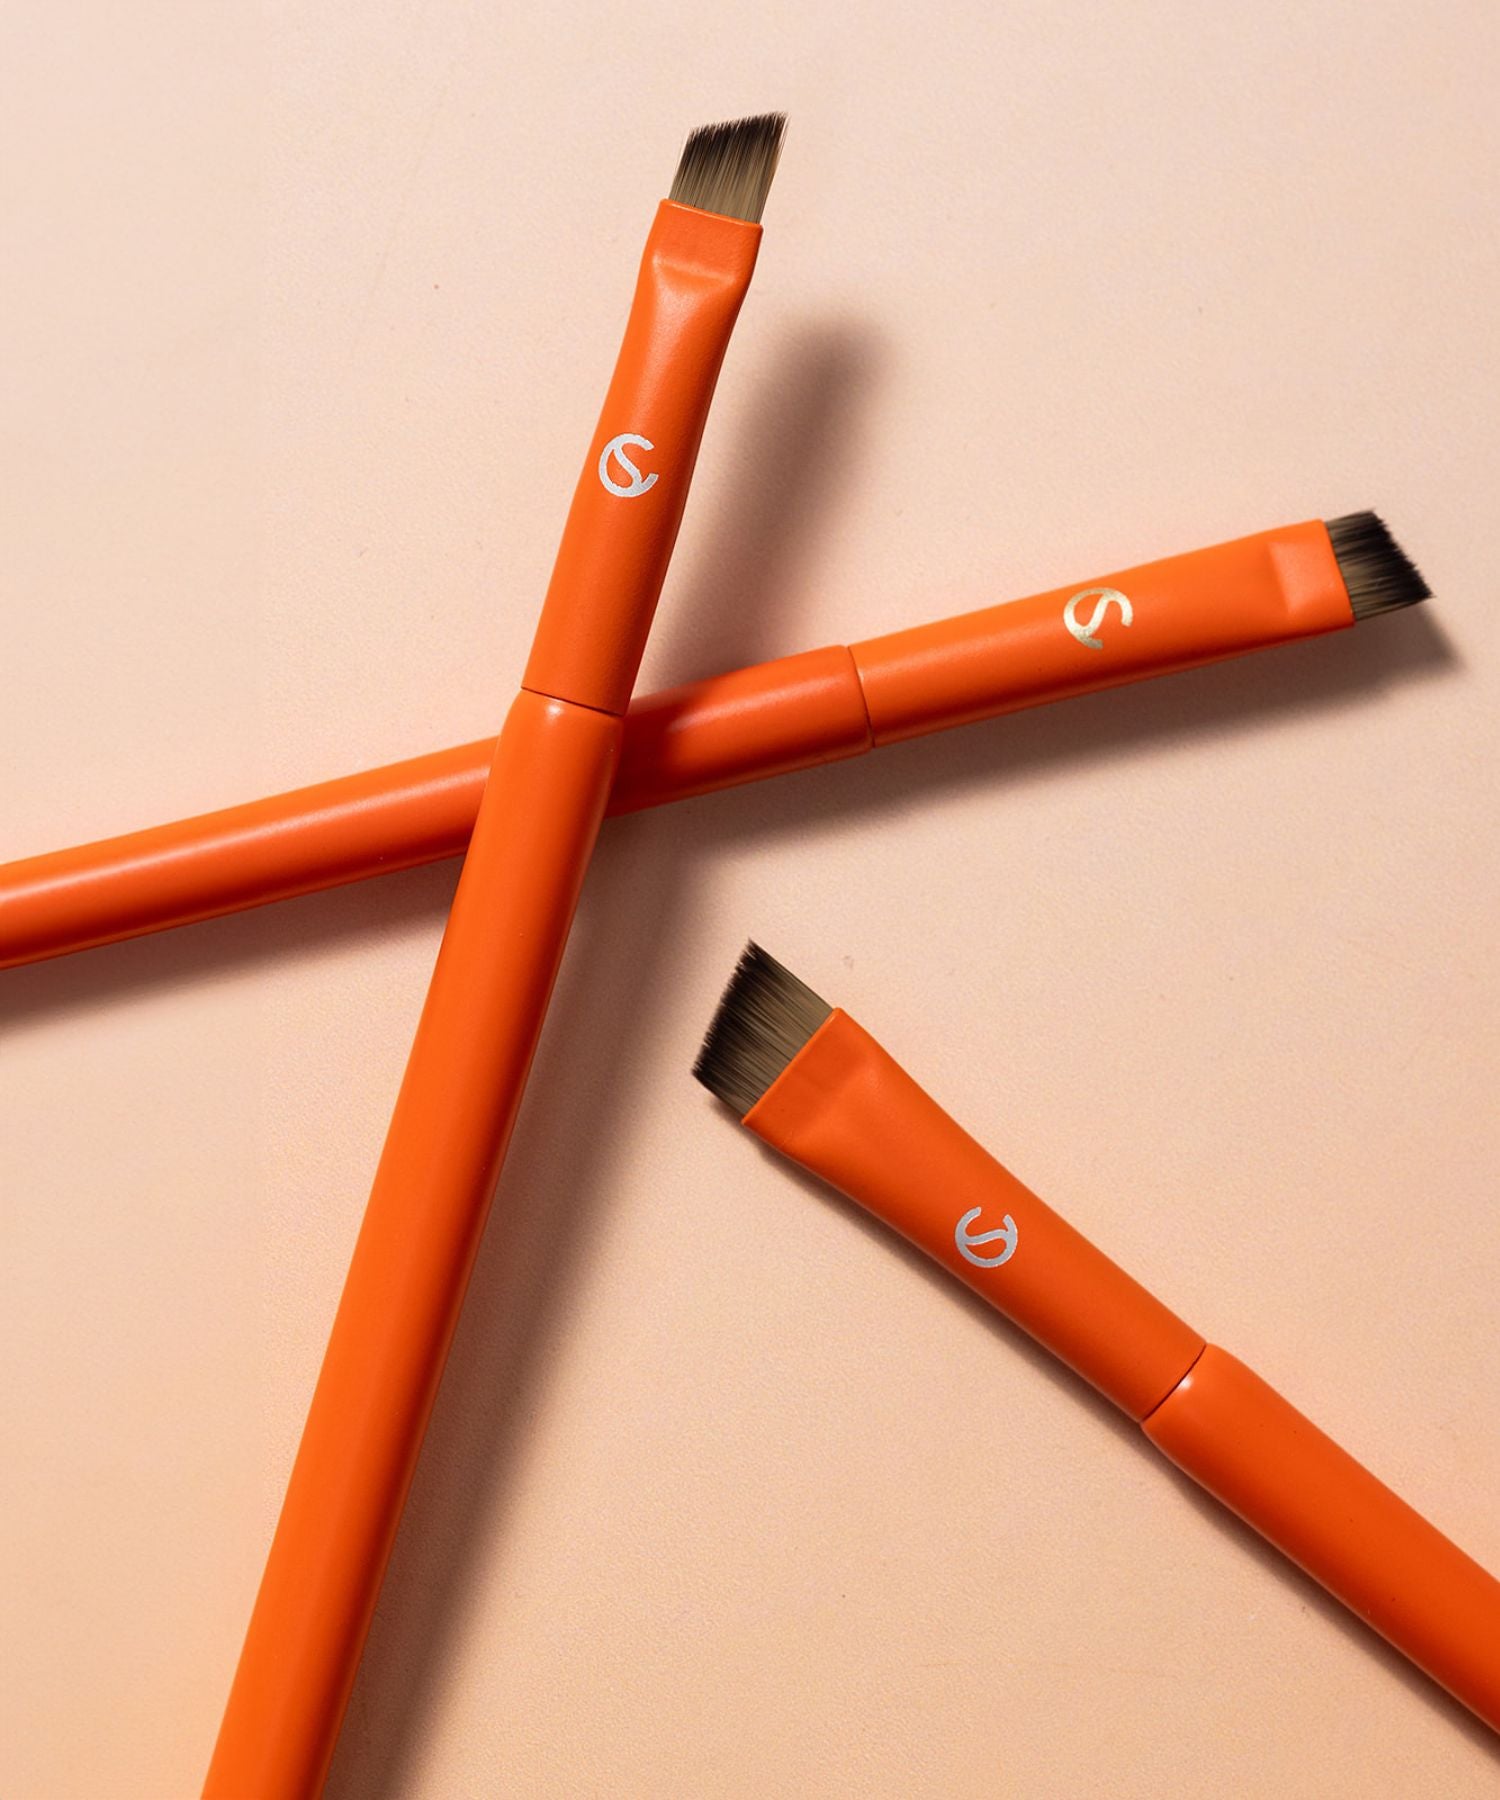
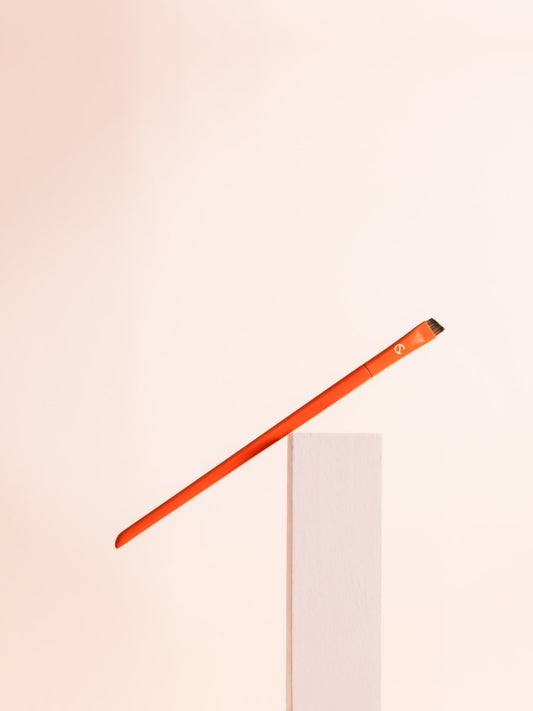
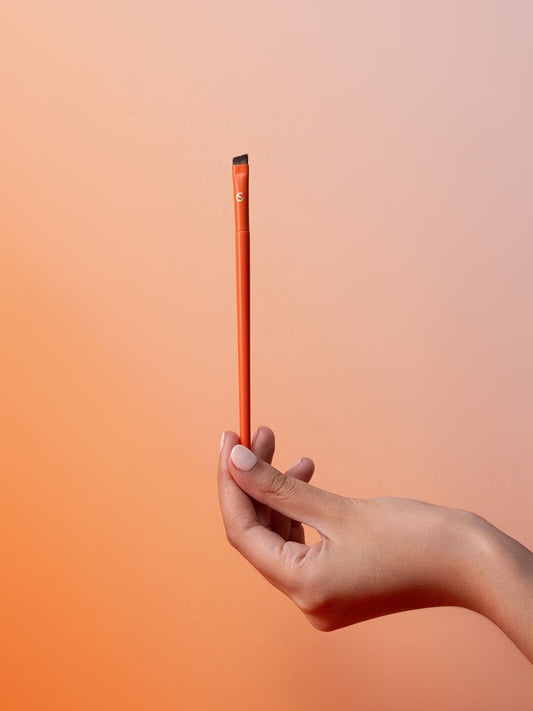
- The Concealer Brush is an ideal Brow Brush to apply Brow Paste. This is because this Brow Brush is wider than the Medium Angled Brush and allows you to easily apply the paste.
- Prefer the smaller one? The Medium Angled Brow Brush is our forever favorite when it comes to doing brows. Perfect for Brow Paste as well as for applying Brow Henna & Liquid Dye.
Brow Mapping is just the beginning! Learn more in our Certified Brow Mapping Course. For the perfect application, don't miss our guide to the 3 best Brow Brushes for Brow Henna and Liquid Dye – after all, the right tools make all the difference! Happy brow artistry, and good luck creating stunning brows for all your clients!

