


Brow Lamination in 3 steps: The complete guide for the best results
written byŽaneta Mlčáková
In This Article
What is Brow Lamination?
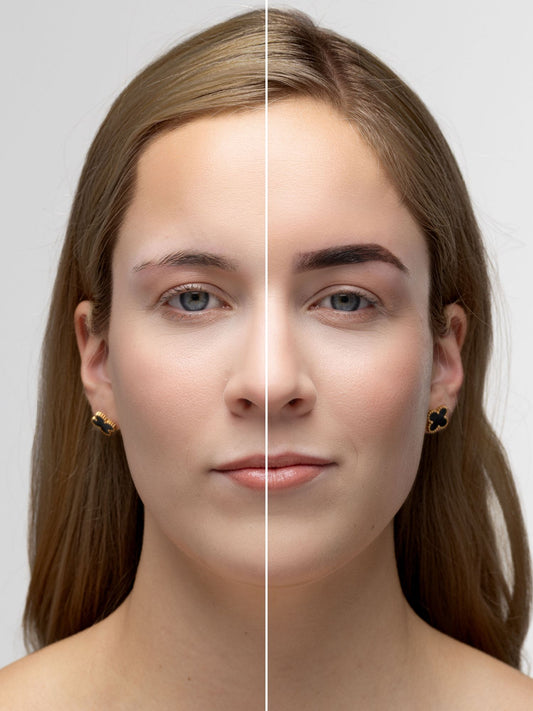
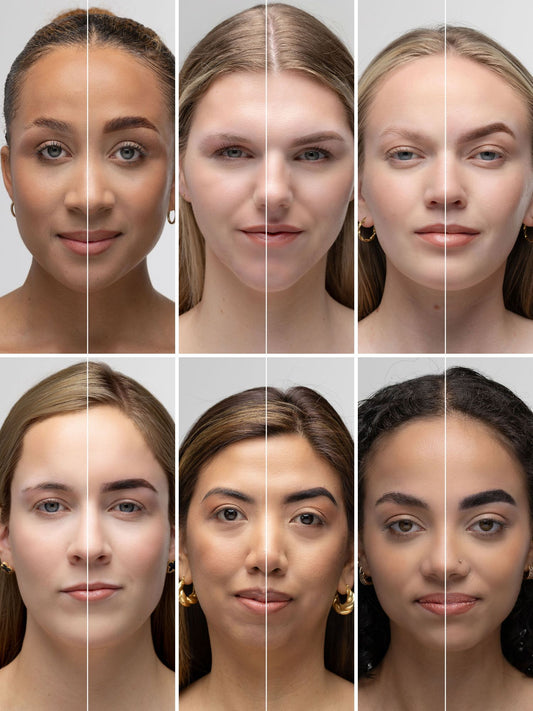
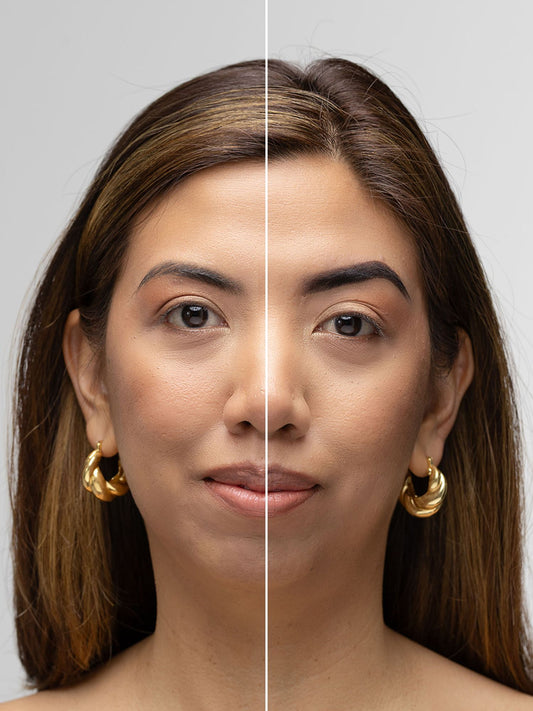
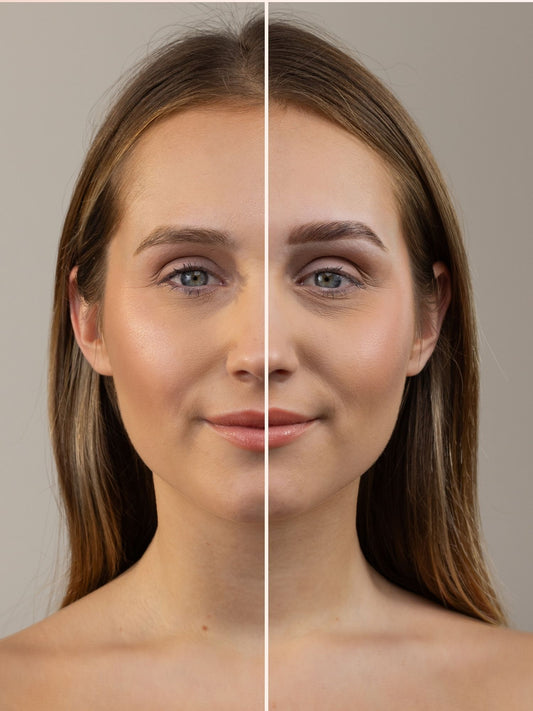
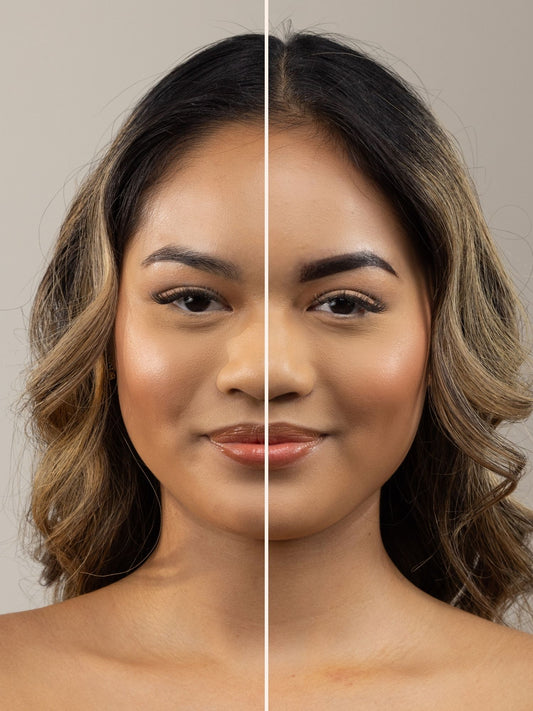
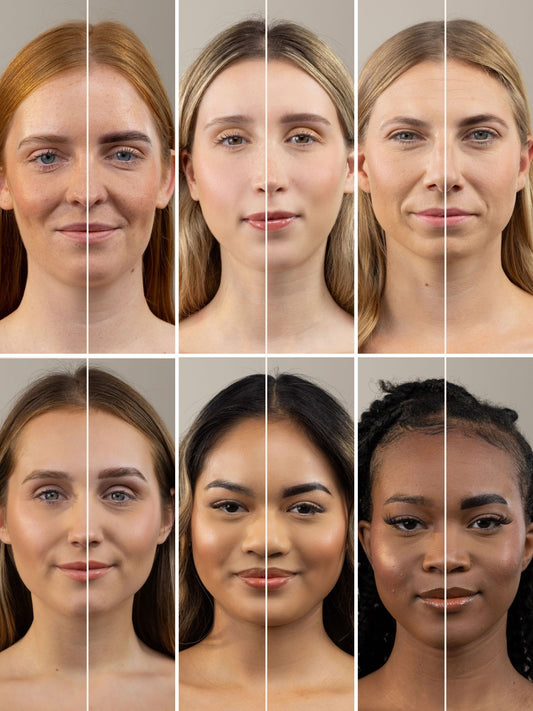
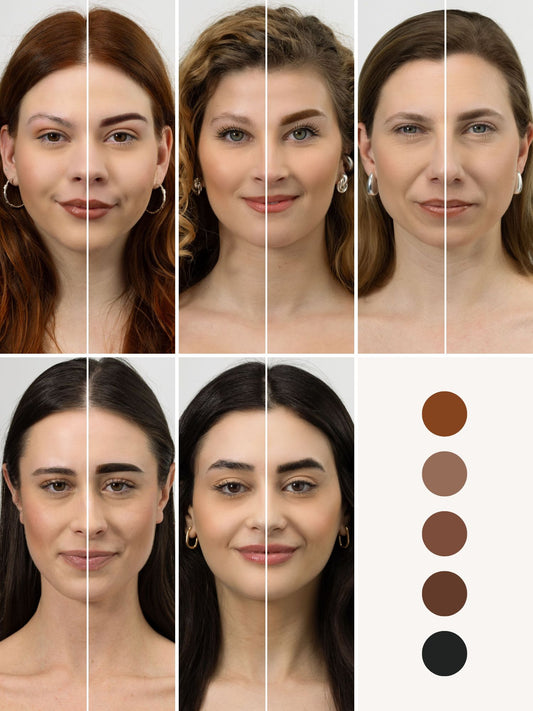
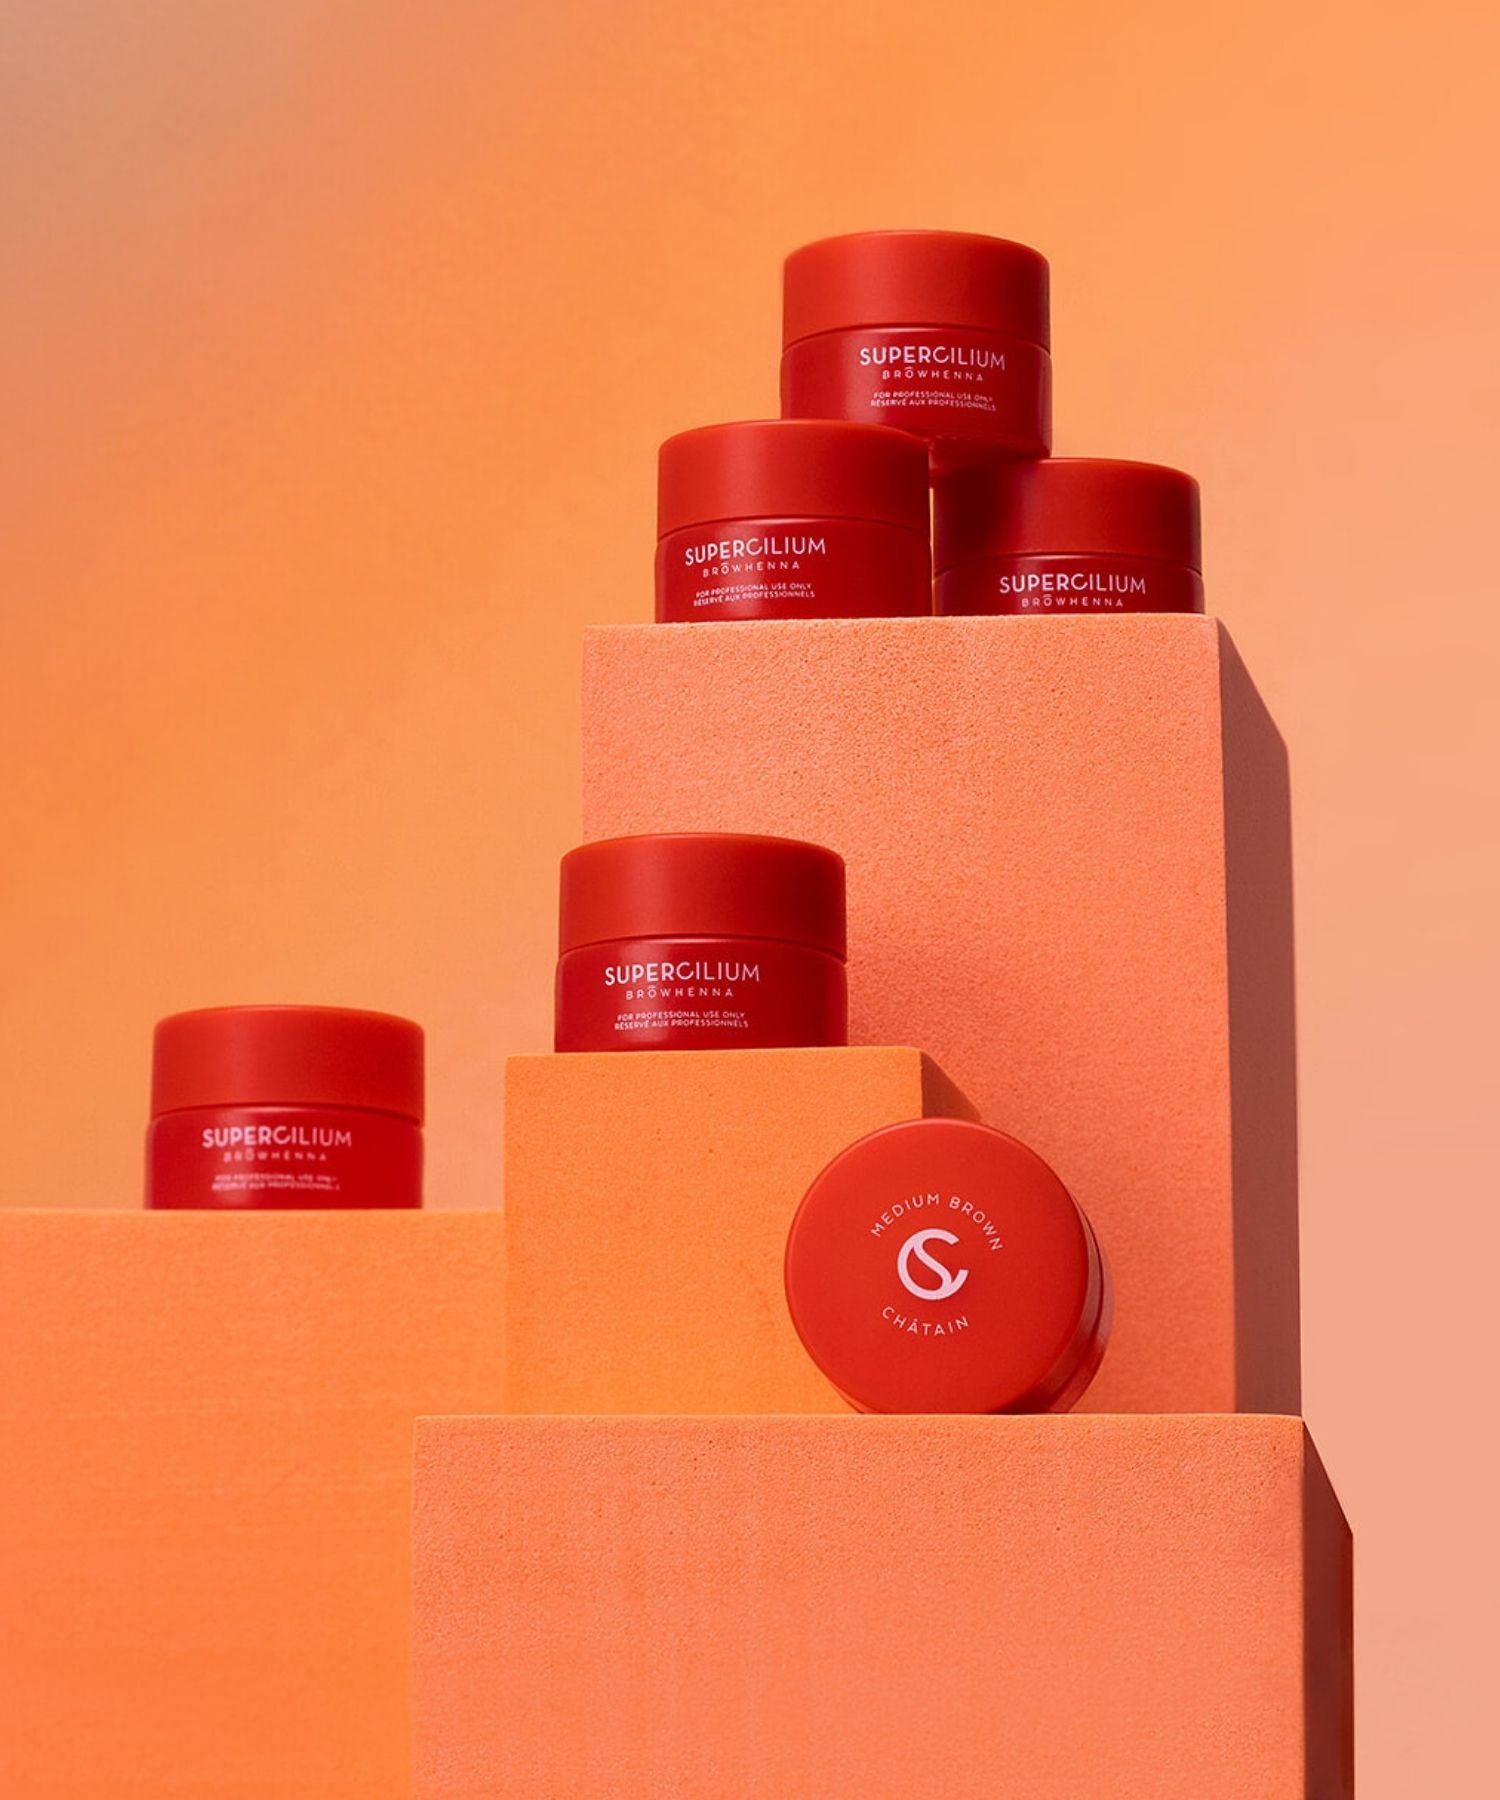
Brow Lamination ↗ is a professional treatment that restructures the brow hairs, allowing you to change their direction and create a fuller, more defined shape. By softening the hair structure and setting it into place, you can achieve lifted, symmetrical brows that stay styled for weeks. It’s the perfect solution for clients with unruly, downward-growing, or uneven brows who want a clean, polished look without daily effort.
Key benefits of Brow Lamination:
- Long-lasting results: keeps brows in shape for up to 8 weeks with minimal maintenance
- Fluffy, fuller-looking brows: creates volume and fills gaps without adding extra hair
- Healthy shine: when done correctly (with all 3 steps), brows look soft, nourished, and glossy
Why clients love Brow Lamination
It’s not just a trend - Brow Lamination has become a go-to treatment because it solves real client struggles:
Perfect solution for thin eyebrows
Clients with sparse or thin brows often struggle to create fullness, even with makeup. Brow Lamination works by lifting and repositioning each hair, making the brows appear instantly fuller without adding extra product.
Low maintenance, long hold
One of the biggest reasons clients love Eyebrow Lamination is how easy their routine becomes! Once the brows are set, they stay in shape for weeks, meaning there’s no need for daily brow soaps or gels.
Clean, sleek finish
Brow Lamination creates that smooth, brushed-up look that instantly makes the face appear more put together. Whether the client prefers a fluffy or more controlled style, the result always looks neat, defined, and professionally finished.

Is Brow Lamination easy?
Brow Lamination might look like a quick and simple treatment, and once mastered, it can be! But in reality, it’s a chemical process that requires proper technique, timing, and understanding of the hair structure to get consistent, high-quality results. That is why we never recommend doing Brow Lamination at home.
For Brow Artists, the application itself becomes easier with experience, but the key lies in knowing how to adapt the treatment to different brow types. Everything is explained in the Certified Brow Lamination Course ↗.
Correct product application and timing
- Brushing and shaping during processing
- Following all 3 steps of Brow Lamination, not just 1 and 2
- For clients, it’s the opposite - it is easy. That’s exactly why they love it! Once the treatment is done, their brows stay in place for 8 weeks with almost no effort, giving them a polished look without daily styling.
How to do Brow Lamination: Step by Step
Before starting any Brow Lamination treatment, it’s important to work safely and professionally. Always perform a patch test ↗ at least 48 hours before the treatment to avoid any allergic reactions and ensure your client’s skin responds well to the products.
Once that’s done, you can follow the full 3 step Brow Lamination process. Timing is key here, so always adjust based on the hair type instead of following one standard time for every client.

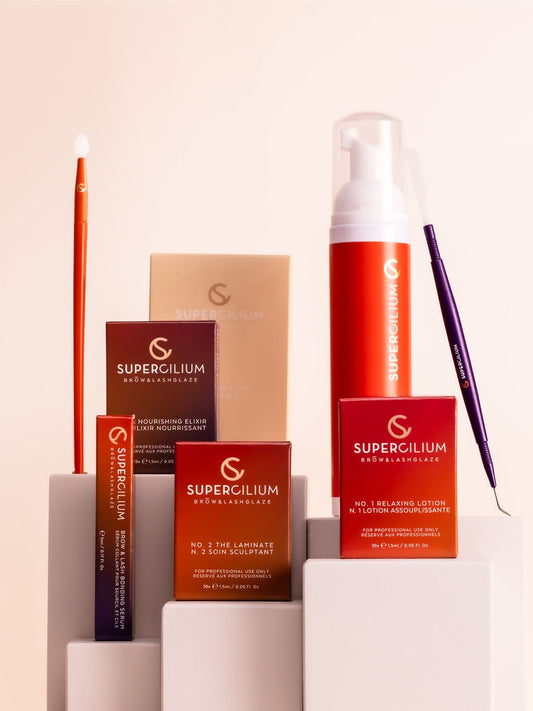
Step 1: Relaxing Lotion (Lifting Step)
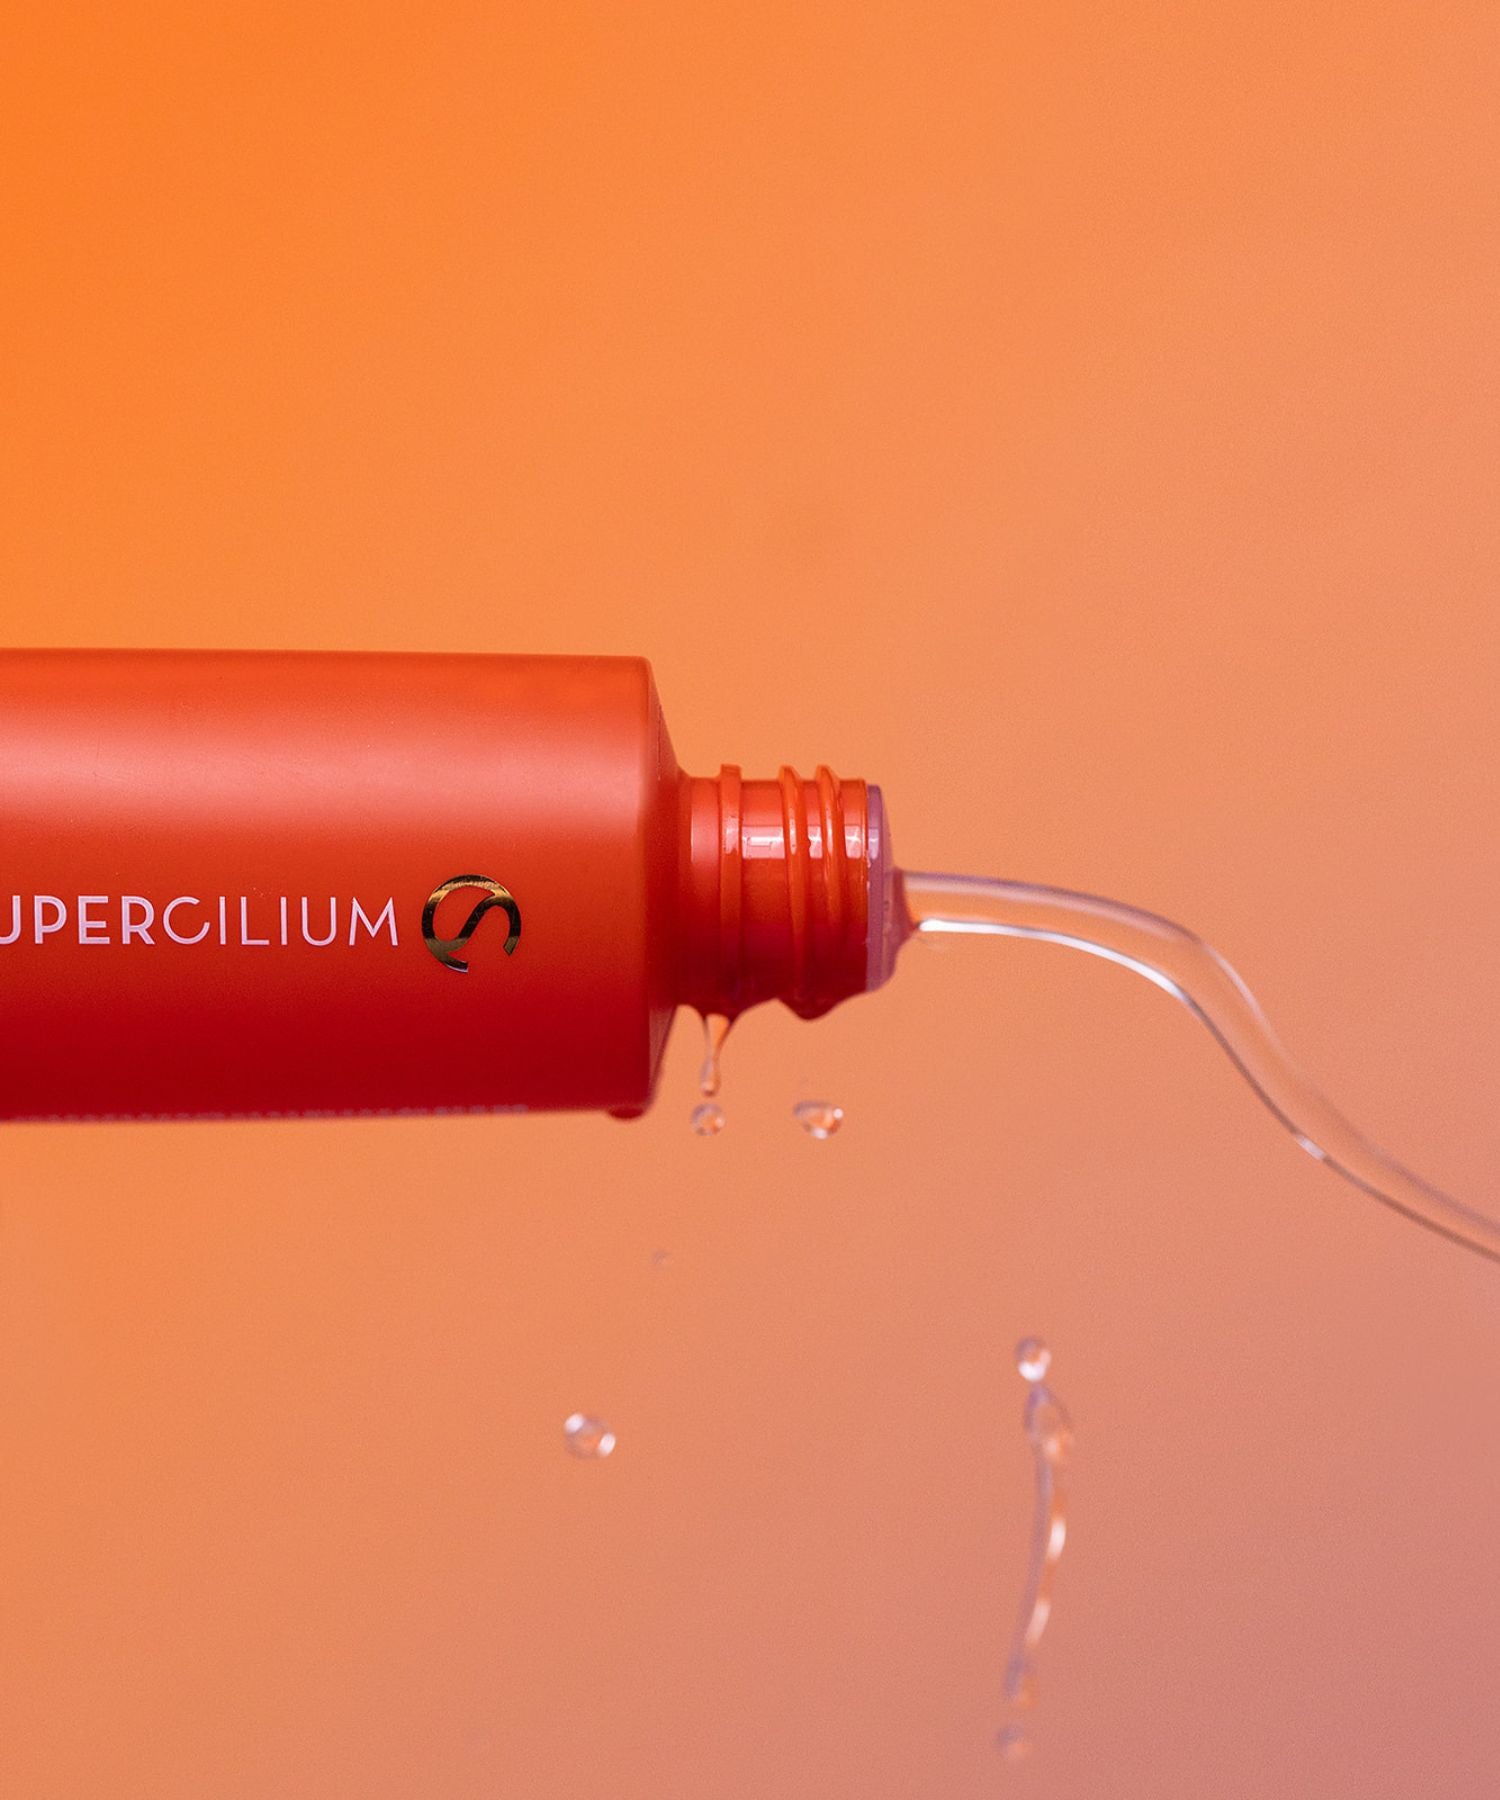
This step softens the hair structure, allowing you to reshape the brows. Apply No. 1 Relaxing Lotion ↗ evenly and monitor the processing time carefully:
- Very fine brows: 3–4 minutes
- Fine or tinted brows: 4–5 minutes
- Natural healthy brows: 5–6 minutes
- Coarse healthy brows: 6–7 minutes
During processing, gently brush the brows into the desired shape to guide the final result.

Step 1. Applying Relaxing Solution
Step 2: The Laminate (Fixing Step)
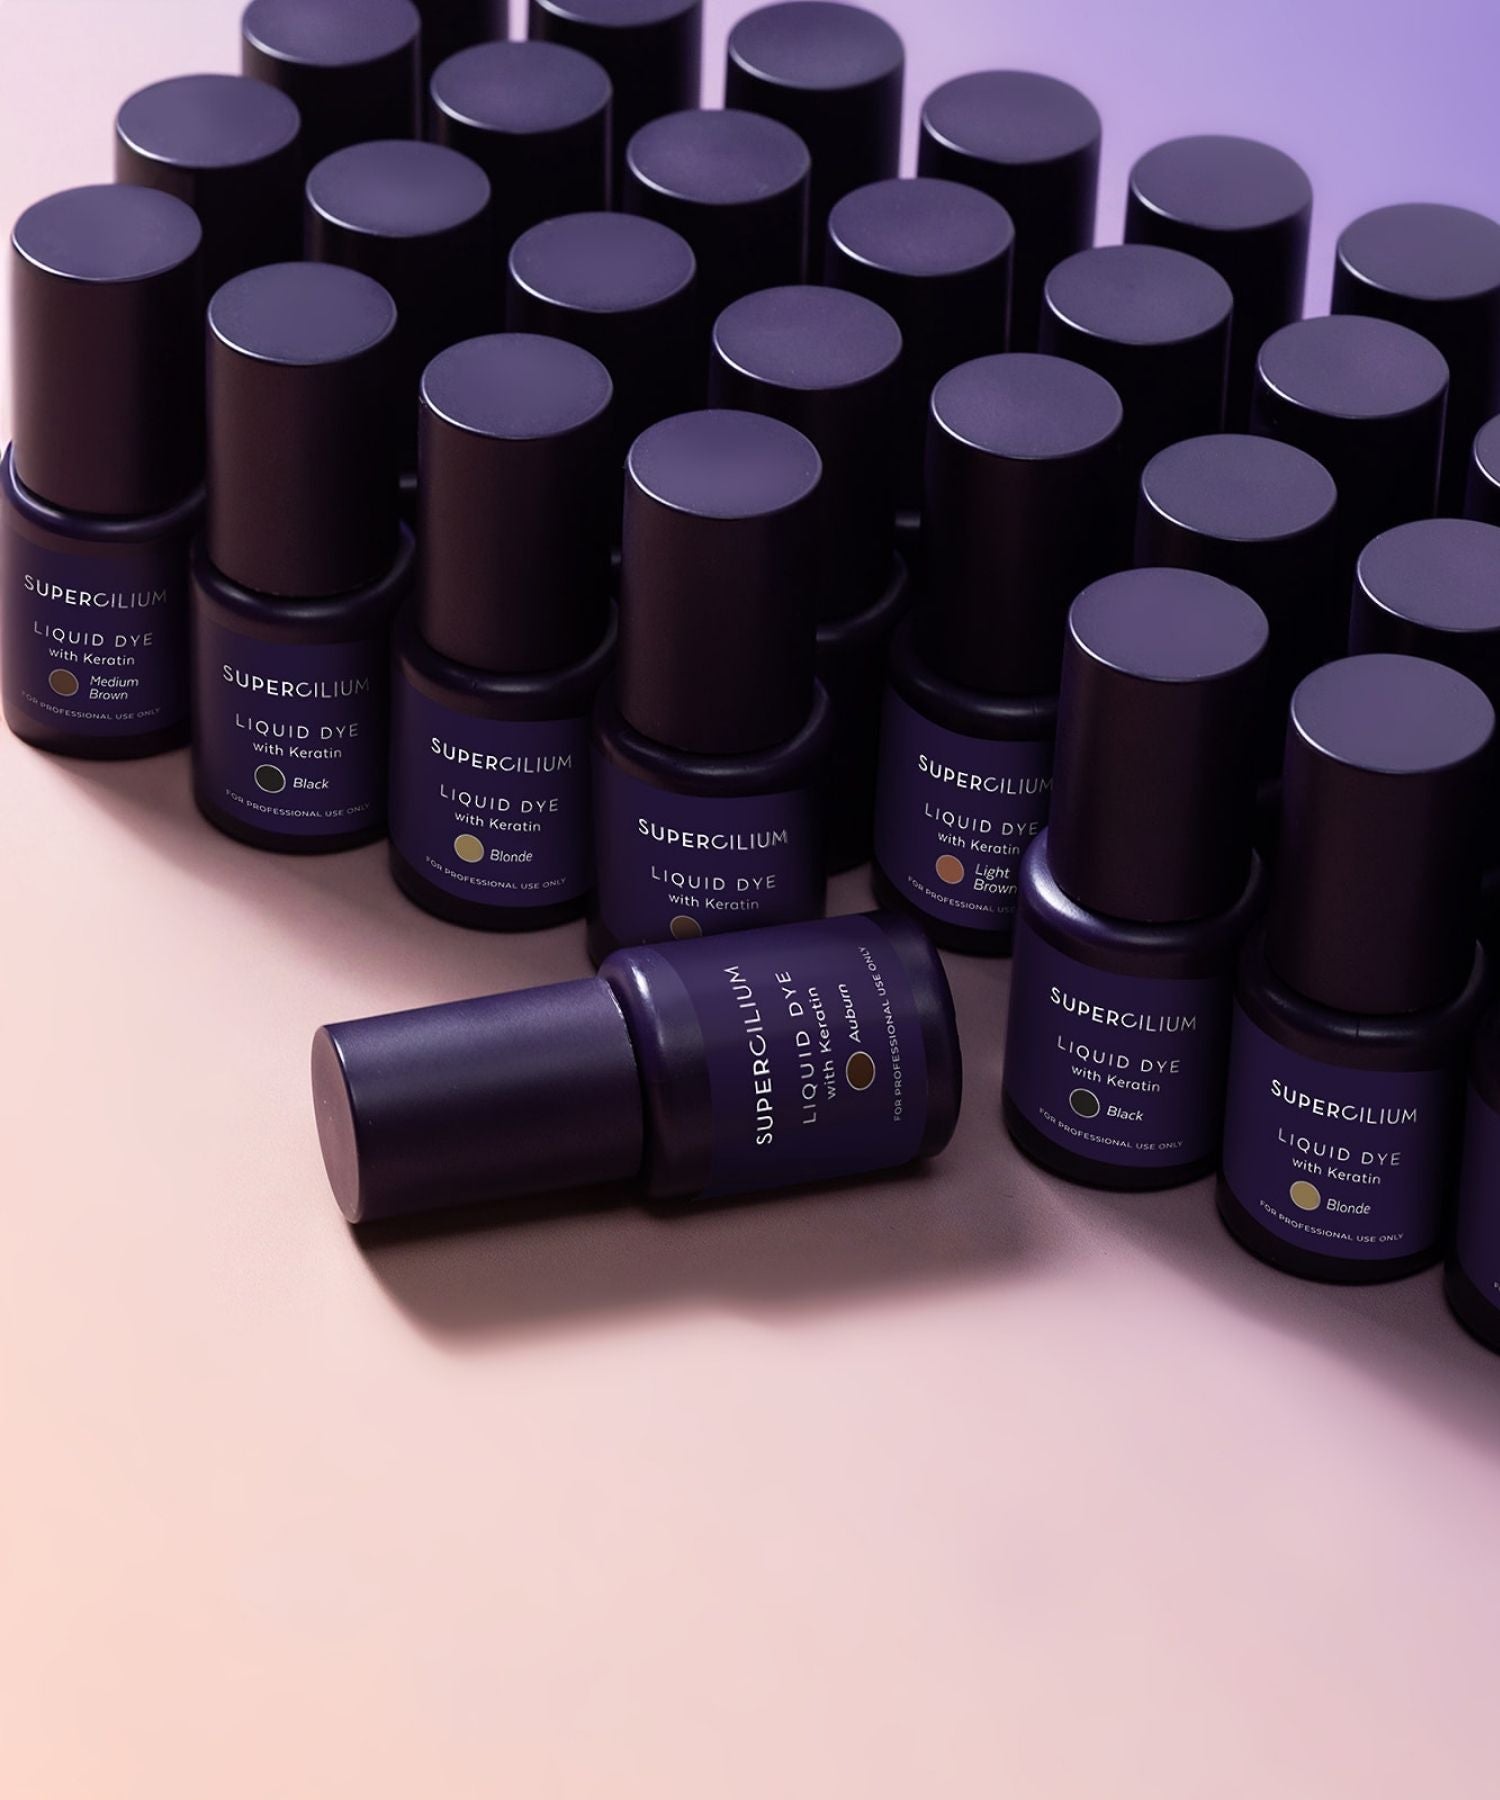
After removing step 1, apply No. 2 The Laminate ↗ to fix the hairs into their new position. This step rebuilds the bonds and locks the shape in place.
- Very fine, fine, and tinted brows: 5 minutes
- Natural, healthy, and coarse healthy brows: 6 minutes
Make sure the brows are styled exactly how you want them before and during this step, as this is what sets the final look.

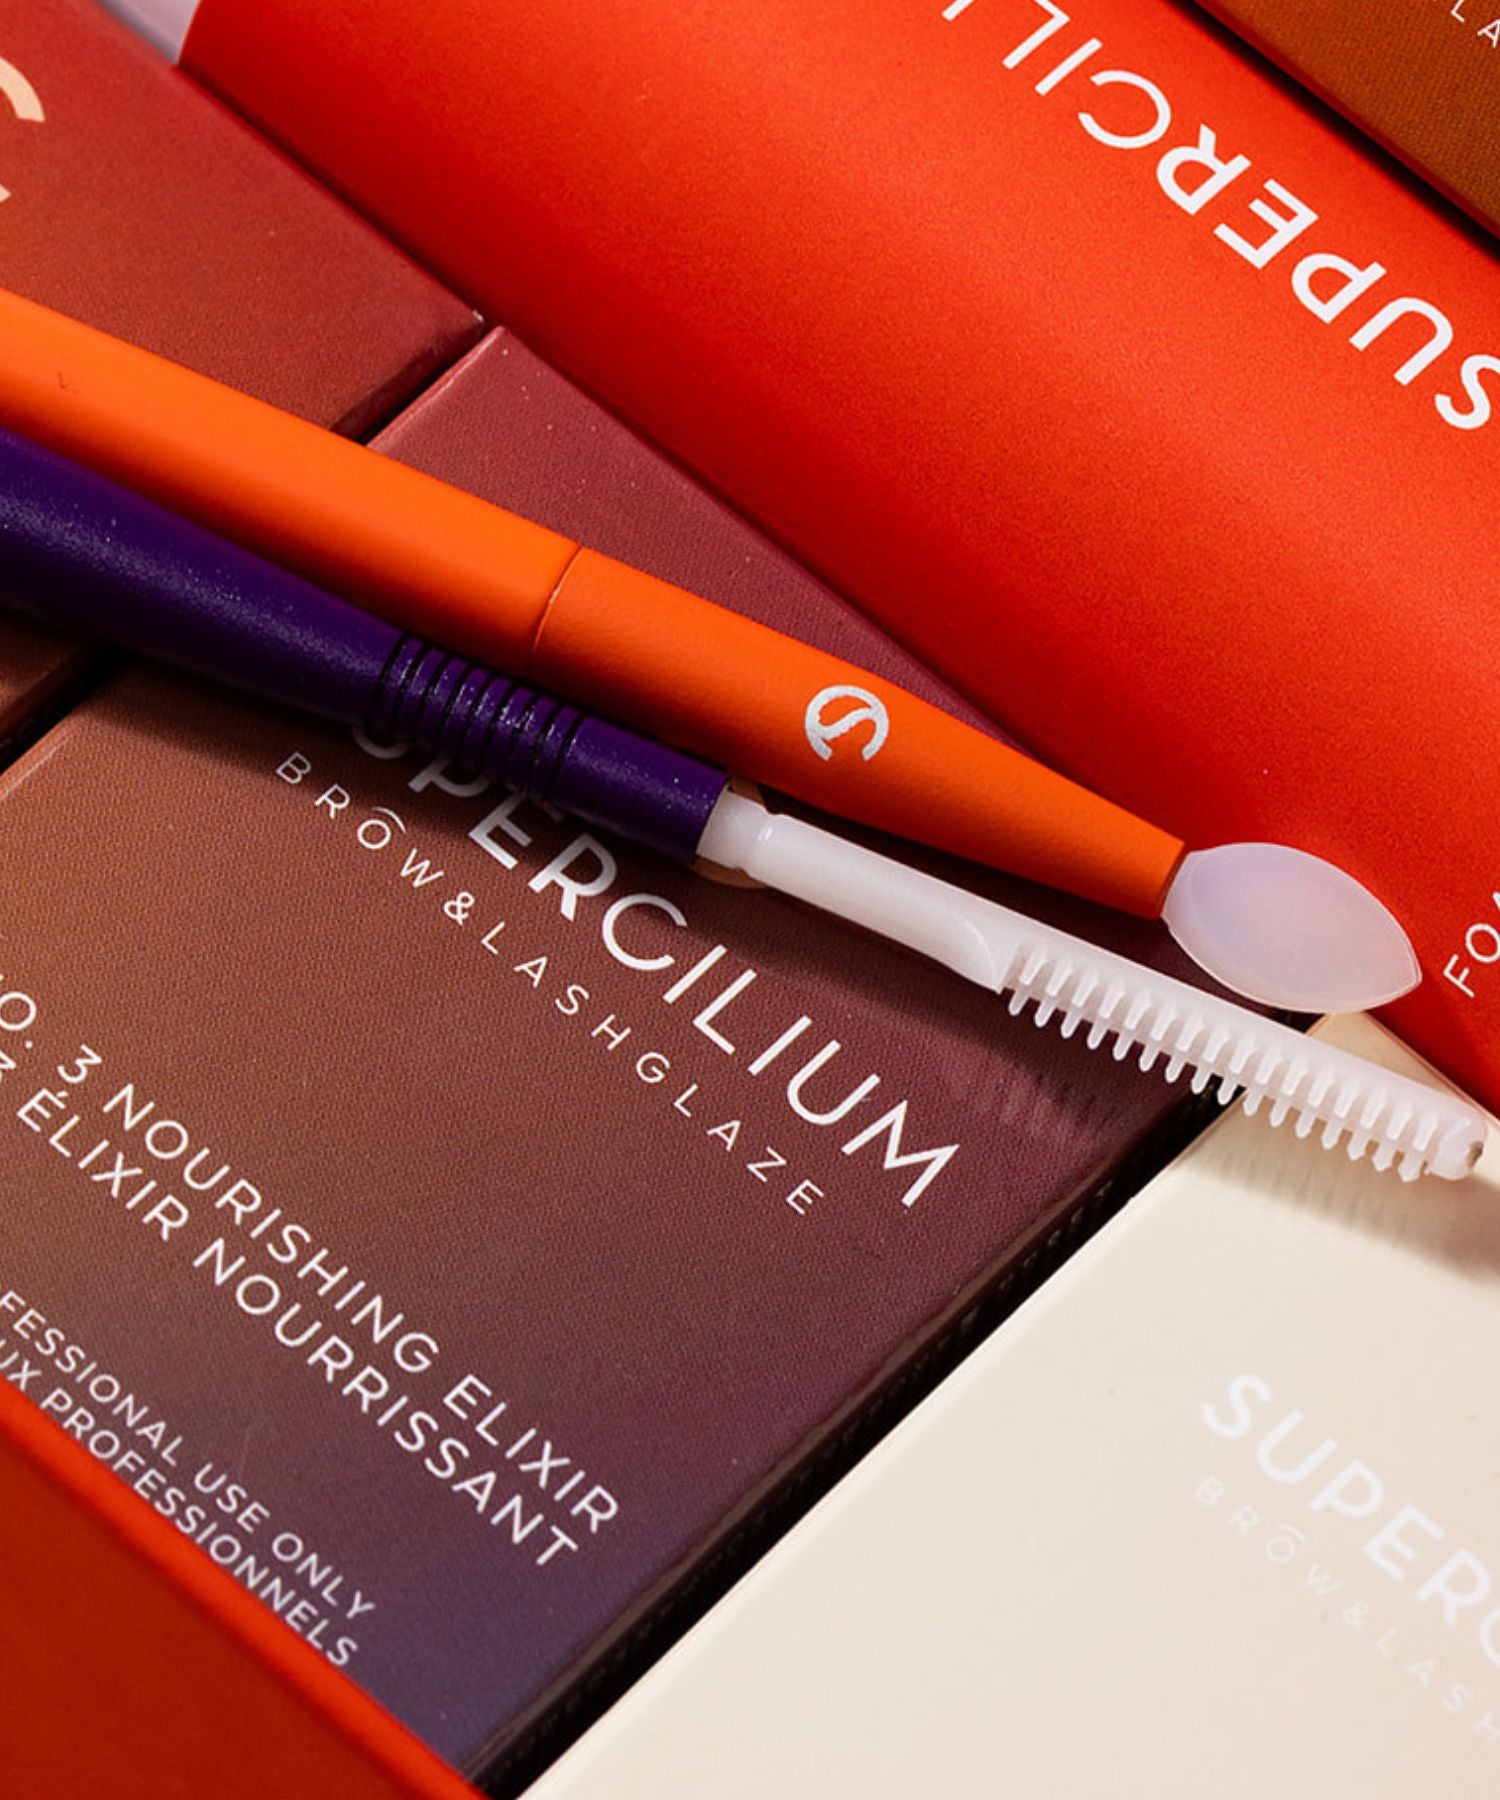
Step 3: Nourishing Step (Do Not Skip)
The final step ↗ restores moisture, strengthens the hair, and protects the brows after the chemical process. Skipping this step can lead to brittle hairs and shorter-lasting results, so always finish the treatment properly.
What makes this step so important is the combination of ingredients that actively repair and calm the brows:
- Aloe Vera: deeply hydrates and soothes the skin and hair after processing
- Arnica: helps calm redness and irritation, making it perfect post-treatment
- Rosemary: supports hair health and adds natural shine
Together, these ingredients act like a recovery treatment for the brows, helping them bounce back after the chemical steps. The result is not just styled brows, but healthy, flexible hairs that feel soft and look glossy.
This step also brings additional benefits that your clients will notice immediately:
- Deep hydration & repair after the treatment
- Healthier, stronger brow hairs
- Longer-lasting lamination results
- A smooth, polished finish instead of dry or frizzy brows
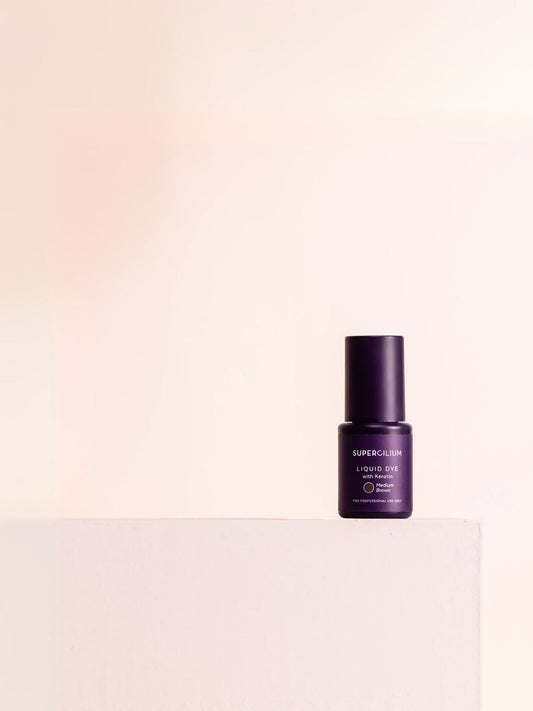
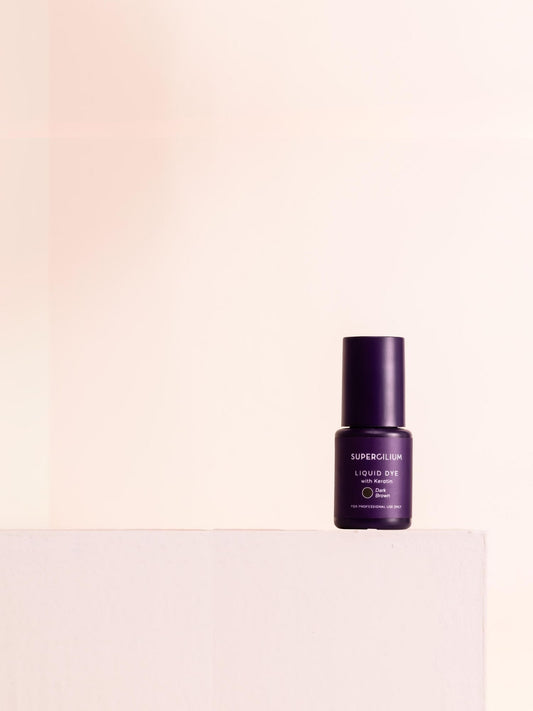
It can even be used beyond Brow Lamination - for example, to protect the brows before a Liquid Dye ↗ treatment or as an extra nourishing step after treatments.

Step 3. Applying Nourishing Elixir
Lash Lamination timing overview
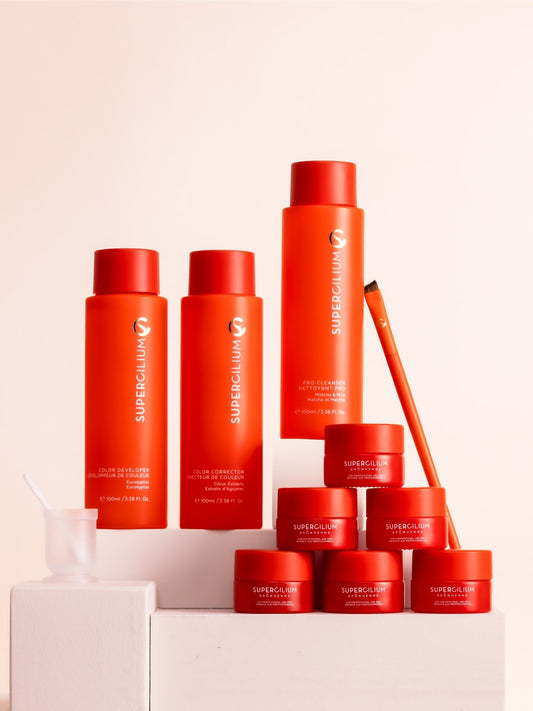
If you also perform Lash Lamination (our Brow Lamination Kit ↗ has a dual function), here are the recommended processing times:
Lashes – Step 1 (Relaxing Lotion):
- Very fine lashes: 4–5 minutes
- Fine or tinted lashes: 5–6 minutes
- Natural healthy lashes: 6–8 minutes
- Coarse healthy lashes: 8–10 minutes
Lashes – Step 2 (The Laminate):
- Very fine, fine, and tinted lashes: 5 minutes
- Natural, healthy, and coarse healthy lashes: 6 minutes

Want to improve your Eyebrow Lamination results?
The easiest way is to enroll online in the Certified Brow Lamination Course ↗ and truly master the full 3-step process. Whether you’re just starting or looking to refine your technique, this course will help you create consistent, healthy, and long-lasting results your clients will love.
Why should you enroll:
- Two certifications in one: Become certified in both Brow Lamination and Lash Lamination
- Fully online learning: Study anytime, anywhere, at your own pace
- Taught by industry experts: Learn proven techniques from professional trainers
- Lifetime access: Revisit lessons and refresh your skills whenever you need
- Complete training: Covers both theory and hands-on application step by step