


Can You Combine Brow Henna with Brow Lamination?
written byNicole Domingues
In This Article
The Hair Science: Why They Simply Don't Mix
To understand why this combination is a major beauty fail, we have to look closely at the structural and chemical changes happening inside the hair shaft during both treatments.
What Brow Lamination does to the hair
Brow Lamination↗ relies on strong, highly alkaline chemical lotions to open up the protective hair cuticle and break down the internal disulfide bonds. These bonds are what give the hair its natural structure, wave pattern, and direction. Once the bonds are broken down in Step 1↗, the hair is brushed into its new, fluffy shape, and Step 2↗ (the Laminate) steps in to rebuild those bonds in their new position. Even after a perfect lamination service, the hair cuticle remains slightly sensitive, highly porous, and highly receptive to external substances for the first 24 to 48 hours.
What Henna does to the hair
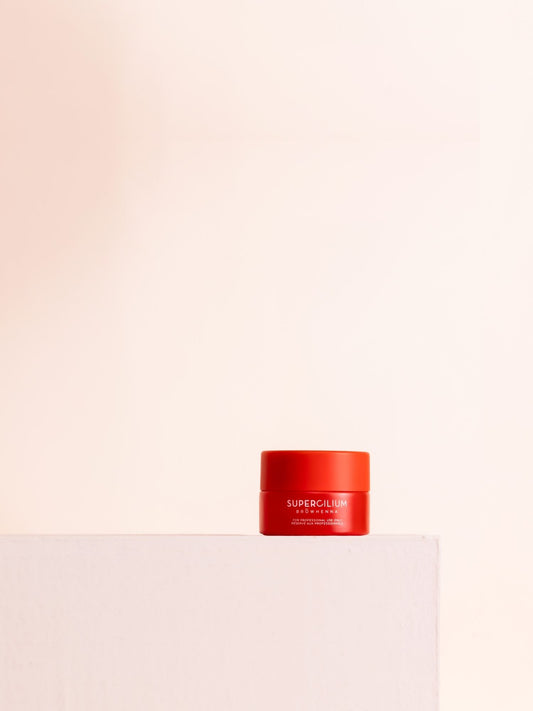
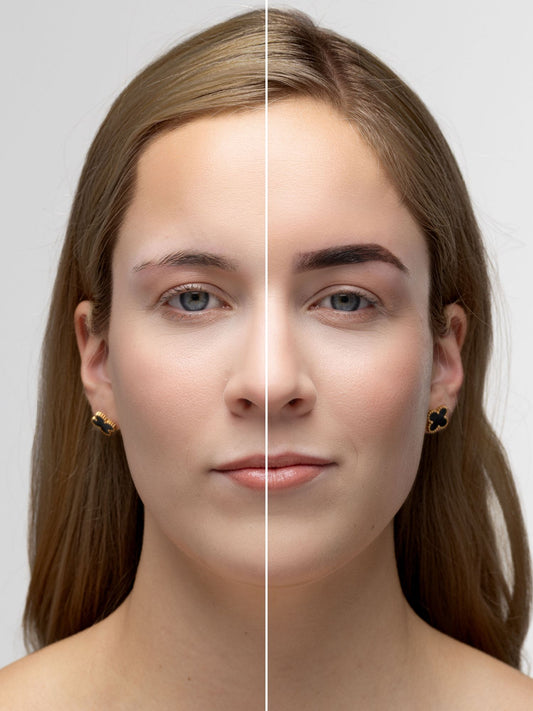
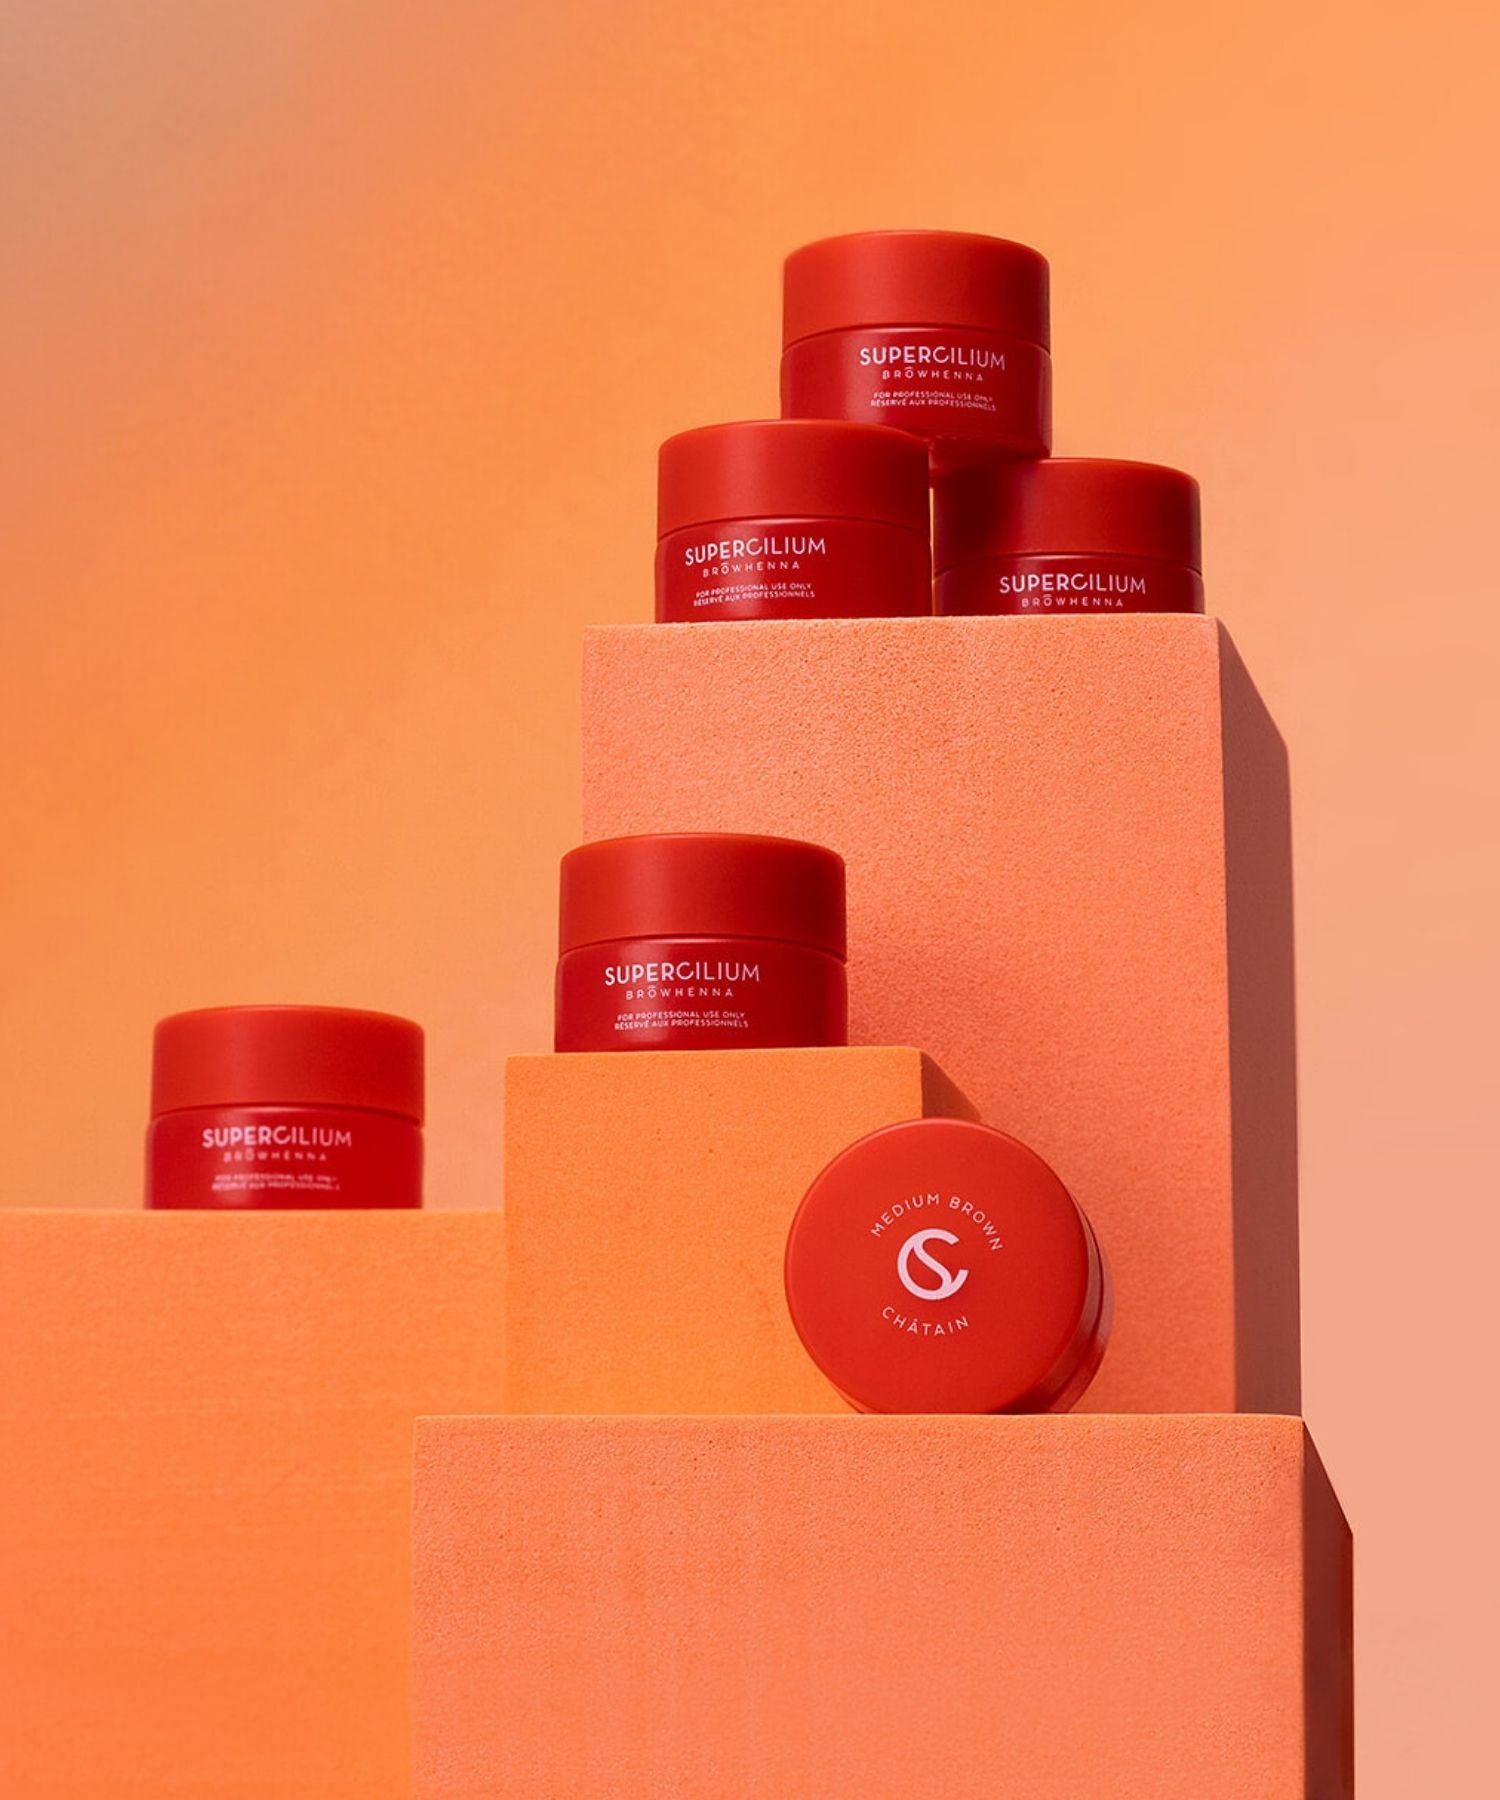
Traditional Brow Henna↗ works completely differently from standard chemical tints. Henna is a dense, protein-binding pigment that coats the outside layer of the hair shaft, locking onto the hair's natural keratin structure to make it look thicker and darker. To do this effectively, henna requires a specific, moisture-rich environment to develop its rich skin stain and deep hair coating.
The chemical collision
When you apply a heavy load of traditional Brow Henna directly onto hair that has just been chemically laminated, you create a chemical conflict. The open, highly porous hair cuticles swallow the heavy henna pigments too rapidly, leading to a protein overload. This causes the brow hairs to become completely rigid, brittle, and dry.
The result? The hair shaft literally snaps off at the root. Your client could experience severe hair breakage, singed frizzy tips, or intense skin irritation and chemical burns on fair, sensitive facial skin.

How long to wait between the treatments?
If your client is absolutely obsessed with the look of traditional brow henna but refuses to give up their fluffy lamination, you should educate them on the strict safety timelines required by professional standards.
You can absolutely perform both services on the exact same client, but you must space them at least 20 to 24 days apart to protect hair health.
-
The Schedule: Book your client for their Brow Lamination↗ first. Let their brows sit, recover, and undergo their natural hair growth cycle for roughly three weeks. Once the hair bonds have fully stabilized, natural lipids have returned, and the hair cuticles have naturally closed back up, they can safely return to your chair for a gorgeous, deep Brow Henna↗ application.
What dye can I combine with Brow Lamination?
What if your client doesn't want to wait three weeks? What if they want that ultra-defined skin stain and that fluffy, laminated lift during the exact same appointment?
As a master Brow Stylist, you have a secret weapon: Liquid Hybrid Dye.
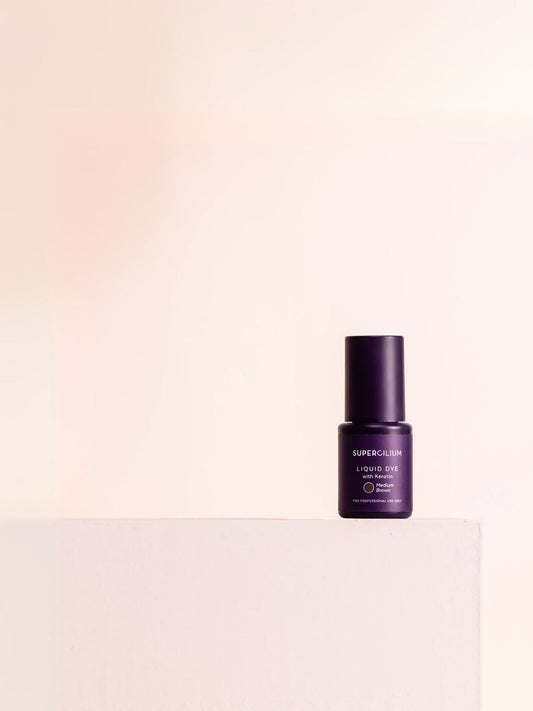
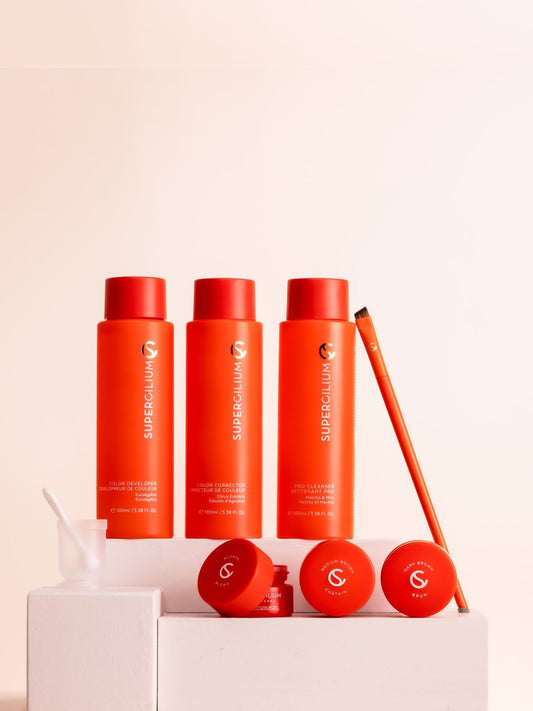
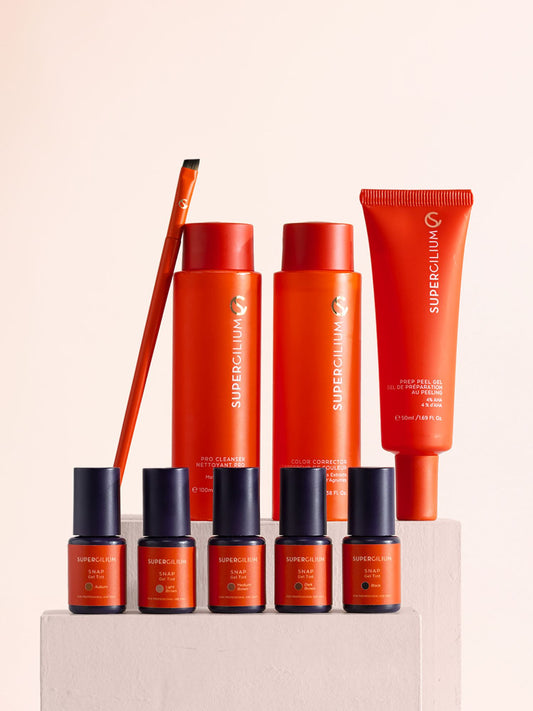
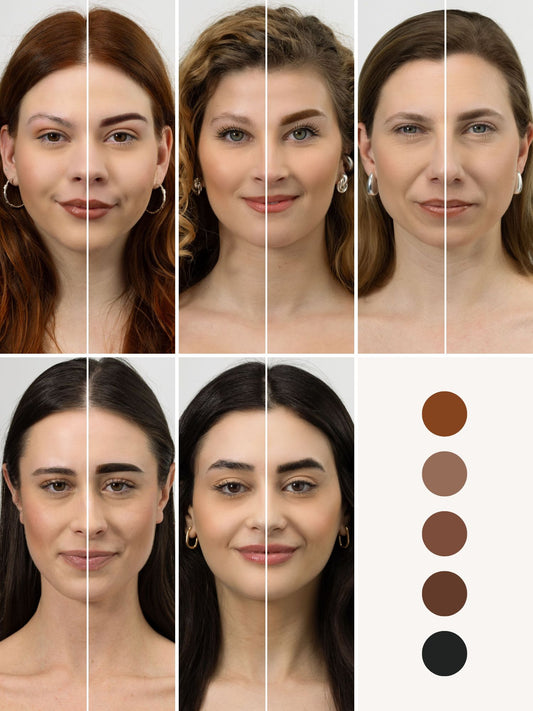
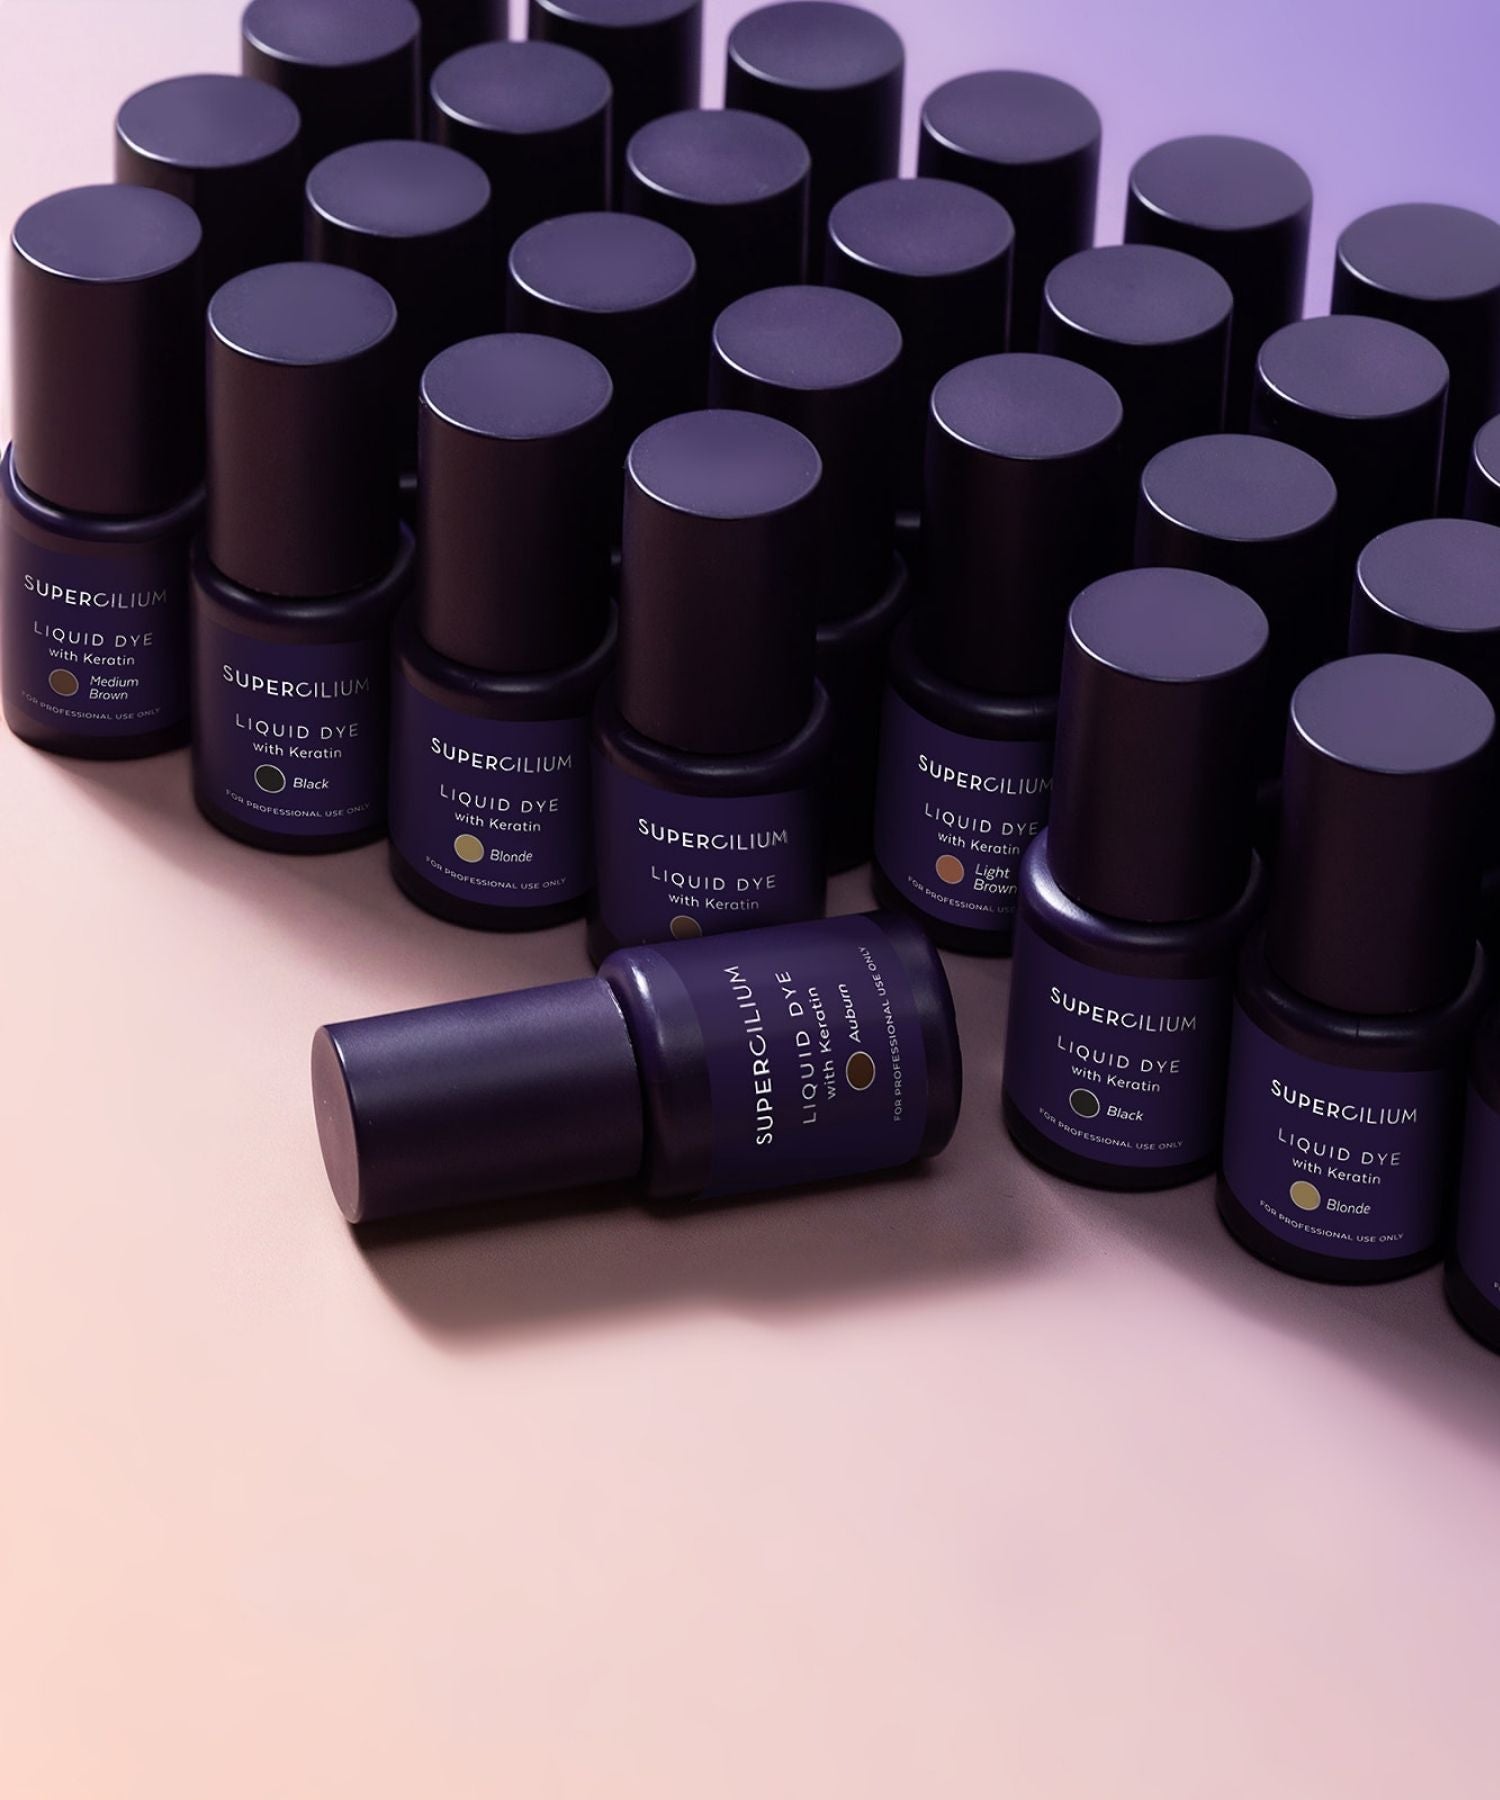
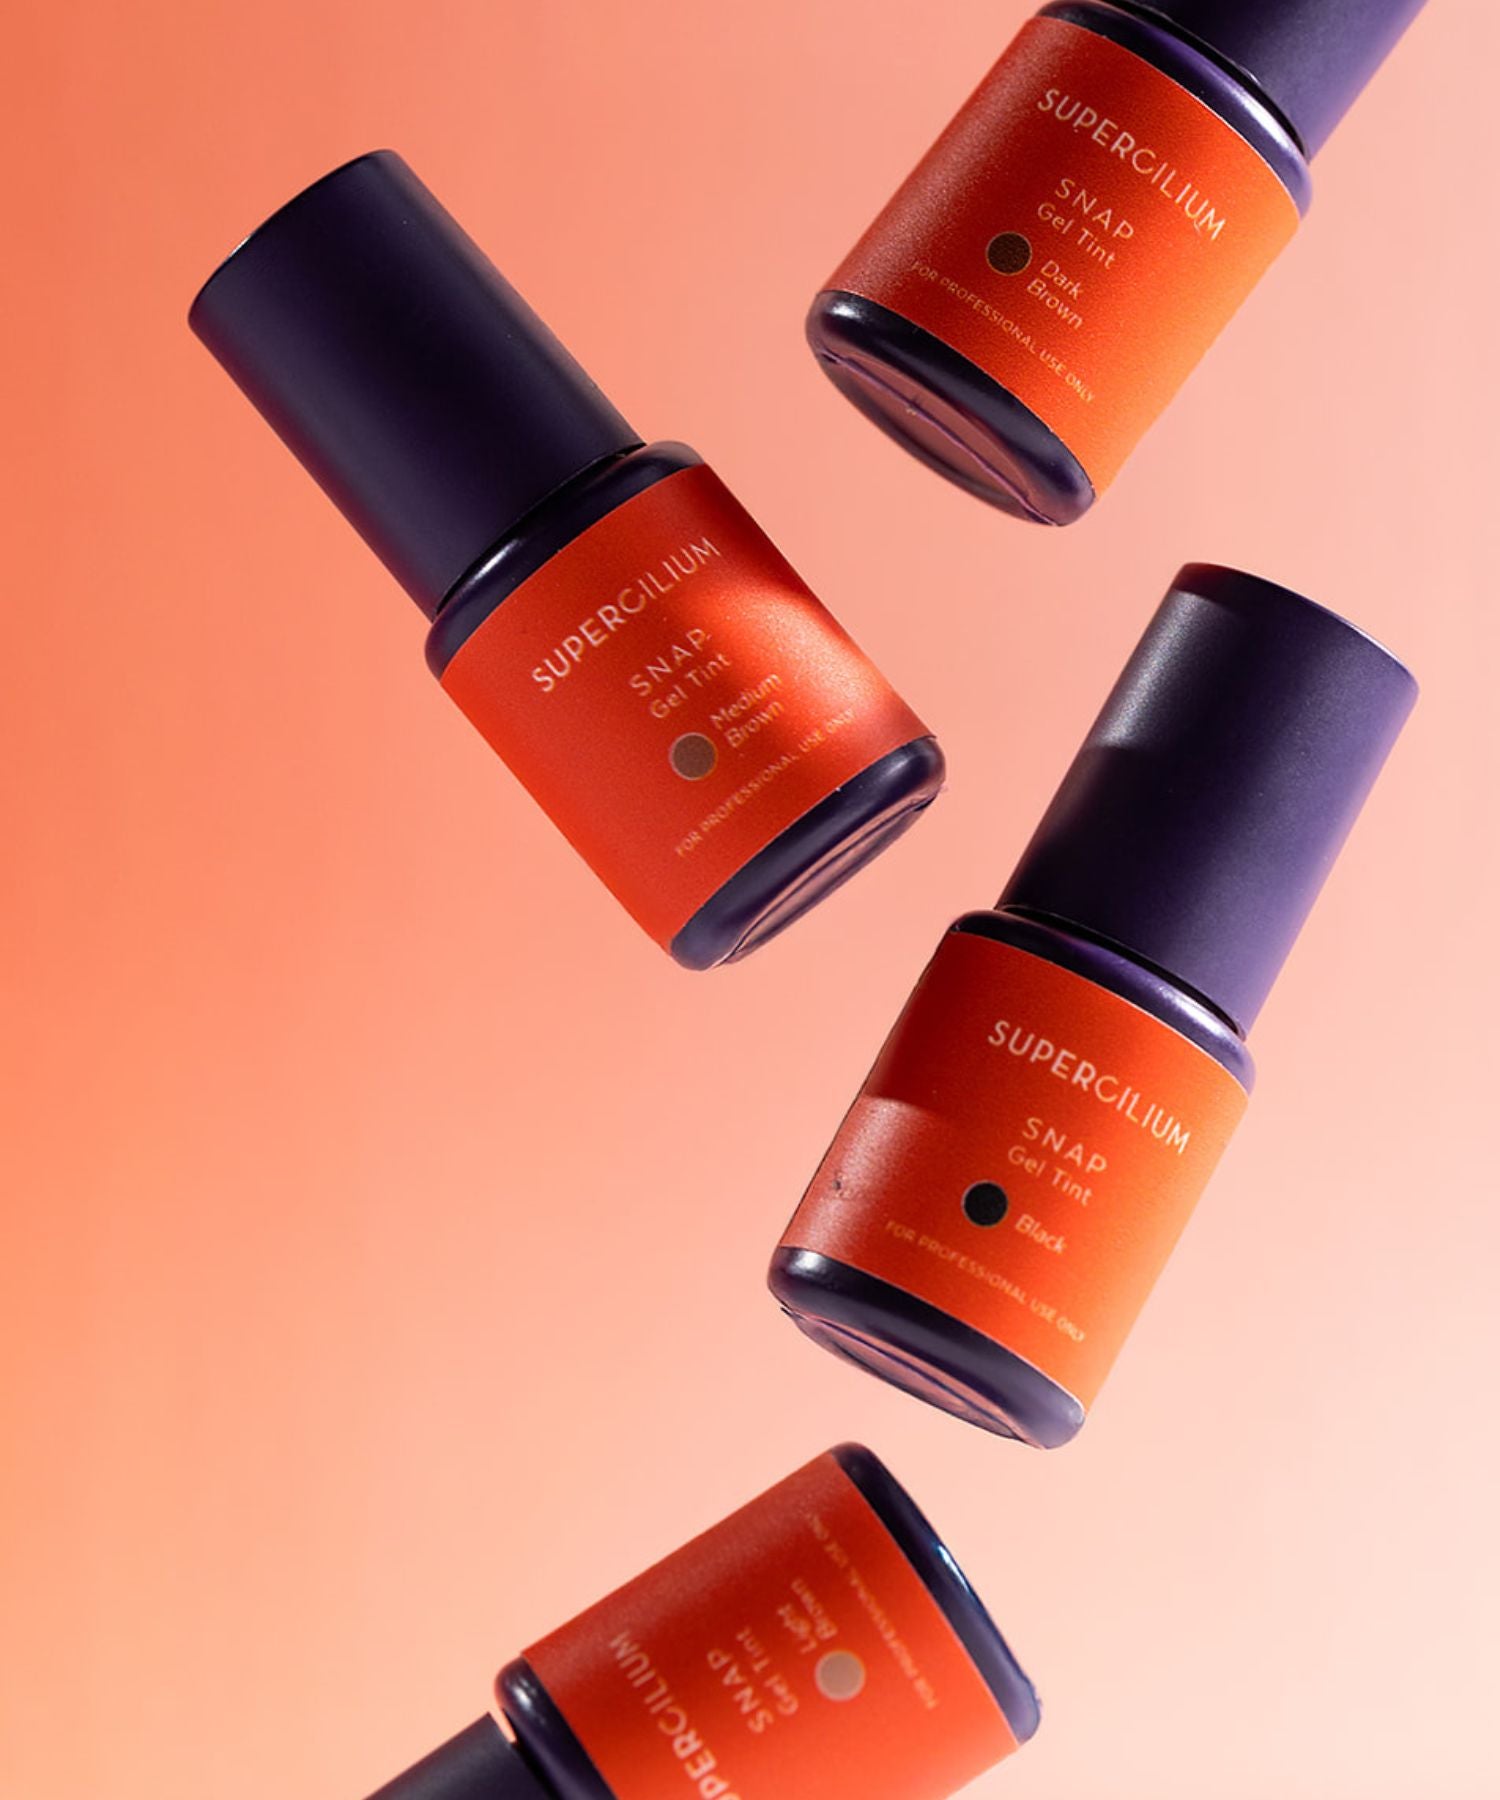
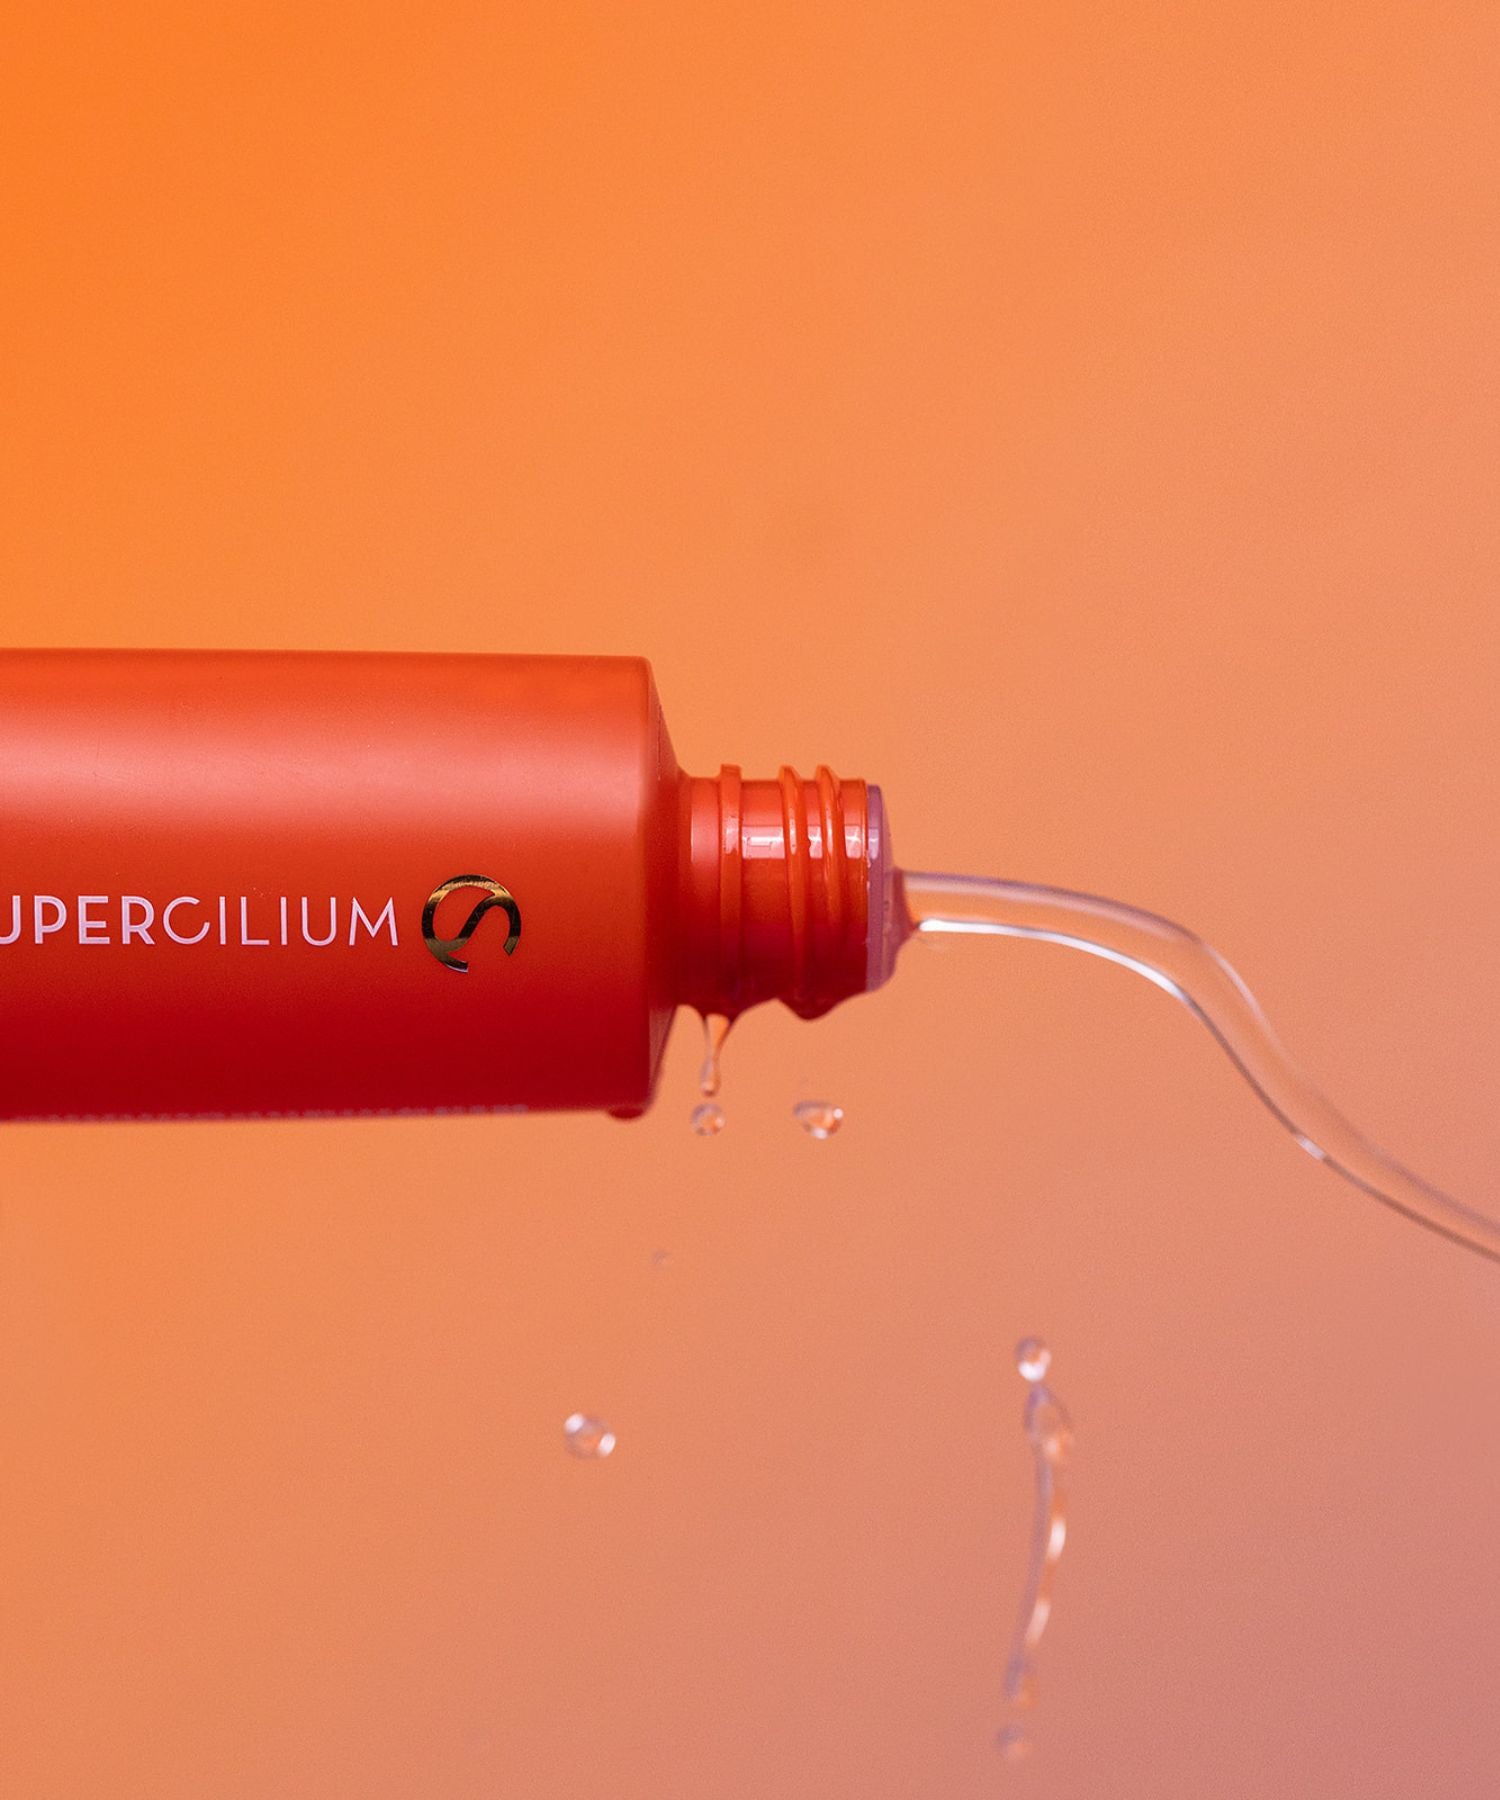
If a client demands both services at once, you must completely swap out your traditional henna powder for a gentle, liquid hybrid tint. Our professional Liquid Dye Collection↗ is explicitly formulated to be 100% safe for use directly after a lamination service.
Why Liquid Hybrid dye works safely:
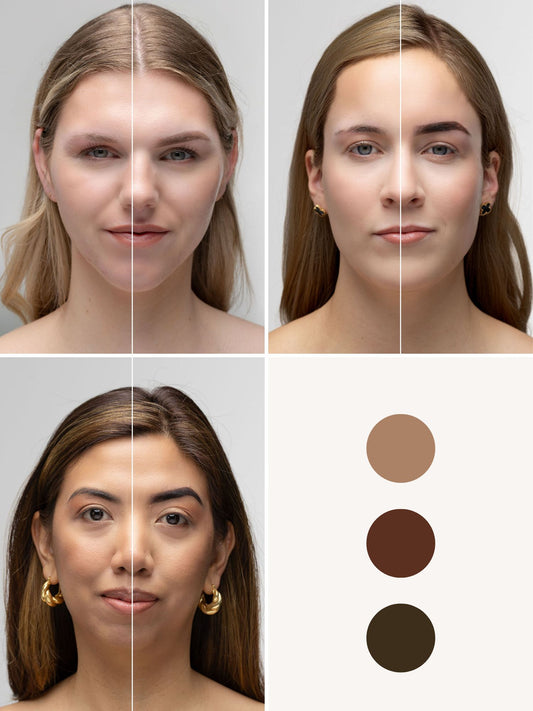
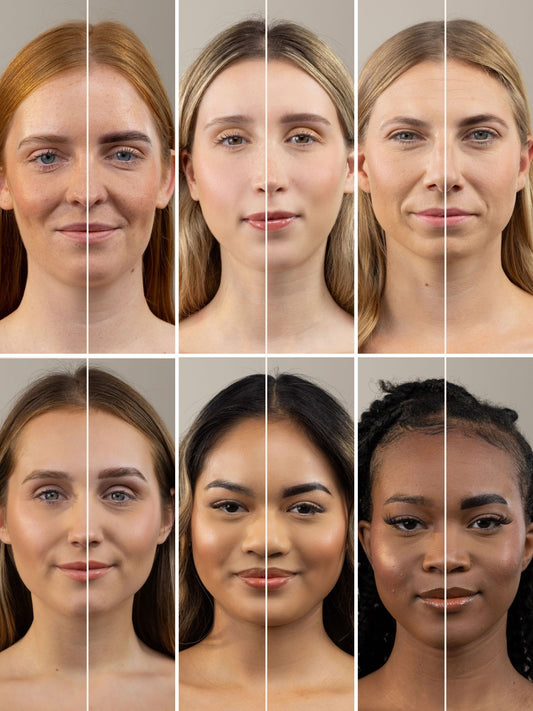
Unlike henna, which builds up a rigid protein shell on the hair, a Liquid Hybrid Dye uses a low-volume developer to smoothly deposit color molecules inside the hair cortex simultaneously with the lamination process. It delivers the exact same intense skin stain (lasting up to 11 days) and rich hair tint (lasting up to 6 weeks) as henna, but it respects the delicate pH balance of chemically altered hair. It infuses color beautifully without causing frizz, singeing, or breakage.

Step-by-Step: How to Safely Combine Lamination and Liquid Dye
If you want to offer the ultimate "Lami + Liquid Dye" combo service in your salon, follow this precise, hair-safe step-by-step methodology:
Step 1: Prep and Cleanse
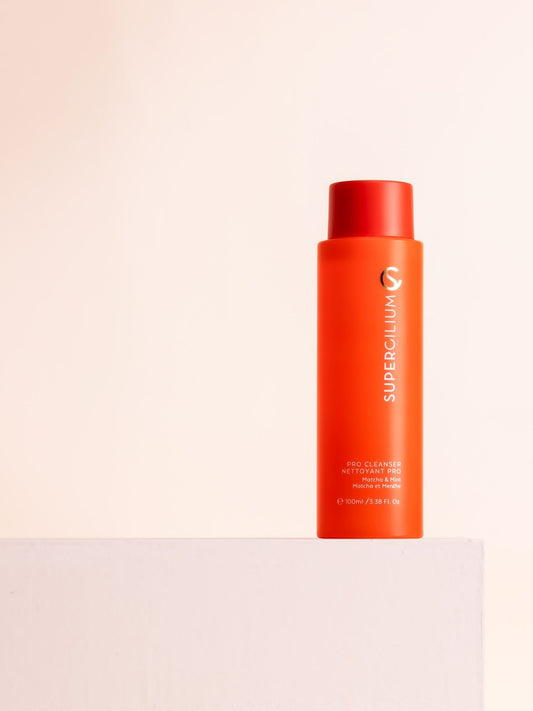
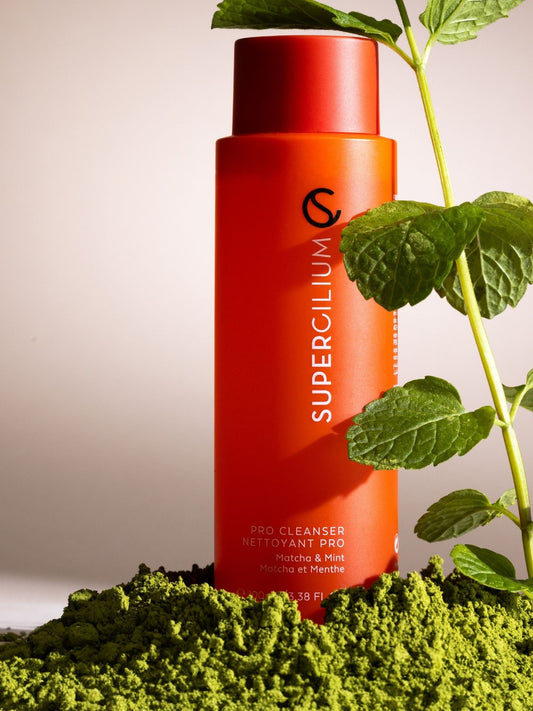
Brush the brows upward and thoroughly clean both the brows and the surrounding area using the Pro Cleanser↗ and a cotton pad. For the sensitive eye area, switch to our Foam Cleanser↗, which is exceptionally gentle and formulated completely alcohol-free.
Step 2: Assess Hair Type
Carefully evaluate your client’s hair type before applying any chemicals. Assessing the thickness, density, and history of the hairs allows you to determine the correct processing time, ensuring optimal results tailored to their unique brow chemistry.
Step 3: Apply Relaxing Solution
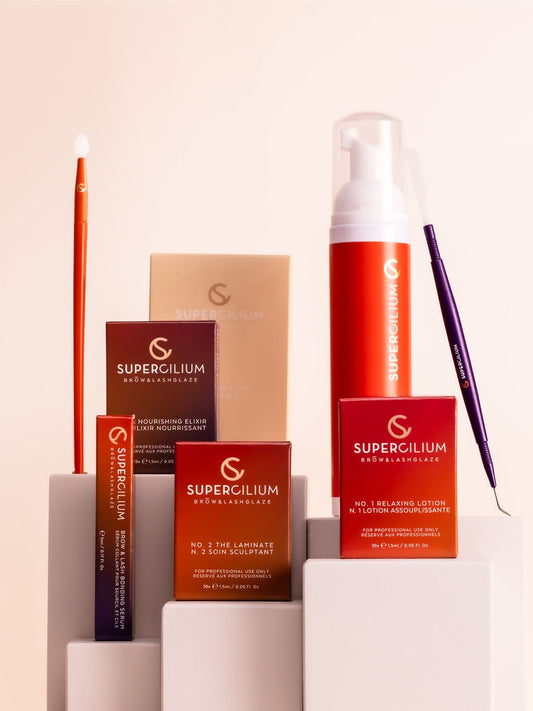
Apply the No. 1 Relaxing Solution↗ to the brow hairs, using a precision swab to cleanly remove any excess solution from the surrounding skin. Set your timer based on your hair assessment. Once processed, completely clear the solution using a clean, dry cotton pad. Check the brow shape and immediately adjust it by brushing the hairs into their new, desired direction with a spoolie brush.
Step 4: Laminate Application
Next, apply the No. 2 The Laminate↗ to the brows to lock the hairs into their newly guided position. Adjust your timer according to the hair thickness. When the time is up, remove the solution completely with a dry cotton pad to prepare the canvas for color.
Step 5: Prepare the Hair Cuticle
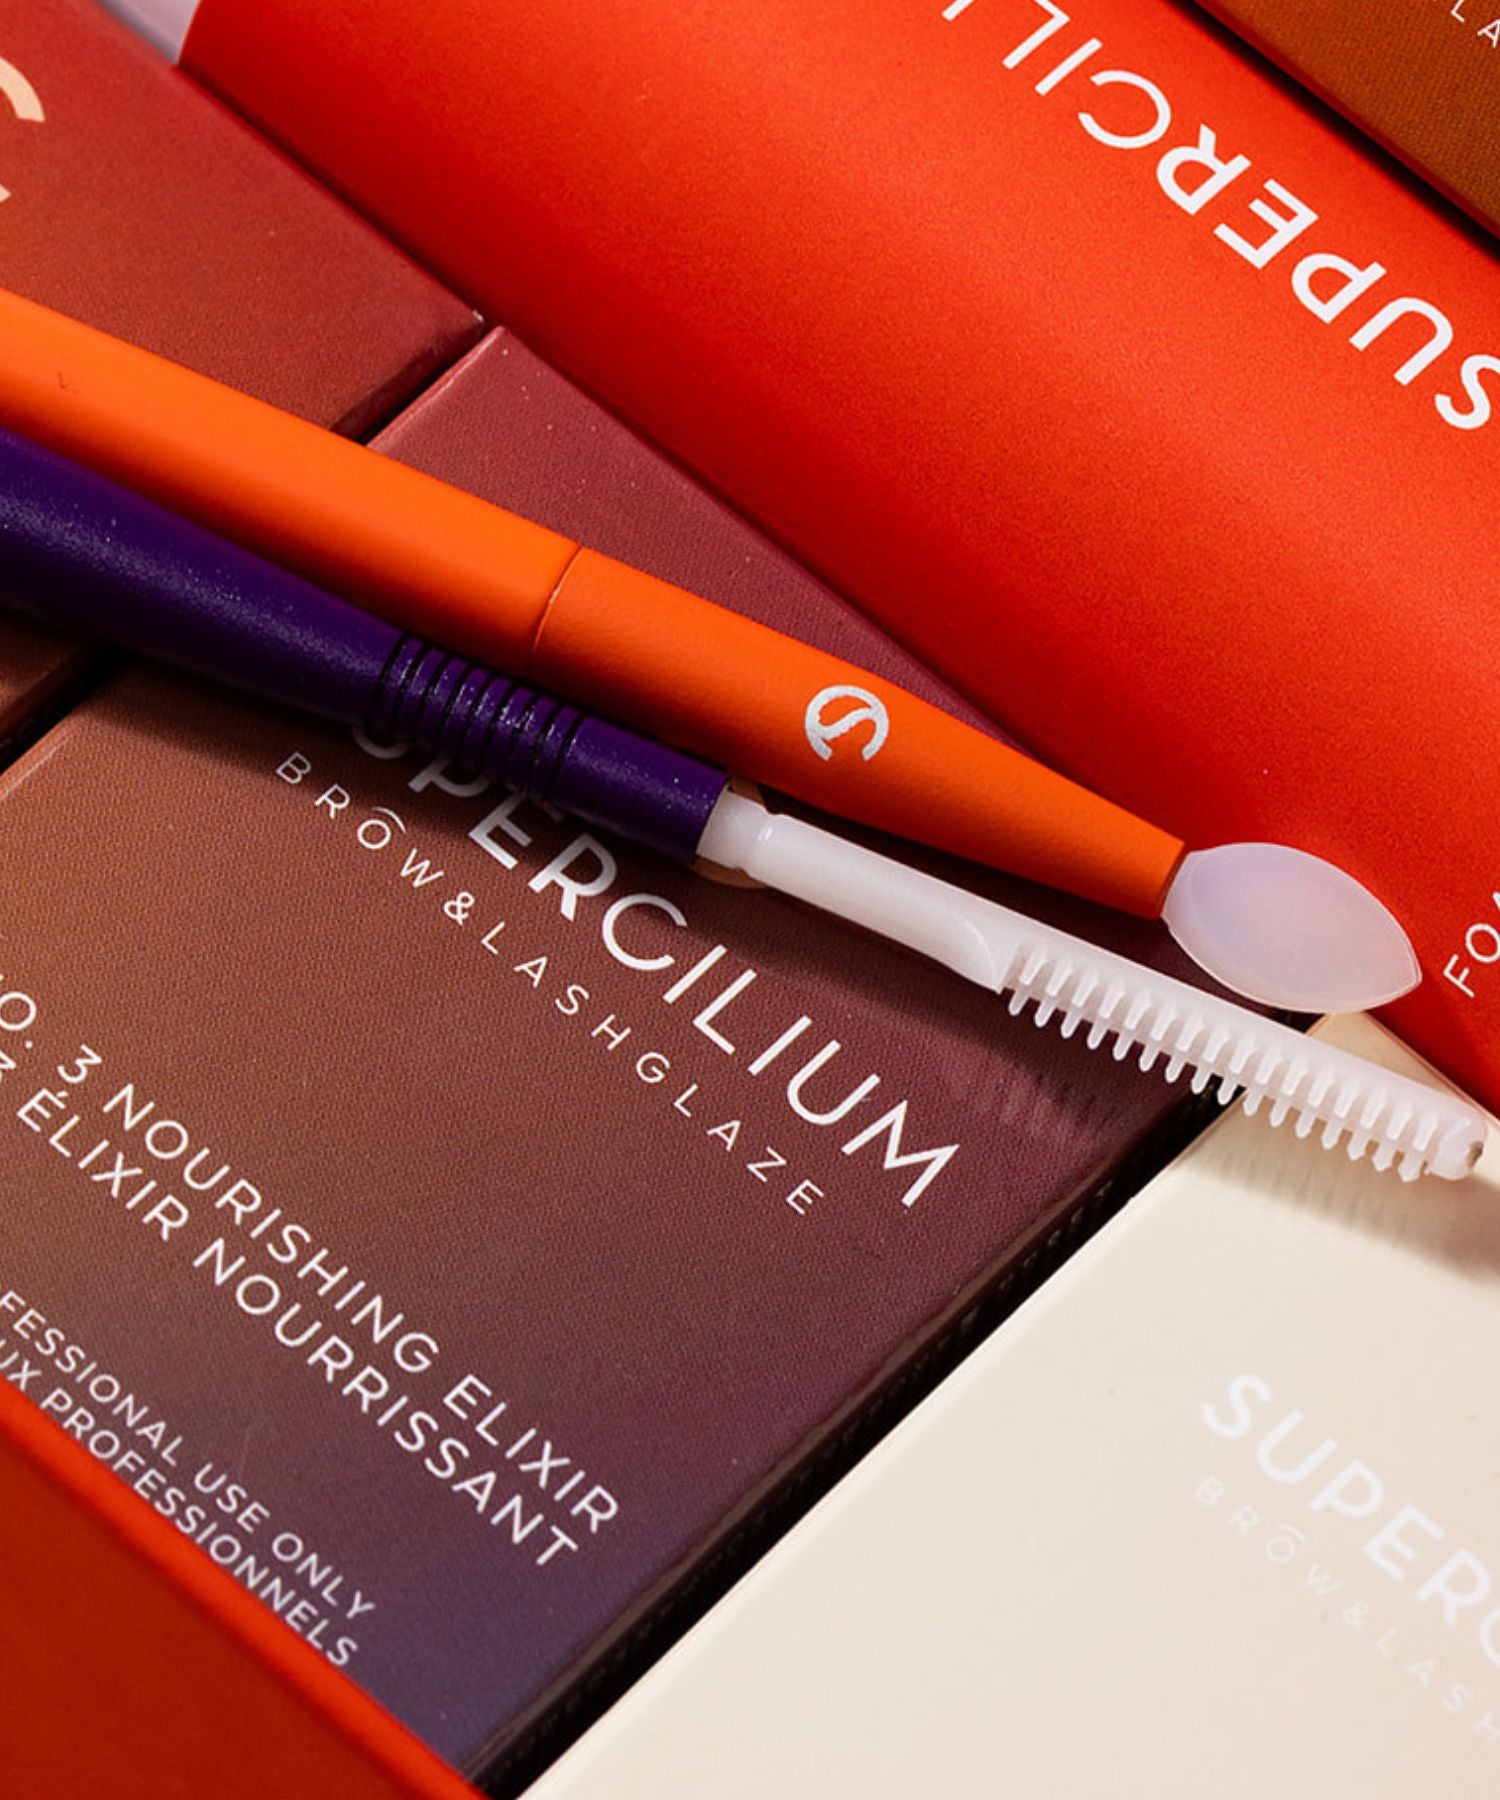
Apply the No. 3 Nourishing Elixir↗ to prepare the hair cuticle for the tinting process. Let it develop for 3 minutes, then remove it cleanly with the Pro Cleanser. Because the lamination process opens the hair structure and makes it highly porous, this crucial step acts as a protective shield, preventing the hairs from absorbing too much pigment and turning too dark.
Step 6: Apply Brow Hybrid Dye
Mix your chosen Liquid Dye shade and let the mixture stand for 1 minute before application to allow the pigments to activate. Apply the dye in thin, deliberate layers for precise, even coverage and quicker skin staining. For a natural ombré effect, remove the dye from the front (head) of the brows after just 1–2 minutes. Complete the entire process by removing the rest of the dye with a dry cotton pad after approximately 8 minutes total.
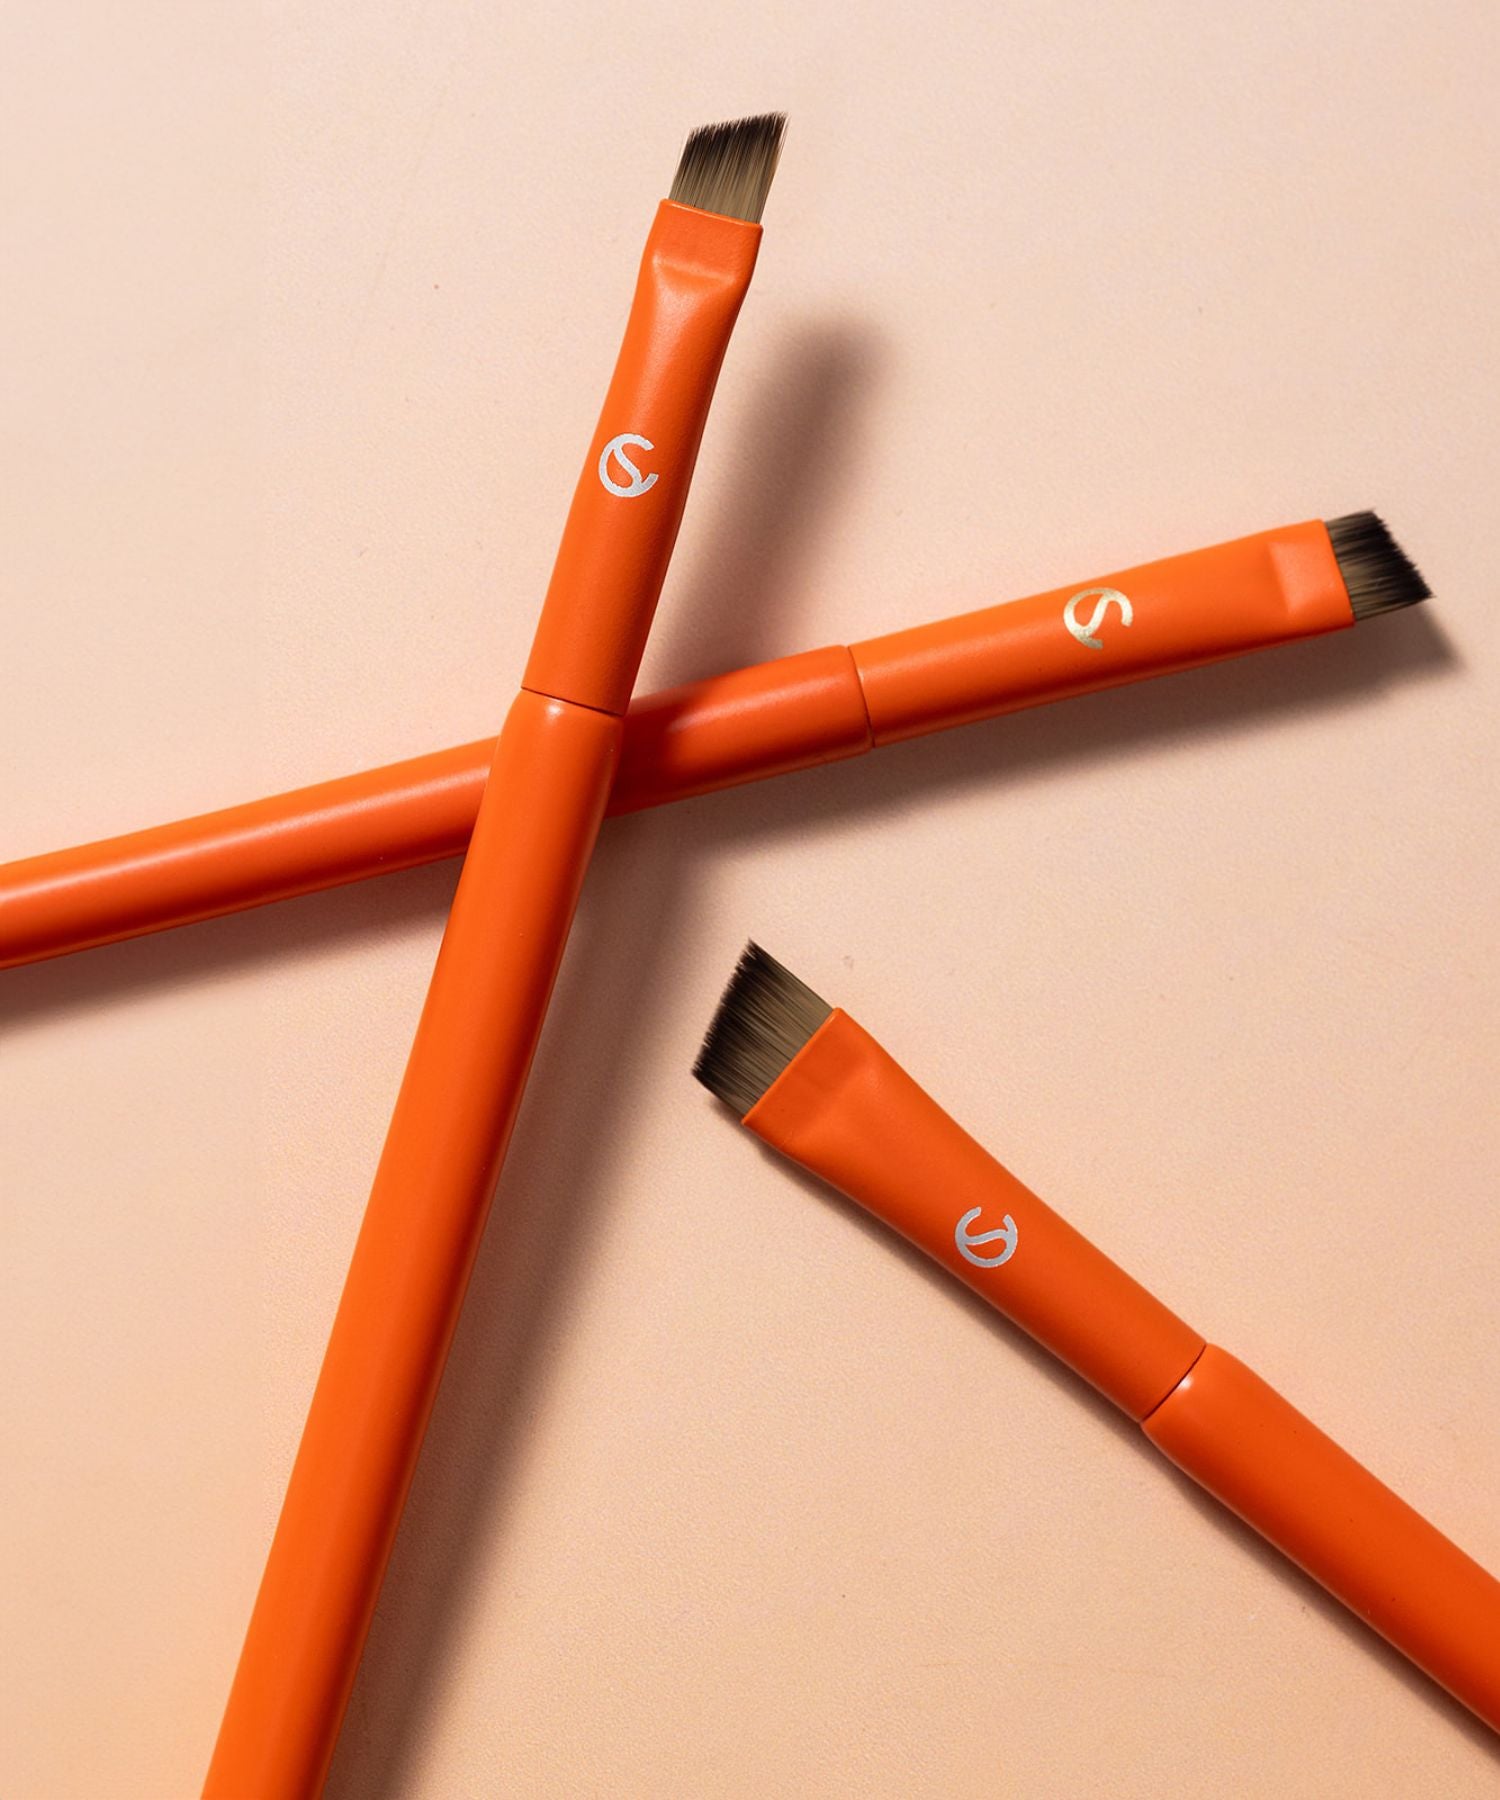
PRO TIP: Use firm stamping motions with your angled brush to press the dye past the hair directly onto the epidermis for clean, defined lines and a perfectly polished skin stain.
Learn more with our professional, step-by-step online training: Certified Liquid Dye Course↗

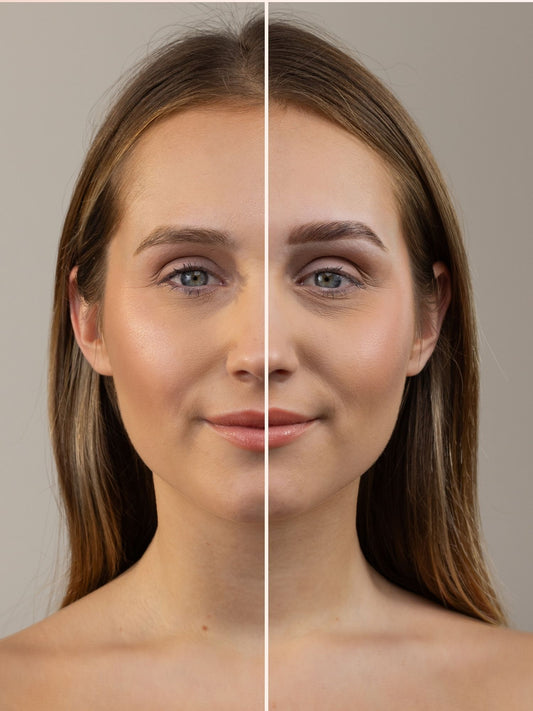
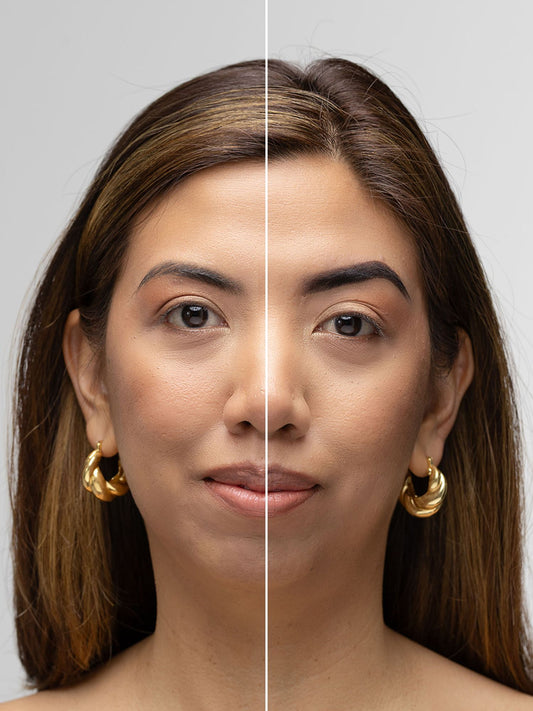
Lamination + Hybrid Dye by @medesthetic_patrycjajaworska
The Golden Rules of Lamination Aftercare
Even a technically perfect brow combo service can turn into a fade fail if the client does not follow the correct post-treatment instructions at home. Educate every client on these essential rules:
-
The 24-48 Hour Dry Window: Advise your clients to strictly avoid direct water, heavy facial misting, steam rooms, saunas, and intense sweating for the first 24 to 48 hours post-treatment. This gives both the hair bonds and the hybrid dye pigments the necessary time to fully cure and set.
-
Ditch the Oils: Keep oil-based makeup removers, heavy face creams, and facial oils completely away from the brow zone, as oils act as a solvent that will rapidly dissolve the skin stain and drop the Lamination lift.
-
Daily Hair Nutrition: Lamination can leave hair needing extra nourishment. Provide your client with a take-home portion of Step No. 3 Nourishing Elixir to keep the hairs glossy, flexible, and hydrated after the initial 48-hour window has passed. Want to dive deeper into protecting your work? Read more about aftercare for laminated brows here↗.

Protecting Your Clients and Your Business
Being an expert Brow Stylist means prioritizing hair health over quick styling trends. By explaining the science to your clients and guiding them toward the safe alternative of Liquid Hybrid Dye, you protect their natural brows from chemical disasters while establishing yourself as a highly knowledgeable professional.
Mastering chemical transitions and knowing how to safely pivot your clients requires continuous learning. If you want to become a true industry authority and build absolute confidence at your service station, the Supercilium Academy↗ is your ultimate education hub. Get certified in perfect lash and brow treatments with our comprehensive Certified Brow & Lash Lamination Course↗ to master hair structures, timing, and flawless mapping techniques. Ready to master the perfect workaround skin stain? Enroll in our specialized Liquid Dye Mixing Masterclass↗ to discover custom color formulation, advanced skin staining, and color matching secrets that keep clients coming back.