


What causes patchy Henna Brows (and how to prevent it)
written byŽaneta Mlčáková
In This Article
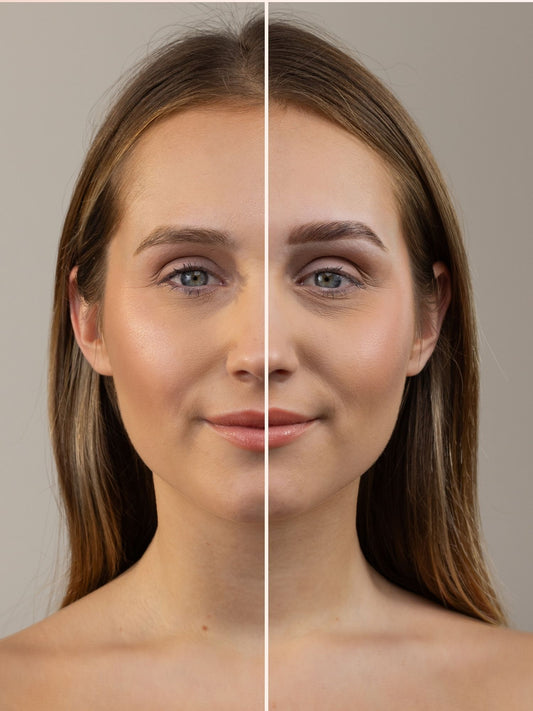
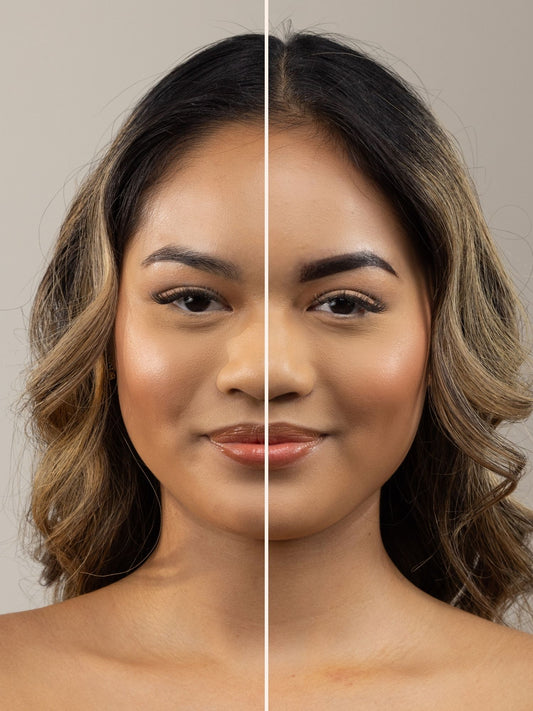
Why does henna turn out patchy?
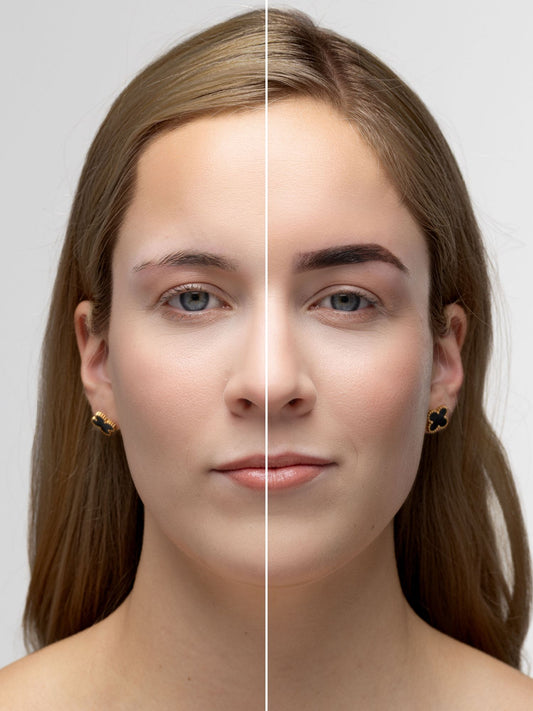
To stop your henna results from getting patchy, we first need to understand the culprit. Brow Henna↗ works by coating the hair shaft and staining the top layers of the epidermis. Because it relies heavily on locking onto the skin cells, any barrier between the henna pigment and the skin will disrupt the development process.
Here are the primary reasons your henna application might be leaving behind a patchy footprint:
1. Incomplete skin preparation
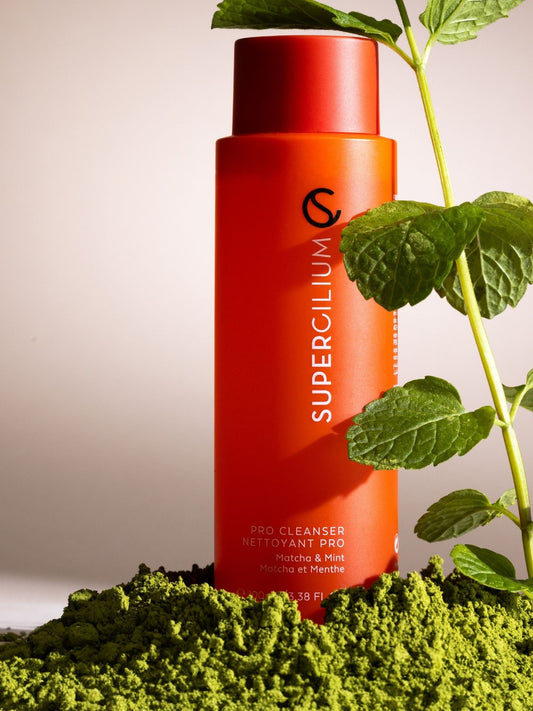
The number one enemy of a flawless henna stain is skin oils, dead skin cells, and leftover makeup residue. If a client has a layer of dead skin or natural sebum sitting on their brow area, the henna will attach to that debris instead of the actual living skin. When those dead skin cells naturally shed or the oils break down over the next 24 hours, the henna goes with them, leaving behind a patchy ghost of a stain.
> Read here↗ the tips and tricks on how to create flawless henna brows for clients with oily skin.
2. Incorrect mix consistency
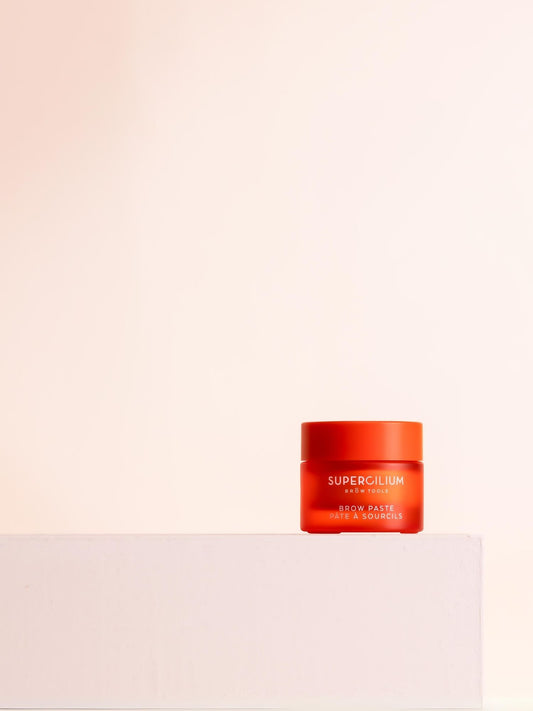
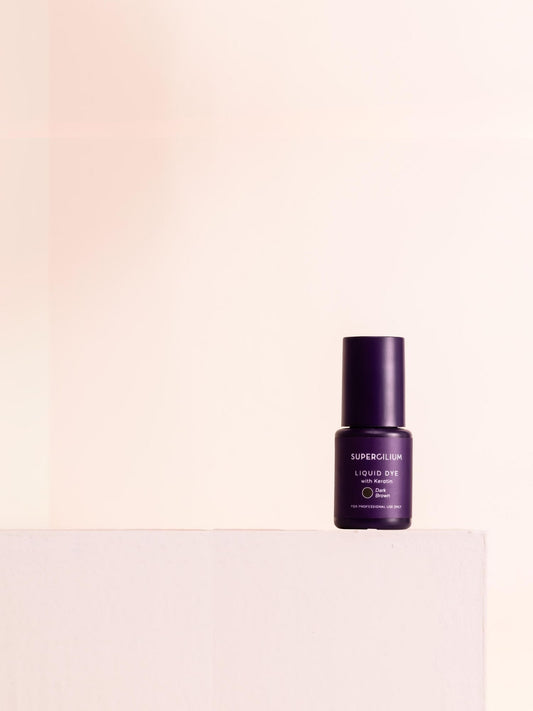
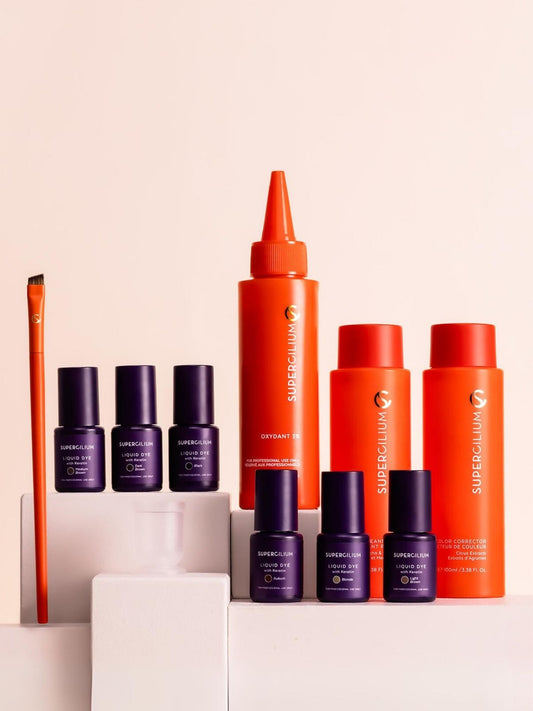
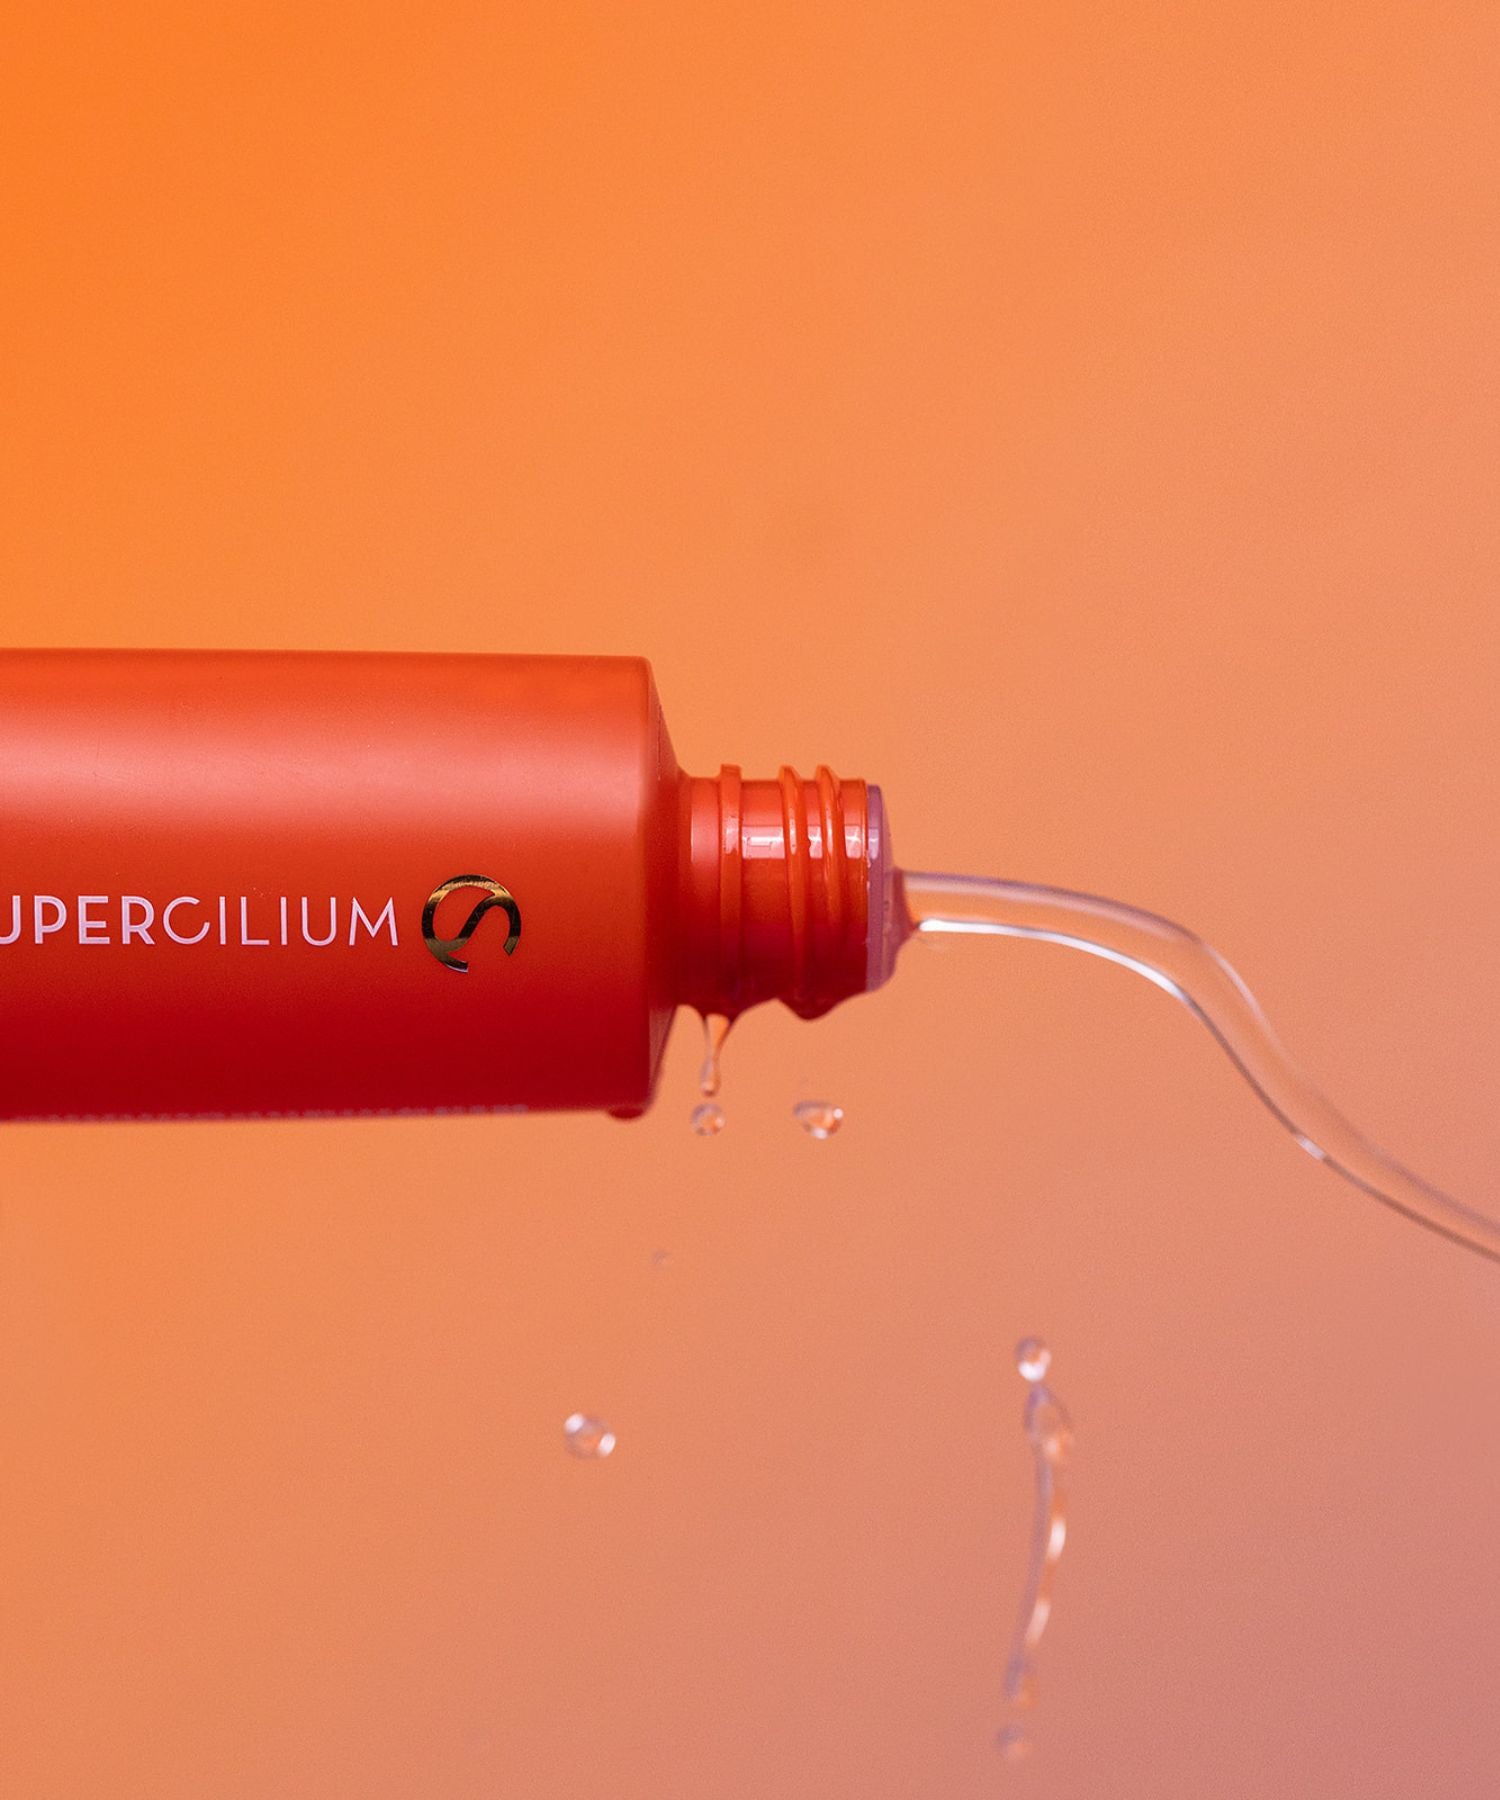
Achieving the perfect henna mix is an art form in itself. Henna must be mixed precisely (with Color Developer↗ rather than water) to activate the dye molecules correctly.
-
If it’s too watery: The henna will bleed, run, and won't have enough pigment concentration to bite into the skin evenly.
-
If it’s too thick: It will dry out way too quickly on the face before it has a chance to deposit color into the lower layers of the skin, causing an uneven, flaky finish.
3. Thin layers
Henna needs to be applied thickly and pressed into the skin to work its magic. If you are sweeping it over the hairs like a traditional tint, you will only coat the surface hairs. The skin underneath will be left completely untouched, or at best, lightly dotted with uneven color.
The shift to ultra-prepped canvas treatments
In the modern beauty space, brow treatments are no longer viewed as simple "in-and-out" tint appointments. The industry has shifted heavily toward luxury, multi-step facial experiences for the brows. Clients expect precision, and Brow Artists are realizing that the "skin canvas" requires just as much skincare attention as the rest of the face. Incorporating active exfoliation and deep cleansing into your brow rituals isn't just a trend, it's a necessity for high-end longevity.
Maximizing longevity
Consistency is everything. If you want to prevent patchy results, your mixology game needs to be flawless. We are about to spill the secret to long-lasting henna stain:
The Perfect Henna Mix Ratio
For Henna, you want to achieve a consistency that mimics soy sauce (We know, we know. Try to focus - stir fry later, perfect brows now!)
-
Add 1 measuring scoop of henna powder into your mixing cup.
-
Add 12–15 drops of Color Developer↗.
-
Stir vigorously with a mini mixer or spatula until all the crystals are completely dissolved. Let the mixture sit for 2–3 minutes before application so the pigments can fully activate.
The Application Technique: Press & Stamp
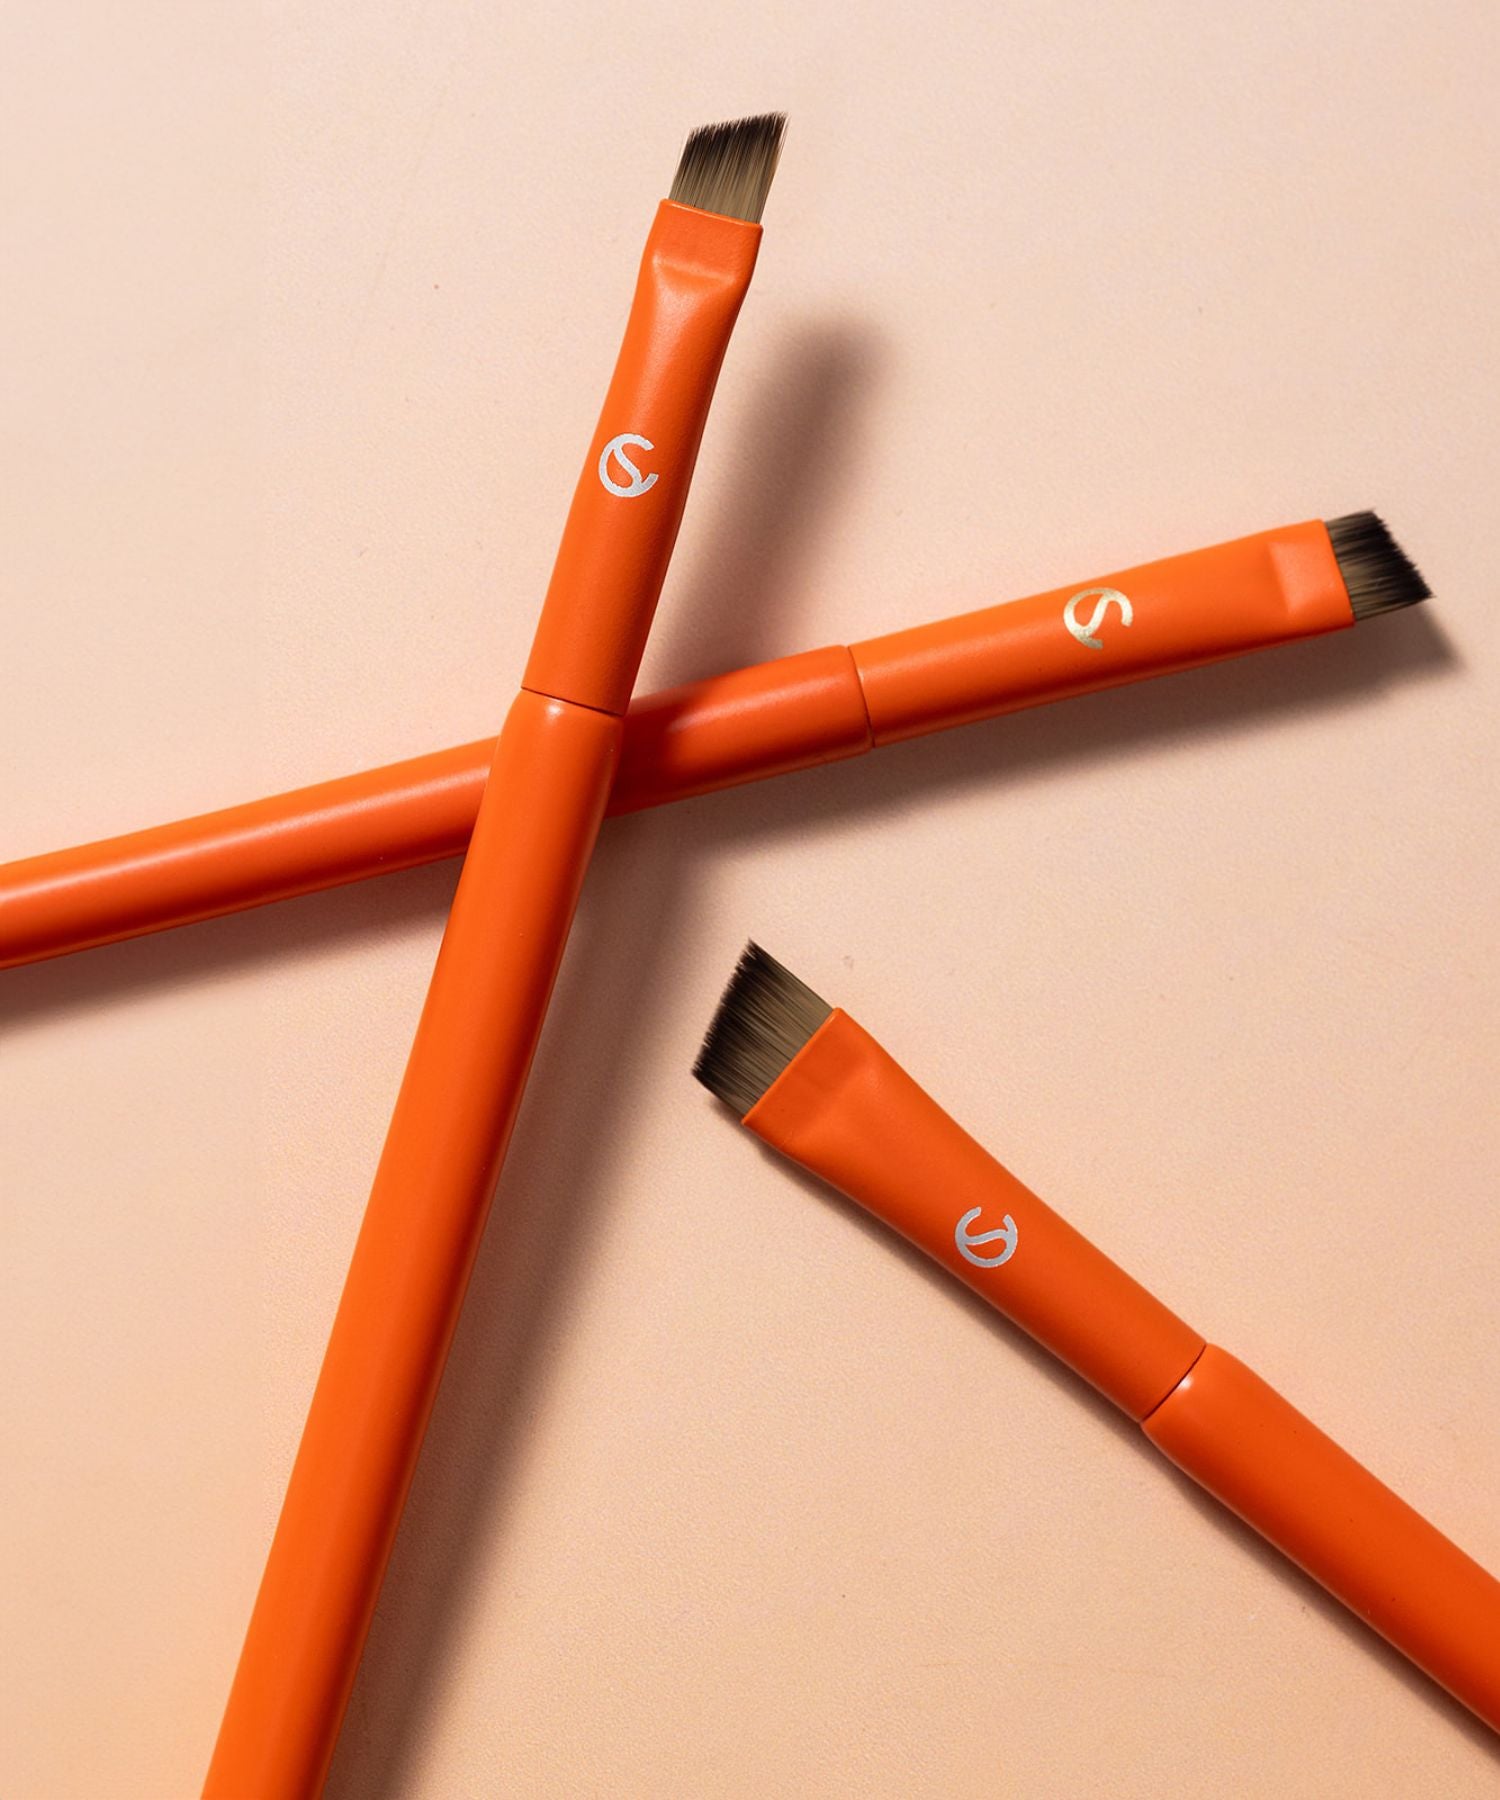
To ensure the henna reaches the skin beneath the brow hairs, do not just brush it on. Use a firm, angled brush↗ to press and stamp the henna paste directly onto the skin canvas. Build up a thick, opaque layer so you can no longer see the skin or hair underneath.

Business Insight: How longevity impacts your salon income
Dealing with patchy henna results doesn't just hurt your artistic pride, it hurts your wallet. Brow Henna is a premium, luxury service. While a basic brow shape might be budget-friendly, a full Henna Brow Transformation service can command triple that price point because of its long-lasting, tattoo-effect results.
If a client leaves your salon with patchy brows or experiences uneven fading within 48 hours, they won't return, and they won't recommend you. Mastering the prevention of patchiness ensures that every client gets the full 2 weeks of skin stain they paid for, transforming one-time appointments into loyal, recurring monthly revenue.
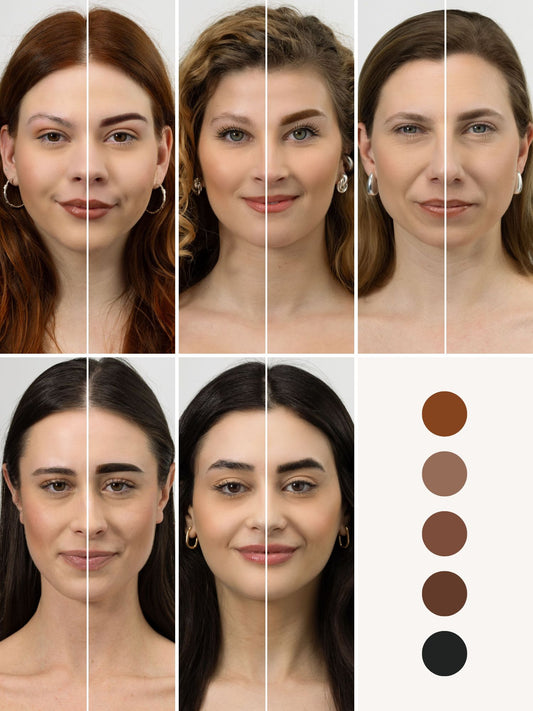
Factors that affect your Brow Longevity
Even with flawless application, external factors can alter how smoothly the henna develops. Keep an eye out for these:
Skin Type: The Oily vs. Dry
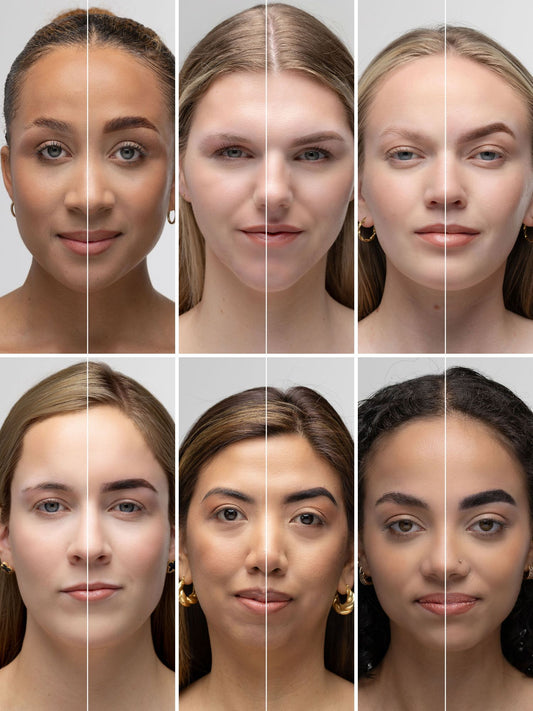
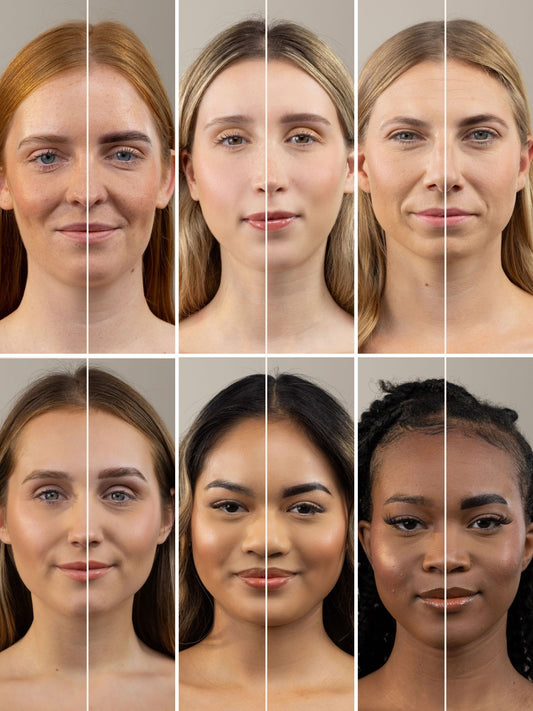
Extremely oily skin can reject henna color compounds or cause them to break apart unevenly during the processing time. Conversely, hyper-dry skin or skin with psoriasis/eczema will absorb henna unevenly, creating dark patches where the skin is flaking.
Medication and Hormones
Hormonal fluctuations, thyroid medications, and chemical peels can alter the pH balance of your client's skin. If the skin's surface is too acidic or alkaline, the henna may develop patchily or oxidize in strange undertones.

How to Prevent Patchy Henna: The Step-by-Step Salon Guide
Follow this exact protocol with every single client to guarantee a perfectly even, high-definition henna stain every single time.
Step 1: Deep Cleanse & Purify
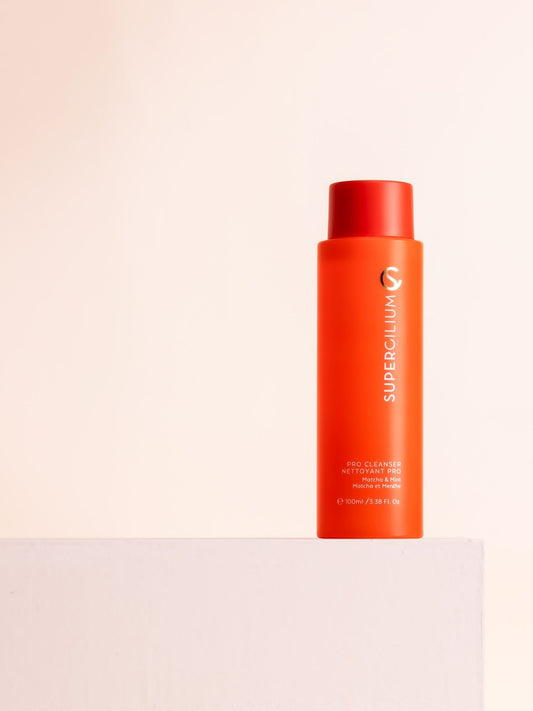
Start by washing the brows↗ thoroughly to strip away makeup and natural oils.
Step 2: The Secret Weapon Exfoliation
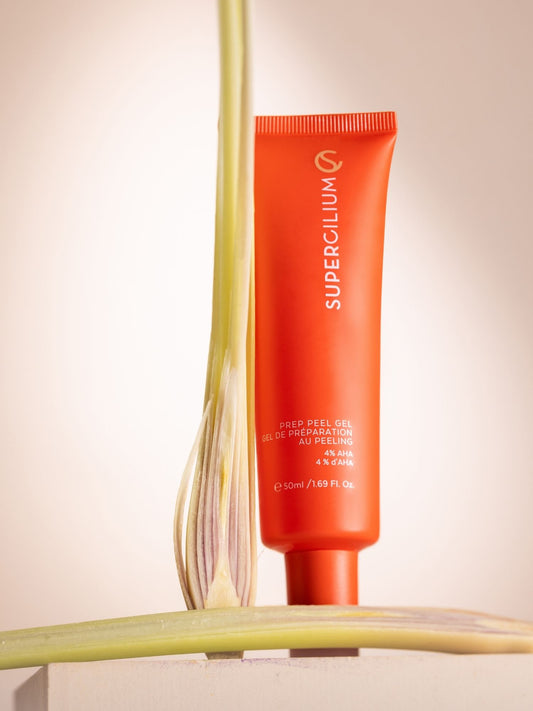
This is the non-negotiable step. Apply a small amount of Prep Peel Gel↗ to the brows. Gently massage it in circular motions to roll away dead skin cells, creating a completely flat, fresh skin surface. Wipe it away with a dry cotton pad.
Step 3: Degrease the Skin
Use a professional skin primer or saline solution to completely dry out and degrease the area. The skin should feel completely clean and free of any moisture before the henna touches it.
Step 4: Layer and Check Your Work
Apply your first layer of henna cleanly. If a client has very sparse areas, apply a slightly thicker layer or a second coat over those gaps once the first layer has semi-dried. This ensures the skin in those gaps absorbs just as much pigment as the areas densely covered by hair.
Step 5: Master the Removal
Never harshly scrub the henna off. Soften the dried henna paste using a damp cotton pad pressed against the brow for a few seconds, then gently wipe it away in one smooth motion.

Focus on Master Routine
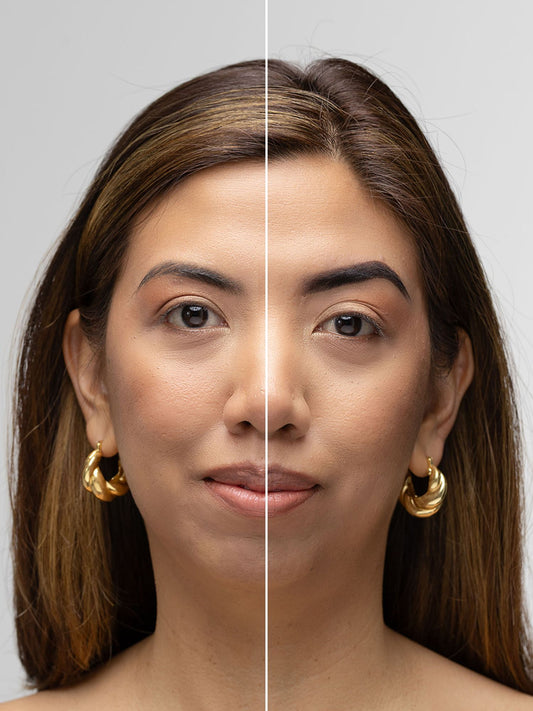
Ultimately, mastering the art of the perfect henna application comes down to consistency. By turning your skin preparation and mixing into a strict, non-negotiable ritual, you take the guesswork out of the development process. When you control the canvas and the compound, the result will always be a beautifully saturated, long-lasting brow stain that both you and your clients can count on.
If you want to master these mixology ratios and troubleshooting steps like a true professional, check out our Supercilium Brow Henna Masterclass↗ to get certified online.
Why does henna turn out patchy?
To stop your henna results from getting patchy, we first need to understand the culprit. Brow Henna↗ works by coating the hair shaft and staining the top layers of the epidermis. Because it relies heavily on locking onto the skin cells, any barrier between the henna pigment and the skin will disrupt the development process.
Here are the primary reasons your henna application might be leaving behind a patchy footprint:
1. Incomplete skin preparation
The number one enemy of a flawless henna stain is skin oils, dead skin cells, and leftover makeup residue. If a client has a layer of dead skin or natural sebum sitting on their brow area, the henna will attach to that debris instead of the actual living skin. When those dead skin cells naturally shed or the oils break down over the next 24 hours, the henna goes with them, leaving behind a patchy ghost of a stain.
> Read here↗ the tips and tricks on how to create flawless henna brows for clients with oily skin.
2. Incorrect mix consistency
Achieving the perfect henna mix is an art form in itself. Henna must be mixed precisely (with Color Developer↗ rather than water) to activate the dye molecules correctly.
-
If it’s too watery: The henna will bleed, run, and won't have enough pigment concentration to bite into the skin evenly.
-
If it’s too thick: It will dry out way too quickly on the face before it has a chance to deposit color into the lower layers of the skin, causing an uneven, flaky finish.
3. Thin layers
Henna needs to be applied thickly and pressed into the skin to work its magic. If you are sweeping it over the hairs like a traditional tint, you will only coat the surface hairs. The skin underneath will be left completely untouched, or at best, lightly dotted with uneven color.
The shift to ultra-prepped canvas treatments
In the modern beauty space, brow treatments are no longer viewed as simple "in-and-out" tint appointments. The industry has shifted heavily toward luxury, multi-step facial experiences for the brows. Clients expect precision, and Brow Artists are realizing that the "skin canvas" requires just as much skincare attention as the rest of the face. Incorporating active exfoliation and deep cleansing into your brow rituals isn't just a trend, it's a necessity for high-end longevity.
Maximizing longevity
Consistency is everything. If you want to prevent patchy results, your mixology game needs to be flawless. We are about to spill the secret to long-lasting henna stain:
The Perfect Henna Mix Ratio
For Henna, you want to achieve a consistency that mimics soy sauce (We know, we know. Try to focus - stir fry later, perfect brows now!)
-
Add 1 measuring scoop of henna powder into your mixing cup.
-
Add 12–15 drops of Color Developer↗.
-
Stir vigorously with a mini mixer or spatula until all the crystals are completely dissolved. Let the mixture sit for 2–3 minutes before application so the pigments can fully activate.
The Application Technique: Press & Stamp
To ensure the henna reaches the skin beneath the brow hairs, do not just brush it on. Use a firm, angled brush↗ to press and stamp the henna paste directly onto the skin canvas. Build up a thick, opaque layer so you can no longer see the skin or hair underneath.
Business Insight: How longevity impacts your salon income
Dealing with patchy henna results doesn't just hurt your artistic pride, it hurts your wallet. Brow Henna is a premium, luxury service. While a basic brow shape might be budget-friendly, a full Henna Brow Transformation service can command triple that price point because of its long-lasting, tattoo-effect results.
If a client leaves your salon with patchy brows or experiences uneven fading within 48 hours, they won't return, and they won't recommend you. Mastering the prevention of patchiness ensures that every client gets the full 2 weeks of skin stain they paid for, transforming one-time appointments into loyal, recurring monthly revenue.
Factors that affect your Brow Longevity
Even with flawless application, external factors can alter how smoothly the henna develops. Keep an eye out for these:
Skin Type: The Oily vs. Dry
Extremely oily skin can reject henna color compounds or cause them to break apart unevenly during the processing time. Conversely, hyper-dry skin or skin with psoriasis/eczema will absorb henna unevenly, creating dark patches where the skin is flaking.
Medication and Hormones
Hormonal fluctuations, thyroid medications, and chemical peels can alter the pH balance of your client's skin. If the skin's surface is too acidic or alkaline, the henna may develop patchily or oxidize in strange undertones.
How to Prevent Patchy Henna: The Step-by-Step Salon Guide
Follow this exact protocol with every single client to guarantee a perfectly even, high-definition henna stain every single time.
Step 1: Deep Cleanse & Purify
Start by washing the brows↗ thoroughly to strip away makeup and natural oils.
Step 2: The Secret Weapon Exfoliation
This is the non-negotiable step. Apply a small amount of Prep Peel Gel↗ to the brows. Gently massage it in circular motions to roll away dead skin cells, creating a completely flat, fresh skin surface. Wipe it away with a dry cotton pad.
Step 3: Degrease the Skin
Use a professional skin primer or saline solution to completely dry out and degrease the area. The skin should feel completely clean and free of any moisture before the henna touches it.
Step 4: Layer and Check Your Work
Apply your first layer of henna cleanly. If a client has very sparse areas, apply a slightly thicker layer or a second coat over those gaps once the first layer has semi-dried. This ensures the skin in those gaps absorbs just as much pigment as the areas densely covered by hair.
Step 5: Master the Removal
Never harshly scrub the henna off. Soften the dried henna paste using a damp cotton pad pressed against the brow for a few seconds, then gently wipe it away in one smooth motion.
Focus on Master Routine
Ultimately, mastering the art of the perfect henna application comes down to consistency. By turning your skin preparation and mixing into a strict, non-negotiable ritual, you take the guesswork out of the development process. When you control the canvas and the compound, the result will always be a beautifully saturated, long-lasting brow stain that both you and your clients can count on.
If you want to master these mixology ratios and troubleshooting steps like a true professional, check out our Supercilium Brow Henna Masterclass↗ to get certified online.