


How to Make Brow Henna Last Longer on Oily Skin: The Ultimate Artist’s Guide
written byRafaela Tessari
In This Article
Why does Oily Skin reject Brow Henna?
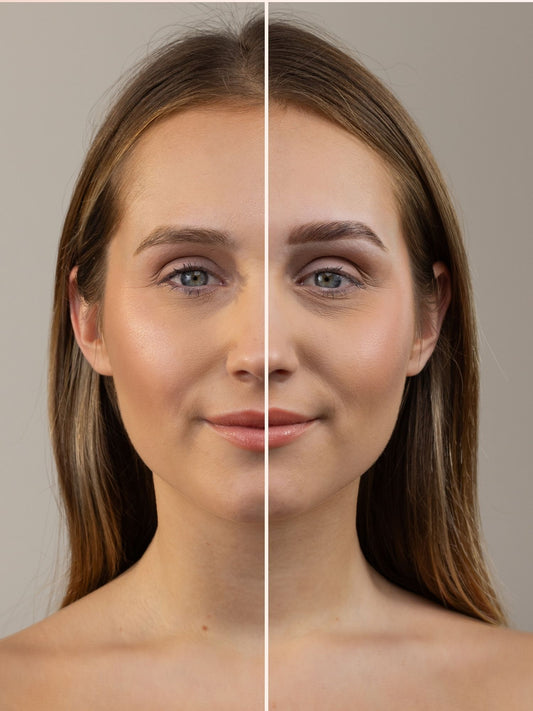
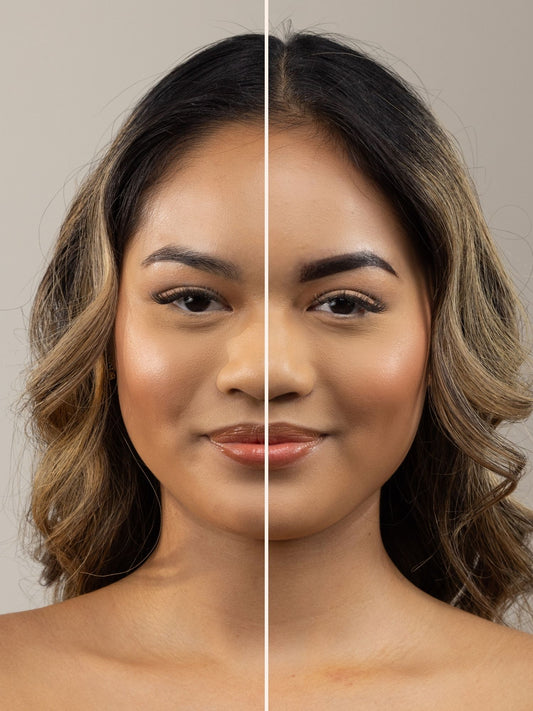
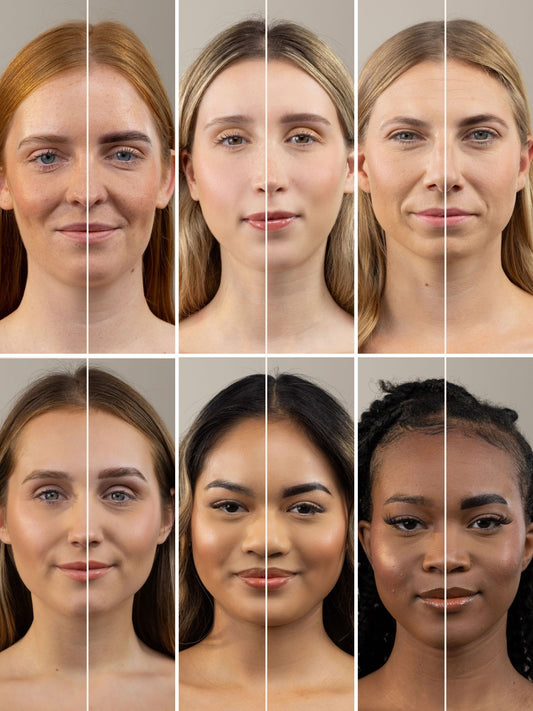
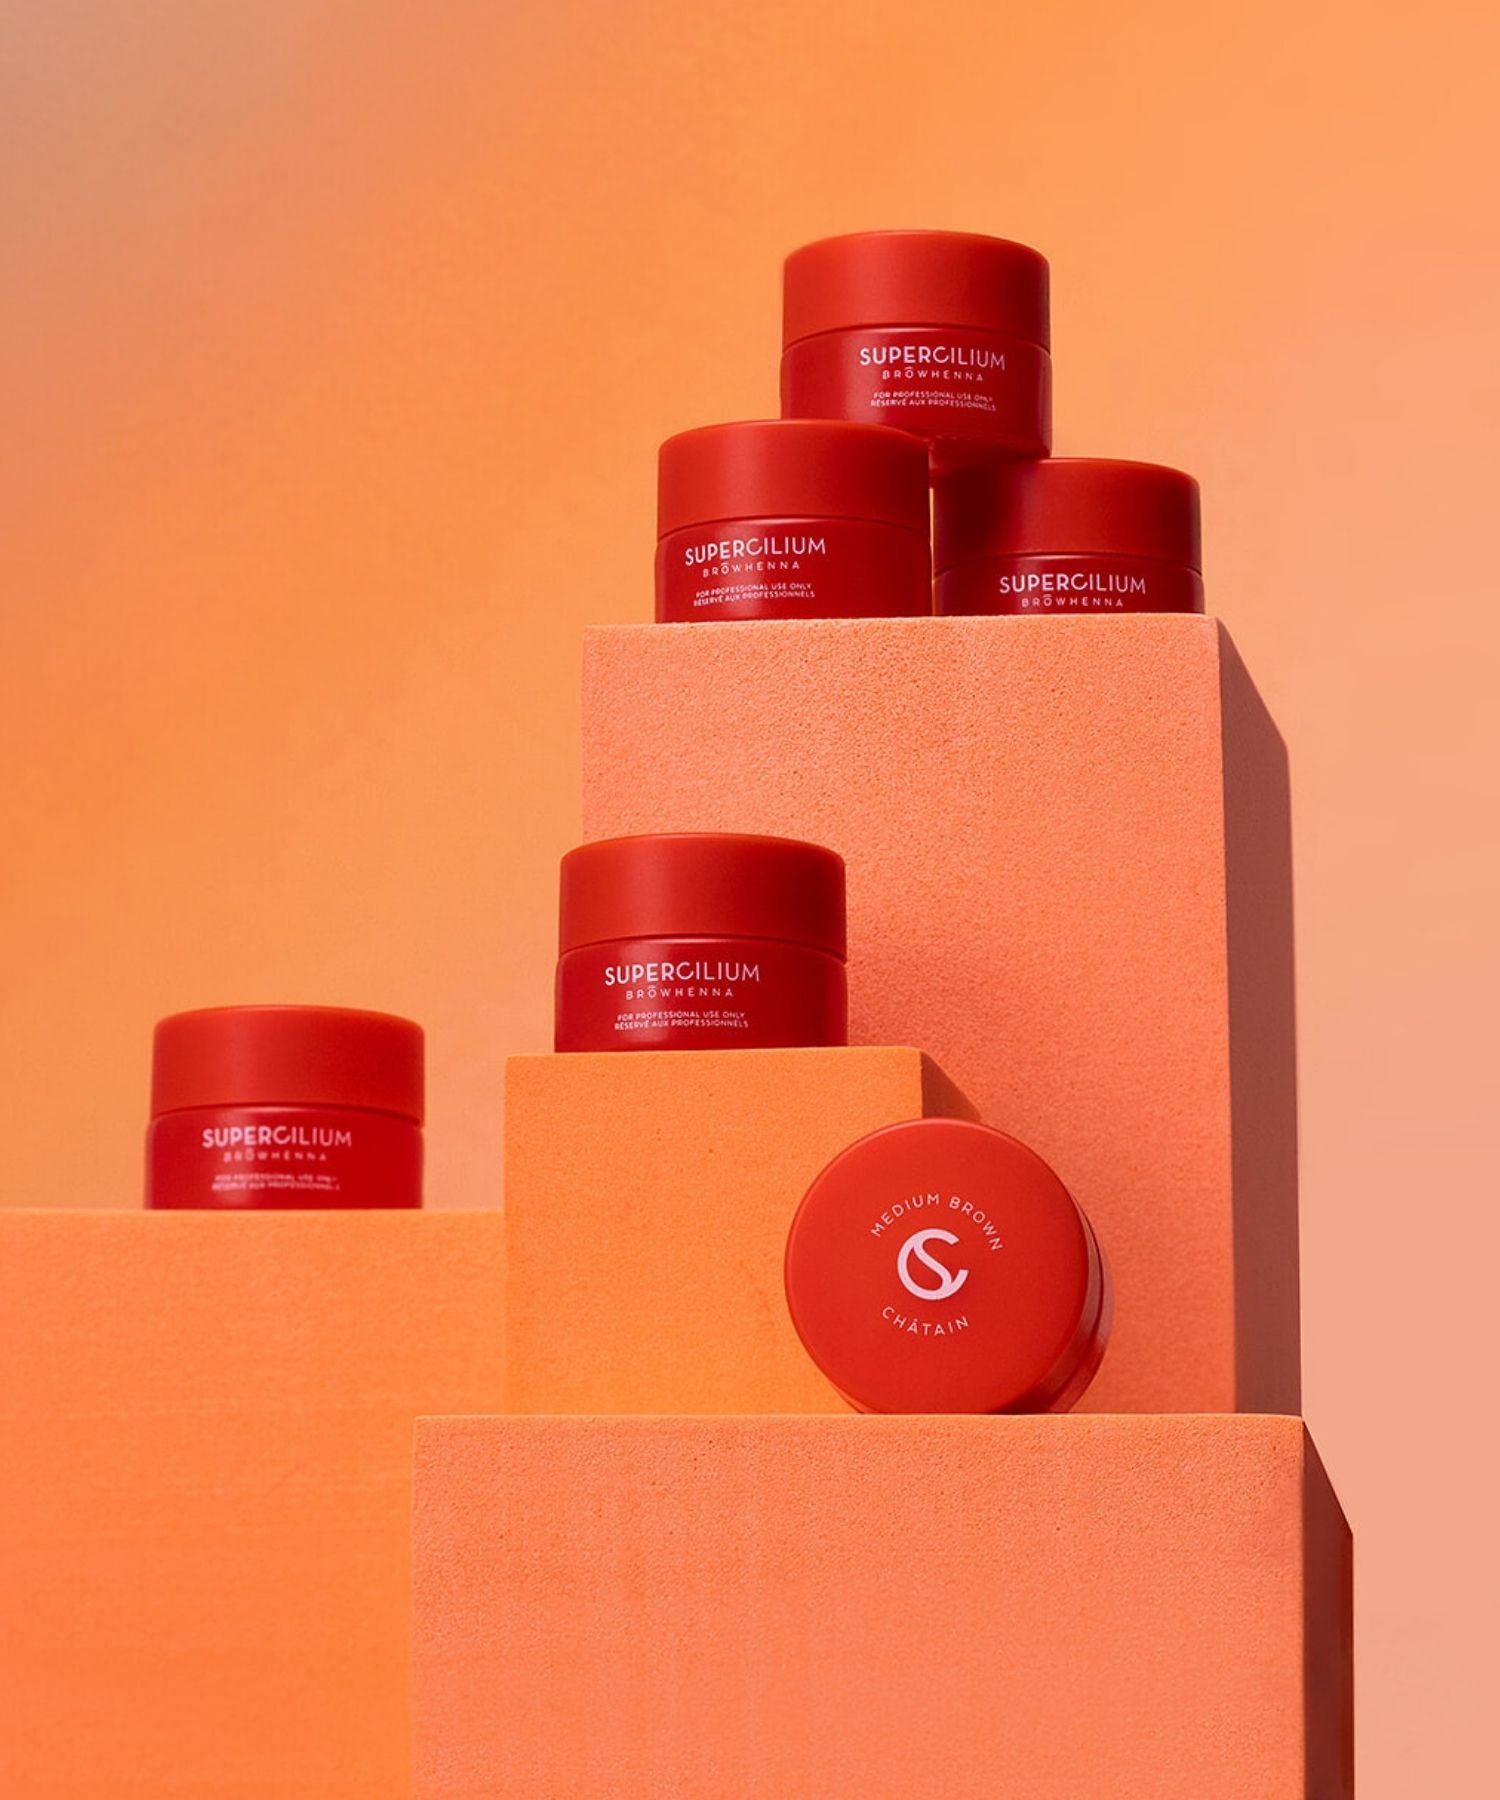
Before we fix the problem, we have to understand the "why" behind the science of the skin. Brow Henna is a natural pigment that needs to penetrate the top layers of the dermis to create that coveted "shadow" or tattoo effect on the skin.
- The Sebum Barrier: Oily skin produces an abundance of sebum (oil). This oil sits on the surface and inside the pores, creating a waterproof-like coating. Because henna is mixed with water, the oil literally repels the pigment, preventing it from "grabbing" onto the skin.
- Rapid Cell Turnover: Oily skin types often have a faster rate of cell regeneration. Since the henna stain lives on the dead skin cells of the stratum corneum, when those cells shed faster, your hard work literally washes down the drain.
- The pH Factor: Oily skin often has a slightly different pH balance than dry or combination skin. This can affect how the Henna oxidizes, sometimes leading to a lighter stain or an unexpected color shift if the skin isn't properly neutralized.
To combat this, we need to move beyond standard cleansing. We need a professional Prep Strategy that removes the barrier without irritating the skin.
The Consultation: Managing Expectations
When a client with oily skin sits in your chair, the consultation is the most important part of the service. You are the expert, and part of that expertise is being honest about results.
What to say to your client:
"Because your skin is beautifully hydrated and produces natural oils, the henna might fade a little faster on the skin than it would on someone with dry skin. However, I’m going to use a specialized 'Oily Skin Protocol' involving a chemical peel and a color intensifier to give us the absolute best grip possible."
By framing it this way, you aren't saying the product won't work; you are explaining that you are a specialist who knows exactly how to handle their specific skin type. This builds immense trust and justifies the premium price of a professional service.
Step 1: The Essential Deep Cleanse & Peel
If you just use a standard makeup remover or a simple soap, you aren't doing enough for oily-skinned clients. You need to physically and chemically prep the canvas.
The Power of Exfoliation
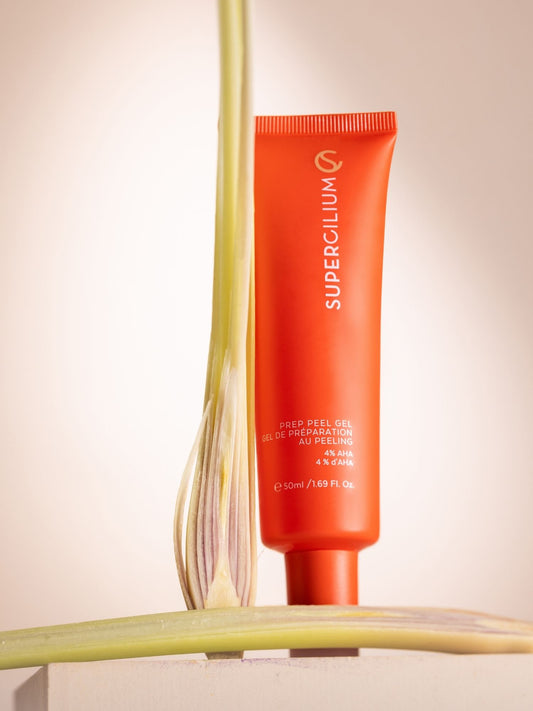
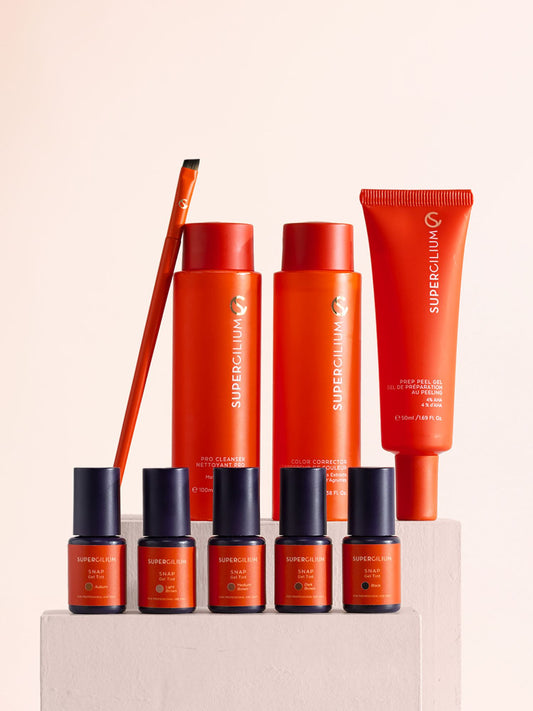
This is where the Prep Peel Gel becomes your best friend and the MVP of your kit. Unlike physical scrubs that can be too abrasive or leave oily residues behind, our Prep Peel Gel uses gentle chemical exfoliants to:
-
Dissolve the "Glue": It breaks down the lipids holding dead skin cells together, allowing you to wipe away the "shield" that blocks the henna.
-
Unclog the Follicle: It clears out excess sebum from the hair follicle, ensuring the henna tints the hair from the very root.
-
Smooth the Texture: It creates a perfectly smooth skin surface, preventing the henna from looking "patchy" as it develops.
Pro Tip: Apply a small pea-sized amount to each brow and massage in circular motions for 30 seconds. Do not just wipe it off immediately, let the ingredients work for a moment. Remove thoroughly with a damp cotton pad. If the skin still feels "slick" or looks shiny, repeat the process one more time.
Step 2: The "Secret Weapon" Mix for Oily Skin
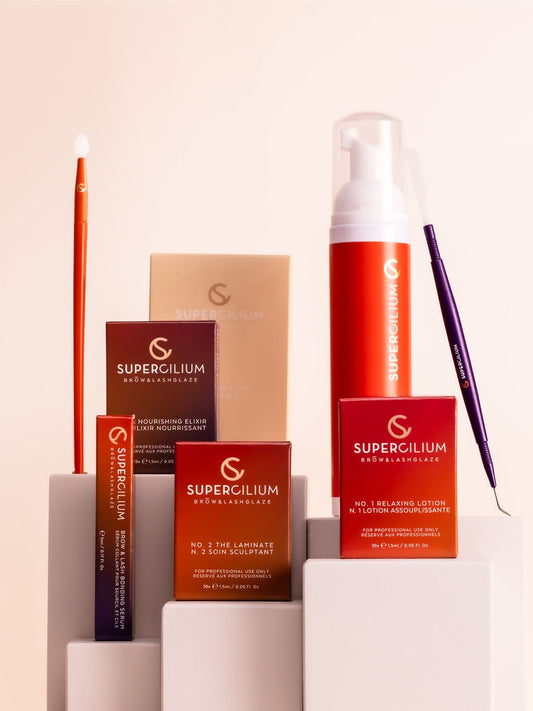
In a standard treatment, we mix Brow Henna with Rosewater or purified water. However, for clients who struggle with longevity, we’re borrowing a high-performance secret from our Liquid Dye & Brow Lamination Masterclass.
During her masterclass, expert trainer Alexandra shared a game-changing hack that has since taken the Supercilium community by storm. Her secret weapon: The Color Booster, Alexandra discovered that adding a drop to the Henna mixture works wonders for oily skin.
Why the Color Booster Works
The Color Booster acts as an intensifier and an anchor. It helps the pigment molecules stabilize and adhere more aggressively to the skin surface. Think of it like a "primer" for your henna. When dealing with oily skin, this extra "kick" ensures the pigment doesn't just float on top of the natural oils but actually anchors itself to the remaining skin cells.
The secret lies in the 1:1 ratio. When prepping for an oily-skinned client, you will replace half of your usual liquid drops with the Color Booster. Here is your go-to mixing guide for maximum longevity:
The Oily Skin Henna Recipe:
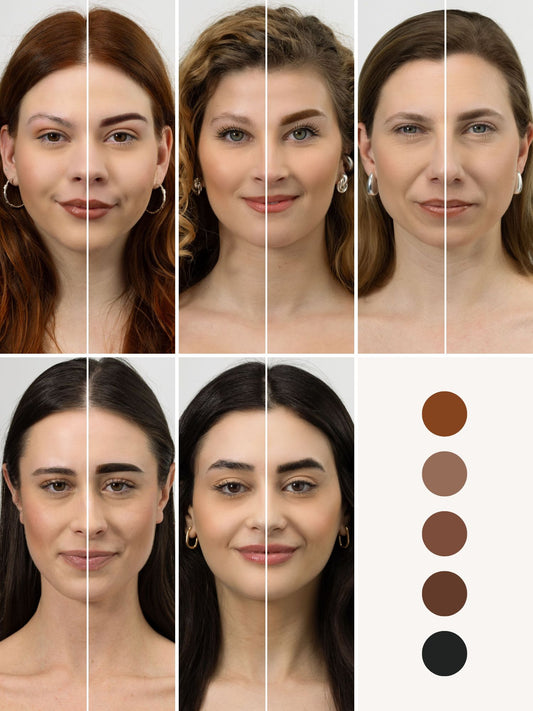
For Lighter Henna Shades (Blonde, Light Brown, Medium Brown):
Lighter pigments often need a little more help to "pop" on oily skin.
-
1 scoop of Supercilium Brow Henna.
-
15-20 drops total liquid: Use half Color Developer and half Color Booster.
For Darker Henna Shades (Dark Brown, Black, Auburn):
Darker pigments are naturally more intense, so they require a slightly more concentrated mix.
-
1 scoop of Supercilium Brow Henna.
-
10-15 drops total liquid: Use half Color Developer and half Color Booster.
Pro Artist Tip: Consistency is king. You are looking for a smooth, "melted chocolate" texture. In case your mixture is still too thick, you can always add a few extra drops of the Color Developer until it’s perfectly creamy.
-
Mix thoroughly for at least 60 seconds to ensure the booster is fully integrated.
-
Let it sit for 1 minute before applying to allow the pigments to fully activate.
Step 3: Application Techniques for Maximum Grip
The way you apply the product is just as important as what’s in the cup. For oily skin, we recommend the "Layering & Pressing" technique rather than a simple swipe.
-
The First Layer (The Anchor): Apply a very thin layer of henna and really press it into the skin using a Brow Brush. Don't just swipe horizontally; stipple or "stamp" the product so it gets past any remaining natural oils and deep into the pores.
-
The Second Layer (The Seal): Once the first layer is touch-dry (it should look matte), apply a second, thicker layer. This creates a "seal" that allows the pigment underneath to develop undisturbed by the air.
-
Extended Processing Time: For oily skin, don’t rush the process. Let the henna dry completely—this usually takes 15-20 minutes. The longer it stays on (within the safe recommended limit), the deeper the stain will penetrate.

Step 4: Aftercare is Non-Negotiable
You can perform a flawless treatment, but if your client goes home and uses a heavy oil-based cleanser or hits a steam room, that henna will be gone by morning. Aftercare education is 50% of the result.
The "No-Go" List for Oily-Skinned Clients:
-
No Water for 24 Hours: This is the golden rule. The henna needs time to fully oxidize and "set" into the skin cells. Water interrupts this process.
-
Avoid Oil-Based Products: This is the hardest one for oily-skinned beauties who often use oil-control products or oil cleansers. They must keep their face oils, heavy night creams, and cleansing oils far away from the brow area.
-
Exfoliation Break: While they likely love exfoliating to manage their oil, they need to skip the brow area completely. Every time they scrub, they are scrubbing away their beautiful henna stain.
-
Sun & Sweat: Advise against heavy workouts or saunas for the first 48 hours. Sweat is essentially salty water and oil, which are the two biggest enemies of henna.
Henna vs. Liquid Dye: Which is Better for Oily Skin?
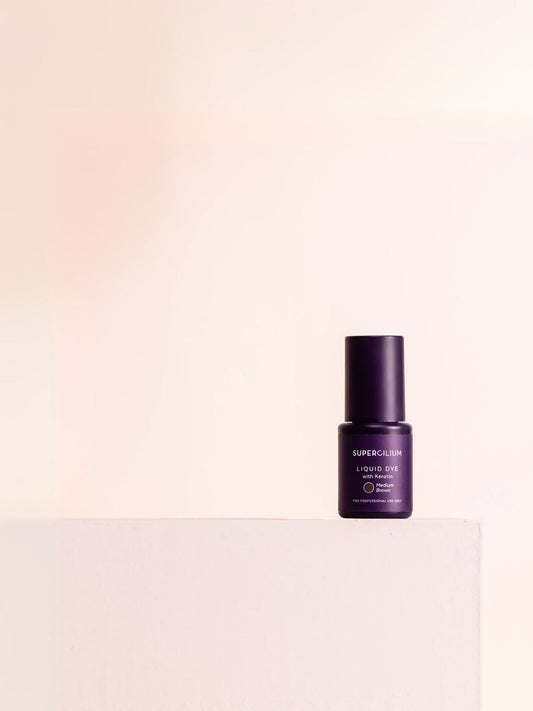
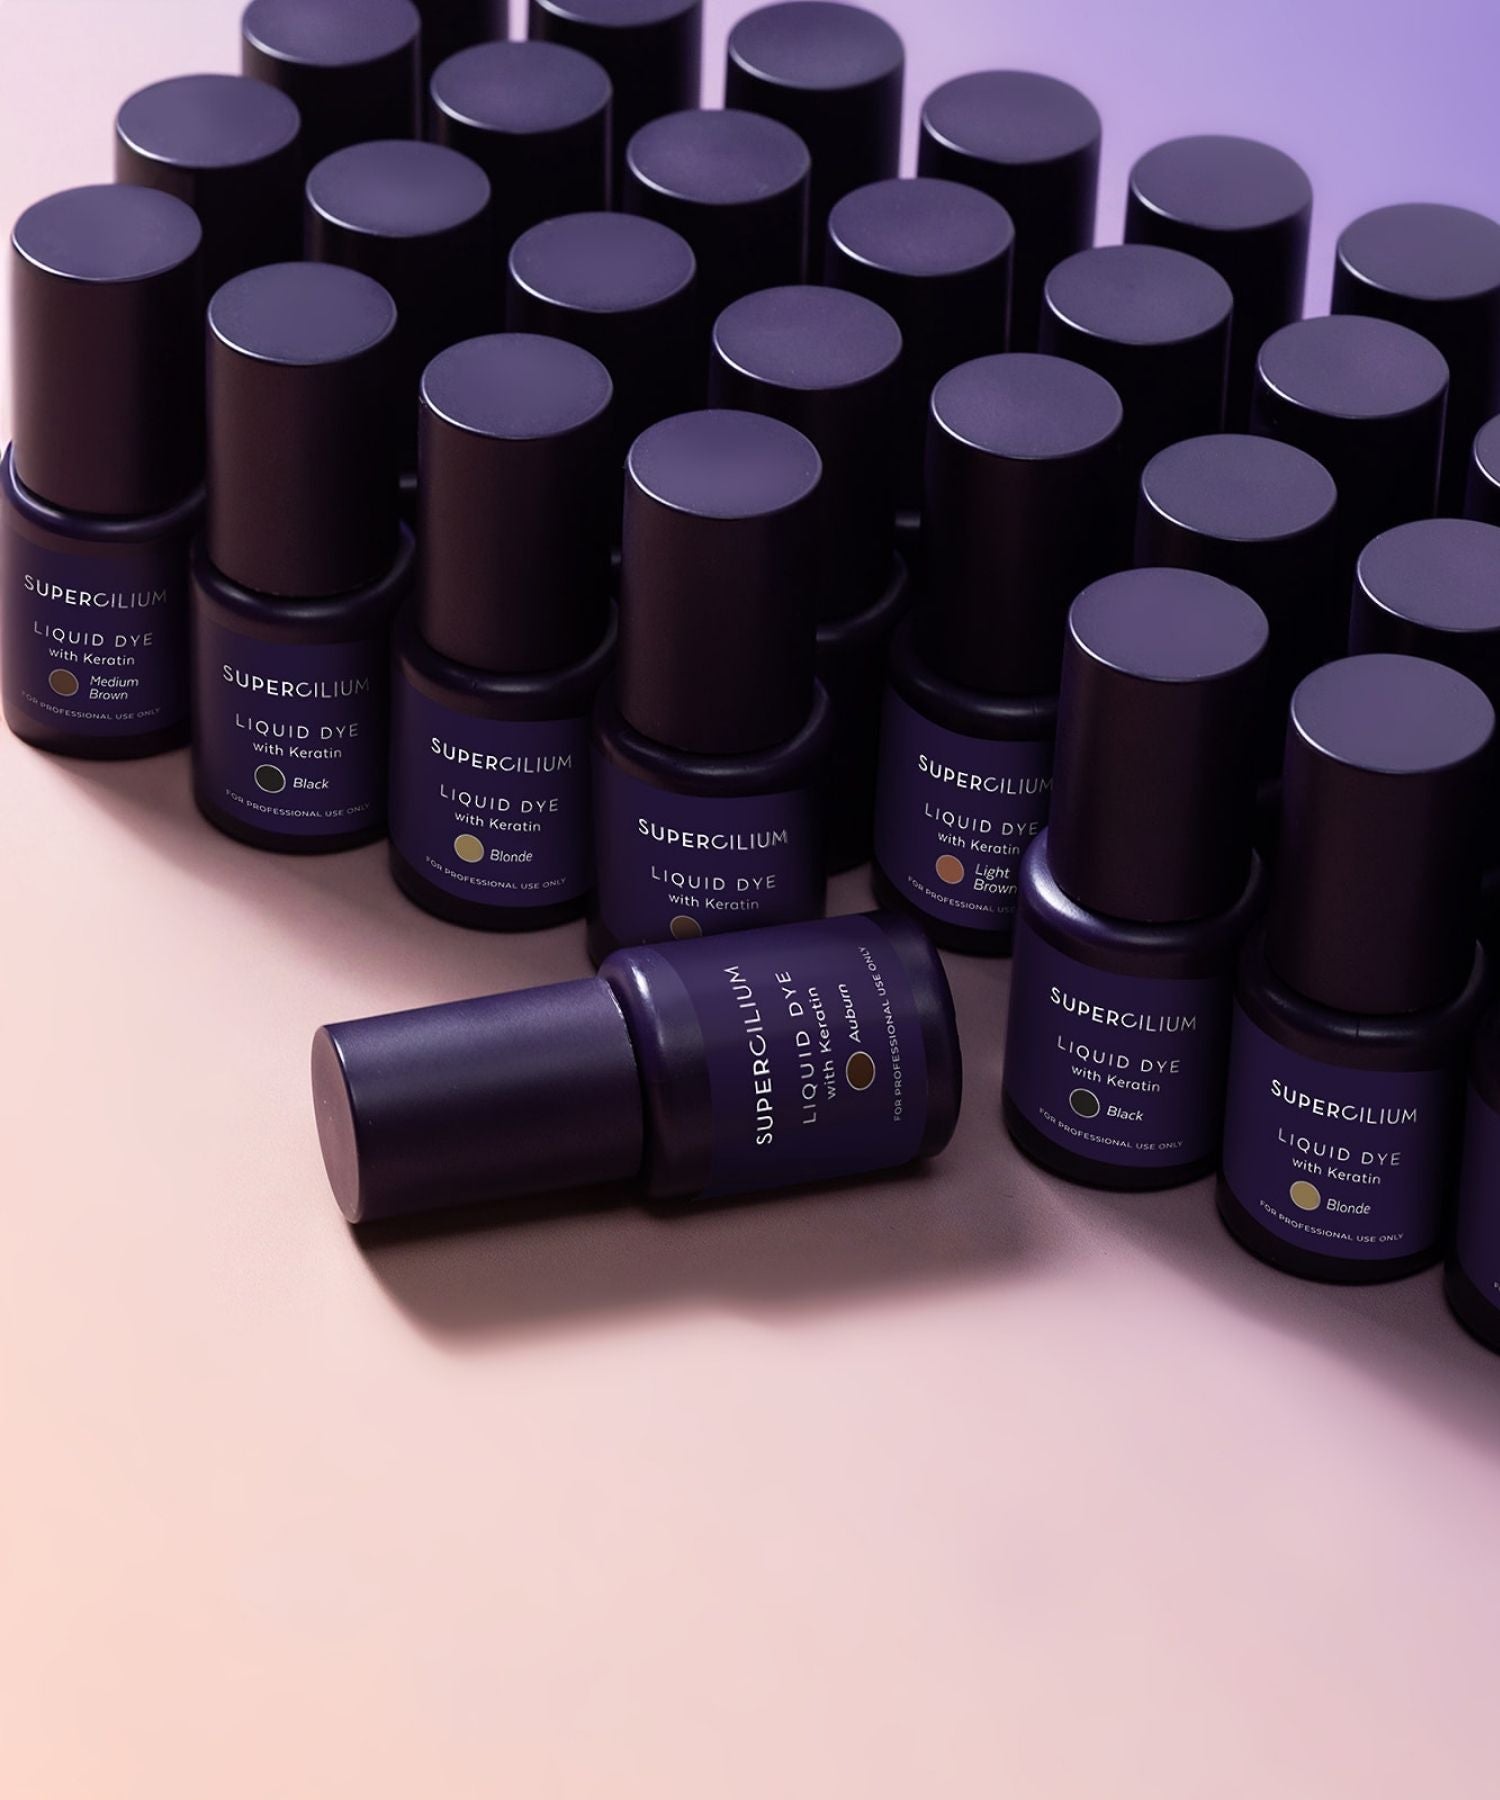
While this guide is all about making Henna last, it's worth noting that sometimes, Liquid Dye might be a better alternative for extremely oily clients.
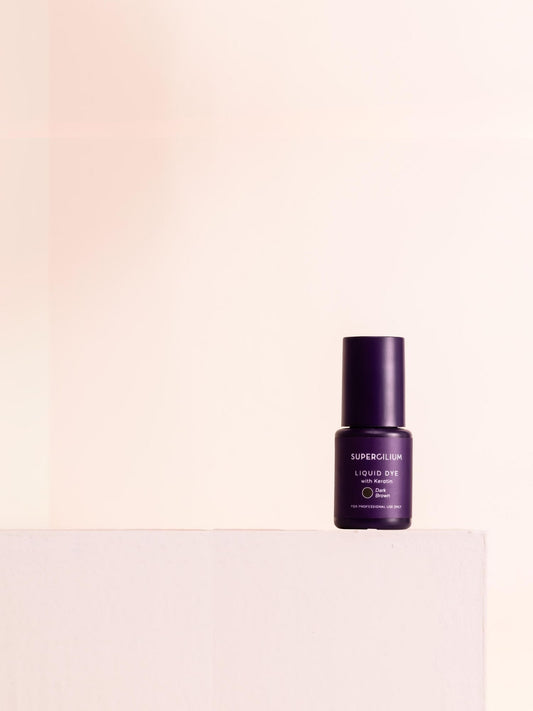
Liquid Dye with Keratin is a hybrid product. Because it uses a developer, it often has a slightly more "aggressive" tinting power on the skin compared to the traditional oxidation of henna. If you have a client who has tried the Oily Skin Henna Protocol and still finds the longevity lacking, suggest switching to Liquid Dye at their next appointment. It’s all about finding what works for each individual's unique skin chemistry!

Troubleshooting: What if it Still Fades?
Even with the best prep, some factors are outside our control. If you’ve used the Prep Peel Gel and the Color Booster trick and the stain still isn't sticking, consider these internal factors:
|
Factor |
Impact |
Solution |
|
Hormonal Changes |
Pregnancy or cycles can temporarily increase oil production. |
Manage expectations; suggest a shorter touch-up window. |
|
Daily Gym Habits |
Active clients who sweat heavily will naturally lose the stain faster. |
Suggest a brow sealer or switching to Liquid Dye. |
|
Skincare Actives |
Retinol, Vitamin C, or AHAs near the brow increase cell turnover. |
Advise stopping these actives 1 week before the appointment. |
Why You Should Offer "Oily Skin Specials"
Educating your clients on why their skin type requires extra care builds your authority as a Master Brow Artist. Instead of them being disappointed that their henna lasted 5 days instead of 10, explain the Prep Peel Gel process to them during the service.
When they see the extra steps you take such as the specialized peeling, the booster drops, and the careful layering, they realize they aren't just getting a "standard" tint. They are getting a bespoke treatment tailored to their biology. This is how you turn a one-time walk-in into a loyal, lifelong client.

Elevate Your Brow Career
Mastering the art of working with oily skin is a rite of passage for every professional brow artist. By incorporating the Color Booster hack and ensuring a deep chemical exfoliation with the Prep Peel Gel, you provide a premium service that sets you apart from the competition.
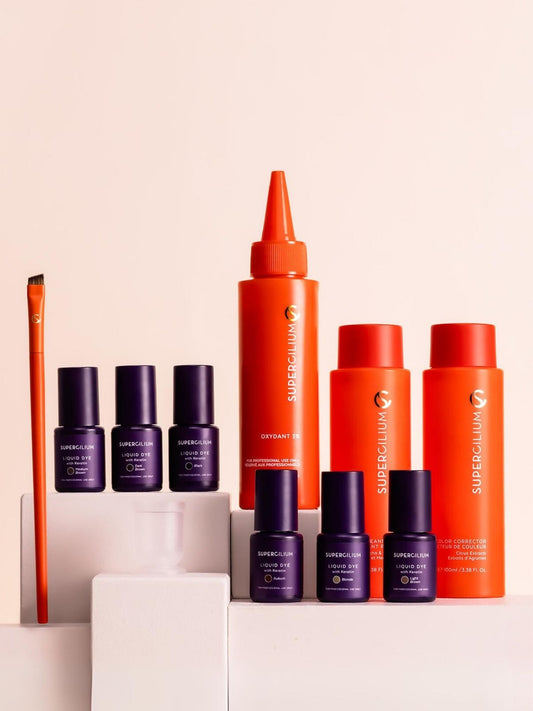
Ready to upgrade your kit? Shop our Brow Care essentials today and start giving your oily-skinned clients the long-lasting, stunning results they’ve been dreaming of.
Master the art of the brow
Check out our Certified Brow Henna course in the Supercilium Academy and learn everything on the latest brow treatment and techniques!