Lash Lift: How to use the best Lash Lift and Tint Kit
written byRafaela Tessari
In This Article
What’s inside of the Lash Lift Kit?
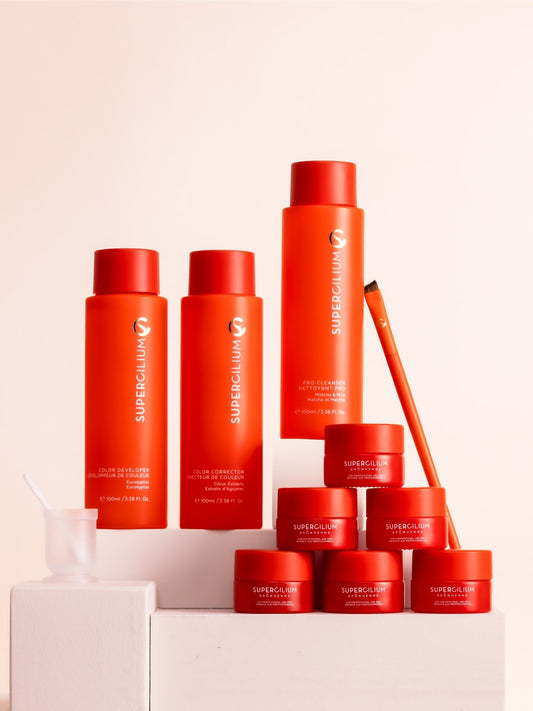
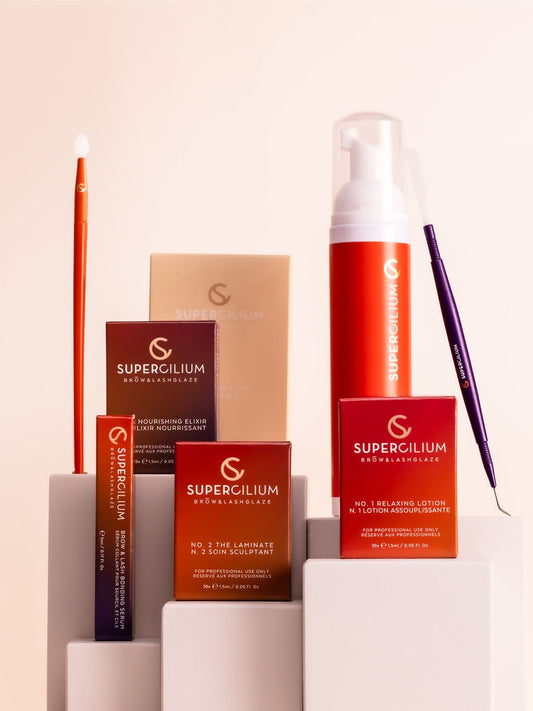
Let’s take a look at what’s inside this amazing Lash Lift Kit. If you’re just starting out, I highly recommend getting the Glaze Kit because it has everything you need for both Lash and Brow Lifts. You can do up to 40 treatments with it, and it’s completely vegan!
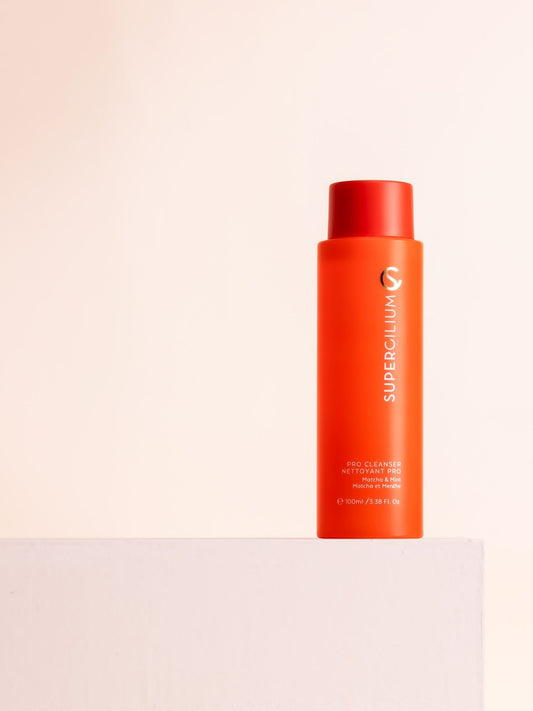
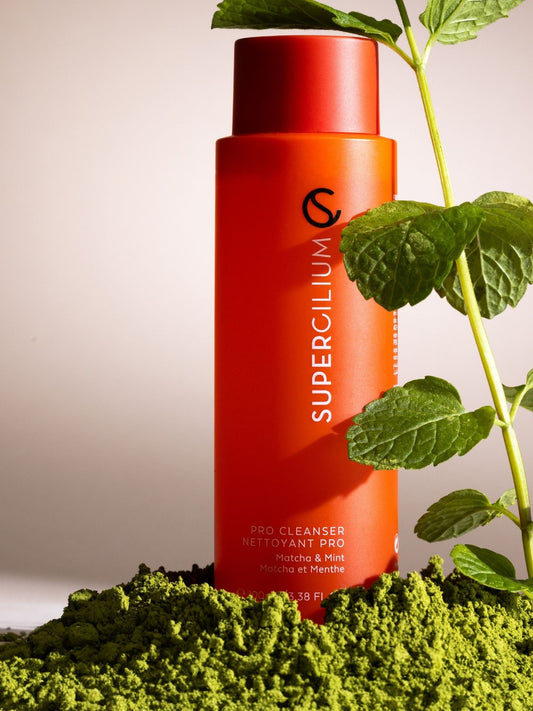
Yes, you read that right, our formula has been recently updated to a vegan one, just as you wished. It’s safe, gentle, and effective, so you can feel confident using it on your clients! We’ve even improved the cleanser in the kit to a Foam Cleanser, which is super gentle on the delicate eye area. While our Pro Cleanser is super strong in cleaning the brows, the Foam Cleanser is specifically designed for both brows & lashes. Let’s look at all the products you’ll find there:
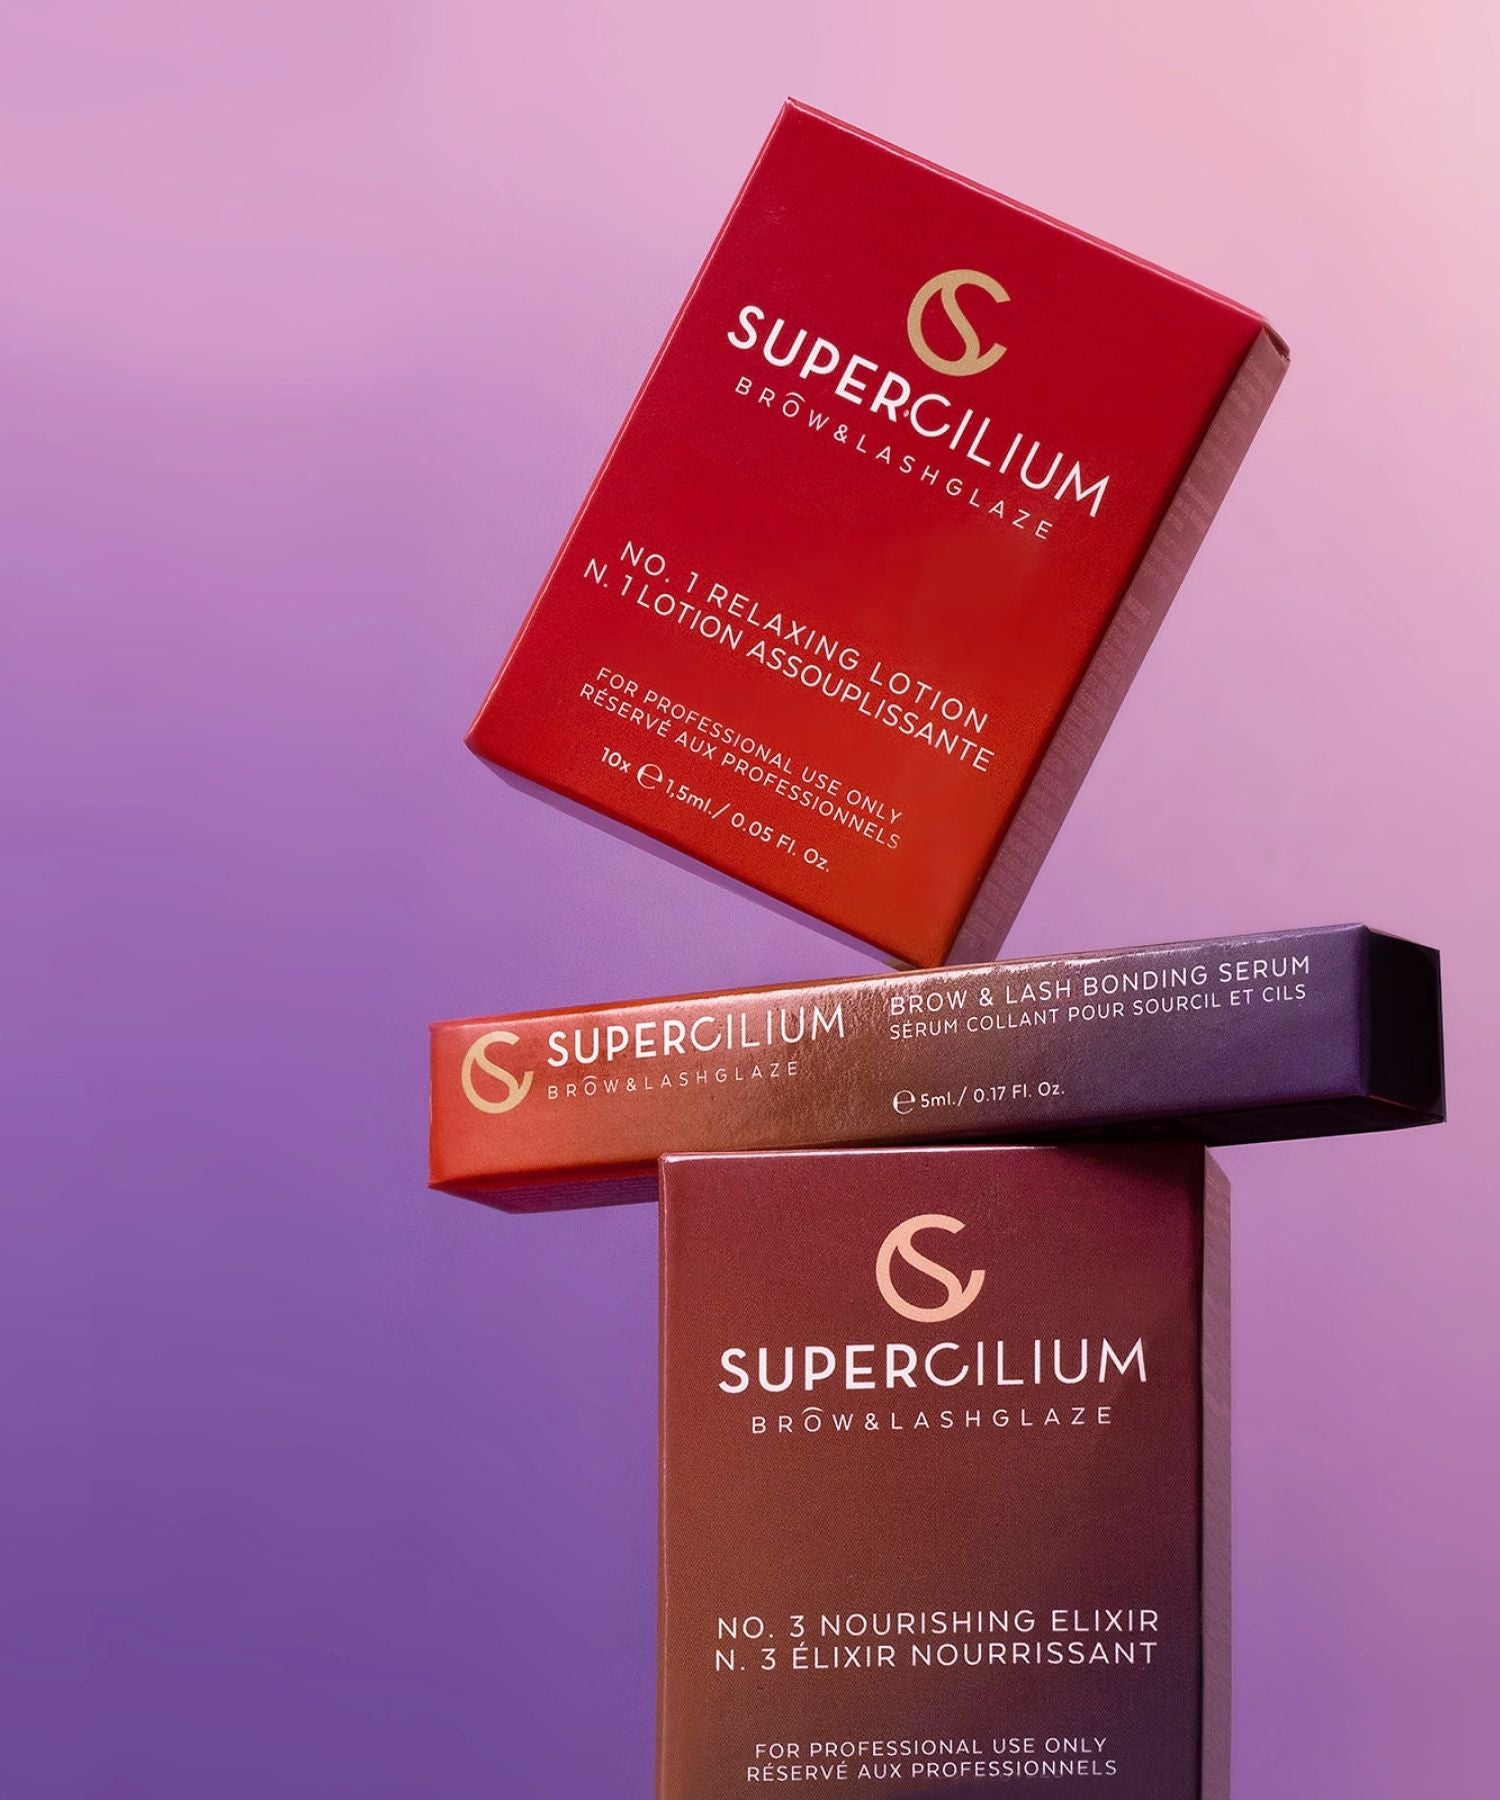
No. 1 Relaxing Solution
The No. 1 Relaxing Solution is the first step in the Brow Lamination and Lash Lifting process. This step prepares the hairs by softening them, making them flexible and ready for styling. Here’s why you’ll love it:
- Vegan formula
- Mild scent (Compared to other lamination products, they don't always smell great, do they?)
- Super effective
With just a few minutes of processing time, the hairs are ready to be shaped in the perfect direction!
No. 2 The Laminate
The No. 2 The Laminate is the second step in the Brow Lamination and Lash Lift process. It uses light chemicals to straighten the hairs and lock them into their new position for a semi-permanent result.
- Gentle, effective, and cruelty-free
- Secures the shape for up to 8 weeks
- Smooth results
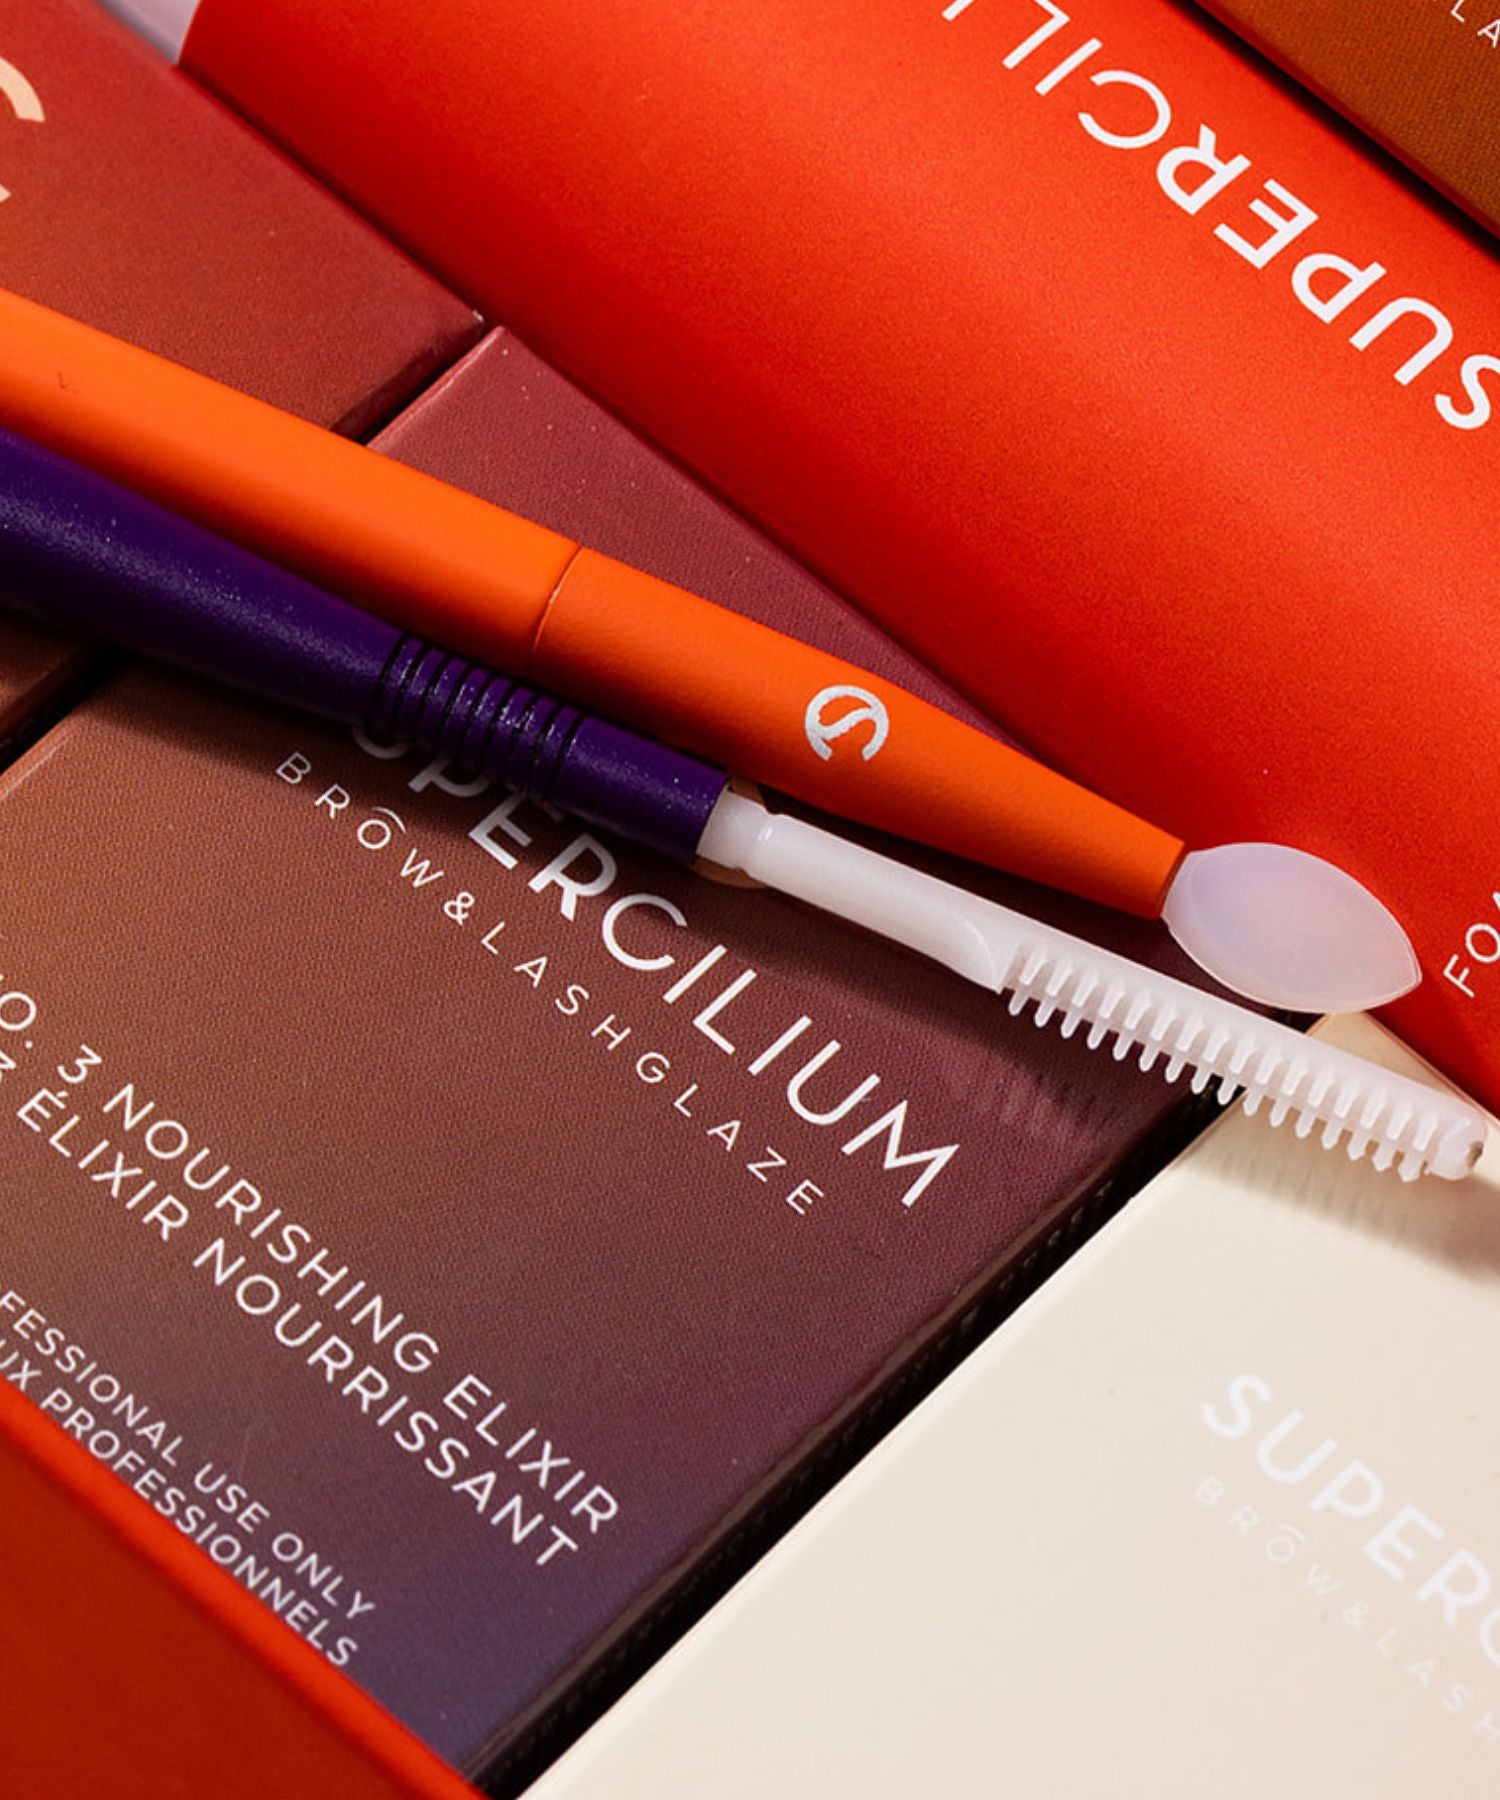
No. 3 Nourishing Elixir
The Nourishing Elixir is the final step of your Lash and Brow Lift treatment. This powerful lotion deeply moisturizes and nourishes the hairs, restores their structure, stimulates growth, and protects them from external stressors. It’s a real superhero!
But that’s not all, this elixir can also be used to prepare brows before applying Liquid Dye. It nourishes the brows, ensuring the dye doesn’t absorb too intensely or quickly, giving the hairs some extra love and care.
Monika calls it a “Vitamin Cocktail” because it’s packed with nourishing ingredients. As she says:
"Of course, do not forget to offer your client SUPERCILIUM NO. 3 for brow and lash nutrition. It does wonders!"
Why give Supercilium No. 3 to your clients?
Here’s a tip: after using the Nourishing Elixir during their treatment, seal it up and give it to your client to take home as a freebie. It’s perfect for helping them maintain their brows and lashes after the appointment, keeping them healthy and hydrated until their next visit. Plus, this small gesture adds an extra layer of care to their experience, building loyalty and trust in your services!

Last but not least..
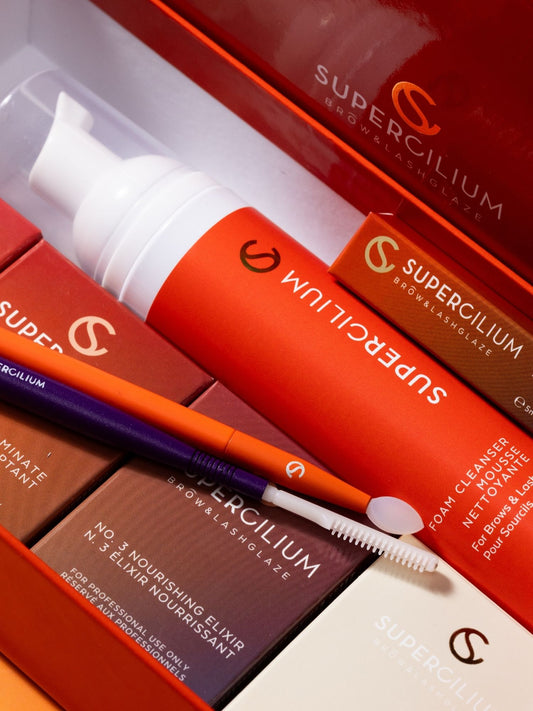
In the Lash Lift Kit, you’ll also find a Bonding Serum to keep lashes perfectly in place, a Lash Lift Tool to help position them just right, and a Silicon Brush for seamless product application. It also includes a gentle Foam Cleanser to prep lashes and brows and a full set of Lash Shields in three sizes (S, M, and L) to suit every eye shape and lash length. Everything you need for stunning results is right inside the kit. But how to use it? Keep reading!
How to use Lash Lift Kit (combined with Liquid Dye)
-
Prep the lashes:
Start by cleansing the lashes with the Foam Cleanser to remove any oils or residue. Monika recommends avoiding acidic peels, so our Foam Cleanser is perfect. Find the right-sized Lash Shield (S, M, or L) to the eyelid and use the Bonding Serum to attach the lashes to the shield, ensuring they’re neatly positioned. -
Apply No. 1 Relaxing Solution:
Apply the Relaxing Solution to the lashes to soften them, making them flexible for shaping. As Monika suggests, place the lashes on the shield first, saving time while prepping. Leave the solution on for the recommended time, then gently remove. Don’t apply it all the way on the beginning of the hairline, but start a bit later. -
Shape with No. 2 Laminate:
Brush the lashes into the desired lifted position and apply the Laminate to lock the shape in place. After processing, remove the solution gently. You can test if the lashes are ready by lifting one hair from the lash shield. Is it bouncing back right away to the new lifted shape? You’re ready! Do they stay upwards and away from the shield? Then they need some more time. -
Finish with No. 3 Nourishing Elixir:
Apply the Nourishing Elixir to hydrate and protect the lashes. Monika's tip: "Once I’ve applied the vitamin cocktail, I do not wipe it off. Instead, I apply a thin layer of tint directly on top. The lashes tint beautifully, the tint is easier to remove, and the procedure becomes much faster!" -
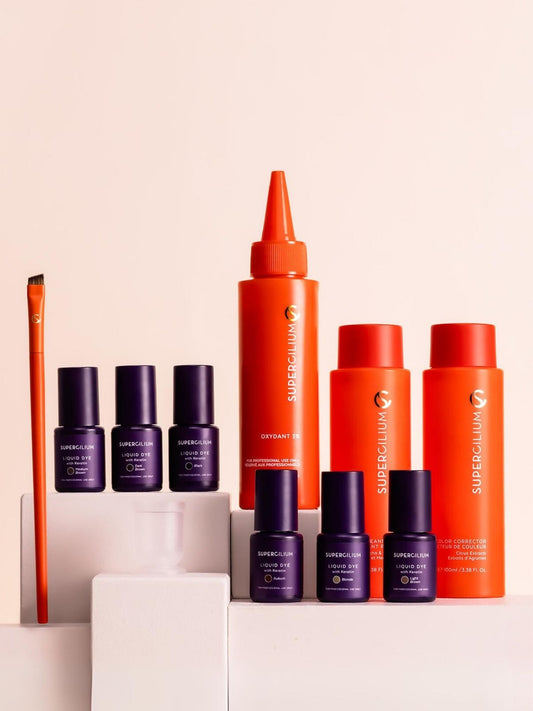
Tint with Liquid Dye:
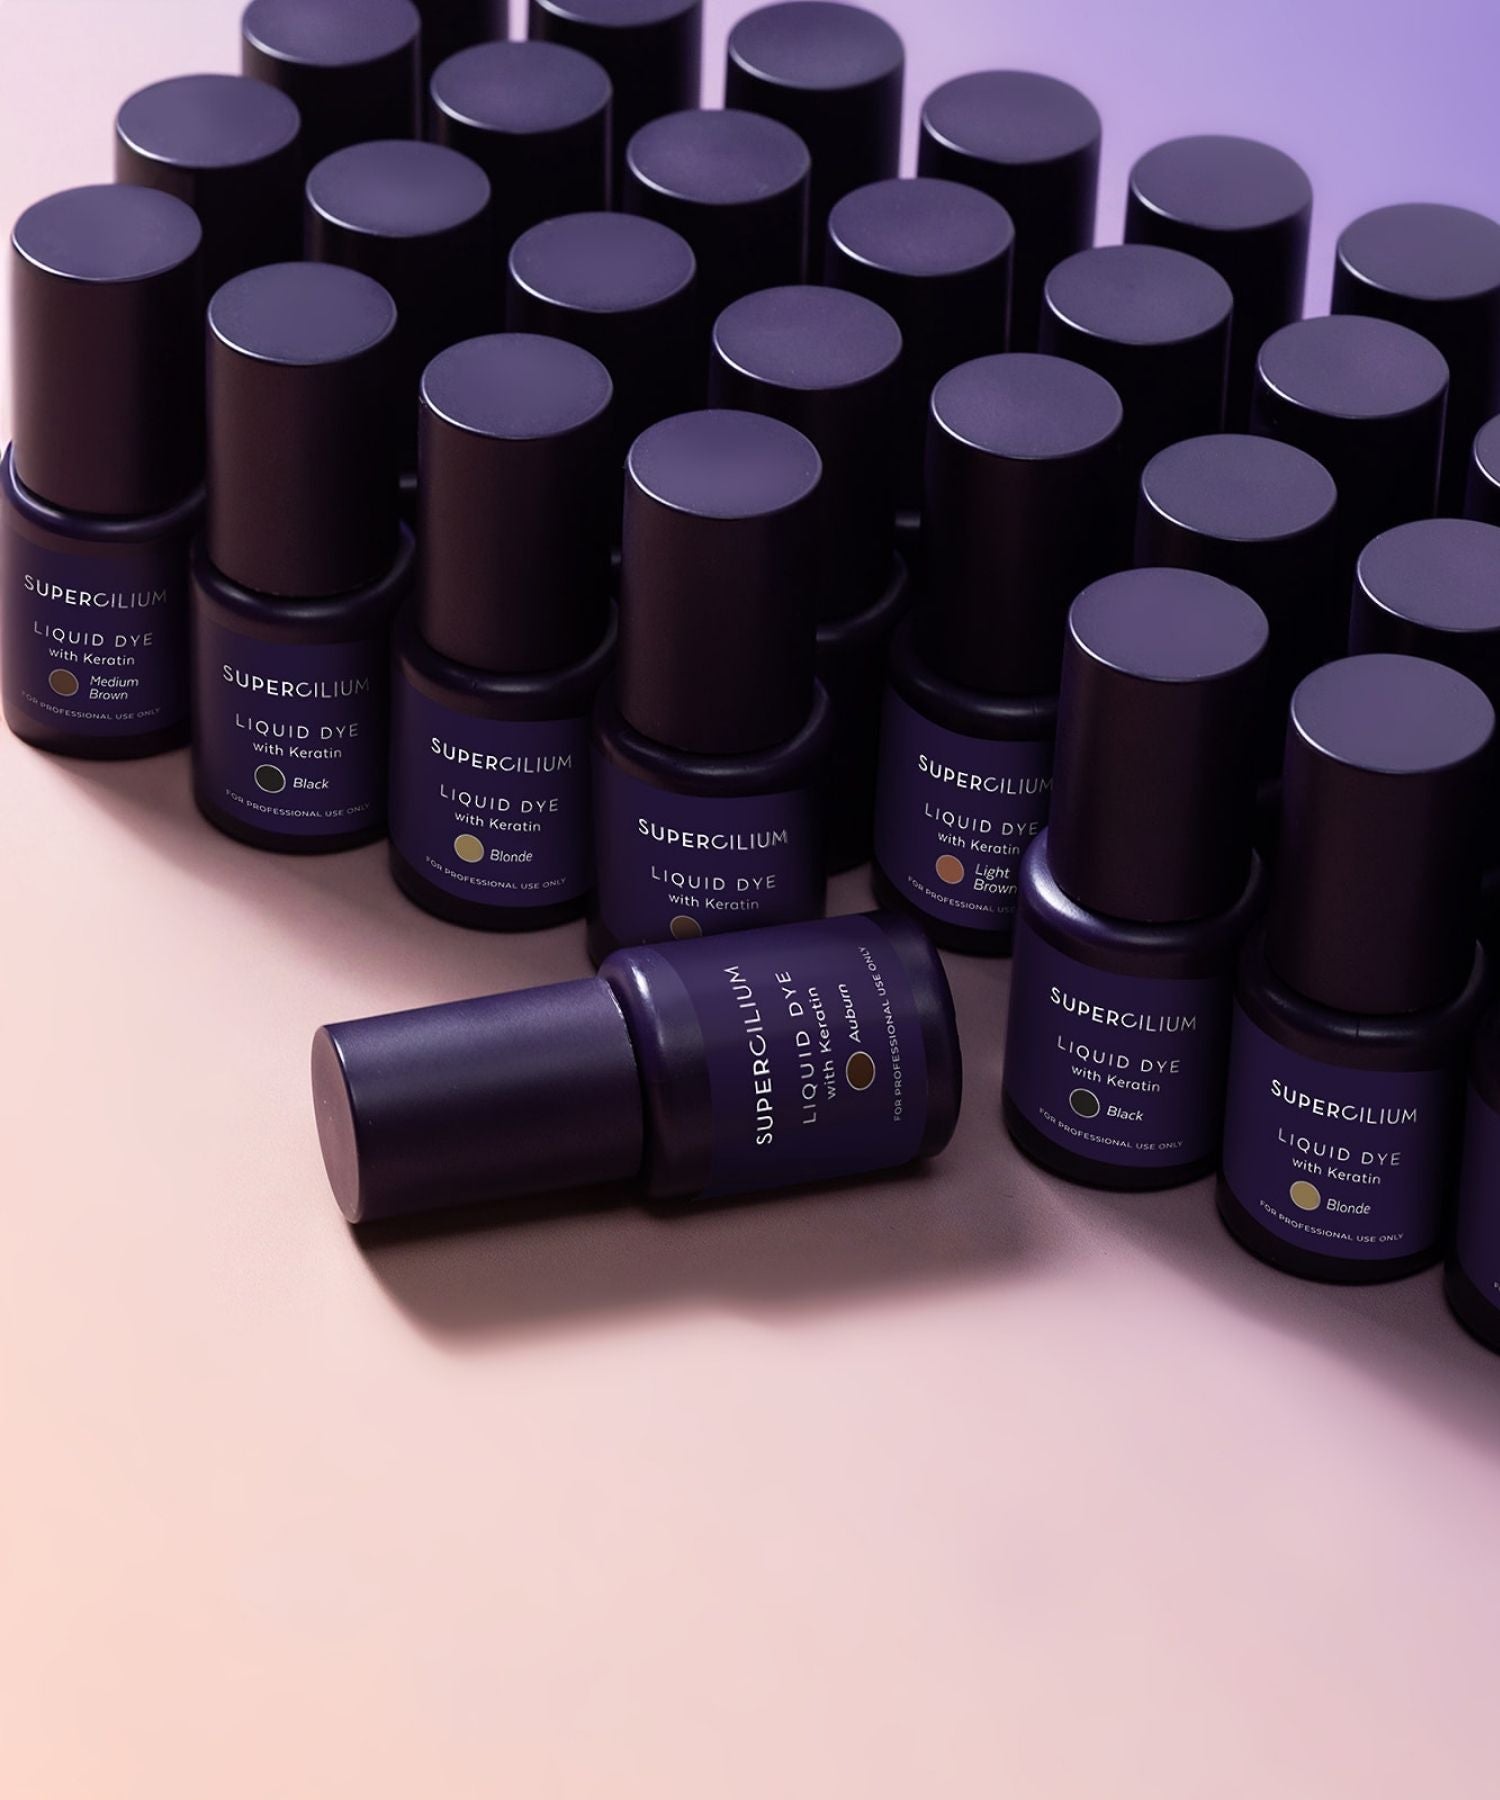
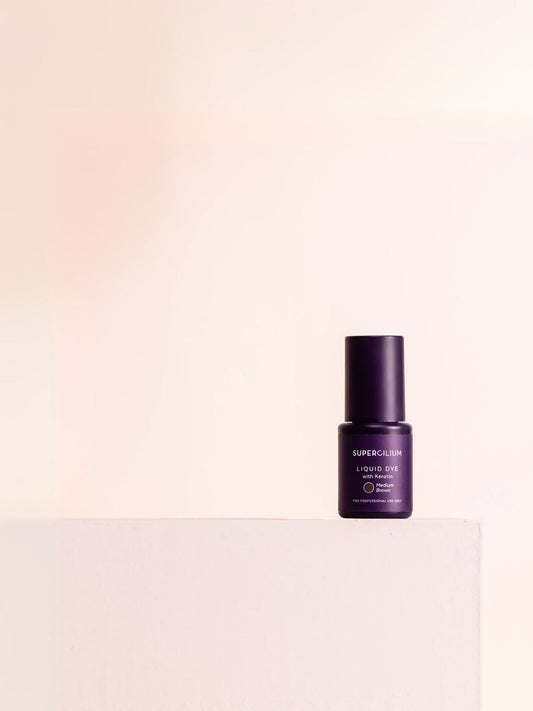
After the Nourishing Elixir, layer on Liquid Dye for a perfectly tinted finish. Its gentle formula works seamlessly with the lamination process, giving lashes a beautiful, long-lasting color. Elixir No. 3 will ensure that the lashes absorb the dye as much as possible. Many professionals prefer skipping Elixir No.3, but for lashes, we highly recommend using it since the lashes are more fragile than brows. -
Pro Aftercare Tip:
Send your clients home with No. 3 Nourishing Elixir sachet as an aftercare freebie to keep their lashes hydrated and nourished. It’s the perfect way to ensure they maintain healthy, stunning lashes until their next appointment.
With the Glaze Kit and Liquid Dye, you’ll create lifted, tinted lashes your clients will love, all while saving time and ensuring top-notch results! And of course, you can use both products to dye and laminate the brows too. What a win! Watch a quick video from Monika using Glaze Kit and Liquid Dye:
Why Lash Lift & Tint is the trend of 2025
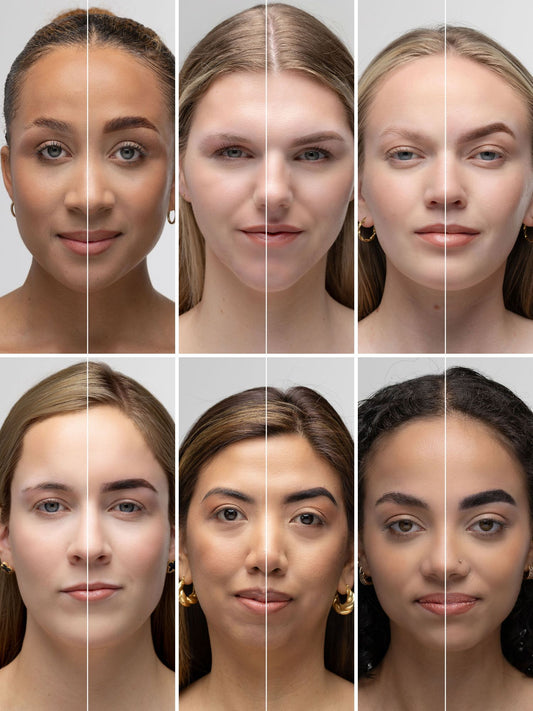
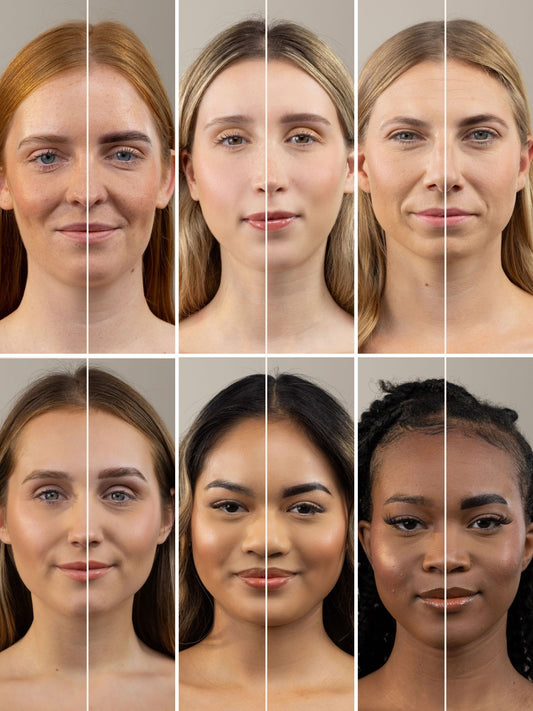
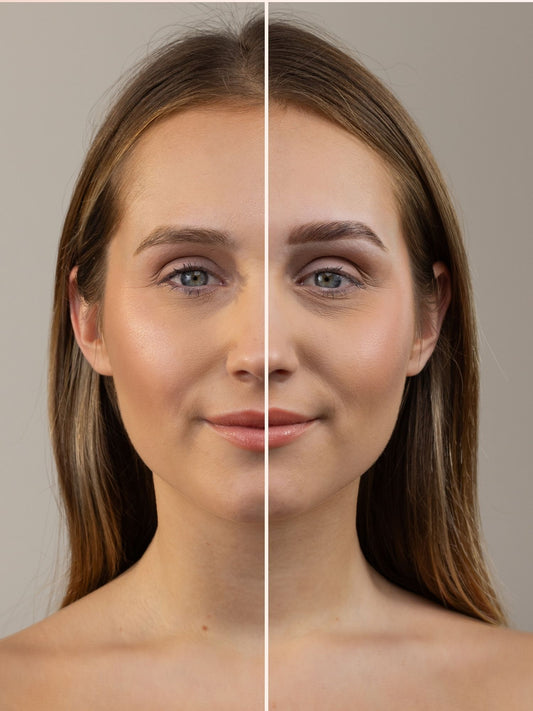
Lash Lifts and Tints are the ultimate beauty trend for 2025, and it’s easy to see why. Clients are ditching heavy mascaras and lash extensions in favor of natural, low-maintenance options. A Lash Lift with Lash Tint gives the appearance of longer, darker, and perfectly curled lashes, lasting for weeks without daily touch-ups and way easier to cleanse.
By combining two treatments in one kit, you save time, money and simplify your services without compromising on results. Look at this cute graphic made by Monika for you and don’t forget to follow her on Instagram for some Lash Lift inspo: @monikarimkute.pmu
How long does a Lash Lift and Tint last?
Wanna know more about Brow Lamination?

