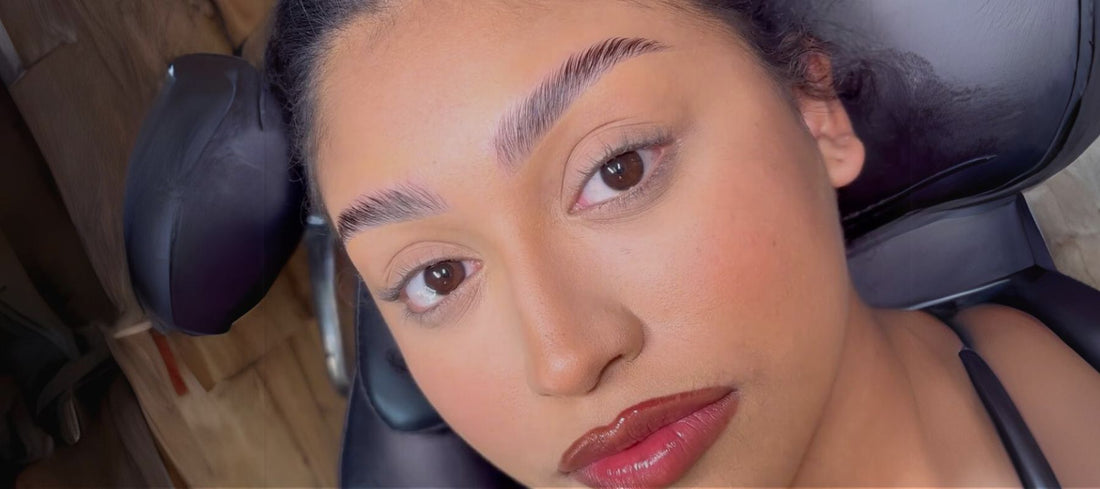
Guide: Combining Brow Lamination & Liquid Dye
written byŽaneta Mlčáková
In This Article
Why should you combine Brow Lamination and Liquid Dye
Want to achieve a defined and full eyebrow look? Say goodbye to multiple appointments: you can combine Brow Lamination and Liquid Dye in one! This super compatible duo isn't just about efficiency; it's about creating a flawless brow look that your clients will always come back for in your brow salon. It’s by far our favorite brow treatment. And for a fact, clients around the world love it too!
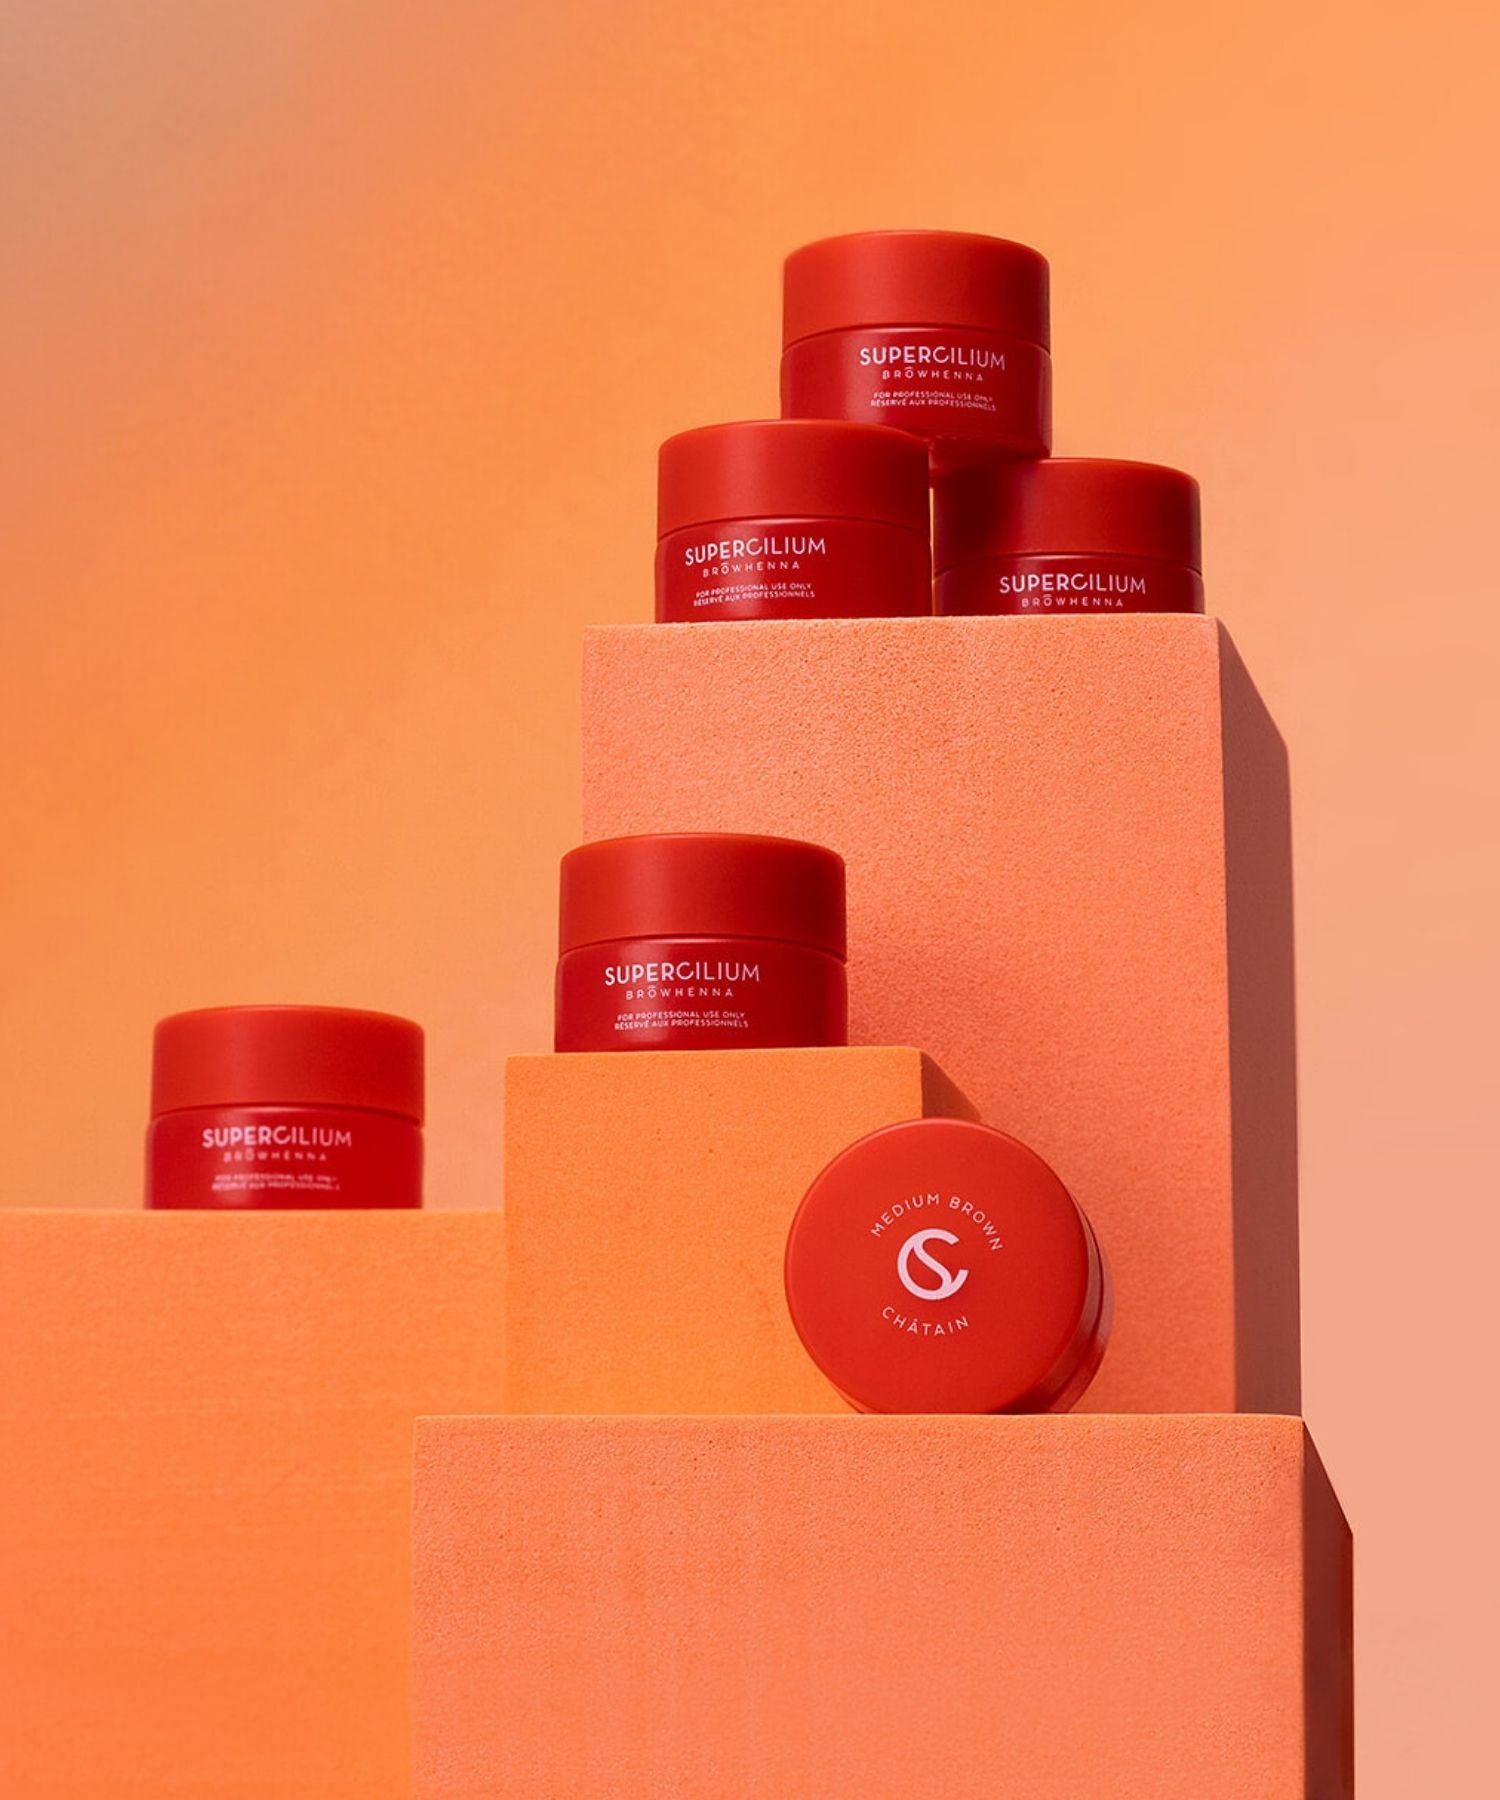
Why not combine Brow Lamination and Brow Henna?
One of the crucial elements of a any brow treatment? Keeping them brows healthy! That's why we're always cautious when it comes to the blend of Eyebrow Lamination and Brow Henna dye in a single treatment. Both Lamination and Brow Henna can be heavy for brow hairs, and combining them could cause trouble. Since both together are just too harsh for the hair.
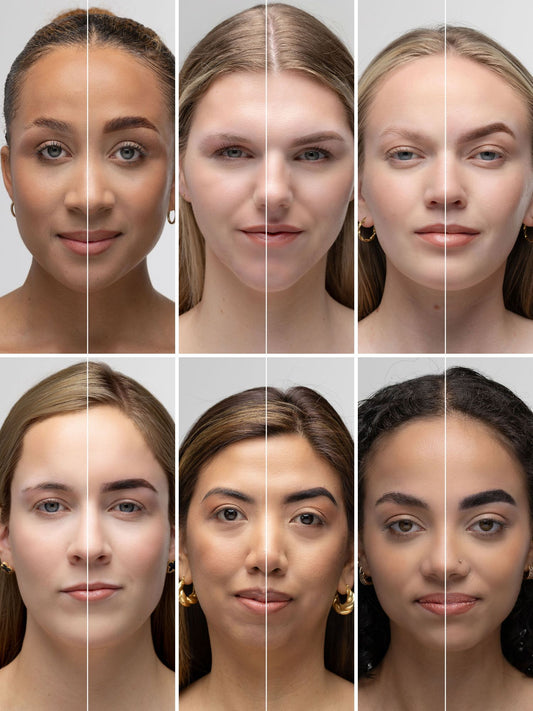
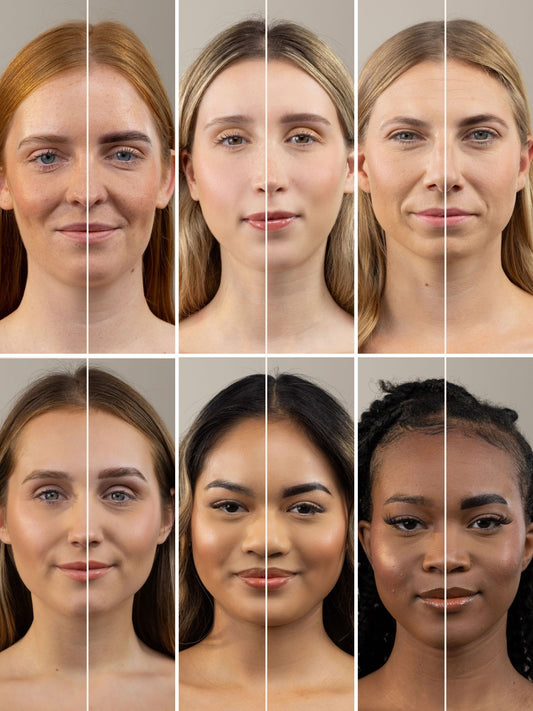
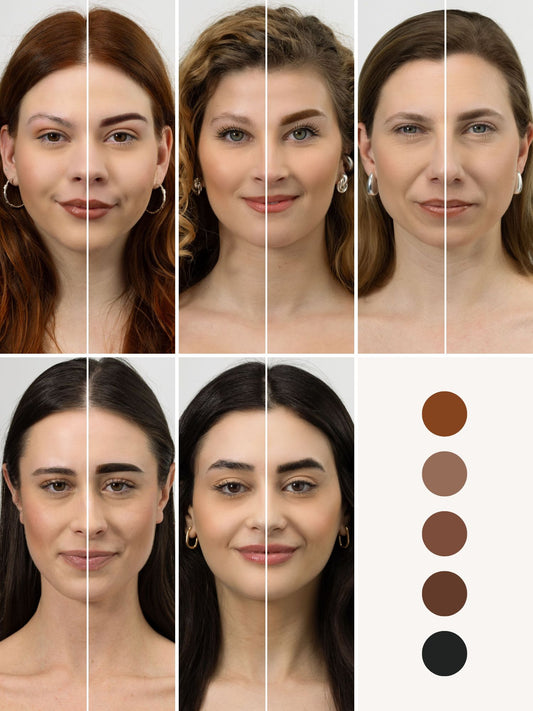
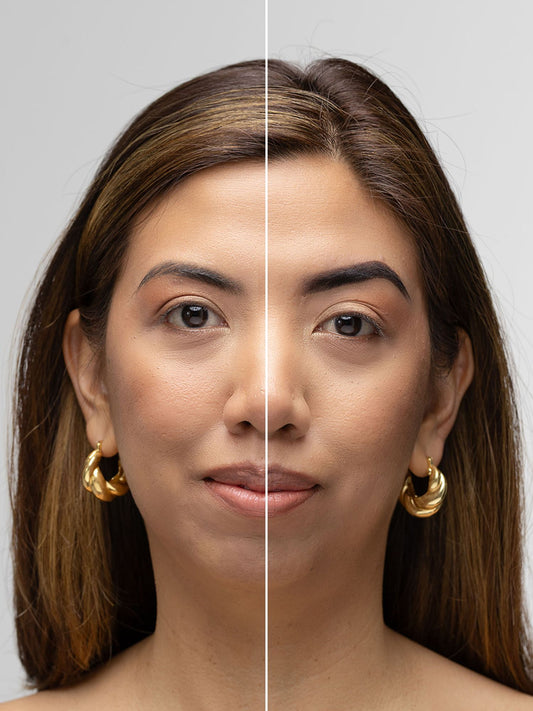
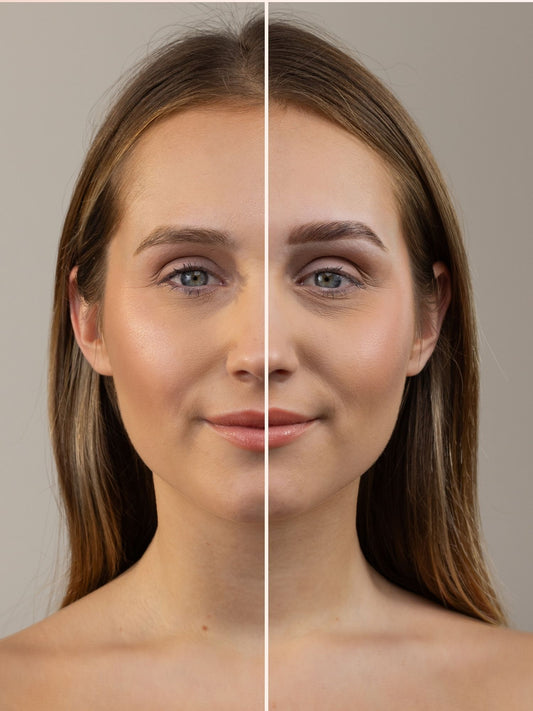
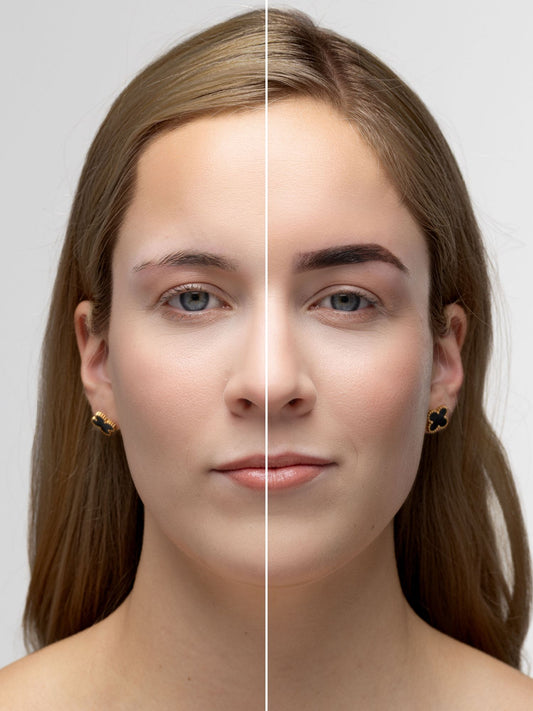
But the Liquid Dye with Keratin is allowing you to seamlessly combine it with Brow Lamination in a single treatment. What's the result? Beautifully dyed and laminated brows, defined, full, fluffy, but also healthy and nourished brows. Yes, all of it!
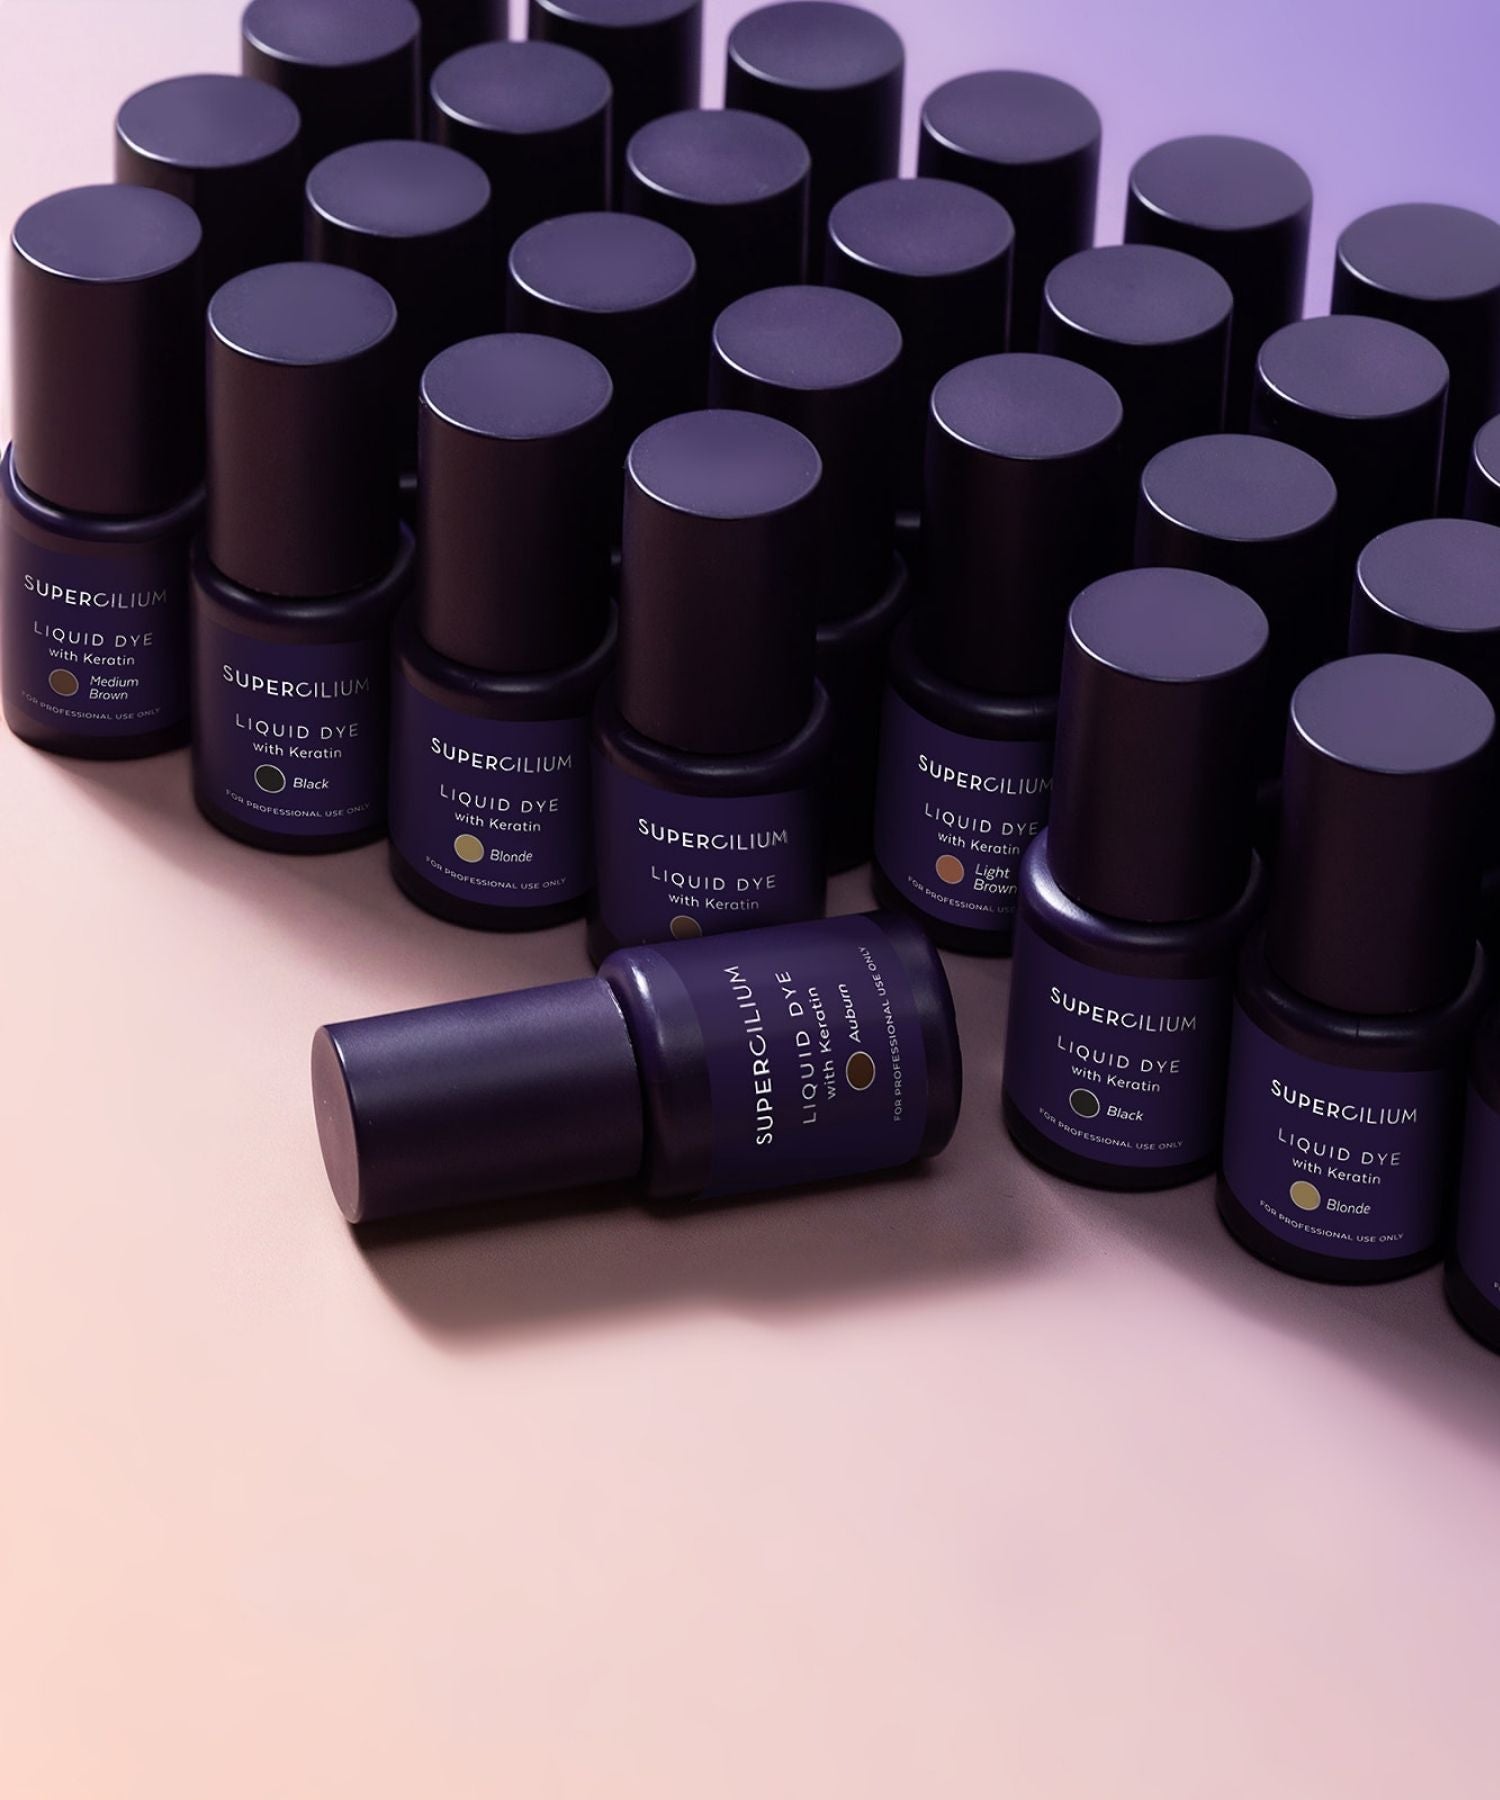
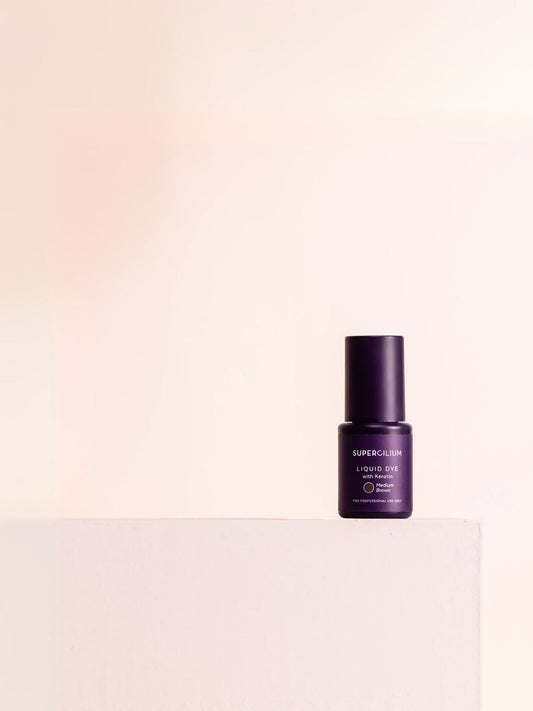
Meet Liquid Dye with Keratin
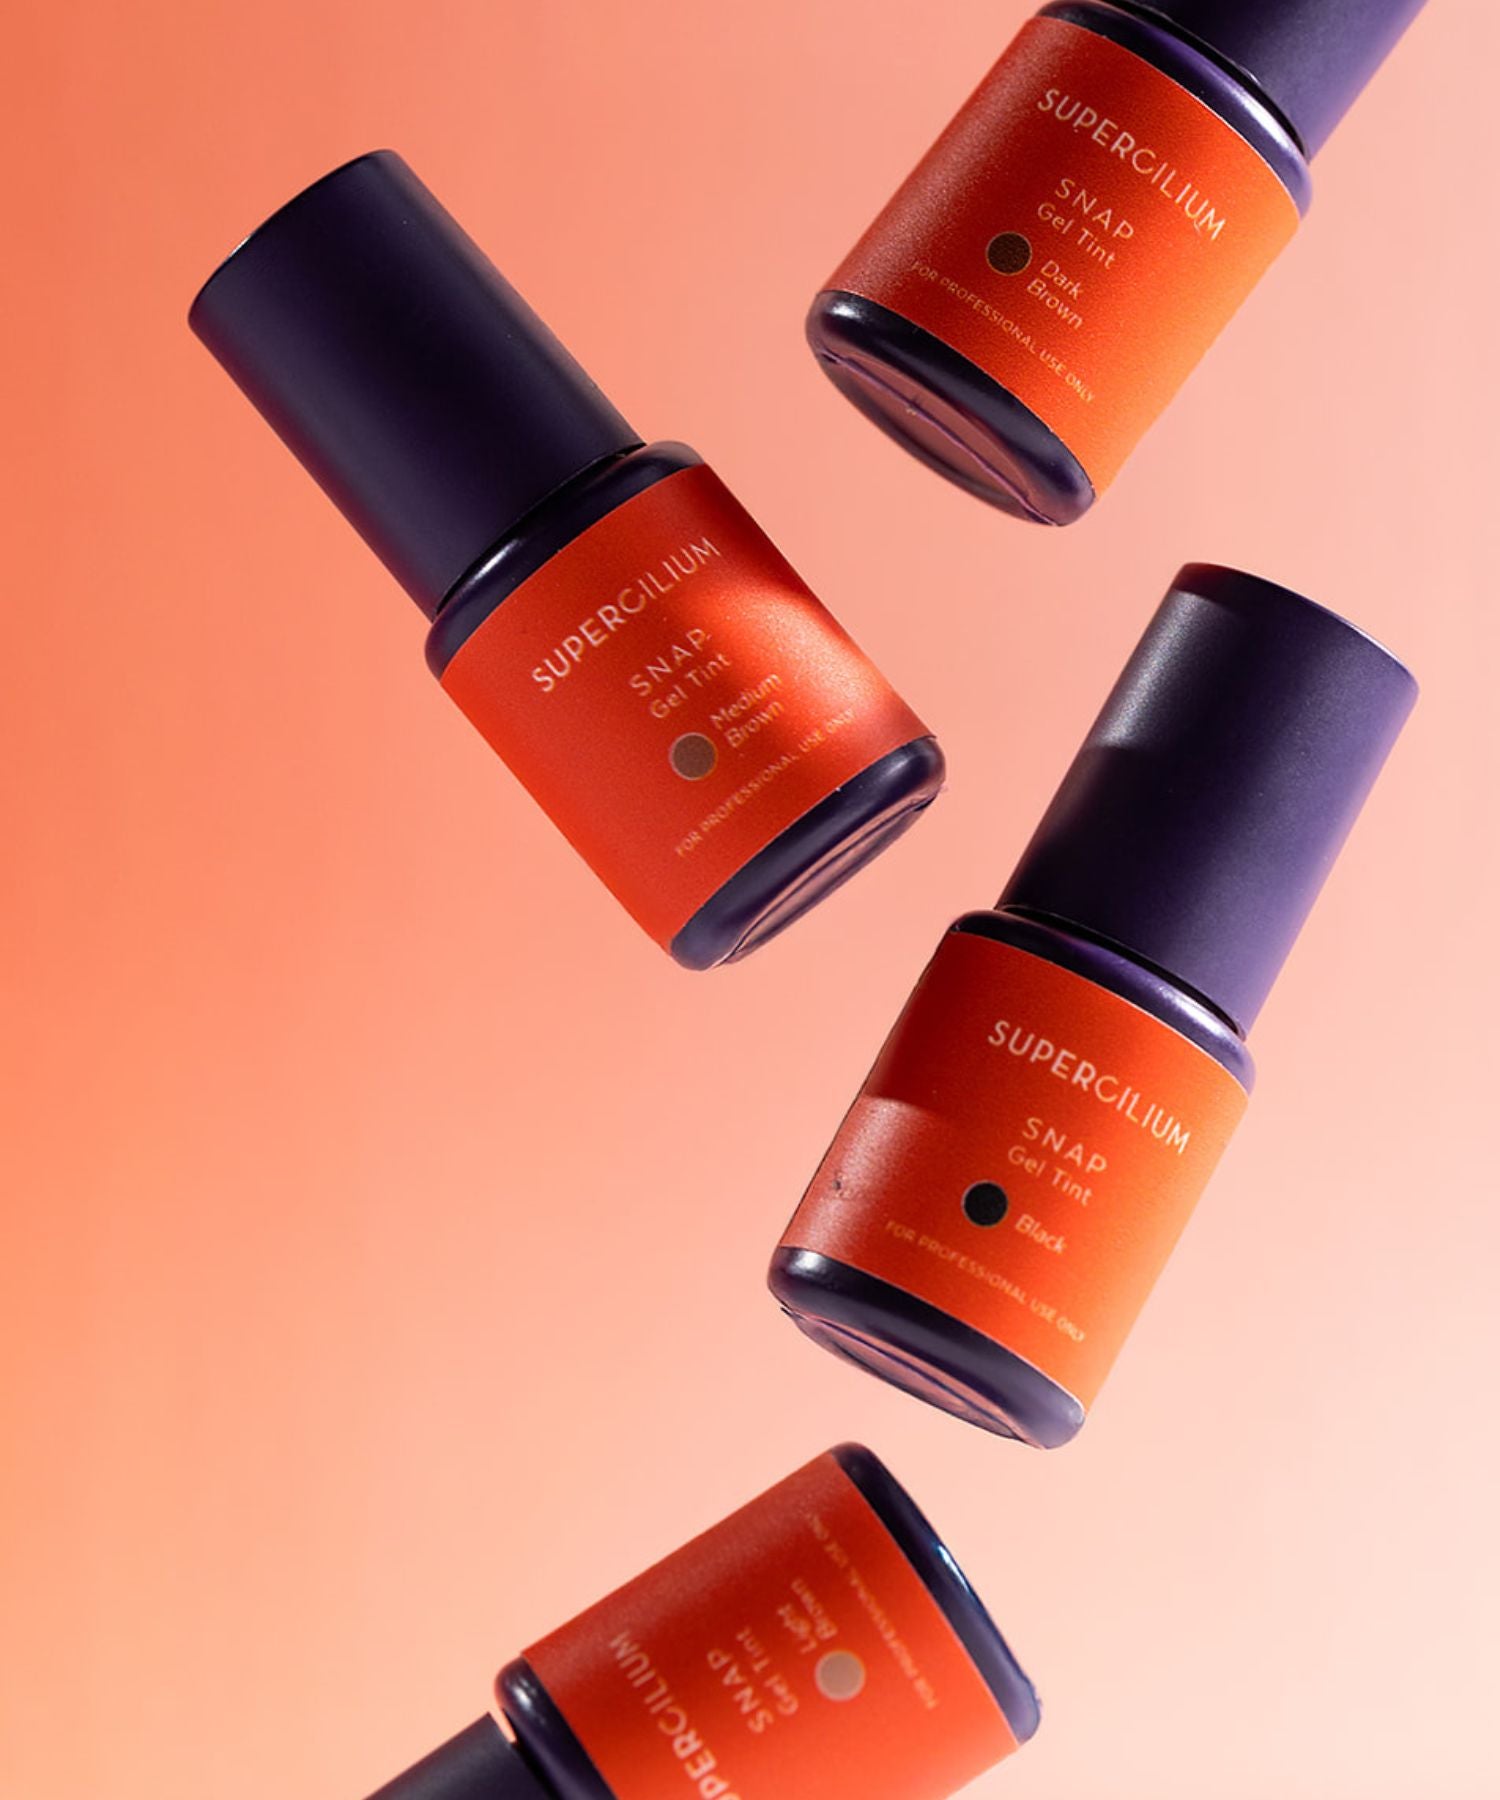
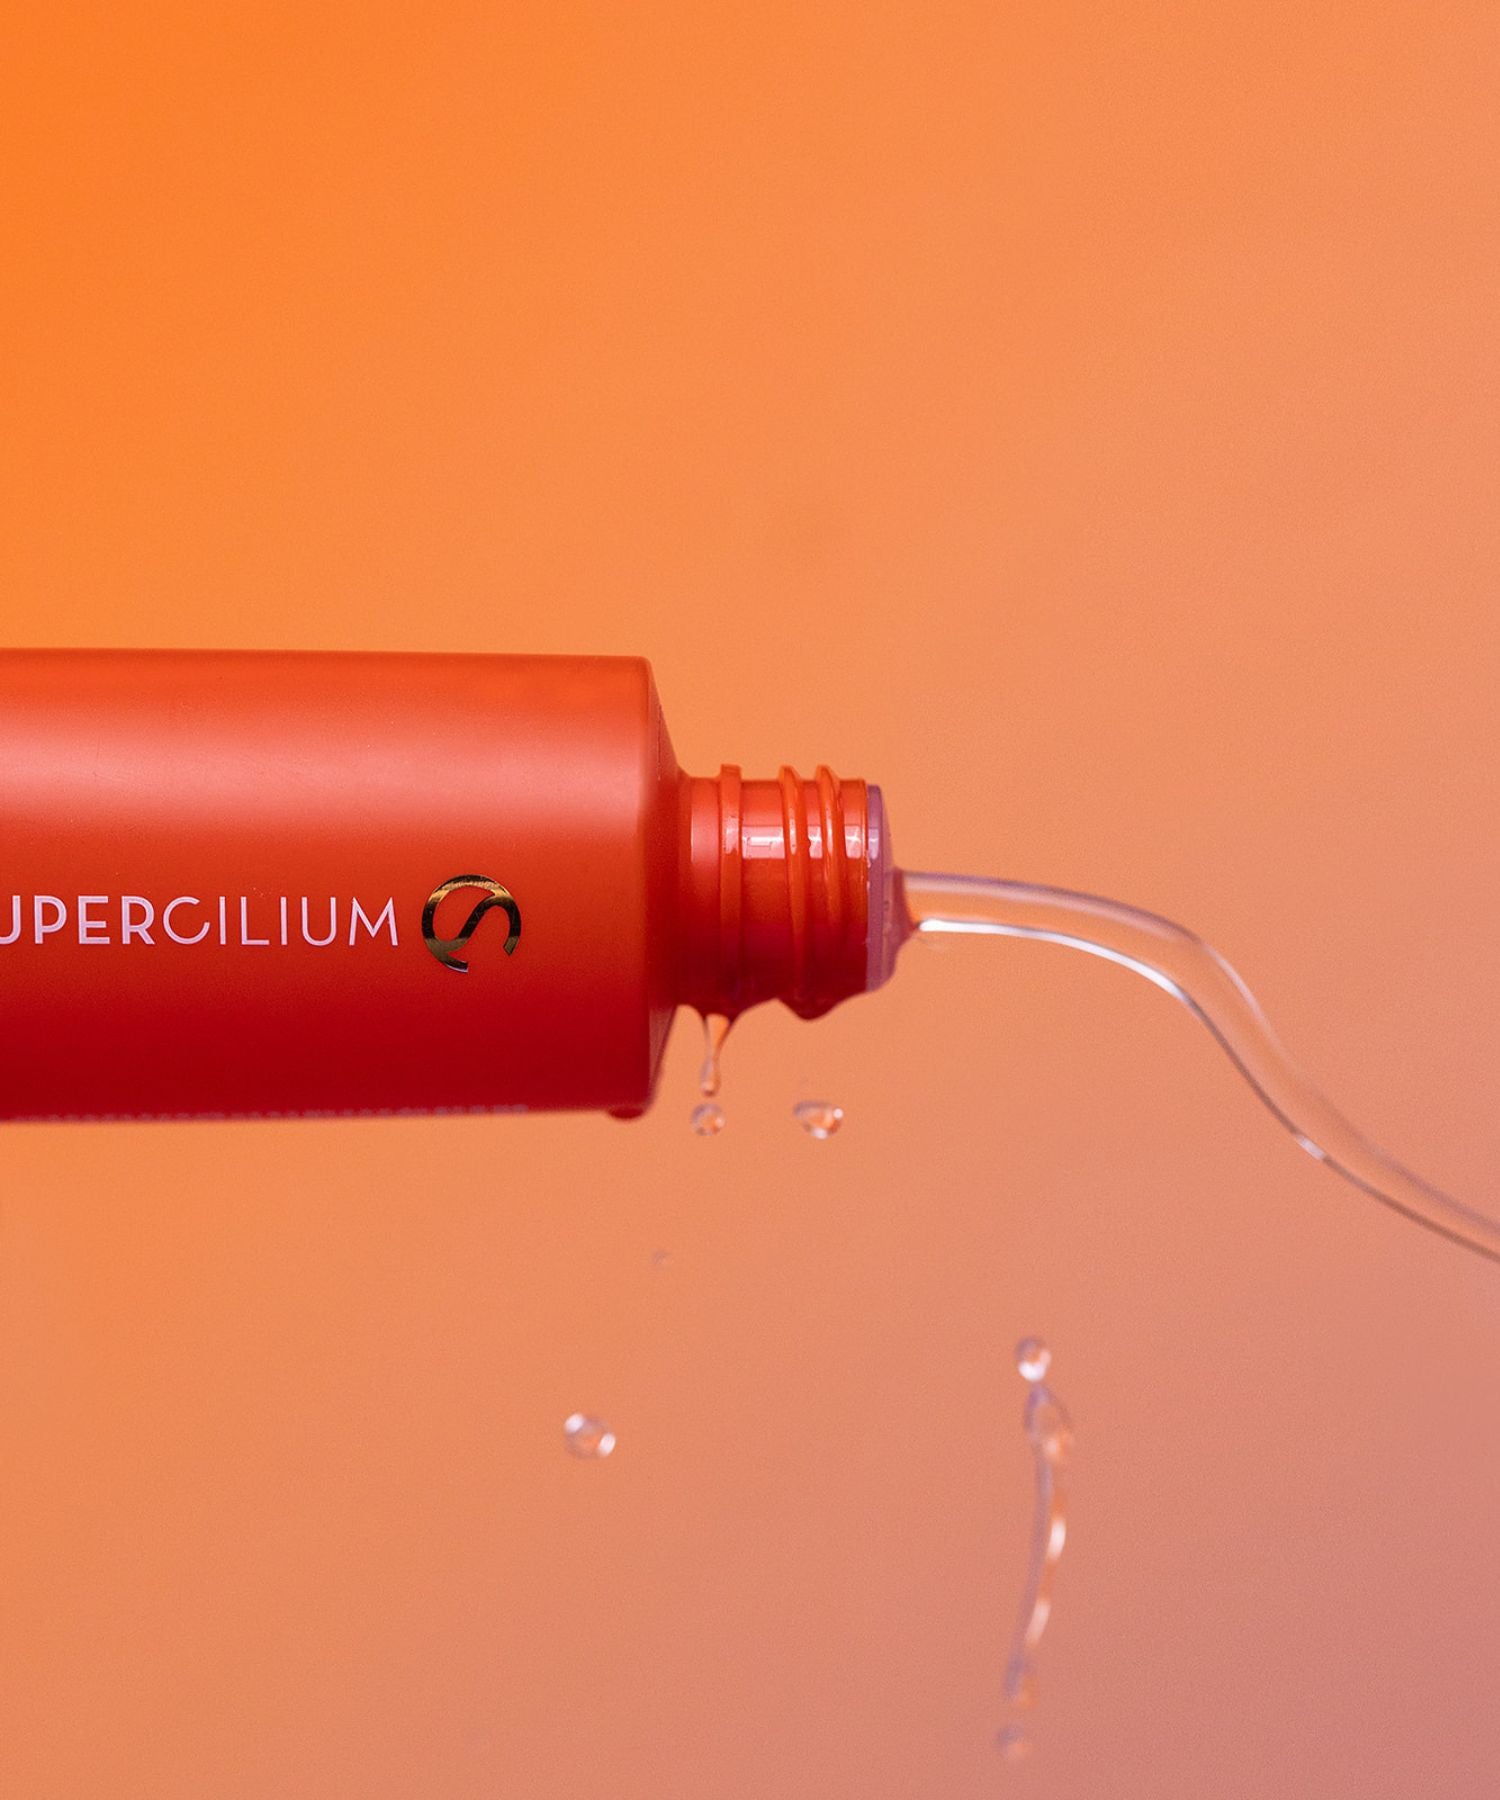
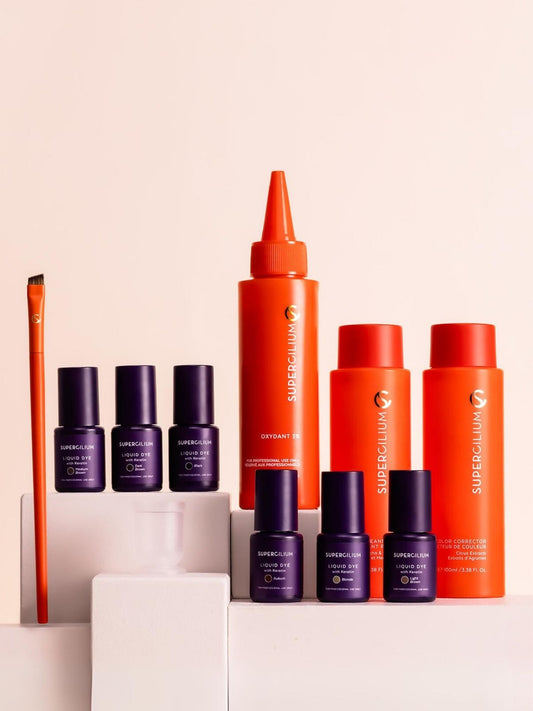
Introducing the game-changer in the brow world – Liquid Dye with Keratin. This revolutionary Hybrid Brow Dye takes your brow treatment to new heights, combining highly pigmented color with the care of keratin. Apart from being compatible with Brow Lamination in one treatment, why will you love it?
Keratin care: Infused with the magic of keratin, this hybrid dye goes beyond coloring. It's a powerful shield that protects, revitalizes, and nourishes the eyebrows.
Powerful performance: Meet the eight super-rich pigments that don't just make a statement – they endure. Up to 11 days on skin and a whopping 6 weeks on hair. The secret? Our formula with a pH of 7 ensures deep skin penetration for long-lasting, vibrant results.
Easy-to-use: Effortless application meets smooth perfection. Our easy-to-mix formula ensures a seamless process, allowing you to create the perfect color effortlessly.
Cost-effective: Your success matters, and so does your budget. With up to 45 treatments per bottle, Liquid Dye with Keratin costs just 0.35 cents per treatment. Maximum value for your money, ensuring your beauty game stays on point without breaking the bank.
Time-efficient: Time is a precious commodity for beauty professionals. Our product boasts super quick development times (less than 10 minutes), enabling you to treat more clients and boost your earnings without compromising on quality.
It's vegan: Liquid Dye with Keratin is vegan, cruelty-free, and free of parabens, synthetic fragrances, and sulfates. Plus, it's enriched with natural ingredients like Chamomile, Aloe Vera, Saffron, Indian Gooseberry Extracts, and Rose Flower, ensuring your clients' brows get the care they deserve.
Best-selling Brow Lamination Kit
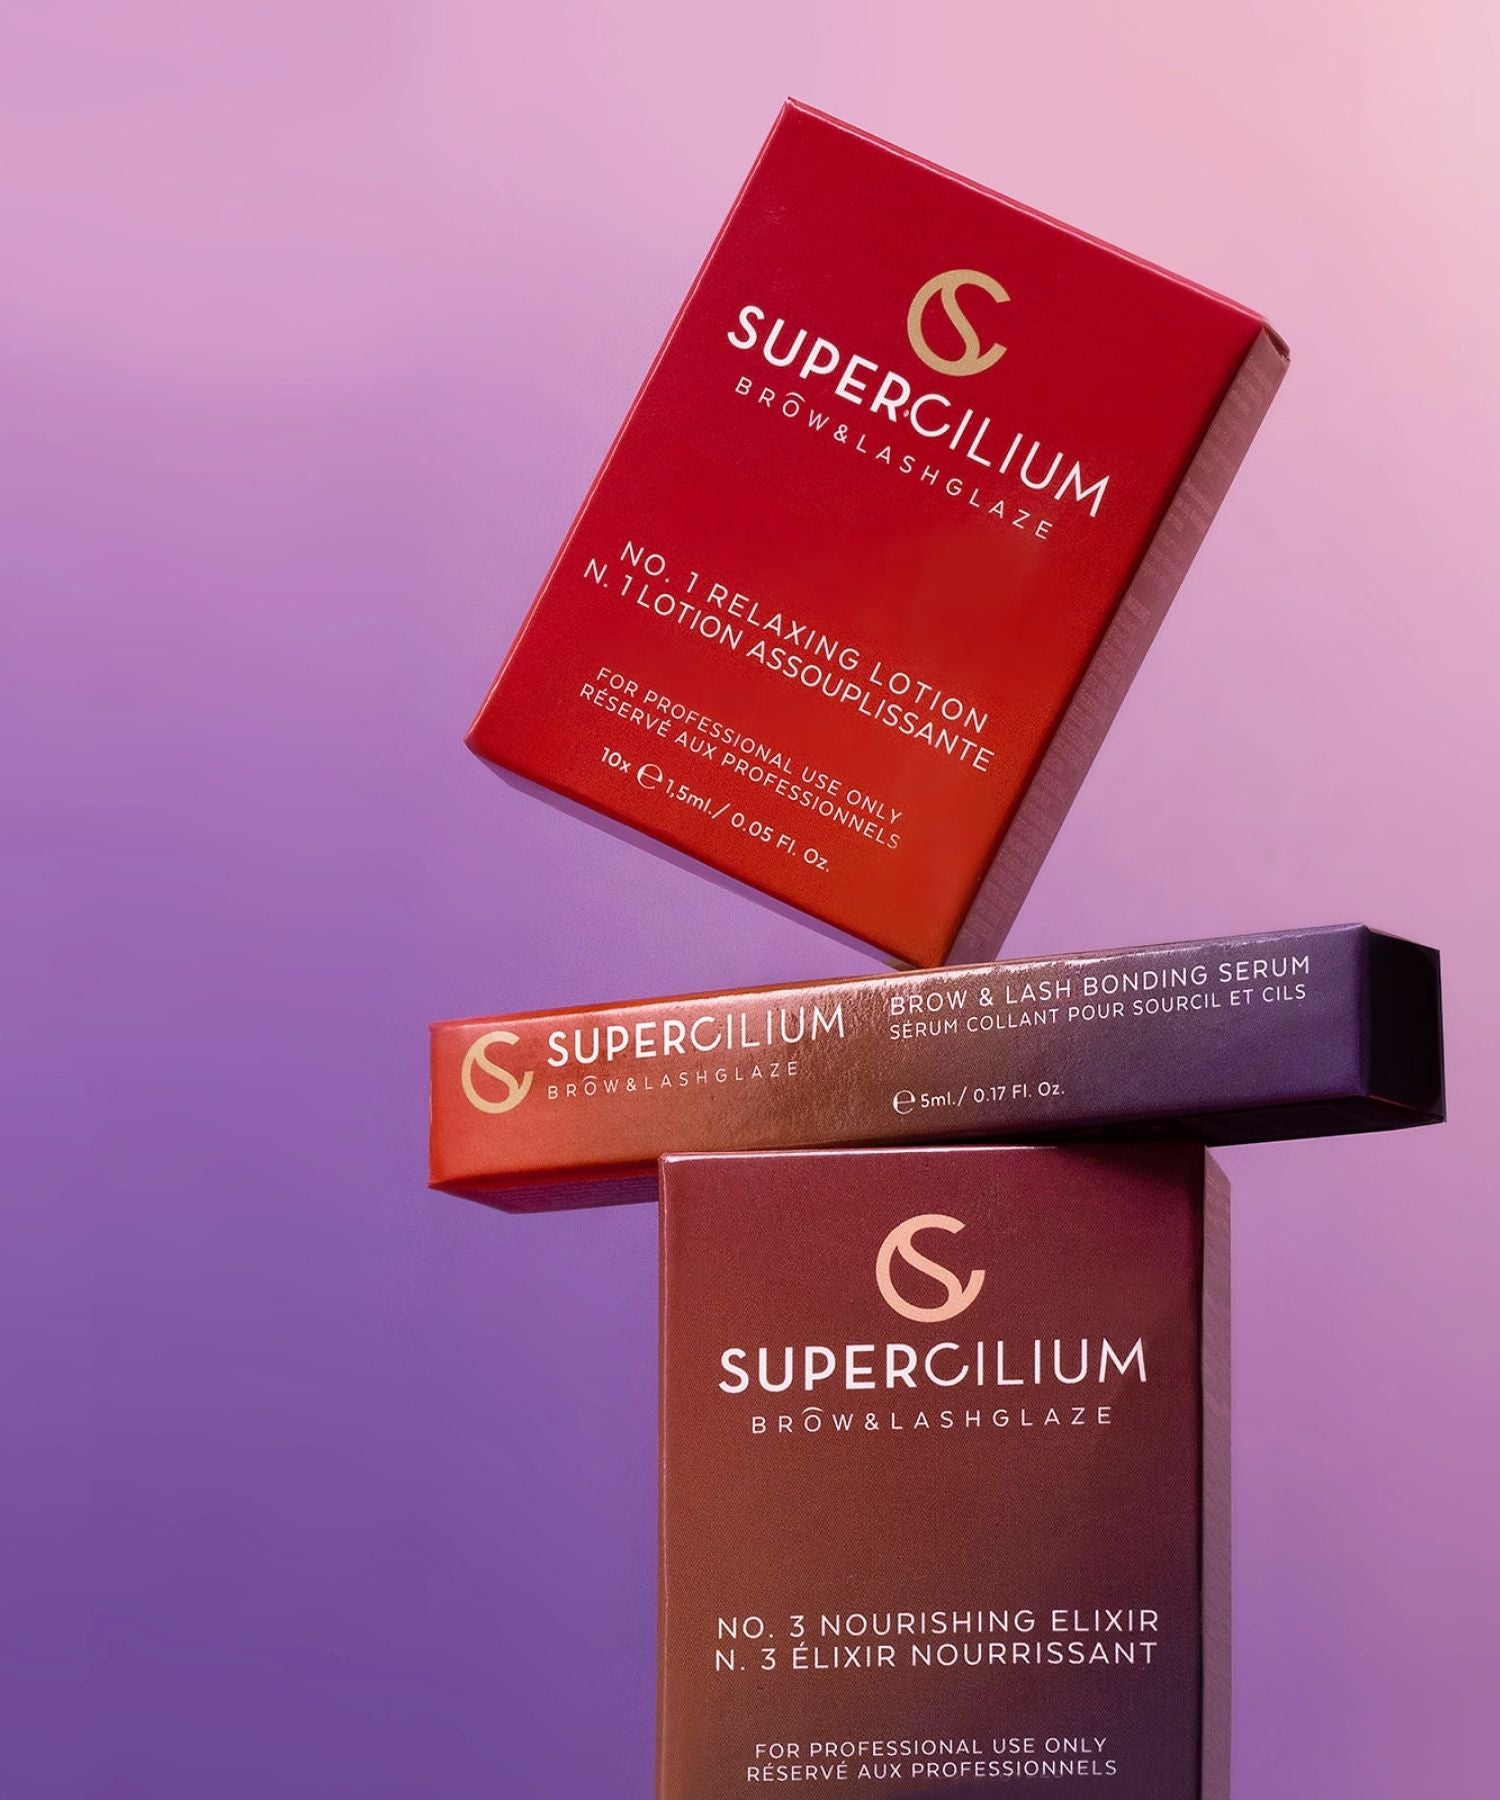
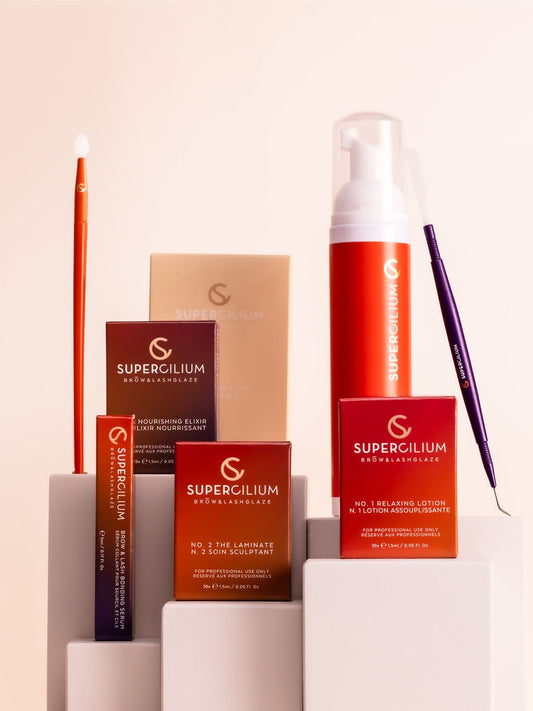
Meet our best-selling Brow Lamination & Lash Lift Glaze solution – the ultimate fix for taming unruly hairs and achieving that symmetrical, fluffy brow look. This transformative solution not only works its magic on brows but also gives the illusion of longer lashes. How? By softening the hairs of both eyebrows and eyelashes, the Glaze ensures they stay in the desired direction.
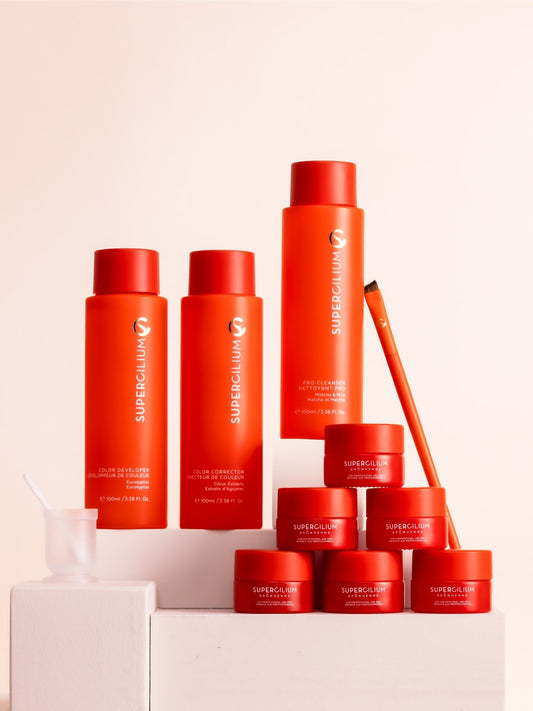
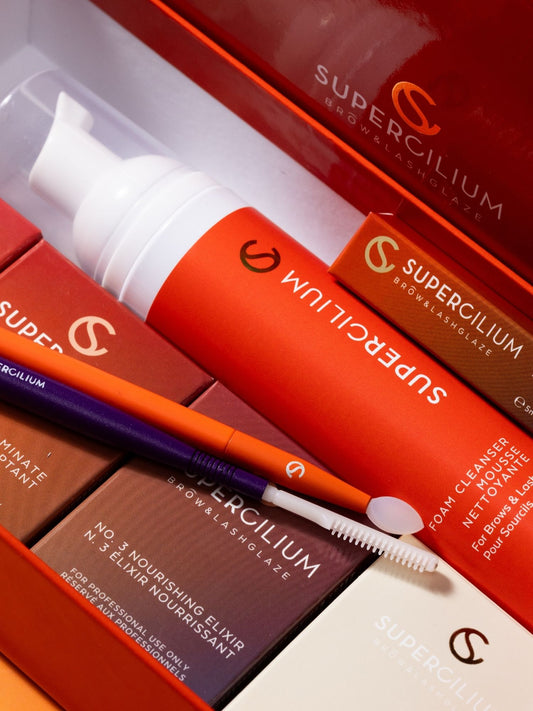
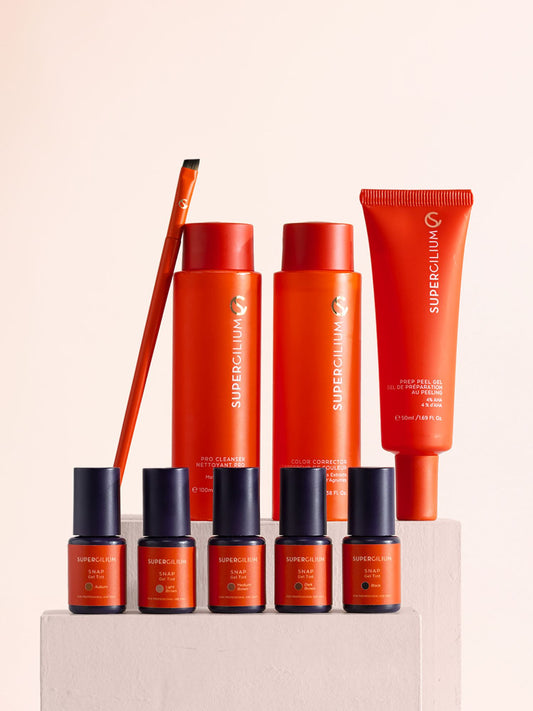
The Brow Lamination & Lash Lift Glaze Starter Kit consists of everything you need to create bold brows and glamorous curly lashes. Now that you know what products you need, let's dive into the treatment itself!
Before you start: Patch test
We say it often and we say it again. Ensuring a patch test is a non-negotiable step in any eyebrow-dying treatment, serving as a vital measure to detect potential allergies. Regardless of previous experiences with coloring products or breaks from treatments, always conduct a patch test at least 48 hours before the treatment. Allergies can surface at any stage of life, even without warning.
If itching, redness, burning, rash, swelling, blistering, skin weeping, or shortness of breath occurs during the test or within 48 hours afterward, it's crucial not to proceed with the Liquid Dye with Keratin treatment. Remember, a patch test isn't foolproof; some clients may develop allergies over time.
How to conduct a Patch Test:
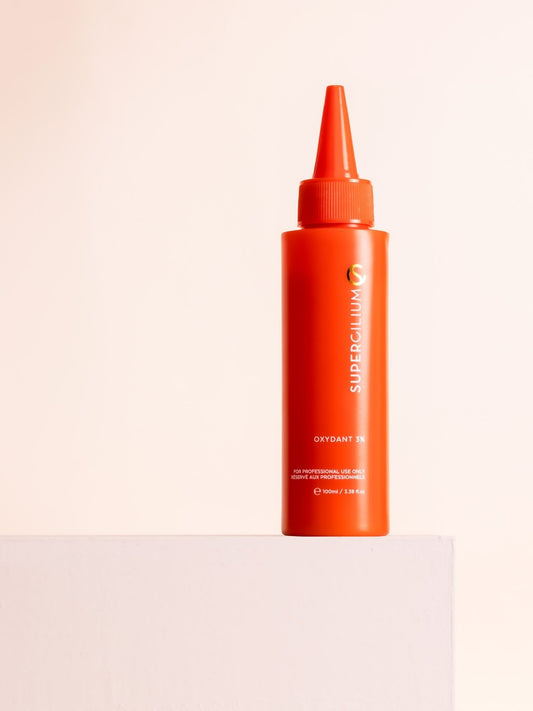
- 1. Mix 2 parts Liquid Dye with 1 part Creamy Oxydant.
- 2. Apply a small dot behind the ear.
- 3. Rinse with water after 15 - 20 minutes.
Step-by-step Brow Lamination and Liquid Dye
How to combine Brow Lamination and Liquid Dye with Keratin in one treatment:
Click on the image to watch the full step-by-step video by @aleksandramieszcykma!
Step 1: Prep and cleanse
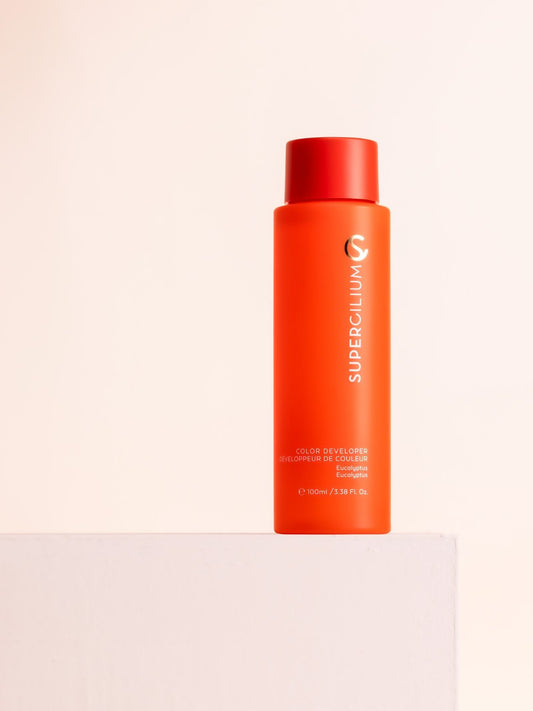
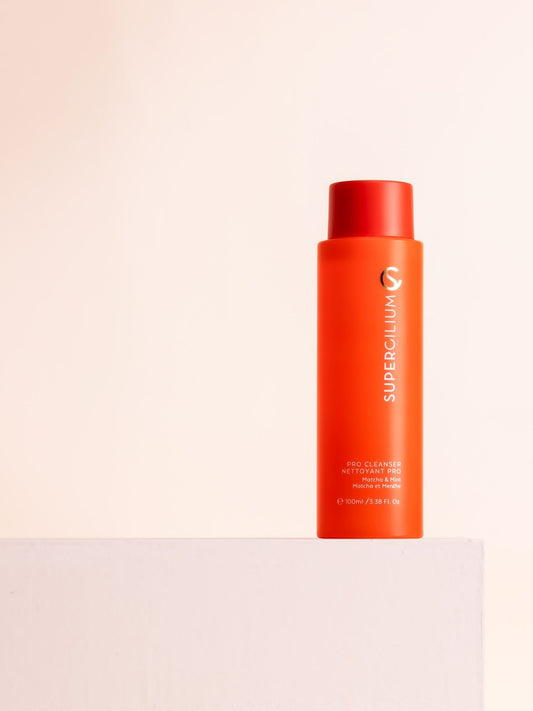
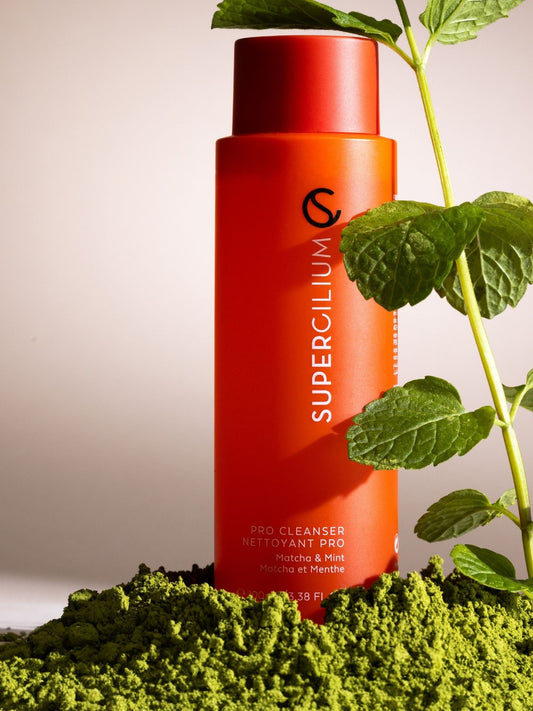
Brush the brows upward and thoroughly clean both the brows and the surrounding area using the Pro Cleanser and a cotton pad. For the eye area, use the Foam Cleanser as it is more subtle to use for the eyes.
Step 2: Hair type assessment
Determine your client's hair type, as it influences the processing time required for the best Brow Lamination result.
Step 3: Relaxing Solution application
Apply a layer of the No. 1 Relaxing Solution to the brow hairs. Remove the excess solution from the skin around the brows with a precision swab. Set a timer based on hair thickness and density, allowing the solution to process.
Remove the Relaxing Solution using a clean, dry cotton pad. Check the brow shape and lightly adjust if needed by brushing toward the desired direction with a spoolie brush.

Step 4: Laminate application
Apply No. 2 The Laminate onto the brow hairs. Set the timer based on hair thickness and density. Remove all the lotion after the timer goes off.
Step 5: Prepare the hair cuticle
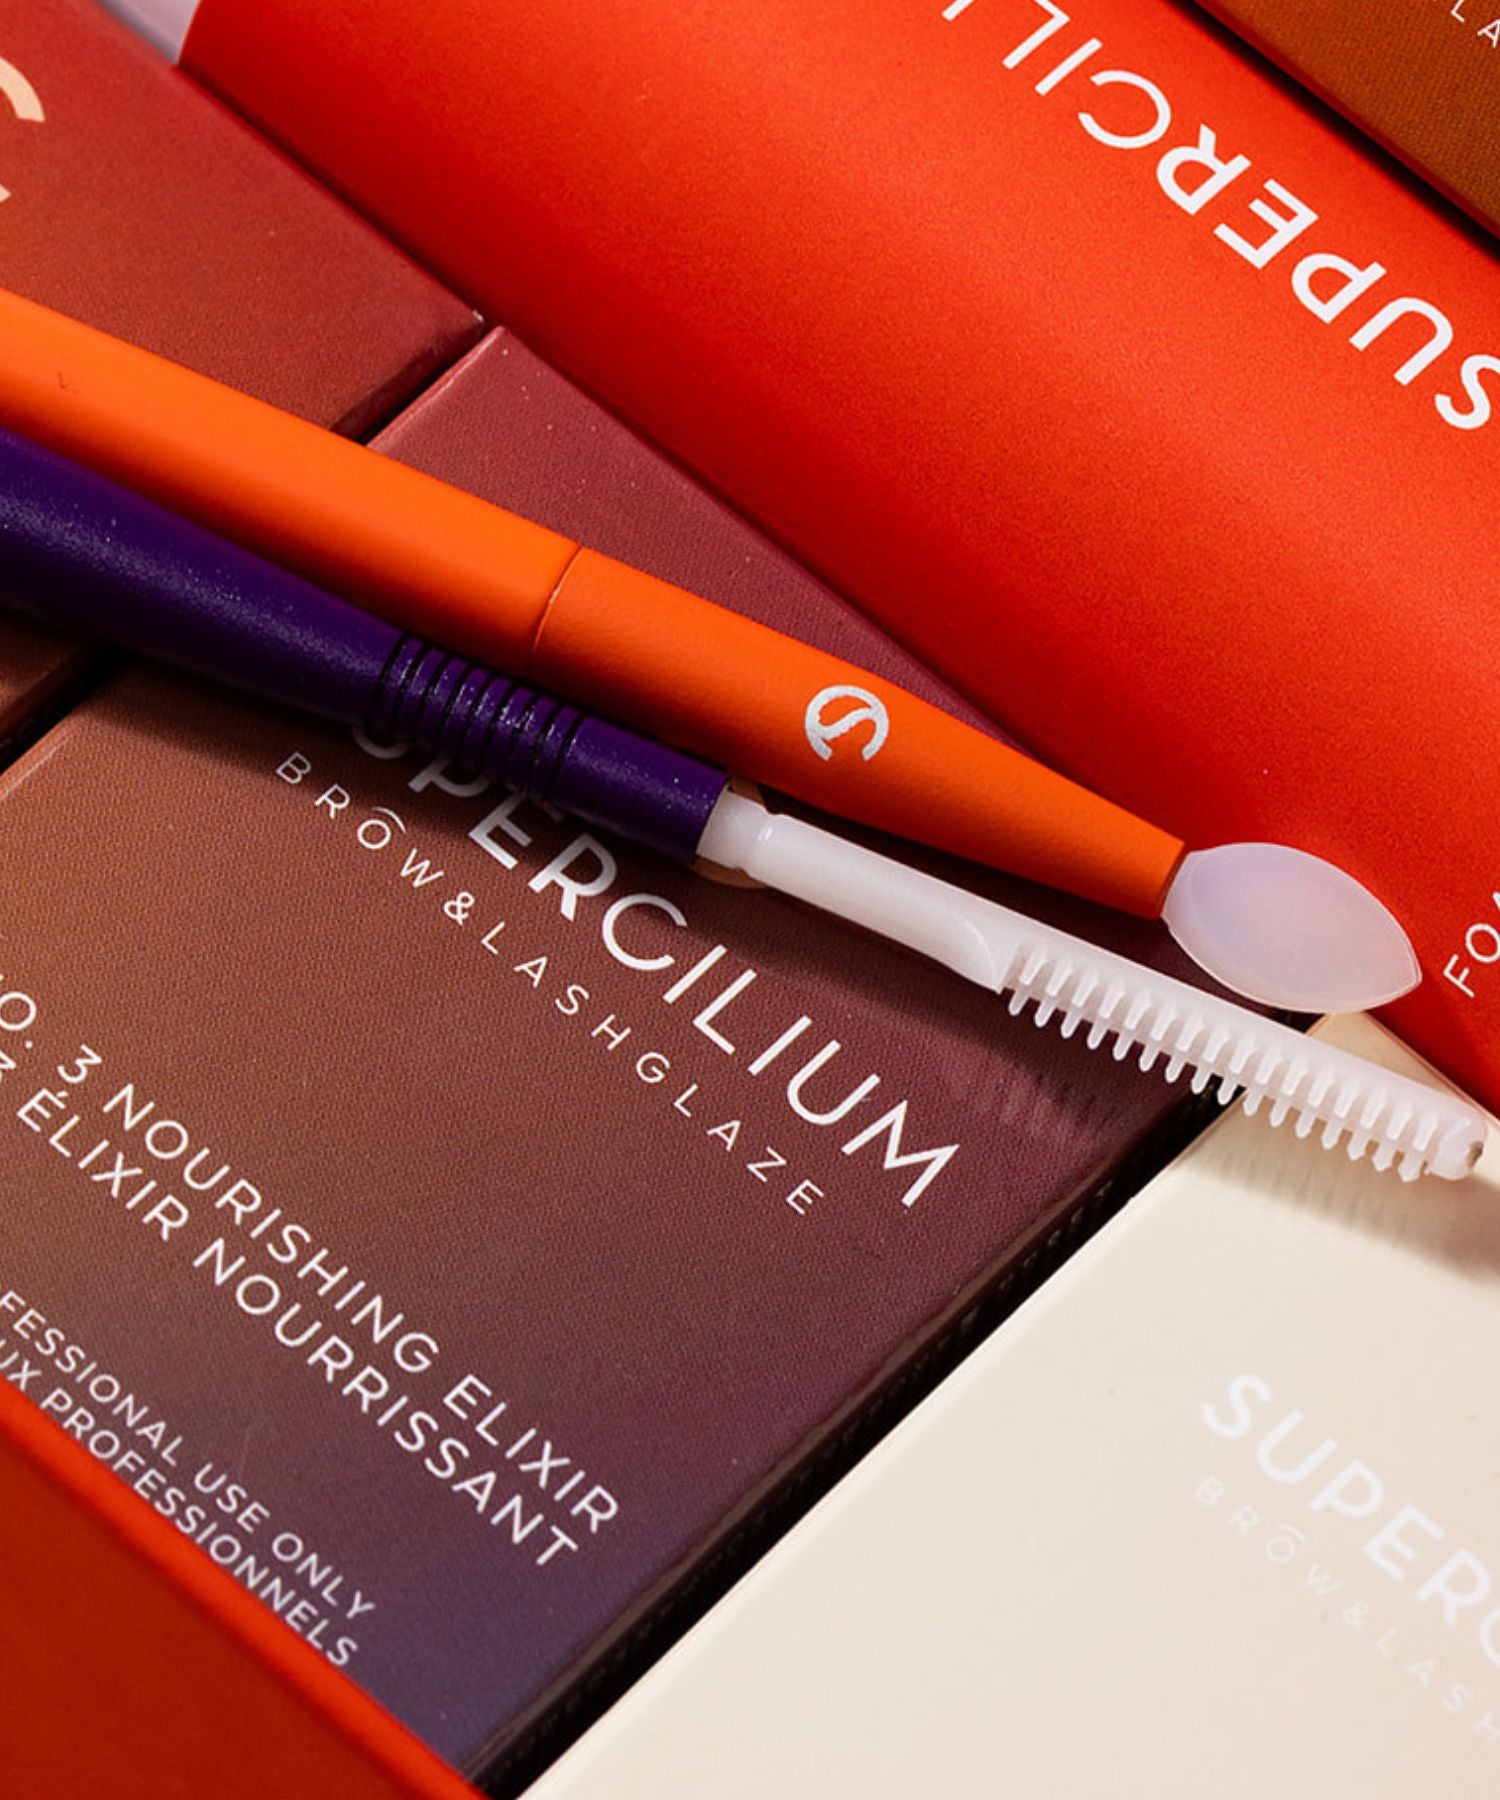
Apply the Number 3 Nourishing Elixir of the Glaze to prepare the hair cuticle for the dye. Let it develop for 3 minutes and remove it with the Pro Cleanser. This will make sure the hairs don’t absorb too much dye. Because of the Lamination treatment, the hair will soak up the dye quicker as normal.

Step 6: Liquid Dye application
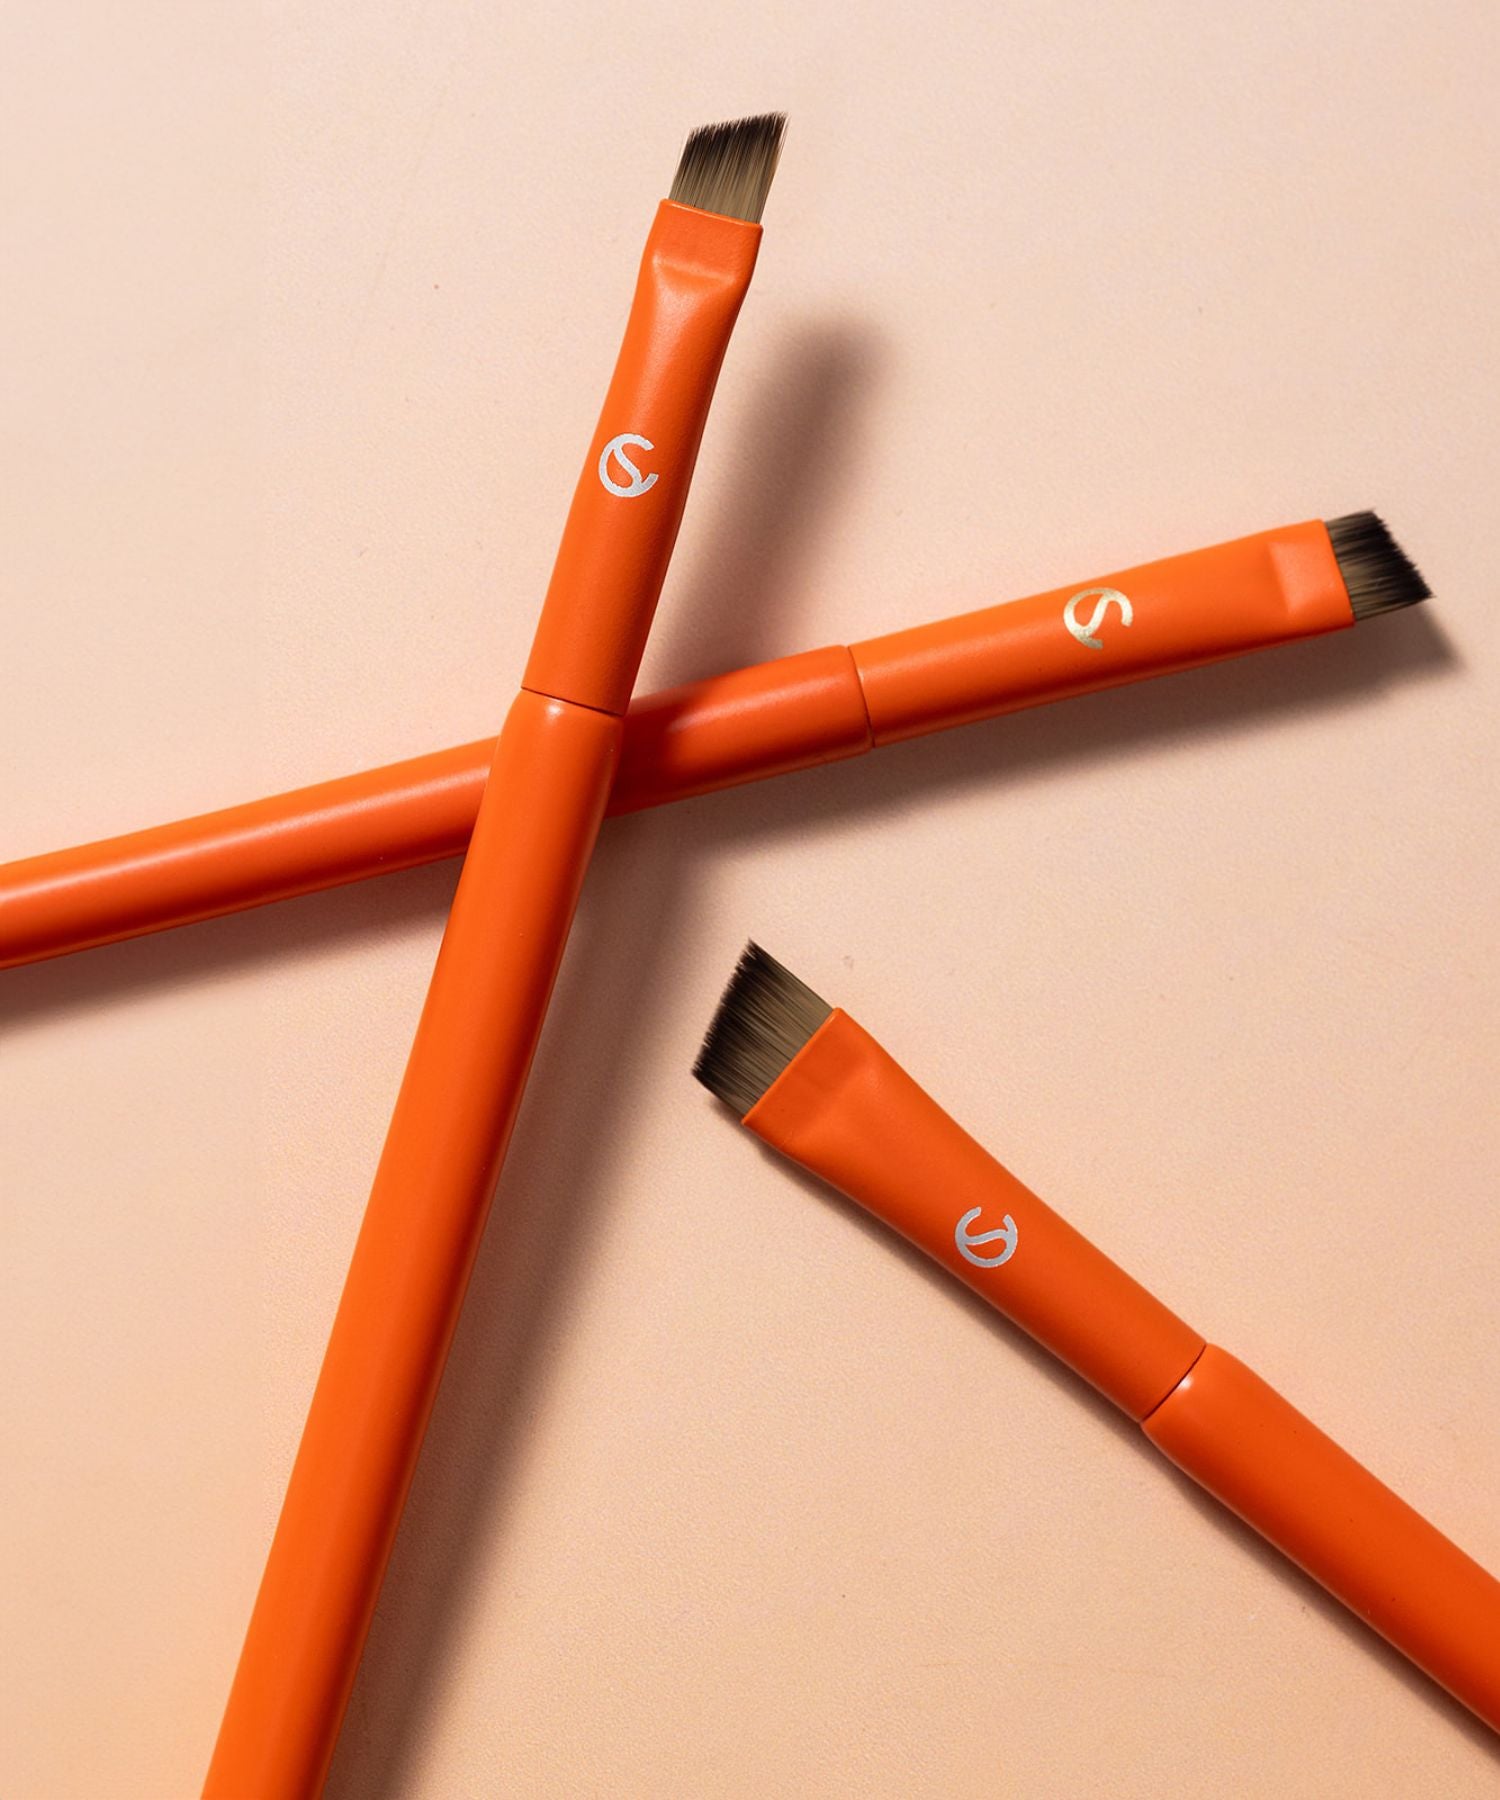
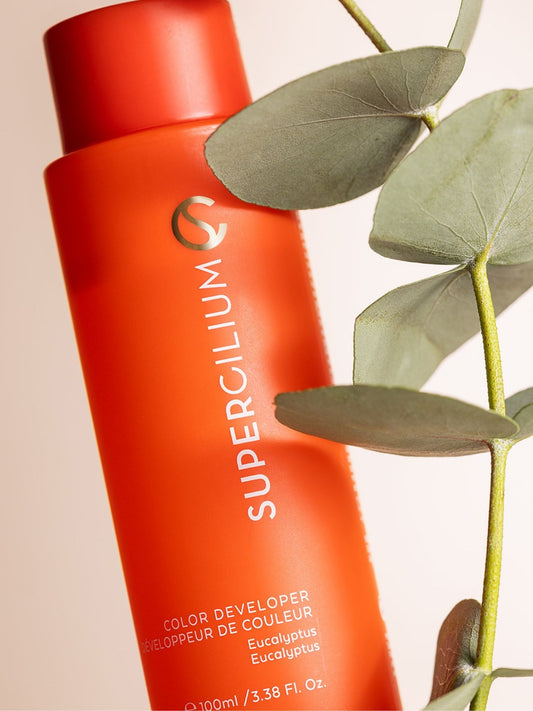
Mix your chosen Liquid dye and let it stand for 1 minute before applying. Slightly brush the dye through the tips of the hairs for a fluffy look. Use thin layers for faster skin development. Work very precisely. Every “stamping motion” you create with your brush must be clean and crisp.
Pro Tip: For a natural look, embrace the ombre effect by removing the dye on the fronts after 1 to 2 minutes. As you move towards the front of the brow you use less and less product.
Remove the Liquid Dye with a dry cotton pad after approximately 8 minutes.
Step 7: Brow Glam-Up
Glam up your client by using the Supercilium Brow Micro Concealer as many professionals do. Conceal and highlight the brow for extra contrast and a superslick look. Start at the beginning of the brow, draw a line at the bottom until the point, and blend out the concealer slightly with a Blending Brush.
There you have it – the guide you need to achieve flawless brows through the combination of Liquid Dye and Brow Lamination.
Pro Tip: You can also give your customers some of the Step nr. 3 to use at home after 48H, to make sure they give their brows some extra nourishing love.
Want to learn more?
If you're feeling the excitement of transforming brows into masterpieces, consider taking your skills to the next level with Supercilium Academy's online training. Our courses offer free and certified options, ensuring that there's something for everyone on this brow journey.
And guess what? We've just unveiled a brand-new course: Liquid Dye with Keratin, a game-changer in the brow world. This course not only covers the ins and outs of Liquid Dye application but also includes a step-by-step video guide on how to flawlessly execute Brow Lamination and Liquid Dye.
So, brow babes, are you ready to level-up your brow game? Enroll in Supercilium Academy's online training and create flawless laminated and dyed brows that will make your clients (and yourself) extremely happy.

