


Brow Lamination went wrong: what to do?
written byMaria Agustin
In This Article
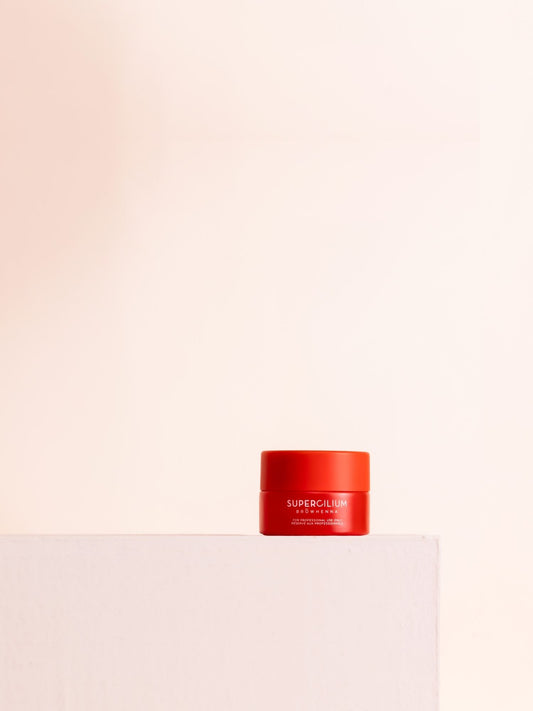
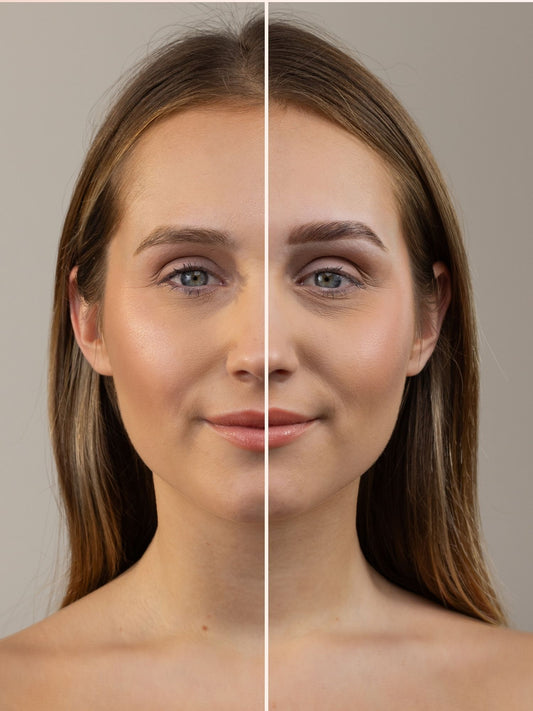
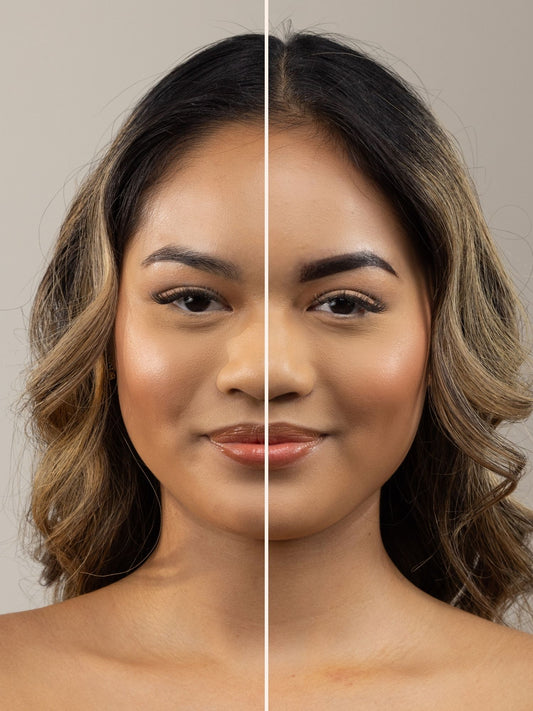
What Is Brow Lamination?
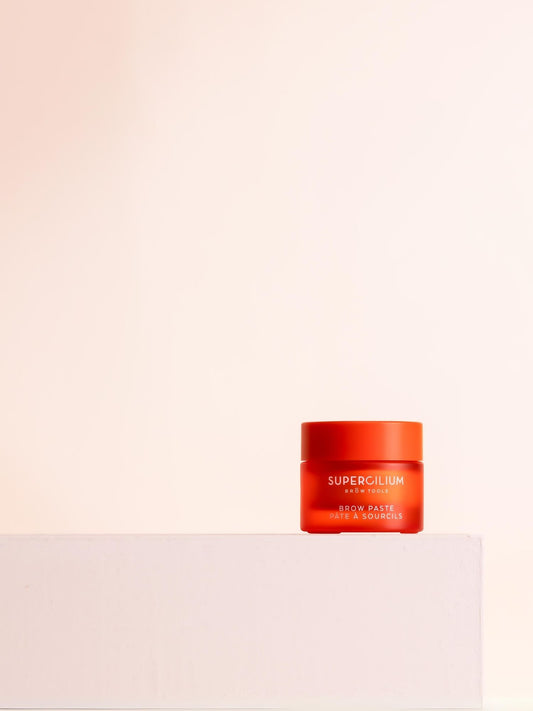
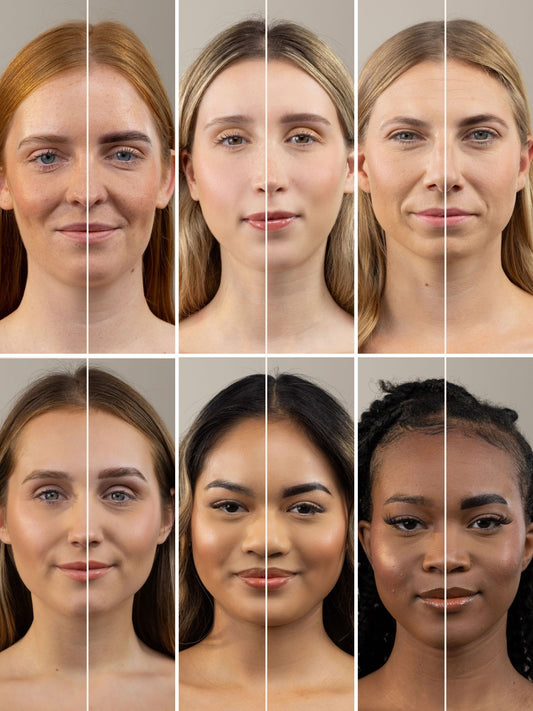
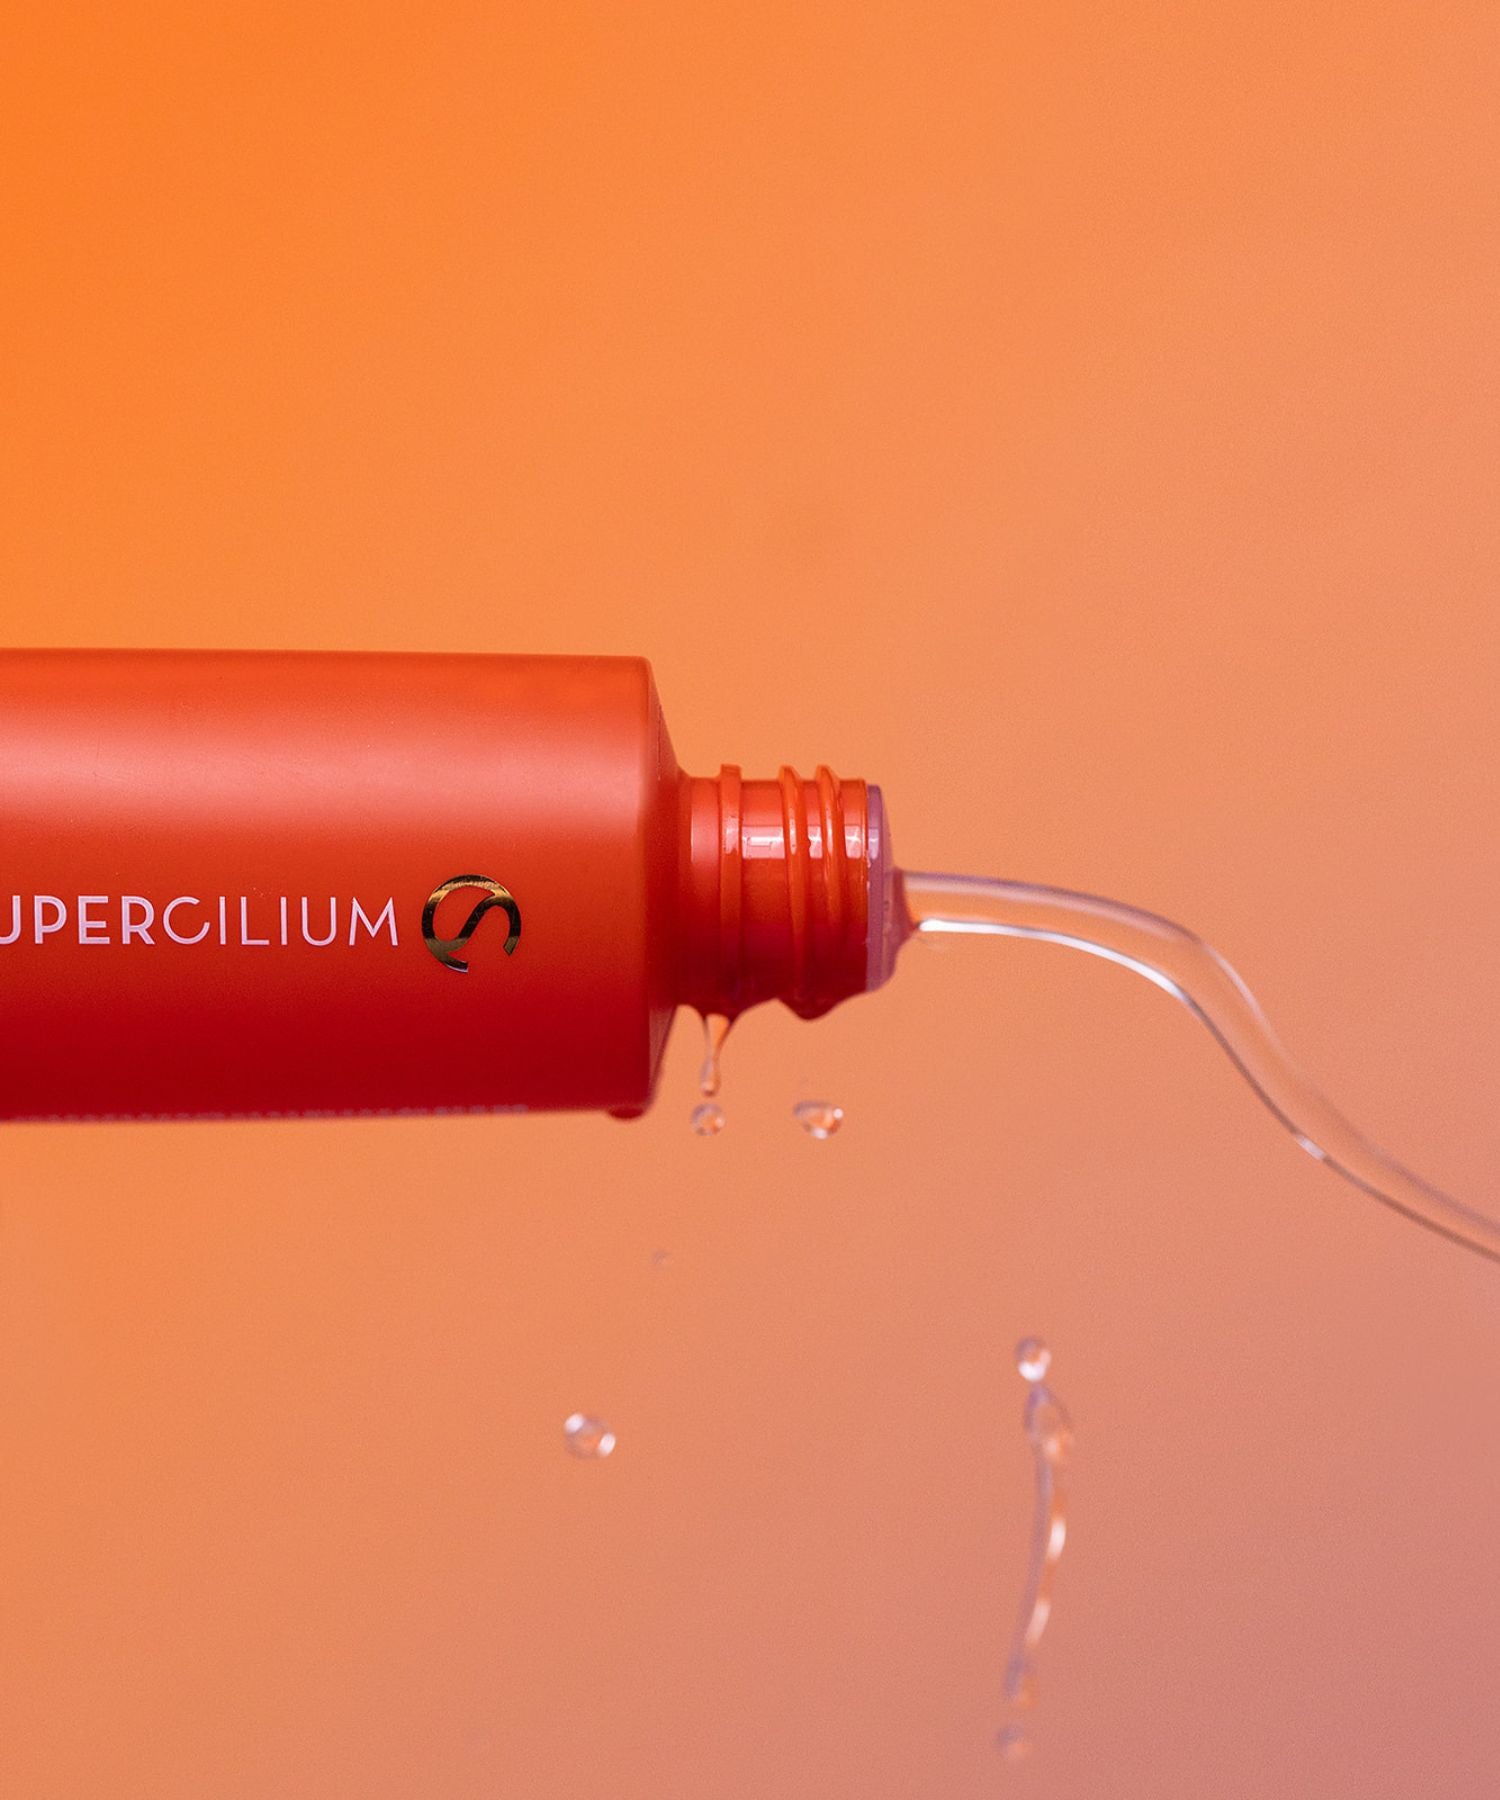
Brow Lamination ↗ is a semi-permanent treatment that lifts and reshapes the natural brow hairs using a gentle chemical solution. It relaxes the hairs so you can style them into a fuller, fluffier, more defined shape!
Brow Pros and their clients love Brow Lamination because it has the power to hold brow hairs in place. It naturally lifts the brows, making them look thicker and fuller - all without makeup or daily brow styling.
The treatment is needle-free, painless, and non-invasive, and results typically last 6–8 weeks.
How does Brow Lamination work?
Brow Lamination is super easy!
It works by softening the brow hairs so you can lift, reshape, and set them into a fuller, smoother, more defined look.
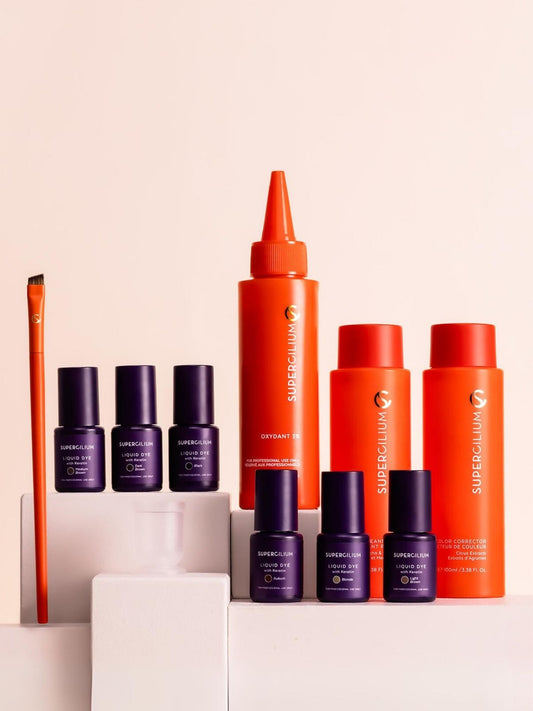
You can laminate brows in these 3 easy steps:
1. Relax
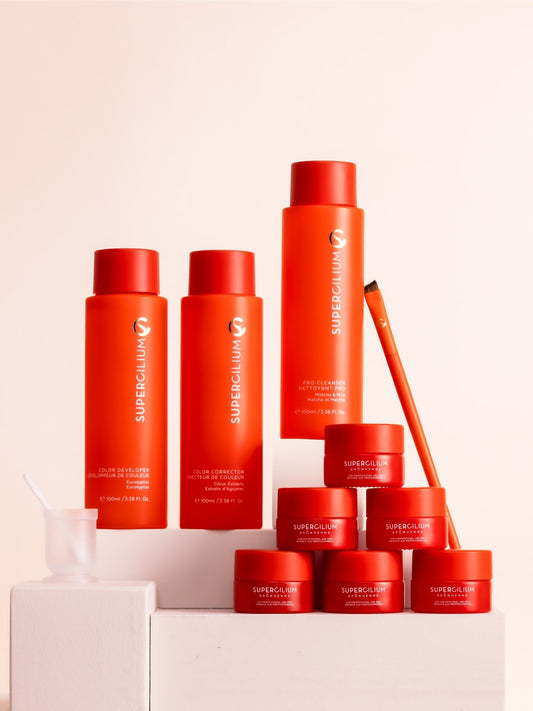
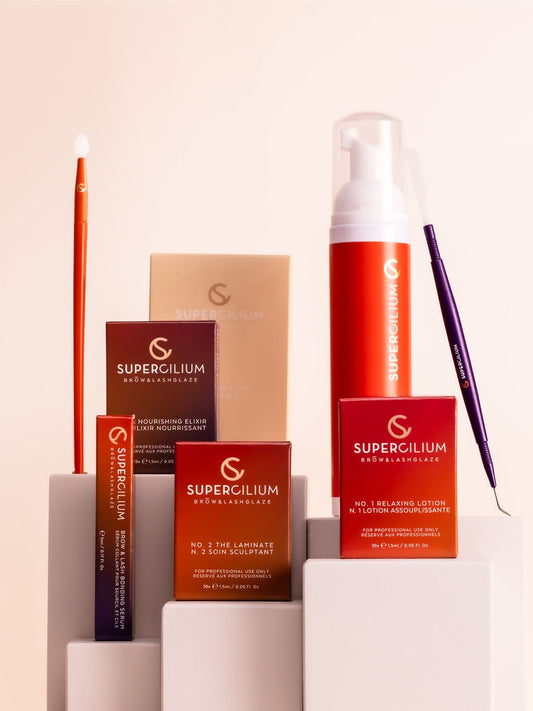
The first Relaxing Solution ↗ softens the hair bonds. This allows the brow hairs to relax so you can easily brush and manipulate them into the direction you want.
2. Laminate
The second solution: The Laminate ↗ locks the new shape in place, giving the brows their long-lasting lift and hold.
3. Nourish
The final Nourishing Elixir ↗ adds moisture back into the brows. Since lamination is a chemical process, nourishing the hairs is essential to keep them soft, hydrated, and healthy.
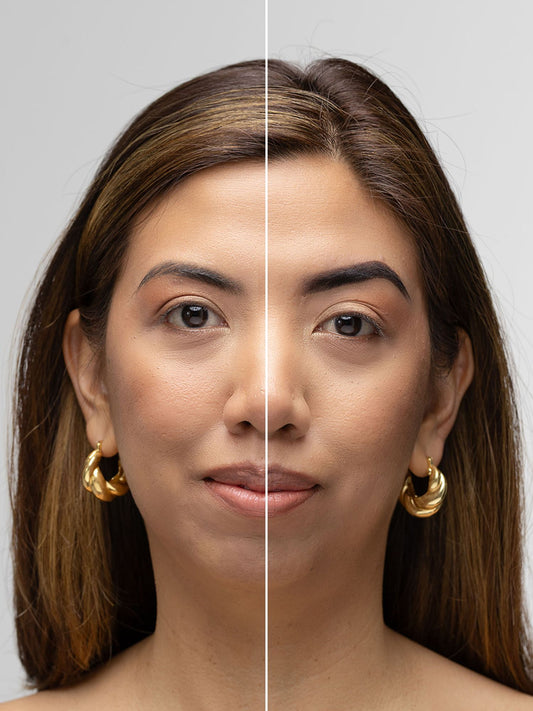
With just these three steps you can completely transform the brows and give clients a fuller, fluffier look they’ll love!
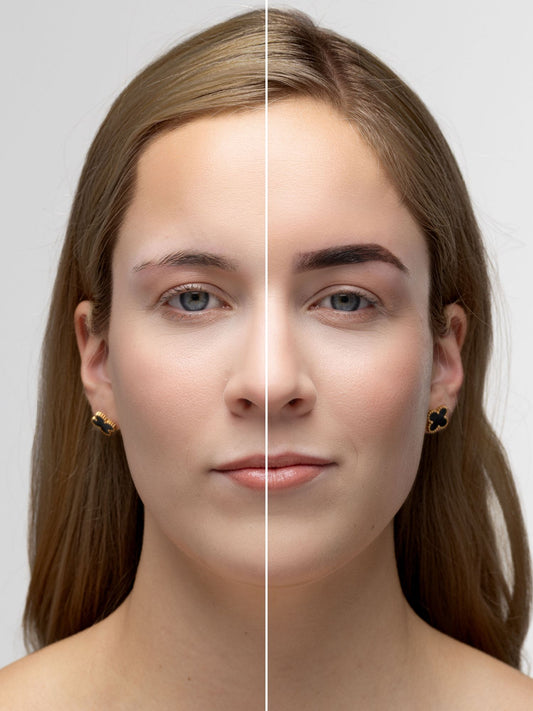
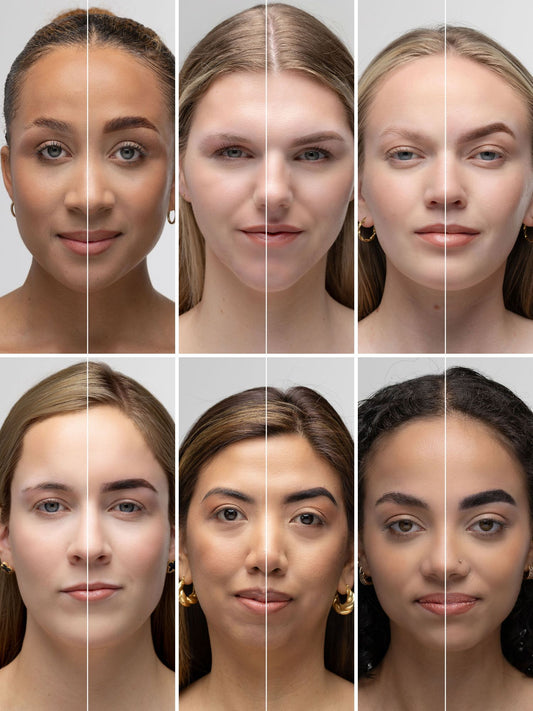
See for yourself the Brow Lamination transformation by Mandy from Blush Beauty:


Brow Lamination gone wrong: what now?
Even though Brow Lamination is a simple treatment, things can still go wrong and it happens more often than you think. From overprocessed brows to uneven results or a lift that just didn’t lift at all, every Brow Pro has been there at least once.
The good news? Most Brow Lamination issues can be fixed, softened, or prevented with the right knowledge. Let's over the most common issues!
1. Why did my Brow Lamination not work?
If the brows didn’t lift, it usually means the hairs didn’t relax properly during Step 1 - but it can also happen if they were processed for too long. Overprocessing can weaken the hair so much that it loses structure and won’t hold a lift.
Most common reasons
- Processing time was too short
- Processing time was too long (overprocessed = weak, limp hairs)
- Product wasn’t applied evenly
- Brows weren’t cleaned properly (oil blocks the solution)
- Thick or coarse hairs need longer timing
How to fix it
- You can’t repeat Step 1 on the same day.
- Nourish the brows and re-laminate in 6 weeks, adjusting timing based on hair type.
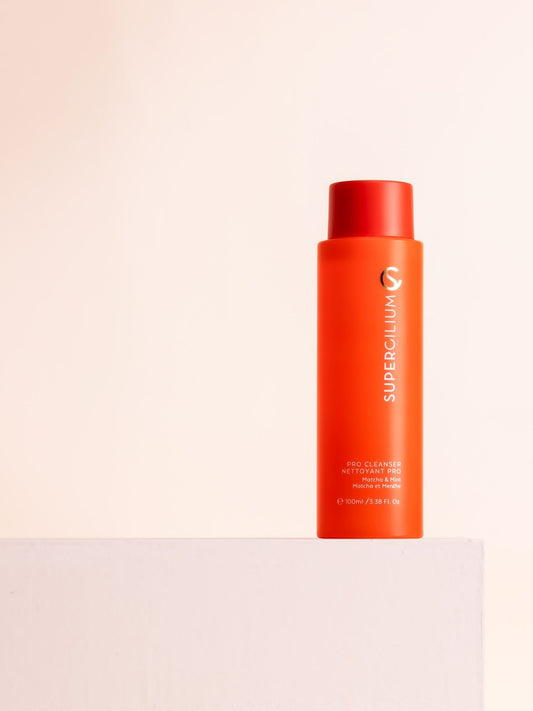
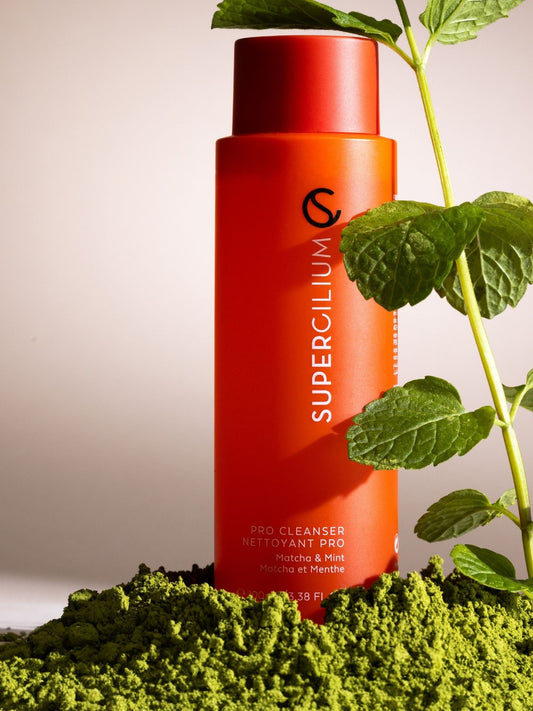
- Next time, clean the brows properly with Pro Cleanser ↗.
Enroll in the Brow & Lash Lamination Course ↗ to learn the right step by step guide!
2. Why do my brows look uneven after Brow Lamination?
Uneven Brow Lamination can happen when one brow processes differently than the other. One side may look higher, fluffier, or more lifted, a super common issue.
Why this happens
- Product wasn’t applied evenly
- Each brow has a different hair type or density
- Brows weren’t brushed into the same direction
- One side processed longer
- Hairs shifted during the service
How to fix it
- Gently style the brows daily with a Nourishing Elixir ↗
- Avoid re-laminating for min. 6 weeks
- For future treatments: After brushing the brows into perfect position, apply foil/cling film. This keeps the hairs still and helps both sides process evenly.
- Set a timer for each eyebrow. This will ensure that you leave them on for the same amount of time.
3. Why didn’t Brow Lamination work on thick or coarse brows?
Thick, coarse, and super healthy brows can be harder to laminate because the hairs are stronger and more resistant. They often need more time and product to fully relax.
Why this happens
- Coarse hairs need longer processing times → Healthy coarse brows often need 6–7 minutes for Step 1.
- Not enough product was applied
- Step 1 didn’t soften the hairs enough, or Step 2 was absorbing too short → Healthy coarse brows often need 6 minutes for Step 2.
How to fix it
- Nourish the brows daily until the next appointment
- Don’t re-laminate immediately - wait 6 weeks
- At the next service: Use 6–7 minutes for Step 1 on coarse, healthy brows
- Apply a generous amount of product
- Use cling film for better processing
Pro Tip: Every client has different brows! Make sure you write down processing times, notes, and details from each visit. The more you learn your client’s brows, the better your results become and once they see you mastering their brows specifically, they’ll never want to go to anyone else!

4. Can you reverse a bad Brow Lamination?
You can’t fully “undo” a Brow Lamination because the chemical process has already changed the hair bonds, but you can soften the results and help the brows recover faster.
If the lamination looks really bad…
- Clients can wet the brows regularly (water, gentle cleanser, steam).
- Moisture breaks down the hold quicker, so the laminated effect won’t last as long.
- This helps soften overly lifted, crunchy, or misshaped brows faster.
When can you re-laminate?
After the brows have recovered, usually 6–10 weeks, depending on the level of overprocessing.
A bad lamination isn’t permanent, and with the right care, the brows will soften, relax, and grow back beautifully.
5. What aftercare mistakes can ruin Brow Lamination results?
Even a perfect Lamination can go wrong if the client doesn’t follow proper aftercare. The first 24 hours are especially important - this is when the shape sets.
Common aftercare mistakes
- Getting the brows wet too soon (shower, sweat, steam)
- Using oils, balms, or heavy skincare on the brows
- Applying makeup or brow gel right after the treatment
- Sleeping on the brows, causing the hairs to bend
- Touching or brushing the brows too much in the first 24 hours
- Using exfoliating acids or retinol near the brows
- Skipping nourishment like Nourishing Elixir ↗ in the days after the treatment
What to tell your clients
- Keep brows dry for 24 hours
- Avoid makeup and heavy skincare on the brows
- Don’t touch or press on them
- Start nourishing on day 2
- Brush brows gently into place each morning
Good lamination + good aftercare = long-lasting, soft, lifted brows.
6. My client’s brows are burning after Brow Lamination - what should I do?
Ups. Your client might be allergic.. did you do a patch test ↗?
Why this happens
- The skin is sensitive or reactive
- The client used retinol, AHA, BHA, benzoyl peroxide, or other strong skincare before the appointment
- The product touched the skin instead of only the brow hairs
- Brows were laminated too soon after waxing or threading
- The skin barrier was compromised (dry, flaky, sunburned)
- Processing time was too long for the client's skin type
What to do immediately
- Remove the product gently but right away
- Soothe the area with cool water or a damp cotton pad
- Apply a nourishing, calming product like aloe
- Avoid tinting, waxing, or any additional chemical steps
What to tell your client
- Redness or warmth may last a few hours
- Avoid acids, retinol, sunscreen, and makeup around the brows for 24–48 hours
- If irritation increases, advise them to contact a dermatologist/doctor
How to prevent it next time
- Always ask clients about skincare products before starting
- Avoid laminating clients who recently used retinol or acids
- Apply product carefully, keeping it on the hair, not the skin
- Reduce processing times for sensitive skin types
Enroll in the Brow & Lash Lamination Course ↗ to learn everything about handling allergies!
7. My client doesn’t like their Brow Lamination results
Sometimes the lamination itself is perfectly fine, but the client just isn’t used to the new look. This is more common than you think and is often called “Brow Shock.”
What to do
- Remind them that laminated brows relax naturally within a few days
- Show them how to style the brows down for a softer look
- Explain Brow Shock - an emotional reaction to suddenly fuller brows, read more here about the Brow Shock ↗.
- Tell them they can wet the brows (water, steam, gentle cleansing) to soften the lamination faster
For their next appointment
- Offer a Baby Lamination ↗ → Only laminating the front or the middle of the brows for a softer, more natural result (watch a video below)
- Adjust the styling direction to something more subtle
- Use shorter processing times for a gentler lift

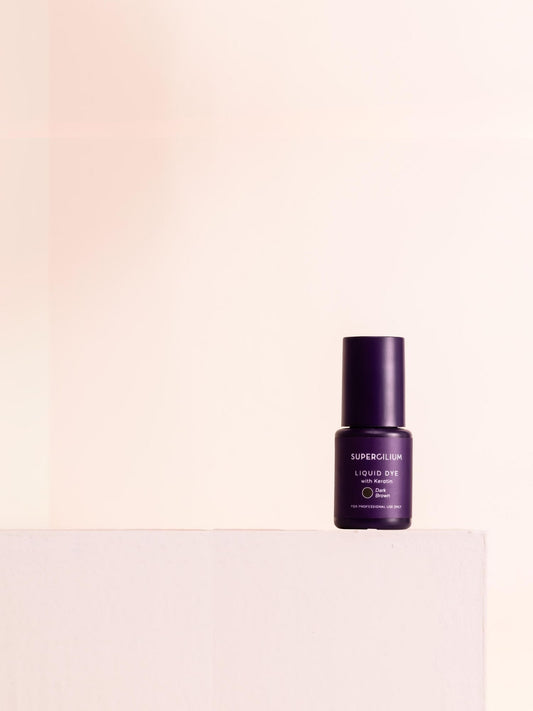
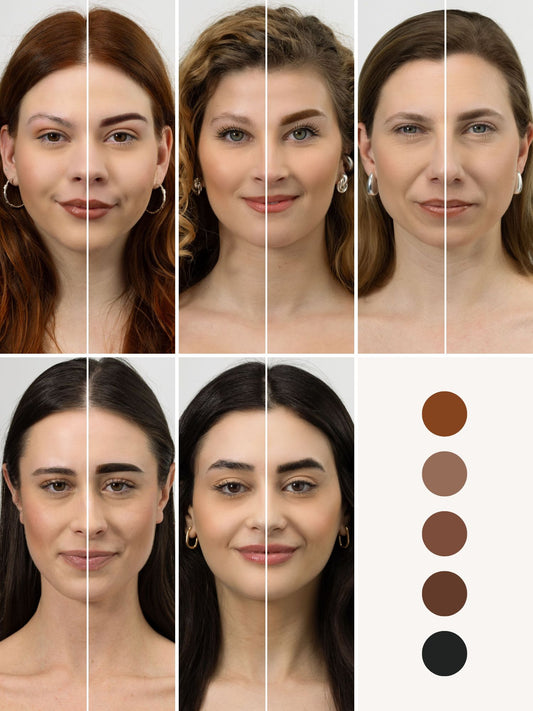
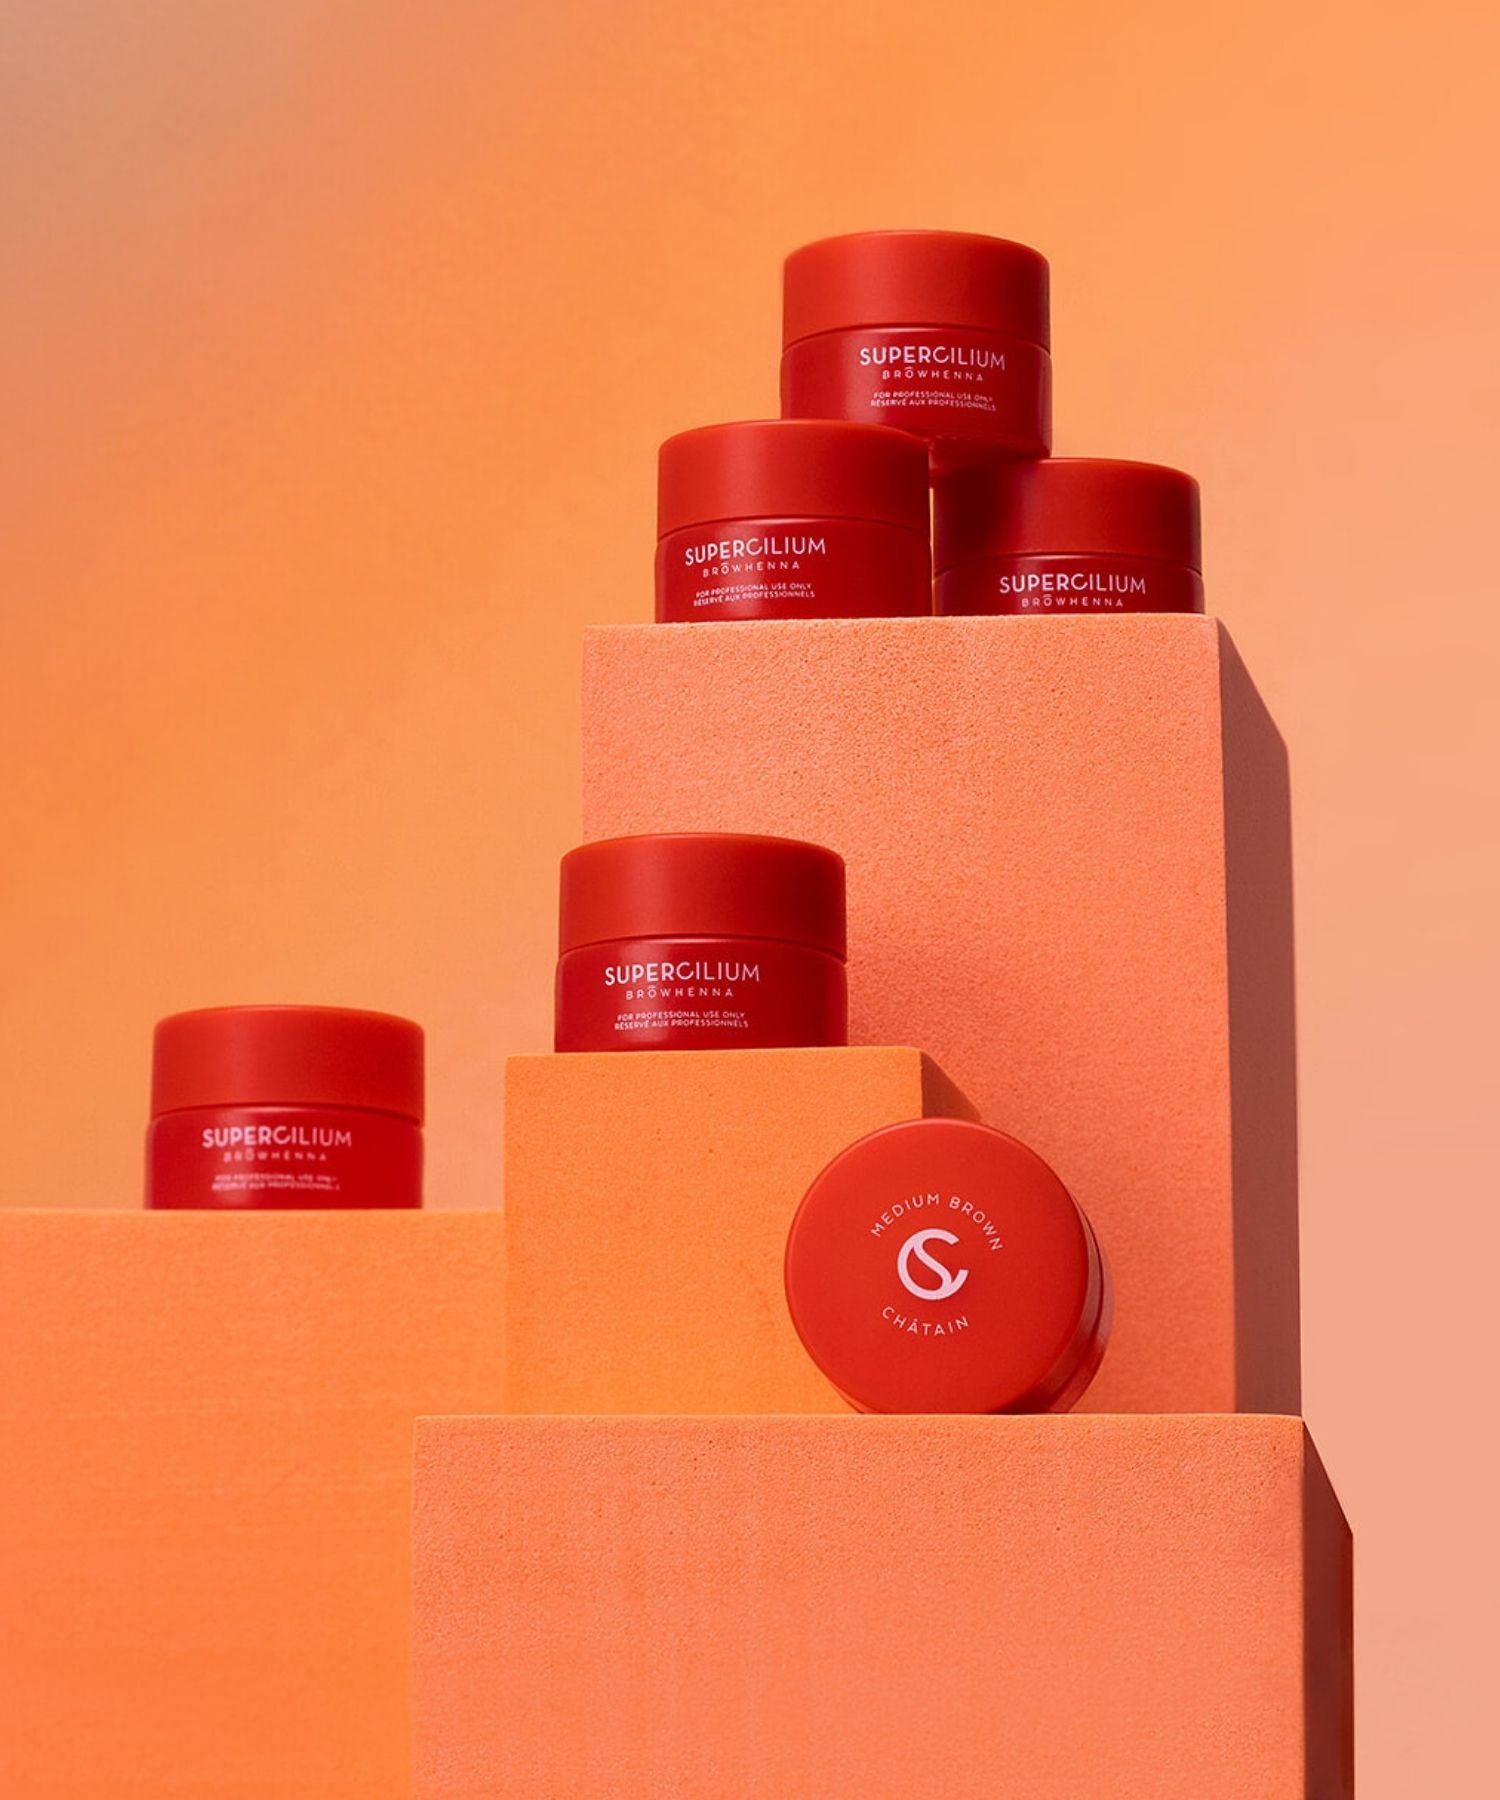
8. Hybrid Dye turned orange after Brow Lamination
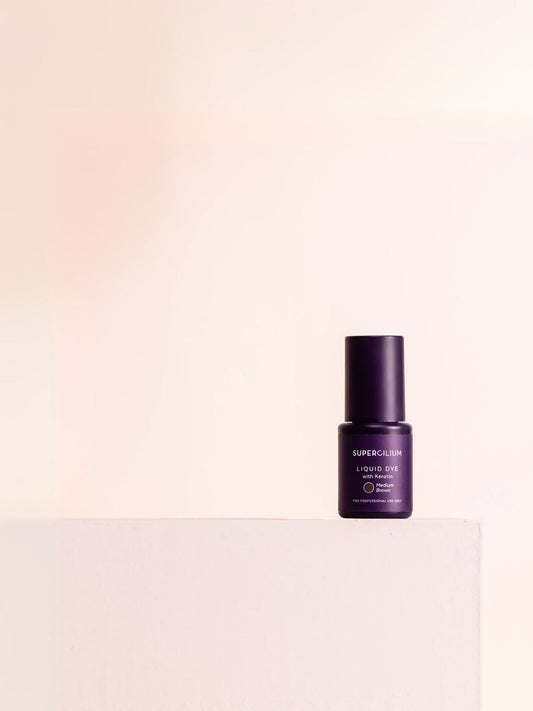
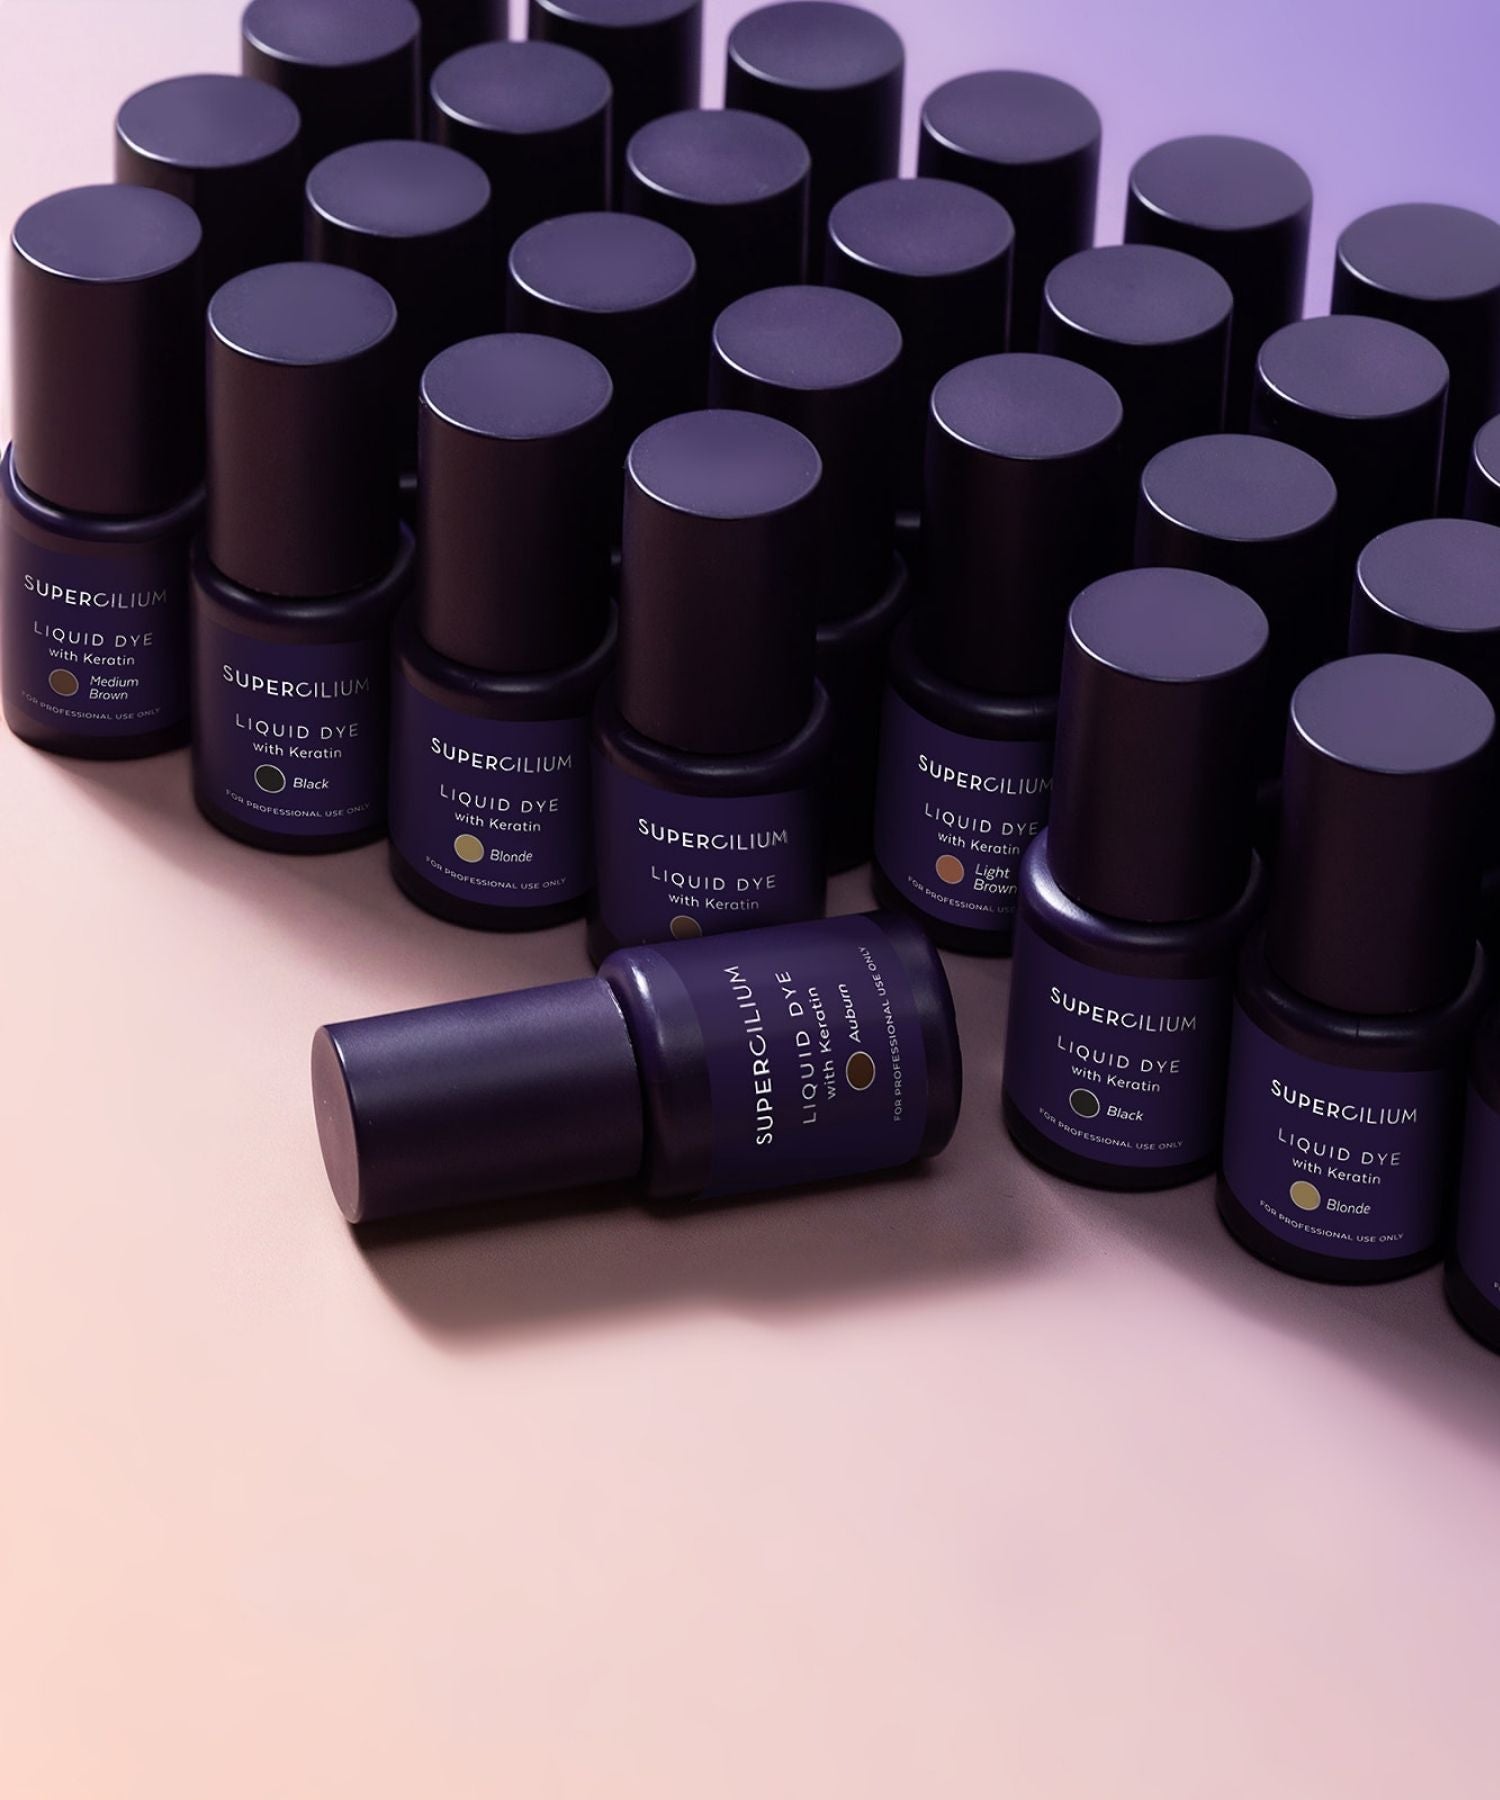
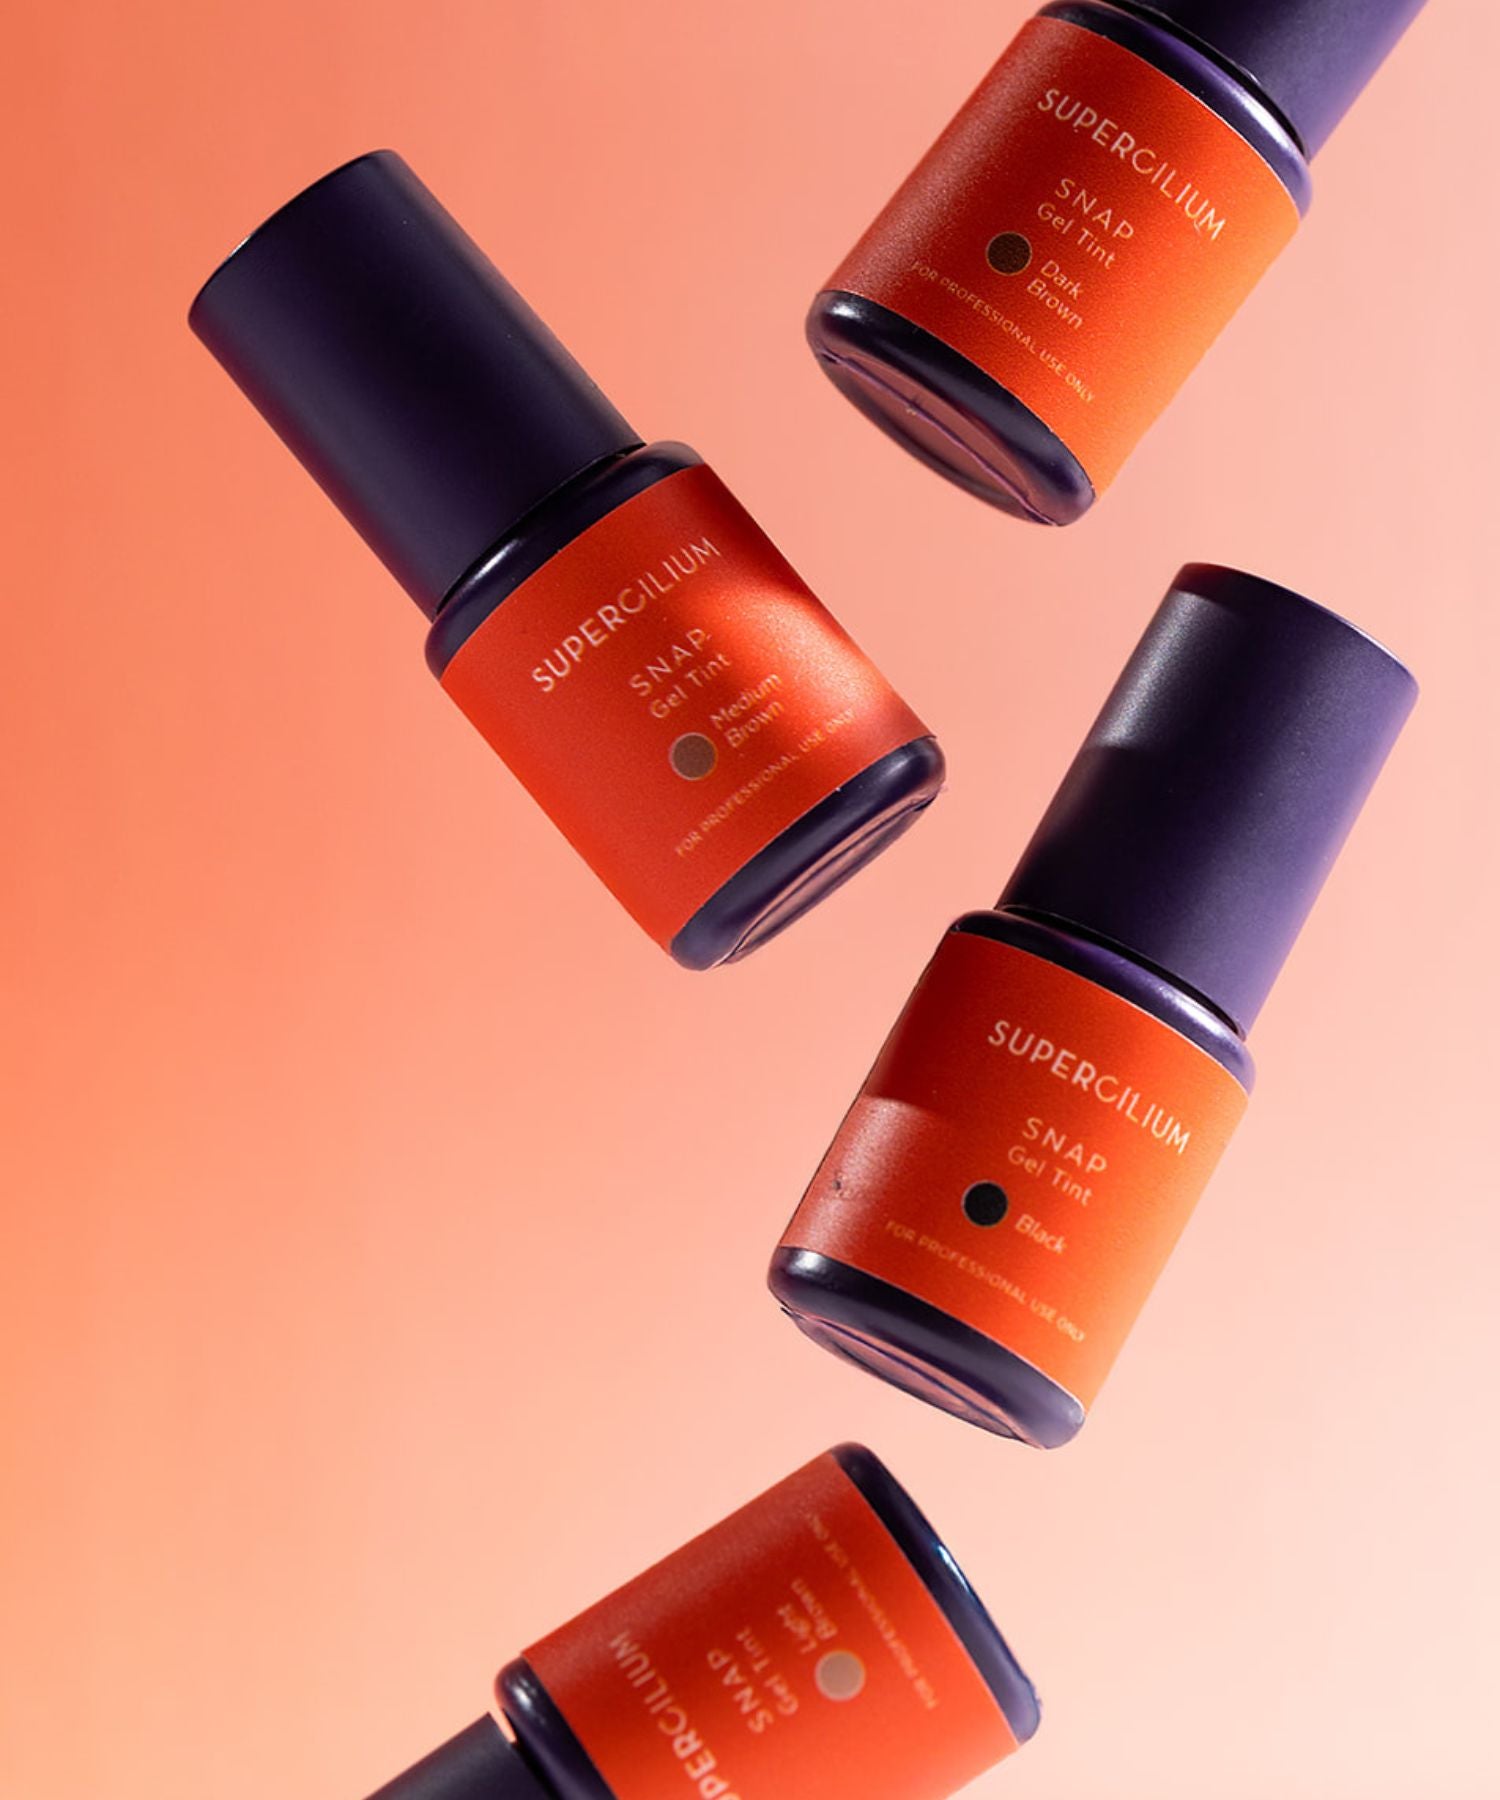
Orange or brassy brows are one of the most common tinting issues after lamination. This happens because Brow Lamination opens the hair cuticles and can strip away cool pigments, revealing the hair’s natural warm undertones. When you apply Hybrid Dye ↗ on top, the color can grab too quickly - and too warm. But you can fix it!
Why this happens
- Hair cuticles are open and porous after lamination
- Lamination exposed the hair’s warm undertones
- Hybrid Dye processed too fast
- A warm or golden-based color was used
- Brows were tinted immediately without drying time
- Overprocessed brows absorb color unevenly
How to fix it
- Apply an ash-based brow dye ↗ for 1–2 minutes to neutralize warmth
- Gently cleanse the brows to remove excess dye
- Nourish the brows to close the cuticles over the next few days
Want to keep learning?
Brow Lamination is an incredible treatment - but like any chemical process, things can go wrong. The good news? Most issues can be fixed, softened, or prevented once you understand what caused them. With the right timing, technique, and aftercare guidance, your results will only get better with every client.
What Is Brow Lamination?
Brow Lamination ↗ is a semi-permanent treatment that lifts and reshapes the natural brow hairs using a gentle chemical solution. It relaxes the hairs so you can style them into a fuller, fluffier, more defined shape!
Brow Pros and their clients love Brow Lamination because it has the power to hold brow hairs in place. It naturally lifts the brows, making them look thicker and fuller - all without makeup or daily brow styling.
The treatment is needle-free, painless, and non-invasive, and results typically last 6–8 weeks.
How does Brow Lamination work?
Brow Lamination is super easy!
It works by softening the brow hairs so you can lift, reshape, and set them into a fuller, smoother, more defined look.
You can laminate brows in these 3 easy steps:
1. Relax
The first Relaxing Solution ↗ softens the hair bonds. This allows the brow hairs to relax so you can easily brush and manipulate them into the direction you want.
2. Laminate
The second solution: The Laminate ↗ locks the new shape in place, giving the brows their long-lasting lift and hold.
3. Nourish
The final Nourishing Elixir ↗ adds moisture back into the brows. Since lamination is a chemical process, nourishing the hairs is essential to keep them soft, hydrated, and healthy.
With just these three steps you can completely transform the brows and give clients a fuller, fluffier look they’ll love!
See for yourself the Brow Lamination transformation by Mandy from Blush Beauty:
Brow Lamination gone wrong: what now?
Even though Brow Lamination is a simple treatment, things can still go wrong and it happens more often than you think. From overprocessed brows to uneven results or a lift that just didn’t lift at all, every Brow Pro has been there at least once.
The good news? Most Brow Lamination issues can be fixed, softened, or prevented with the right knowledge. Let's over the most common issues!
1. Why did my Brow Lamination not work?
If the brows didn’t lift, it usually means the hairs didn’t relax properly during Step 1 - but it can also happen if they were processed for too long. Overprocessing can weaken the hair so much that it loses structure and won’t hold a lift.
Most common reasons
- Processing time was too short
- Processing time was too long (overprocessed = weak, limp hairs)
- Product wasn’t applied evenly
- Brows weren’t cleaned properly (oil blocks the solution)
- Thick or coarse hairs need longer timing
How to fix it
- You can’t repeat Step 1 on the same day.
- Nourish the brows and re-laminate in 6 weeks, adjusting timing based on hair type.
- Next time, clean the brows properly with Pro Cleanser ↗.
Enroll in the Brow & Lash Lamination Course ↗ to learn the right step by step guide!
2. Why do my brows look uneven after Brow Lamination?
Uneven Brow Lamination can happen when one brow processes differently than the other. One side may look higher, fluffier, or more lifted, a super common issue.
Why this happens
- Product wasn’t applied evenly
- Each brow has a different hair type or density
- Brows weren’t brushed into the same direction
- One side processed longer
- Hairs shifted during the service
How to fix it
- Gently style the brows daily with a Nourishing Elixir ↗
- Avoid re-laminating for min. 6 weeks
- For future treatments: After brushing the brows into perfect position, apply foil/cling film. This keeps the hairs still and helps both sides process evenly.
- Set a timer for each eyebrow. This will ensure that you leave them on for the same amount of time.
3. Why didn’t Brow Lamination work on thick or coarse brows?
Thick, coarse, and super healthy brows can be harder to laminate because the hairs are stronger and more resistant. They often need more time and product to fully relax.
Why this happens
- Coarse hairs need longer processing times → Healthy coarse brows often need 6–7 minutes for Step 1.
- Not enough product was applied
- Step 1 didn’t soften the hairs enough, or Step 2 was absorbing too short → Healthy coarse brows often need 6 minutes for Step 2.
How to fix it
- Nourish the brows daily until the next appointment
- Don’t re-laminate immediately - wait 6 weeks
- At the next service: Use 6–7 minutes for Step 1 on coarse, healthy brows
- Apply a generous amount of product
- Use cling film for better processing
Pro Tip: Every client has different brows! Make sure you write down processing times, notes, and details from each visit. The more you learn your client’s brows, the better your results become and once they see you mastering their brows specifically, they’ll never want to go to anyone else!
4. Can you reverse a bad Brow Lamination?
You can’t fully “undo” a Brow Lamination because the chemical process has already changed the hair bonds, but you can soften the results and help the brows recover faster.
If the lamination looks really bad…
- Clients can wet the brows regularly (water, gentle cleanser, steam).
- Moisture breaks down the hold quicker, so the laminated effect won’t last as long.
- This helps soften overly lifted, crunchy, or misshaped brows faster.
When can you re-laminate?
After the brows have recovered, usually 6–10 weeks, depending on the level of overprocessing.
A bad lamination isn’t permanent, and with the right care, the brows will soften, relax, and grow back beautifully.
5. What aftercare mistakes can ruin Brow Lamination results?
Even a perfect Lamination can go wrong if the client doesn’t follow proper aftercare. The first 24 hours are especially important - this is when the shape sets.
Common aftercare mistakes
- Getting the brows wet too soon (shower, sweat, steam)
- Using oils, balms, or heavy skincare on the brows
- Applying makeup or brow gel right after the treatment
- Sleeping on the brows, causing the hairs to bend
- Touching or brushing the brows too much in the first 24 hours
- Using exfoliating acids or retinol near the brows
- Skipping nourishment like Nourishing Elixir ↗ in the days after the treatment
What to tell your clients
- Keep brows dry for 24 hours
- Avoid makeup and heavy skincare on the brows
- Don’t touch or press on them
- Start nourishing on day 2
- Brush brows gently into place each morning
Good lamination + good aftercare = long-lasting, soft, lifted brows.
6. My client’s brows are burning after Brow Lamination - what should I do?
Ups. Your client might be allergic.. did you do a patch test ↗?
Why this happens
- The skin is sensitive or reactive
- The client used retinol, AHA, BHA, benzoyl peroxide, or other strong skincare before the appointment
- The product touched the skin instead of only the brow hairs
- Brows were laminated too soon after waxing or threading
- The skin barrier was compromised (dry, flaky, sunburned)
- Processing time was too long for the client's skin type
What to do immediately
- Remove the product gently but right away
- Soothe the area with cool water or a damp cotton pad
- Apply a nourishing, calming product like aloe
- Avoid tinting, waxing, or any additional chemical steps
What to tell your client
- Redness or warmth may last a few hours
- Avoid acids, retinol, sunscreen, and makeup around the brows for 24–48 hours
- If irritation increases, advise them to contact a dermatologist/doctor
How to prevent it next time
- Always ask clients about skincare products before starting
- Avoid laminating clients who recently used retinol or acids
- Apply product carefully, keeping it on the hair, not the skin
- Reduce processing times for sensitive skin types
Enroll in the Brow & Lash Lamination Course ↗ to learn everything about handling allergies!
7. My client doesn’t like their Brow Lamination results
Sometimes the lamination itself is perfectly fine, but the client just isn’t used to the new look. This is more common than you think and is often called “Brow Shock.”
What to do
- Remind them that laminated brows relax naturally within a few days
- Show them how to style the brows down for a softer look
- Explain Brow Shock - an emotional reaction to suddenly fuller brows, read more here about the Brow Shock ↗.
- Tell them they can wet the brows (water, steam, gentle cleansing) to soften the lamination faster
For their next appointment
- Offer a Baby Lamination ↗ → Only laminating the front or the middle of the brows for a softer, more natural result (watch a video below)
- Adjust the styling direction to something more subtle
- Use shorter processing times for a gentler lift
8. Hybrid Dye turned orange after Brow Lamination
Orange or brassy brows are one of the most common tinting issues after lamination. This happens because Brow Lamination opens the hair cuticles and can strip away cool pigments, revealing the hair’s natural warm undertones. When you apply Hybrid Dye ↗ on top, the color can grab too quickly - and too warm. But you can fix it!
Why this happens
- Hair cuticles are open and porous after lamination
- Lamination exposed the hair’s warm undertones
- Hybrid Dye processed too fast
- A warm or golden-based color was used
- Brows were tinted immediately without drying time
- Overprocessed brows absorb color unevenly
How to fix it
- Apply an ash-based brow dye ↗ for 1–2 minutes to neutralize warmth
- Gently cleanse the brows to remove excess dye
- Nourish the brows to close the cuticles over the next few days
Want to keep learning?
Brow Lamination is an incredible treatment - but like any chemical process, things can go wrong. The good news? Most issues can be fixed, softened, or prevented once you understand what caused them. With the right timing, technique, and aftercare guidance, your results will only get better with every client.