


Brow Henna troubles? Here's what might be going wrong
written byŽaneta Mlčáková
In This Article
What could be the reason behind your Brow Henna troubles?
Let’s dive right in - ask yourself these questions:
- Did I prep the skin well enough?
- Did I mix my Brow Henna the right way?
- Did I apply the Henna correctly and evenly?
- Did I leave the Henna on for the right amount of time?
- Did I adjust or correct the color properly?
- What did the clients do before their treatment?
If you answered “maybe not…” to any of these, don’t worry - we’ll walk you through each mistake and show you exactly how to fix it.
1. Not prepping the skin properly
This is the number one reason Brow Henna ↗ doesn’t stain - and it’s especially common with oily skin types.
When there’s still oil, SPF, dead skin, or residue on the brows, the henna can’t grip the skin properly. The result: weak staining, patchy fronts, or color that fades within a day.
How to fix it:
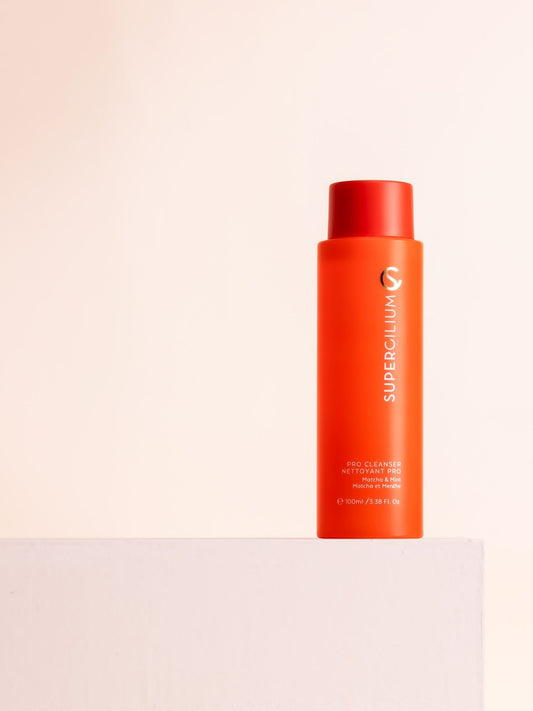
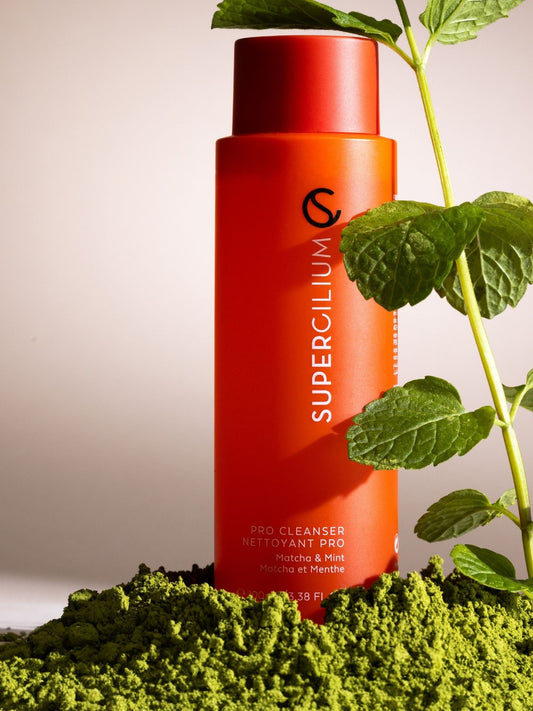
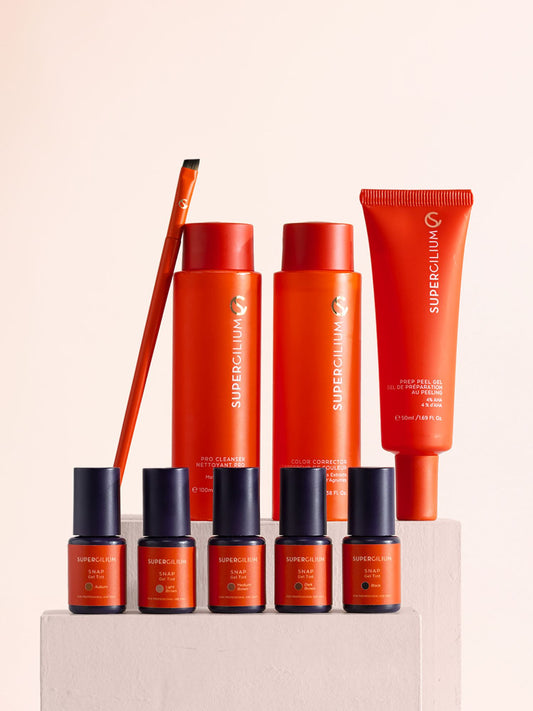
Start with Pro Cleanser ↗. to remove surface dirt and makeup.
→ This formula contains alcohol, making it stronger and more effective at removing stubborn oils that block pigment absorption.
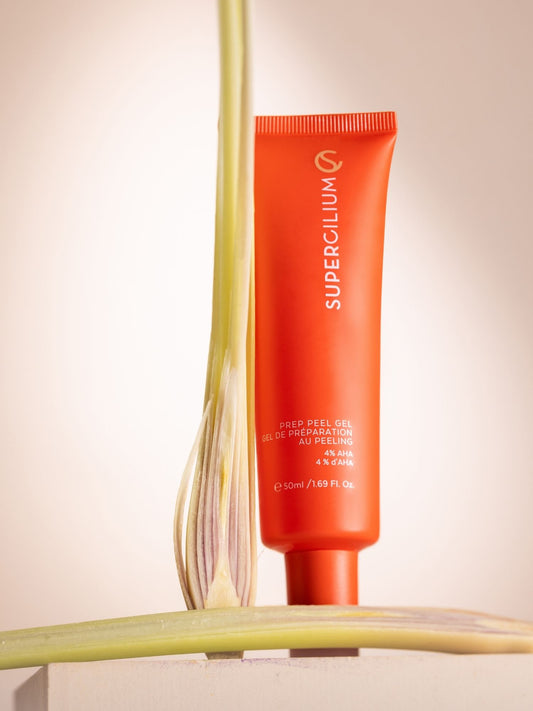
Finish with Prep Peel Gel ↗ to exfoliate dead skin cells and create the clean, smooth surface henna needs.
Extra tip: Within our community, Brow Artists swear by a surprising trick.. clean super oily skin with Color Booster ↗ before applying henna. Because of its ingredients, it helps break through excess oils - and can improve both staining power and longevity.
2. Mixing your Brow Henna incorrectly
A lot of Brow Artists don’t realize it, but Brow Henna can go wrong before you even apply it.
What do you mix it with?
If you’re mixing your henna with just water - that’s probably where things start to fail. Water dilutes the formula, makes the stain weaker, and leads to patchy results. Don't get us wrong, you can still get a beautiful stain with just water, but by mixing it with Color Developer ↗, you get a much stronger skin stain that usually lasts way longer.
Did you wait before applying?
Patience is key. After you've mixed your henna, let it sit for a few minutes. This waiting time is needed to let your mix oxidize correctly before applying. Are you rushing during your appointments? Make sure you create your mixture before you start cleansing the brows. This will make sure you don't miss any valuable time waiting. Brows clean? Mixture ready!
What skin type are you working with?
Lastly, check carefully what skin type you're working with. No matter how skilled you are, the expected Brow Henna results sometimes don’t show on the brows of clients with oily skin. Because of the excess oil of this skin type, there is a tougher barrier, which prevents the henna from penetrating the skin and leaving a long-lasting stain. In other words, it’s more difficult for oily skin to absorb henna into the skin.
And that's where Color Booster ↗ steps in. It serves as a henna activator to make sure that pigment is absorbed much better and to intensify the color of the henna on the (oily) skin. Some Brow Artists even use it for all their clients, no matter the skin type.
Correct Mixing Rules:
To achieve the strongest, most consistent results:
- Light shades (Blonde, Light Brown, Medium Brown) → Mix your henna with 15–20 drops of Color Developer ↗.
- Dark shades (Dark Brown, Black, Auburn) → Mix with 10–15 drops of Color Developer ↗.
Working with oily skin? Add Color Booster ↗ to the mix. When adding the Color Booster to the henna mix, the ratio is 1:1 with Color Developer. Replace half of the drops of Color Developer with the Color Booster when mixing with henna.
Mix until you achieve a smooth, creamy, lump-free texture - not too runny, not too thick. Mixed it? Let it sit for a few minutes before you apply the henna. This will right away dissolve the little white balls in the henna, cause those are the binders that activate your henna mix while it is oxidizing.
3. Not applying Brow Henna the right way
Even if your mix is perfect, your application technique can make or break the final result.
Applying too thin, too thick, or not pressing the product into the skin can lead to patchy staining, weak fronts, or uneven lines - and that’s super frustrating when you're doing everything else right.
How to fix it:
Apply your Brow Henna in thin, even layers and gently press the product into the skin instead of brushing it over the hairs. Make sure each layer fully dries before adding the next for the strongest stain. It's better to apply your henna in multiple thin layers than one thick layer.
But here’s the truth: perfect Henna application is something you see better than you read about. If you want to master every step - from mixing, mapping, layering, ombré fronts, and correction - you’ll love our Certified Brow Henna Course ↗.
It includes step-by-step videos, troubleshooting guidance, and techniques that thousands of Brow Artists use for flawless results.
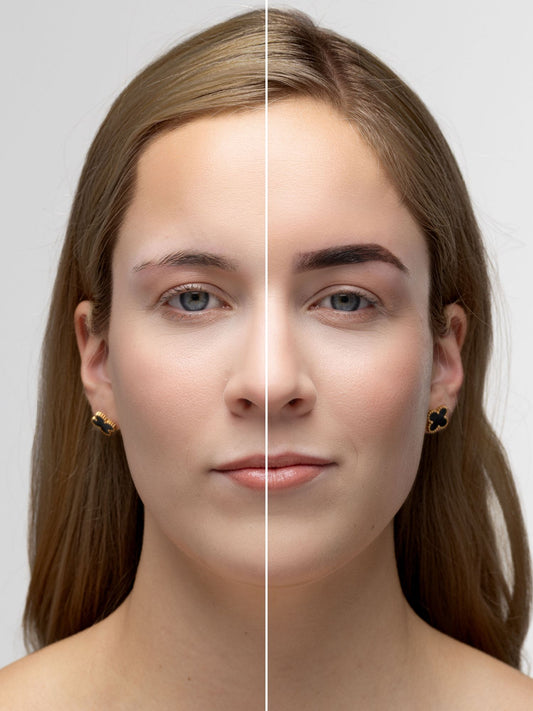
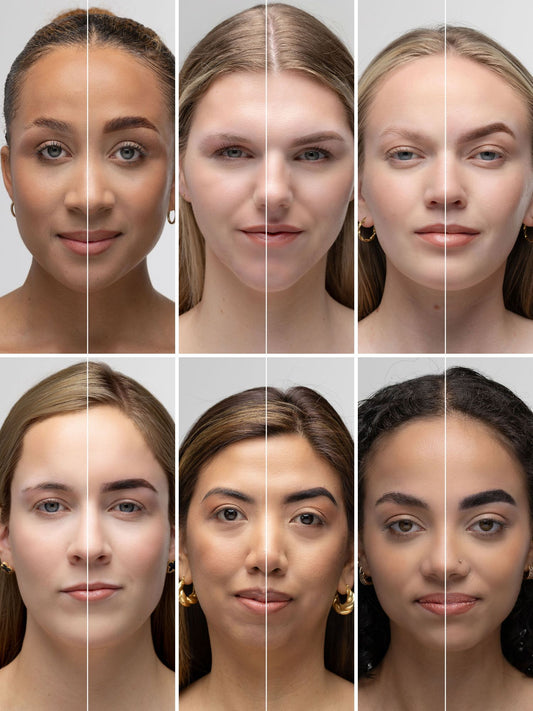
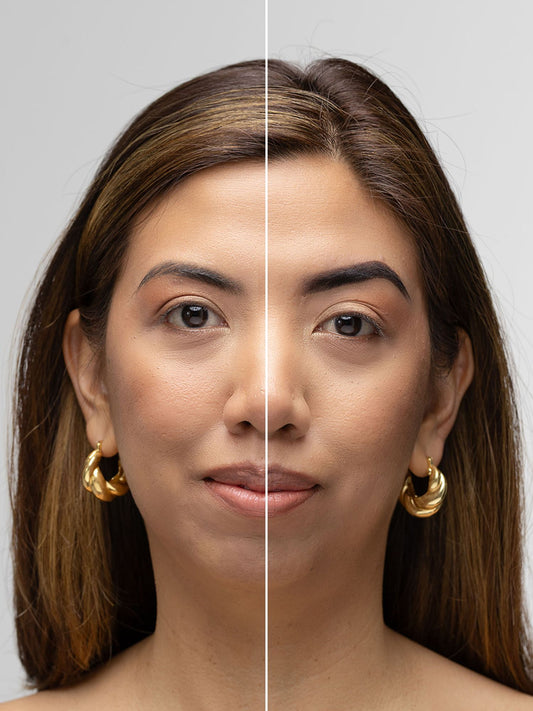
If you’ve ever struggled with the application, a visual demonstration makes all the difference!

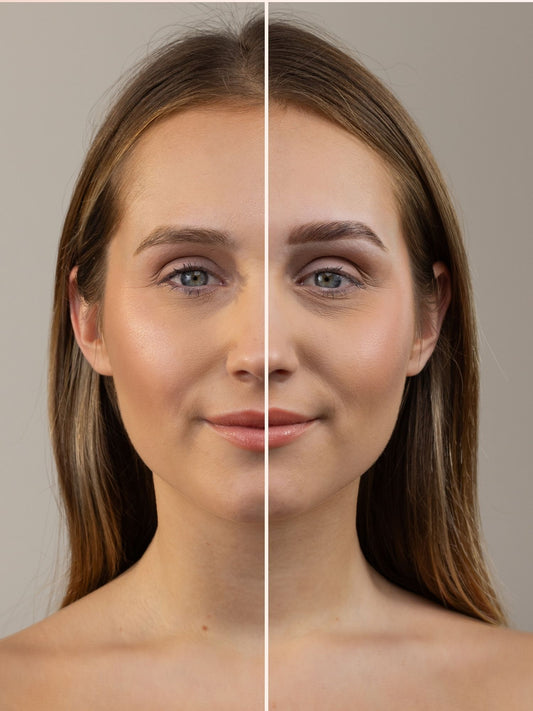
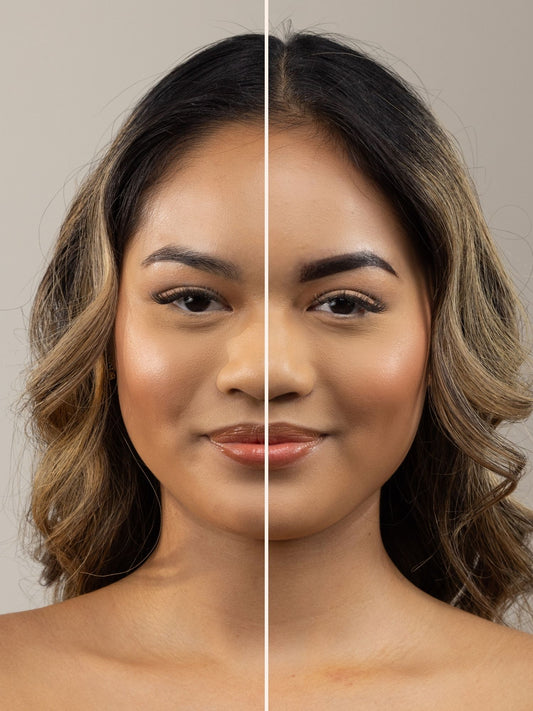
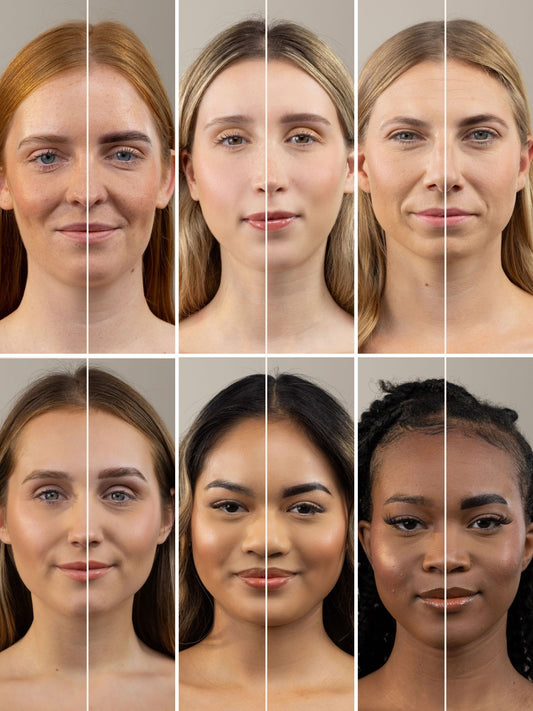
Brow henna look by @centerfold_pmu
4. Removing the Henna too early (or too late)
Processing time is everything when working with Brow Henna!
- If you remove it too soon, the stain will be light and fade quickly.
- If you leave it on too long, the brows can turn too dark or cool.
Finding the sweet spot is key.
Here’s the timing you should follow:
Fronts of the brows:
- Remove after 3–5 minutes to create a soft, natural ombré effect.
- Still too light? No problem - simply reapply a thin layer and leave it on for another 3–5 minutes.
The rest of the brows:
- Remove after 10–20 minutes, depending on how bold your client wants the result.
The general rule:
Shorter time = softer stain
Longer time = deeper stain
If you’re unsure, always start lighter and build up - it’s much easier to deepen the color than to correct an overly dark stain.

5. Brow Henna color developed wrong
Don’t worry - it happens to every Brow Artist at some point. Sometimes the Brow Henna develops warmer, cooler, lighter, or darker than expected.
But the good news? Henna is absolutely mixable - and color correction is easier than you think.
How to fix it:
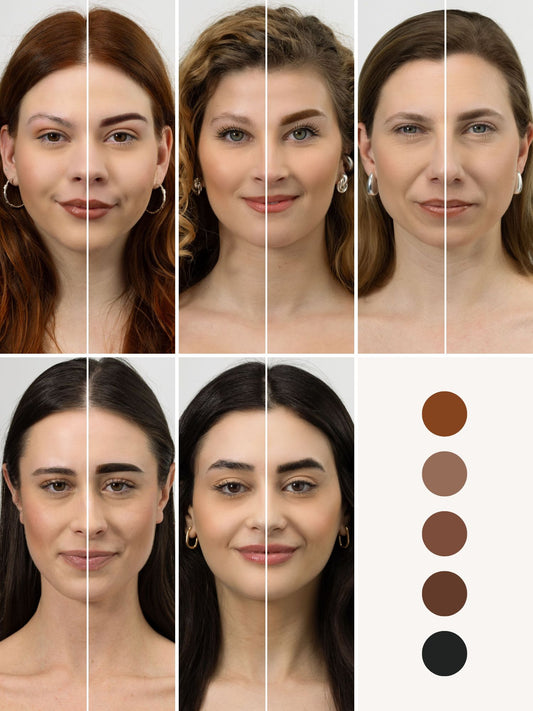
If the color doesn’t match your client’s undertone, you can mix different Henna shades to create the perfect custom blend.
A touch warmer, a bit cooler, slightly deeper - everything is possible once you understand how the shades behave.
Want to learn exactly how to mix Brow Henna like a pro?
Our Henna Mixing Masterclass ↗ teaches you how to create custom blends, adjust undertones, and fix tricky color situations step by step.
Made a mistake?
Don’t panic - reach for your Color Corrector ↗. It softens harsh edges, lifts too-dark areas, and fixes borders within seconds.
Color mismatch doesn’t have to be stressful - with the right mixing knowledge and tools, you can fix anything with confidence!
6. Henna turned Green or Orange
If your Brow Henna turns green or orange, don’t worry — it’s usually correctable and a common reaction to certain conditions.
How to fix it:
🟢 Green tones typically happen when henna hasn’t had enough time to oxidize. Just wait a little longer, and the green tint often neutralizes naturally. To prevent this, letting your henna sit for a few minutes before applying is crucial.
🟠 Orange tones are most often caused by residue from self-tanning products, especially DHA-based formulas. Self-tanner on or under the skin can interact with henna pigments, pulling out warm undertones and resulting in an unnatural orange stain. Always ask your client if they’ve used self-tanner in the last 3–5 days. If so, it's better to wait for a few days before you continue with Henna. Probably not the answer that they want to hear, but hey, nobody wants orange brows, right?
Pro Tip: Use a Color Corrector ↗ if the stain turns out wrong — it can help remove henna from the skin without scrubbing.
Ready to Master Brow Henna?
If you’ve ever struggled with Brow Henna not staining, fading too fast, turning the wrong color, or developing unevenly, you’re not alone.
Whether you’re a beginner or already experienced, our courses will help you create consistent, flawless, long-lasting Brow Henna results - every single time.
Start learning today at Supercilium Brow Academy ↗
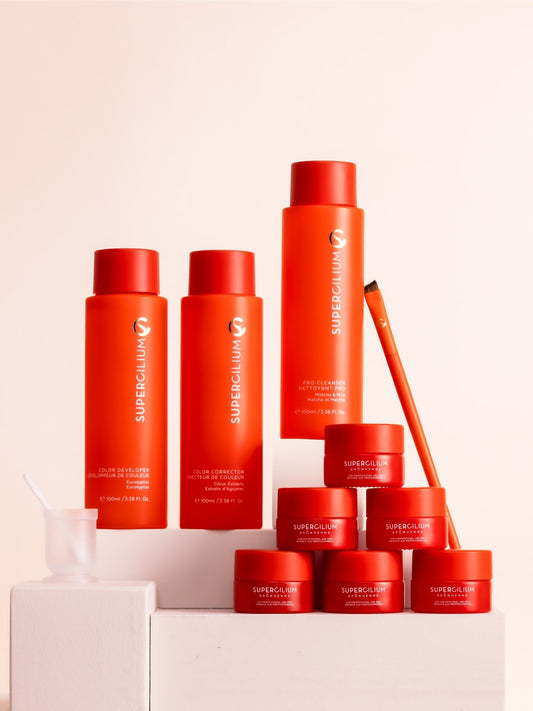
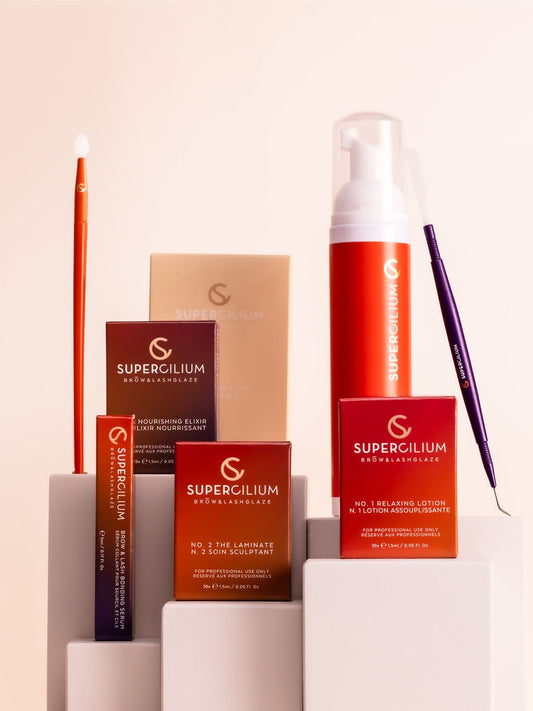
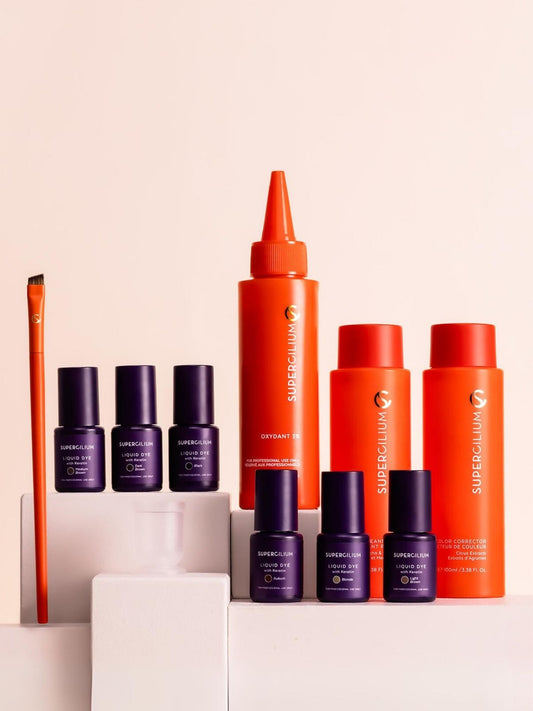
Want to know for sure you got all the products needed to rock your Brow Henna treatments? Discover our Brow Henna Starter Kit ↗. All essentials needed to create the most beatifull henna brows.
What could be the reason behind your Brow Henna troubles?
Let’s dive right in - ask yourself these questions:
- Did I prep the skin well enough?
- Did I mix my Brow Henna the right way?
- Did I apply the Henna correctly and evenly?
- Did I leave the Henna on for the right amount of time?
- Did I adjust or correct the color properly?
- What did the clients do before their treatment?
If you answered “maybe not…” to any of these, don’t worry - we’ll walk you through each mistake and show you exactly how to fix it.
1. Not prepping the skin properly
This is the number one reason Brow Henna ↗ doesn’t stain - and it’s especially common with oily skin types.
When there’s still oil, SPF, dead skin, or residue on the brows, the henna can’t grip the skin properly. The result: weak staining, patchy fronts, or color that fades within a day.
How to fix it:
Start with Pro Cleanser ↗. to remove surface dirt and makeup.
→ This formula contains alcohol, making it stronger and more effective at removing stubborn oils that block pigment absorption.
Finish with Prep Peel Gel ↗ to exfoliate dead skin cells and create the clean, smooth surface henna needs.
Extra tip: Within our community, Brow Artists swear by a surprising trick.. clean super oily skin with Color Booster ↗ before applying henna. Because of its ingredients, it helps break through excess oils - and can improve both staining power and longevity.
2. Mixing your Brow Henna incorrectly
A lot of Brow Artists don’t realize it, but Brow Henna can go wrong before you even apply it.
What do you mix it with?
If you’re mixing your henna with just water - that’s probably where things start to fail. Water dilutes the formula, makes the stain weaker, and leads to patchy results. Don't get us wrong, you can still get a beautiful stain with just water, but by mixing it with Color Developer ↗, you get a much stronger skin stain that usually lasts way longer.
Did you wait before applying?
Patience is key. After you've mixed your henna, let it sit for a few minutes. This waiting time is needed to let your mix oxidize correctly before applying. Are you rushing during your appointments? Make sure you create your mixture before you start cleansing the brows. This will make sure you don't miss any valuable time waiting. Brows clean? Mixture ready!
What skin type are you working with?
Lastly, check carefully what skin type you're working with. No matter how skilled you are, the expected Brow Henna results sometimes don’t show on the brows of clients with oily skin. Because of the excess oil of this skin type, there is a tougher barrier, which prevents the henna from penetrating the skin and leaving a long-lasting stain. In other words, it’s more difficult for oily skin to absorb henna into the skin.
And that's where Color Booster ↗ steps in. It serves as a henna activator to make sure that pigment is absorbed much better and to intensify the color of the henna on the (oily) skin. Some Brow Artists even use it for all their clients, no matter the skin type.
Correct Mixing Rules:
To achieve the strongest, most consistent results:
- Light shades (Blonde, Light Brown, Medium Brown) → Mix your henna with 15–20 drops of Color Developer ↗.
- Dark shades (Dark Brown, Black, Auburn) → Mix with 10–15 drops of Color Developer ↗.
Working with oily skin? Add Color Booster ↗ to the mix. When adding the Color Booster to the henna mix, the ratio is 1:1 with Color Developer. Replace half of the drops of Color Developer with the Color Booster when mixing with henna.
Mix until you achieve a smooth, creamy, lump-free texture - not too runny, not too thick. Mixed it? Let it sit for a few minutes before you apply the henna. This will right away dissolve the little white balls in the henna, cause those are the binders that activate your henna mix while it is oxidizing.
3. Not applying Brow Henna the right way
Even if your mix is perfect, your application technique can make or break the final result.
Applying too thin, too thick, or not pressing the product into the skin can lead to patchy staining, weak fronts, or uneven lines - and that’s super frustrating when you're doing everything else right.
How to fix it:
Apply your Brow Henna in thin, even layers and gently press the product into the skin instead of brushing it over the hairs. Make sure each layer fully dries before adding the next for the strongest stain. It's better to apply your henna in multiple thin layers than one thick layer.
But here’s the truth: perfect Henna application is something you see better than you read about. If you want to master every step - from mixing, mapping, layering, ombré fronts, and correction - you’ll love our Certified Brow Henna Course ↗.
It includes step-by-step videos, troubleshooting guidance, and techniques that thousands of Brow Artists use for flawless results.
If you’ve ever struggled with the application, a visual demonstration makes all the difference!
Brow henna look by @centerfold_pmu
4. Removing the Henna too early (or too late)
Processing time is everything when working with Brow Henna!
- If you remove it too soon, the stain will be light and fade quickly.
- If you leave it on too long, the brows can turn too dark or cool.
Finding the sweet spot is key.
Here’s the timing you should follow:
Fronts of the brows:
- Remove after 3–5 minutes to create a soft, natural ombré effect.
- Still too light? No problem - simply reapply a thin layer and leave it on for another 3–5 minutes.
The rest of the brows:
- Remove after 10–20 minutes, depending on how bold your client wants the result.
The general rule:
Shorter time = softer stain
Longer time = deeper stain
If you’re unsure, always start lighter and build up - it’s much easier to deepen the color than to correct an overly dark stain.
5. Brow Henna color developed wrong
Don’t worry - it happens to every Brow Artist at some point. Sometimes the Brow Henna develops warmer, cooler, lighter, or darker than expected.
But the good news? Henna is absolutely mixable - and color correction is easier than you think.
How to fix it:
If the color doesn’t match your client’s undertone, you can mix different Henna shades to create the perfect custom blend.
A touch warmer, a bit cooler, slightly deeper - everything is possible once you understand how the shades behave.
Want to learn exactly how to mix Brow Henna like a pro?
Our Henna Mixing Masterclass ↗ teaches you how to create custom blends, adjust undertones, and fix tricky color situations step by step.
Made a mistake?
Don’t panic - reach for your Color Corrector ↗. It softens harsh edges, lifts too-dark areas, and fixes borders within seconds.
Color mismatch doesn’t have to be stressful - with the right mixing knowledge and tools, you can fix anything with confidence!
6. Henna turned Green or Orange
If your Brow Henna turns green or orange, don’t worry — it’s usually correctable and a common reaction to certain conditions.
How to fix it:
🟢 Green tones typically happen when henna hasn’t had enough time to oxidize. Just wait a little longer, and the green tint often neutralizes naturally. To prevent this, letting your henna sit for a few minutes before applying is crucial.
🟠 Orange tones are most often caused by residue from self-tanning products, especially DHA-based formulas. Self-tanner on or under the skin can interact with henna pigments, pulling out warm undertones and resulting in an unnatural orange stain. Always ask your client if they’ve used self-tanner in the last 3–5 days. If so, it's better to wait for a few days before you continue with Henna. Probably not the answer that they want to hear, but hey, nobody wants orange brows, right?
Pro Tip: Use a Color Corrector ↗ if the stain turns out wrong — it can help remove henna from the skin without scrubbing.
Ready to Master Brow Henna?
If you’ve ever struggled with Brow Henna not staining, fading too fast, turning the wrong color, or developing unevenly, you’re not alone.
Whether you’re a beginner or already experienced, our courses will help you create consistent, flawless, long-lasting Brow Henna results - every single time.
Start learning today at Supercilium Brow Academy ↗
Want to know for sure you got all the products needed to rock your Brow Henna treatments? Discover our Brow Henna Starter Kit ↗. All essentials needed to create the most beatifull henna brows.