


Should you tint before or after lamination?
written byRafaela Tessari
In This Article
Tint before or after Brow Lamination?
Let’s make it clear right away: Always tint after Brow Lamination.
This is one of the biggest mistakes Brow Artists make when starting with combo brow and lash treatments. The order matters - it actually affects the final color, longevity, and brow hair condition.
Here’s why:
-
-
Lamination lifts and opens the brow hair cuticles, making them more receptive to color. That means when you apply Hybrid Dye after Brow Lamination, the pigment absorbs better and deeper into the hair.
-
If you tint before laminating, the chemical process of lamination can strip the color, making your beautiful tint fade faster.
-
Lamination is already a chemical treatment. Tinting before lamination can lead to the tint being diluted or uneven due to the chemical solutions used in the lamination process.
-

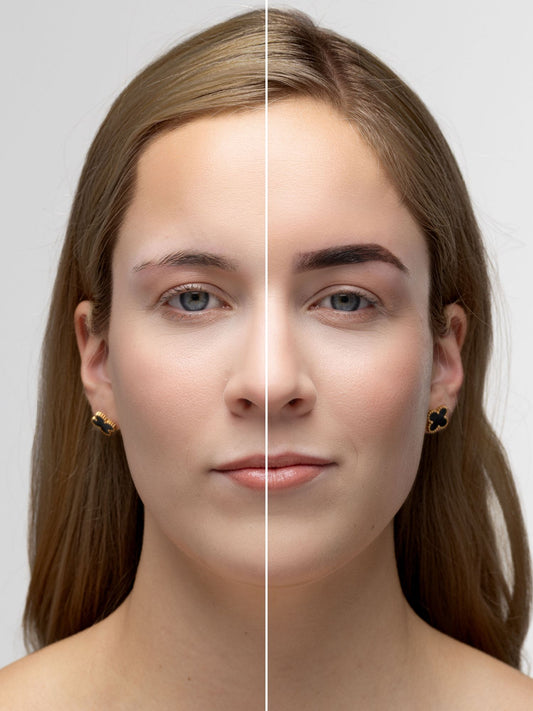
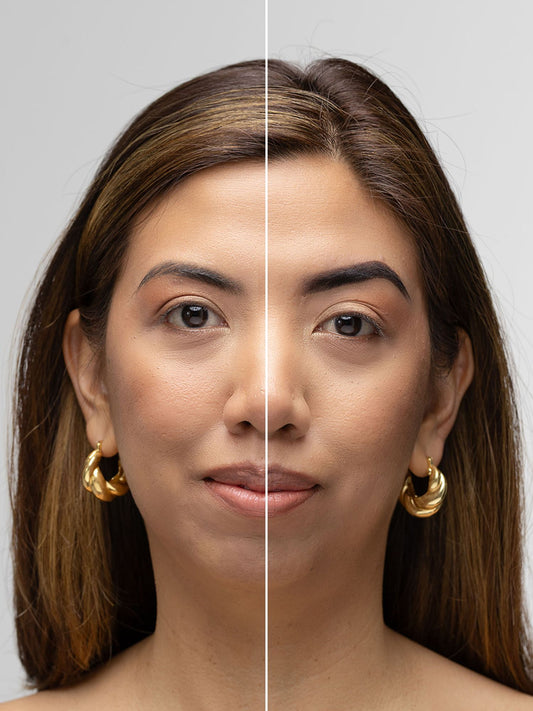
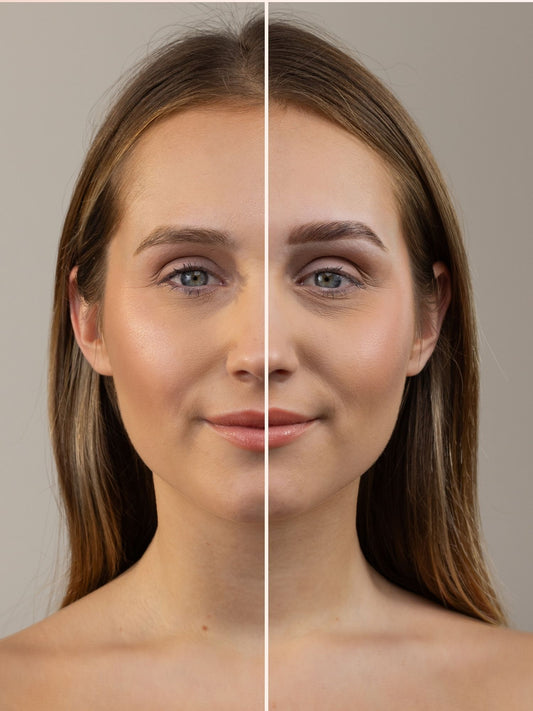
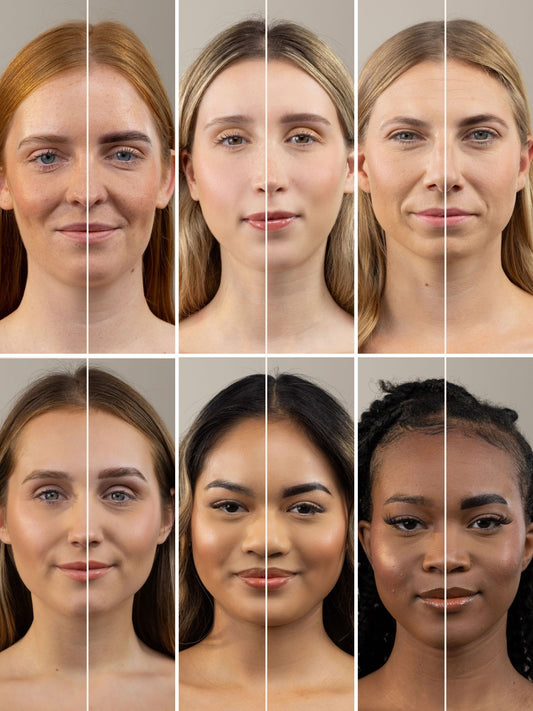
Look at this beautiful Liquid Dye and Lamination combo by @brow_studio_paulabaran
How to combine Brow Lamination and Liquid Dye
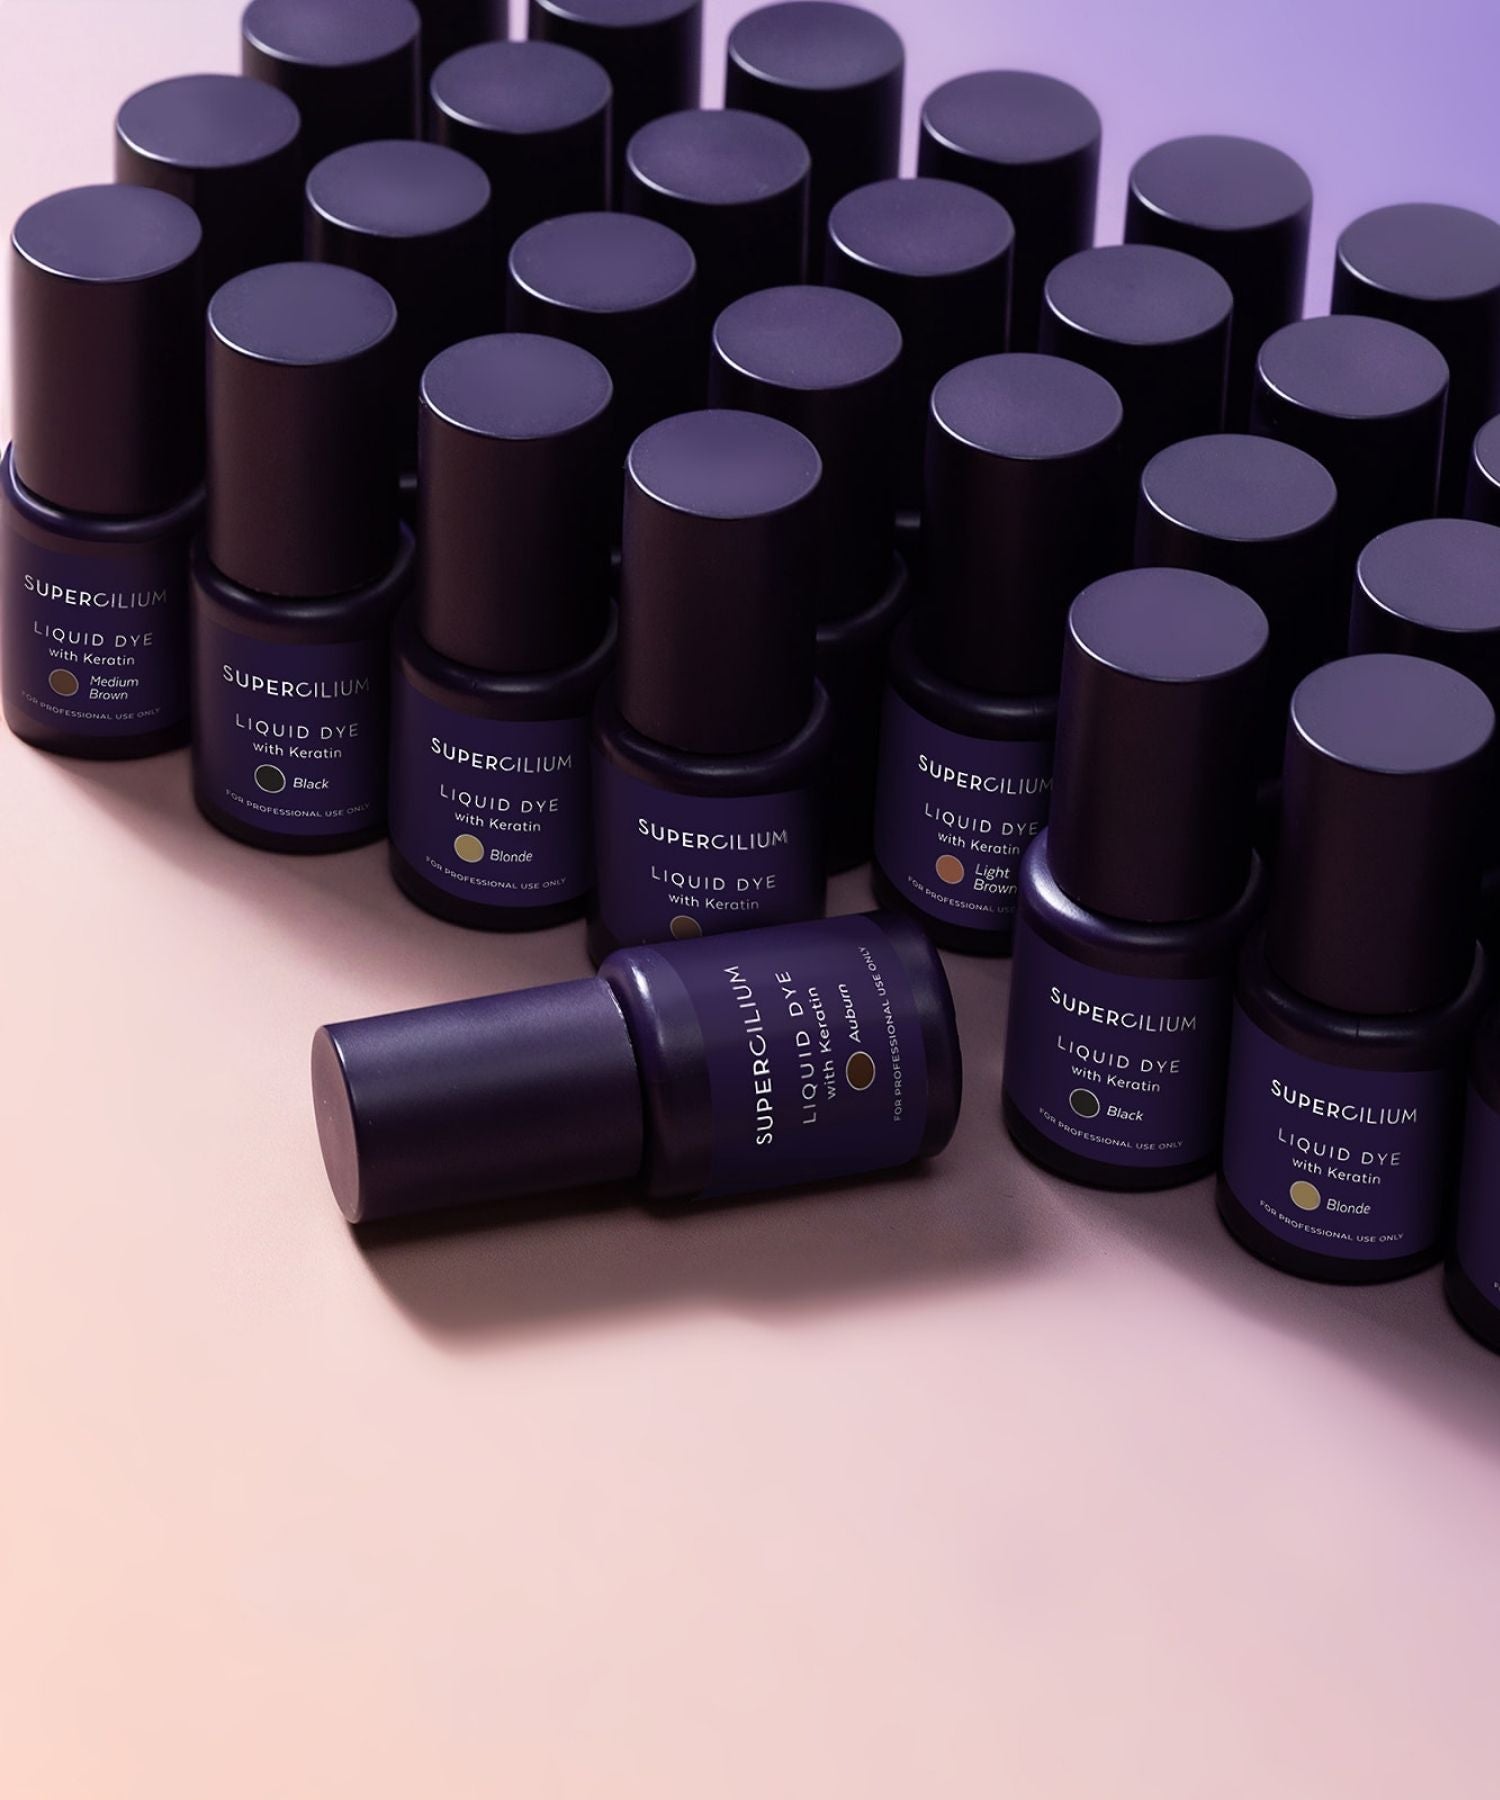
Combining Brow Lamination with Hybrid Dye (our Liquid Dye with Keratin) is a total brow game-changer - but only if you do it in the right order. Here’s your go-to routine to get lifted, defined, and long-lasting results that your clients will rave about.
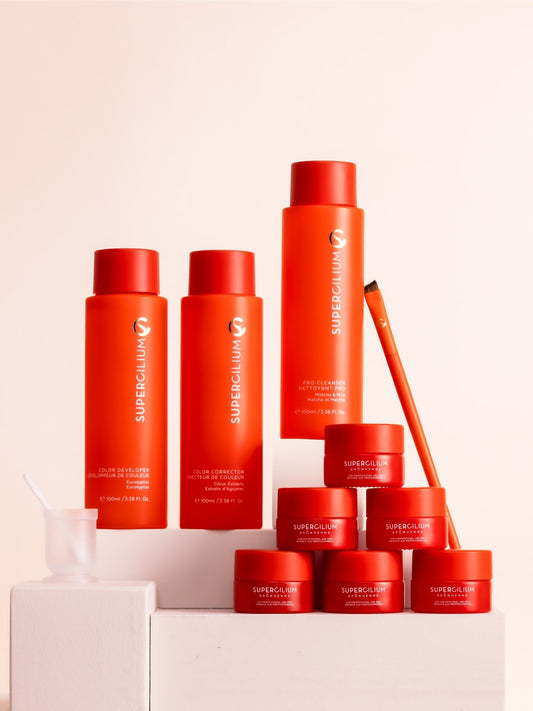
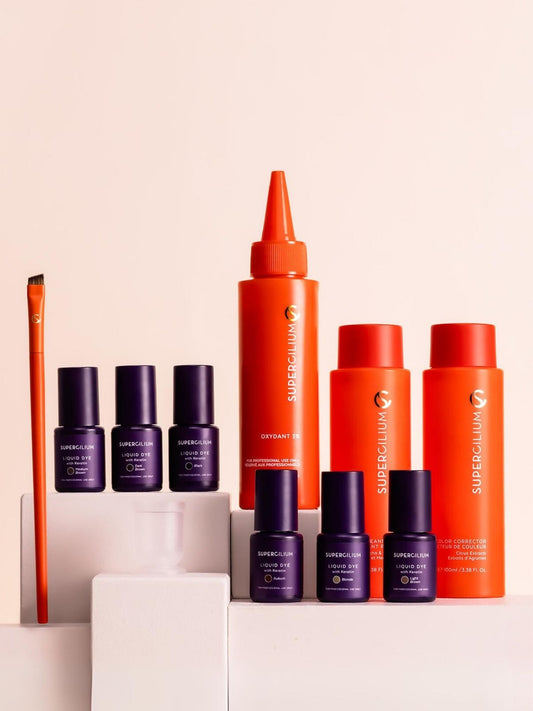
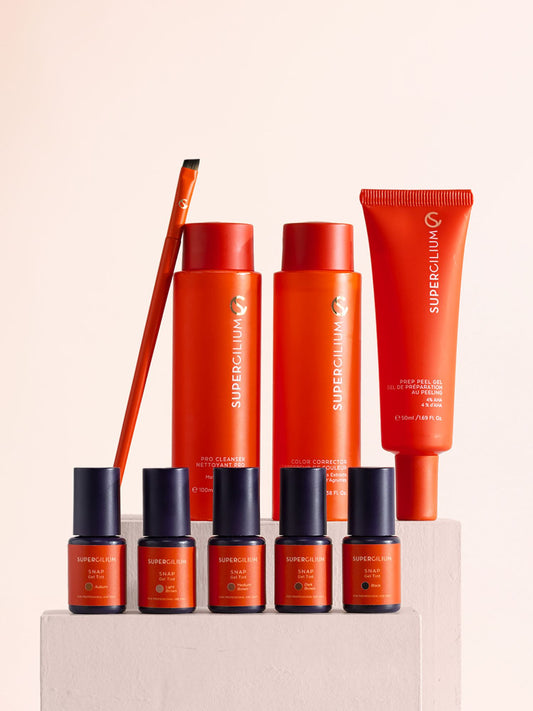
What products do you need:
-
-
Brushes (included in the kits)
-
Cotton pads or dry swabs
Step by step
1. Step: Clean and prepare the brows
Start with a clean base. Remove any makeup, oil, or skincare residue to ensure that the Brow Lamination and Liquid Dye can penetrate effectively.
2. Step: Apply Step 1 - Relaxing Lotion
Brush the brows into the desired shape, then apply the Relaxing Lotion evenly across the brows. Cover with plastic film to enhance processing.
-
Very fine brows: 3–4 minutes
-
Fine or tinted brows: 4–5 minutes
-
Natural healthy brows: 5–6 minutes
-
Coarse healthy brows: 6–7 minutes
Do not exceed recommended processing times. Always monitor the hair condition during the treatment. The lotion will not work better if you leave it longer on the brows! It can do the opposite.
3. Step: Apply Step 2 – The Laminate
After removing Step 1 with a dry cotton pad, apply The Laminate in the same direction.
-
Very fine, fine, or tinted brows: 5 minutes
-
Natural healthy or coarse brows: 6 minutes
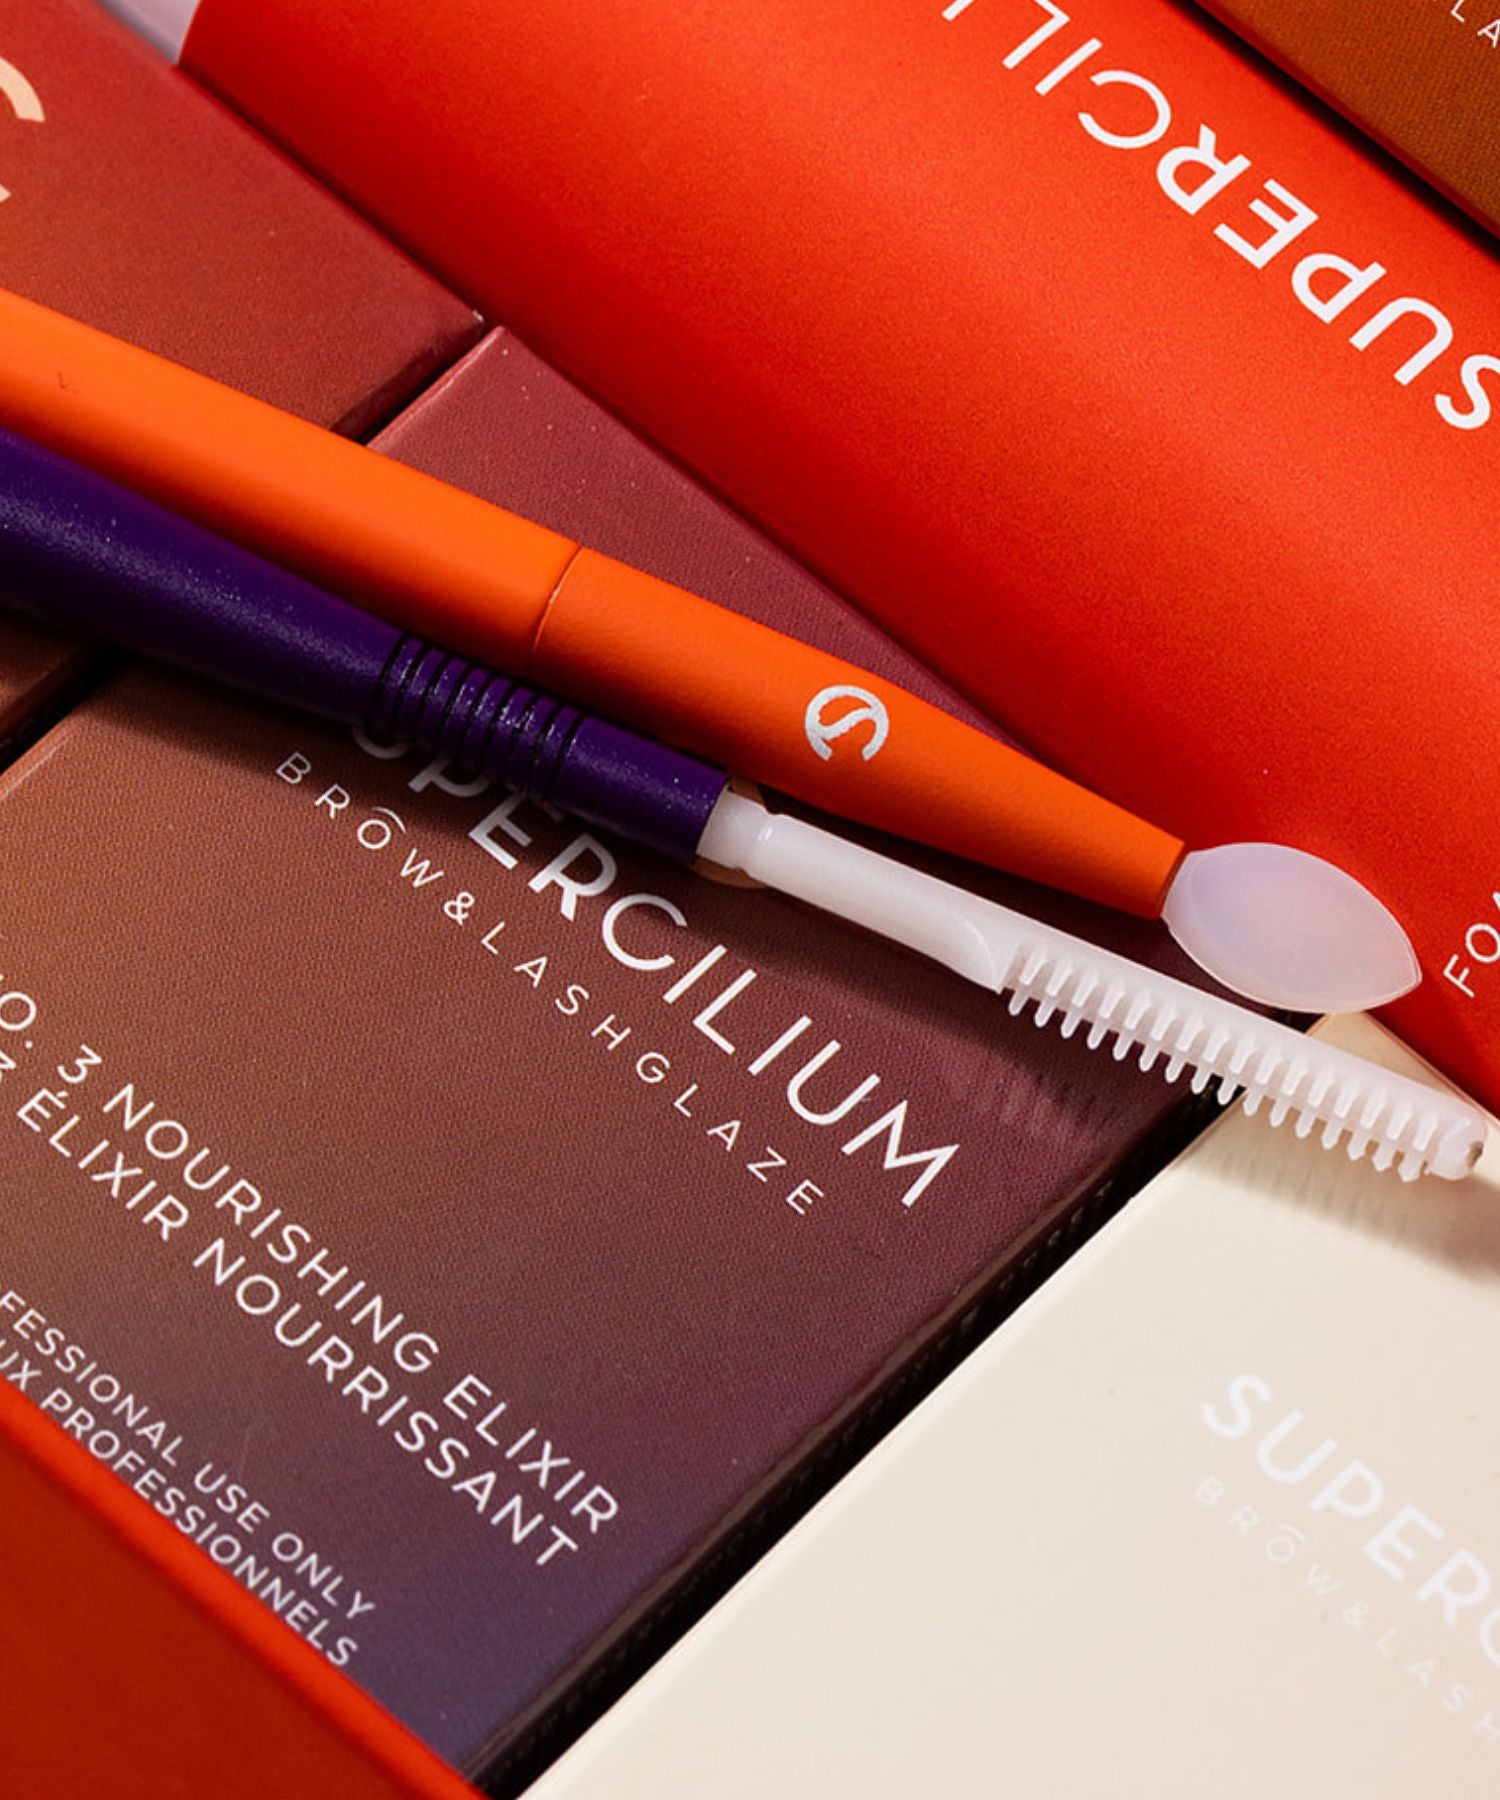
4. Step: Prep with Elixir No. 3
Before applying dye, apply a small amount of Elixir No. 3 to the brows. This step preps and nourishes the hair, and helps lock in pigment by softening the cuticle.
PRO TIP: Even if you’re not laminating, Elixir No. 3 is an excellent pre-treatment before applying Liquid Dye or Henna. It prevents the tint from turning too dark and ensures the pigment penetrates the hair evenly.
5. Step: Map and mix Liquid Dye
Use Brow Mapping Paste to outline the desired brow shape. Then mix the Liquid Dye with Keratin and Cream Oxydant in your Mixing Set.
Mixing ratios:
-
-
Brush application: 2 drops Liquid Dye + 1 drop Cream Oxydant
-
Airbrush application: 1 drop Liquid Dye + 1 drop Airbrush Developer
-
6. Step: Apply Liquid Dye
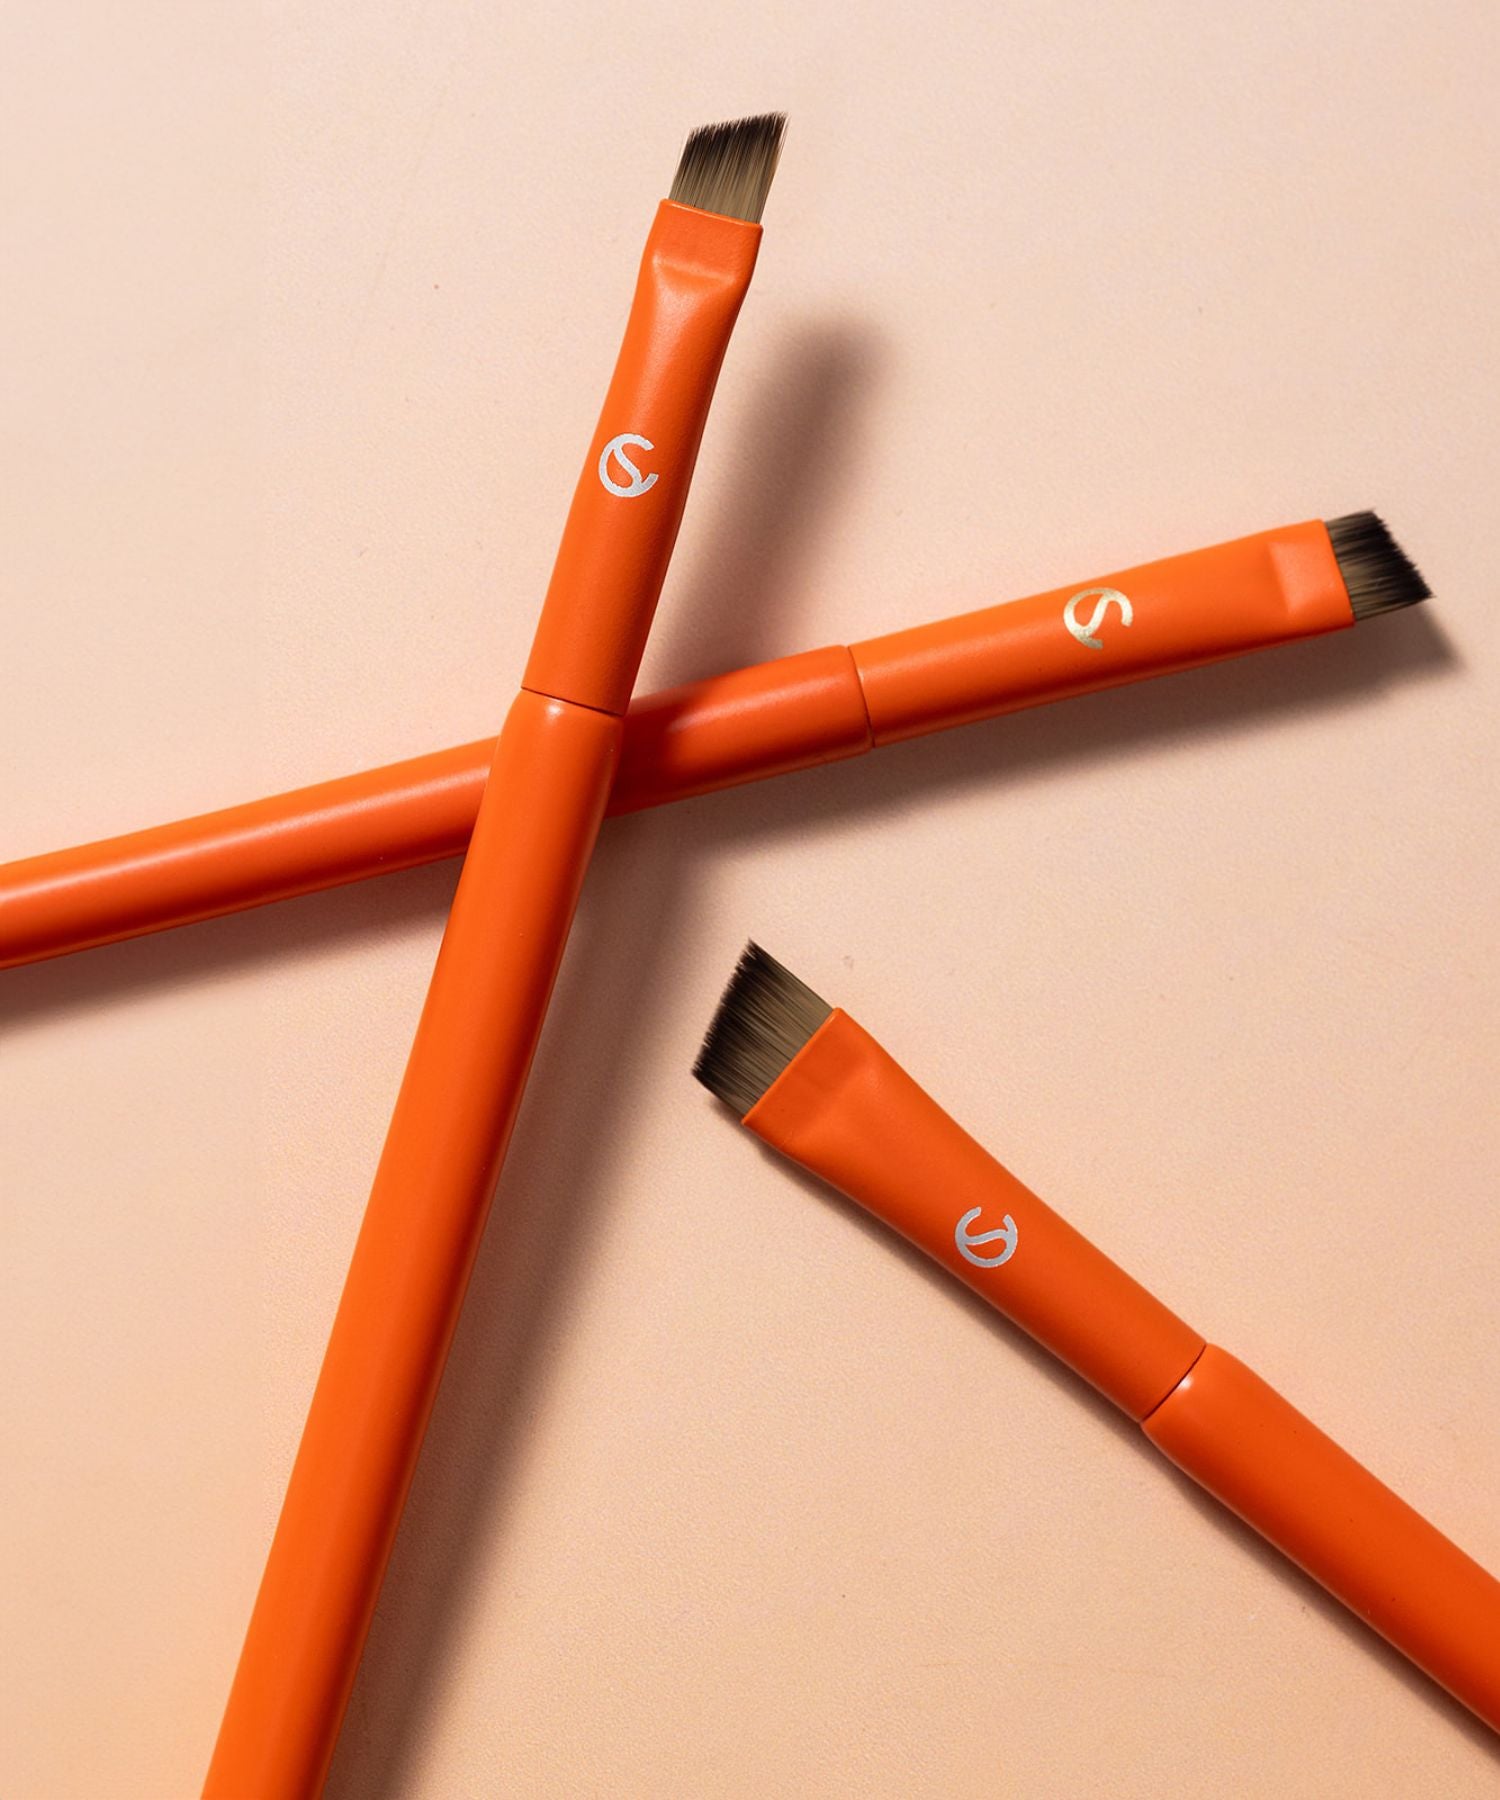
Apply the Liquid Dye within the mapped shape using a Medium Angled Brush (you’ll find it in the Liquid Dye Kit). Keep the layers thin for an even, controlled stain.
-
-
Tail: 6–10 minutes
-
Middle: 4–6 minutes
-
Front: 2–4 minutes
-
Remove the dye gently using lightly damp cotton pads or swabs.
PRO TIP: Use the stamping technique for Instead of brushing the dye back and forth, gently press or "stamp" Liquid Dye into the brows using your brush.

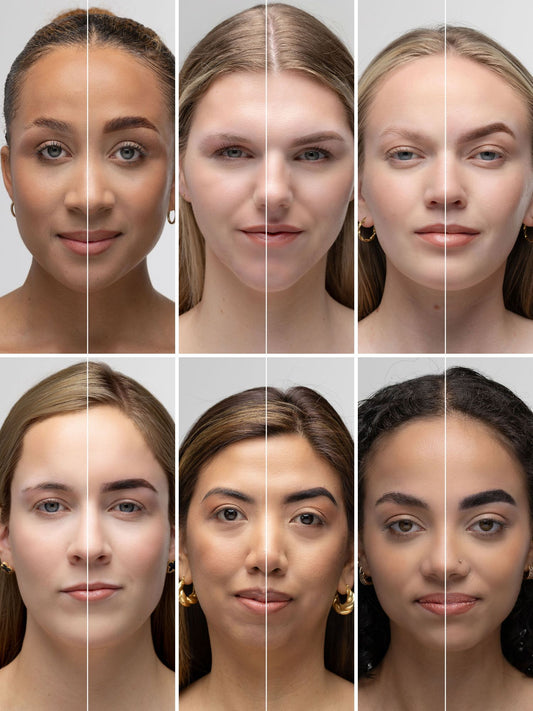
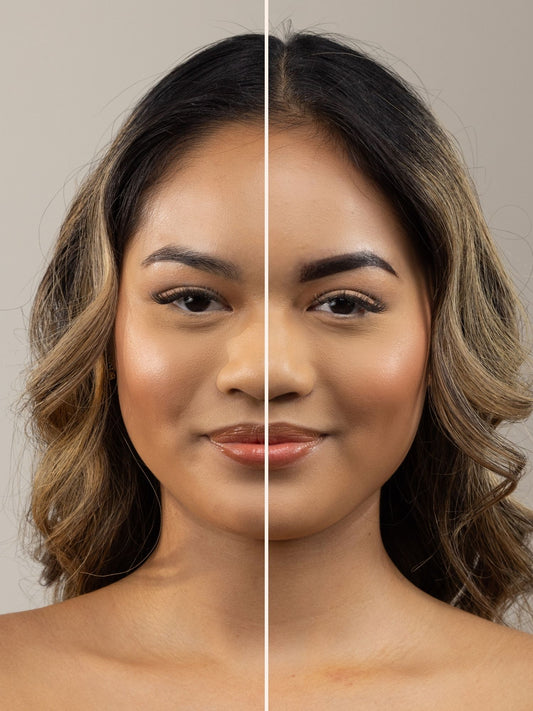
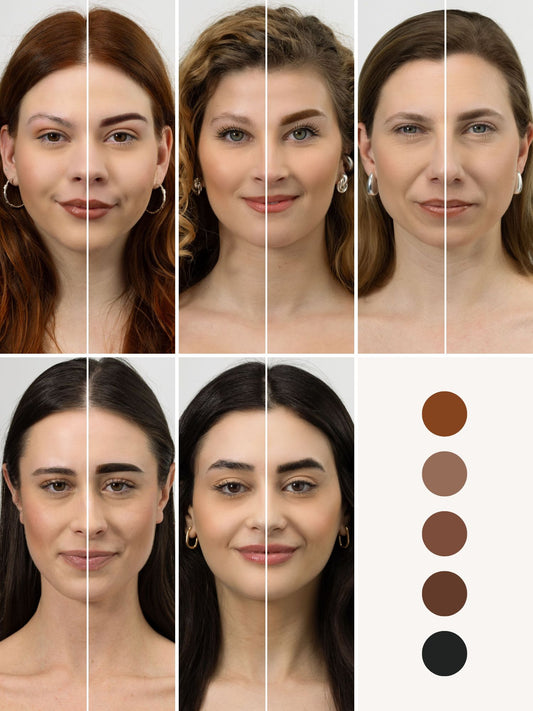
Liquid Dye in Medium Brown + Lamination by amazing @cejasnela.
Aftercare after Tint and Lamination Combo
First 24-48 hours: Let the brows set
The first two days are crucial for the Brow Lamination and Liquid Dye to fully develop and settle. During this time, advise your clients to:
-
-
Avoid water and steam: Keep the brows completely dry. No showers, saunas, swimming, or sweating. Moisture can interfere with the setting process and reduce the longevity of the lamination and tint.
-
Skip oils and makeup near the brow area: Oils can break down the tint and affect retention. Avoid all makeup and oil-based skincare near the brows.
-
Avoid friction: No touching, brushing, or sleeping on the face. Let the brows stay in place without disruption.
-
No active skincare products: That means no exfoliants, acids, or retinols in or around the brow area.
-
Daily maintenance: Keep brows nourished and styled
Once the initial 48 hours are over, the goal is to maintain hydration, brow shape, and tint longevity. Here's how:
-
-
Brush the brows daily using a clean spoolie. This helps maintain the lifted look from lamination and encourages healthy growth direction.
-
Use Elixir No. 3 or castor oil regularly. Elixir No. 3 is packed with conditioning ingredients that strengthen the hairs, prevent breakage, and support overall brow health - especially important after chemical treatments. We love it!
-
Stick to gentle cleansing around the brow area. Use non-stripping, fragrance-free cleansers and avoid scrubbing.
-
When to book your next treatment
To keep brows looking fresh, here’s a general guideline for when to come back:
-
-
Tint refresh: Wait at least 4 weeks, but ideally 6 weeks. Depending on the client’s skin type, lifestyle, and brow hair growth cycle.
-
Lamination touch-up: Every 6–8 weeks to allow the brow hairs to fully regenerate and avoid overprocessing.
-
Remind clients that regular aftercare not only helps maintain results but also keeps their brows healthy between appointments, reducing the risk of dryness, sensitivity, or fading.
PRO TIP: Order Elixir. 3 separately and upsell it to your clients! They can use it between appointments to nourish their brows.

FAQ: Brow Tinting and Lamination combo
Curious about combining Brow Lamination and Liquid Dye in one session? You’re not alone. Below are the most commonly asked questions from Brow Artists and clients - covering the order, timing, and safety of these popular treatments.
Can I tint and laminate on the same day?
Yes - and this is actually the most recommended way to combine the treatments. Just make sure you laminate first, then tint. After Brow Lamination, the hair cuticles are open, allowing the tint to absorb better and last longer. Applying dye before lamination can lead to color fading or uneven results.
Will tint last longer after lamination?
Yes, when applied after lamination, tint tends to penetrate deeper into the hair shaft, especially when using Liquid Dye with Keratin. The open cuticle allows the pigment to lock in more effectively, giving longer-lasting and more intense results - even better when paired with Elixir No. 3 beforehand.
Can I re-tint brows later if the color fades?
Absolutely. It’s safe to re-tint the brows minimum 4 weeks after lamination, depending on the condition of the brow hairs and skin. Just ensure you're using a gentle, professional dye (like our Liquid Dye) and not over-processing the brows.
Can I use henna after brow lamination?
It’s not recommended. Henna is too strong to be combined with Brow Lamination, even if applied afterward. Since Brow Lamination softens and opens the hair cuticle, henna can penetrate too deeply and cause: overprocessing, brittle or damaged hairs, patchy, unpredictable stains on both skin and hair, increased risk of allergic reactions.
If a client requests both, it's best to space them out by 5–7 days, and always perform a patch test before applying henna to previously laminated brows.
What should I avoid after tinting and laminating?
For the first 24–48 hours after treatment, avoid the following:
-
-
Water or steam on the brows
-
Cleansers, oils, and heavy skincare products near the brow area
-
Excessive sun exposure
-
Makeup or exfoliating products on the brow area
-
Brow grooming like waxing or threading
-
These can interfere with the lamination setting or cause the tint to fade prematurely. Always advise clients to keep brows dry and avoid touching them for at least a full day.
Tint before or after Brow Lamination?
Let’s make it clear right away: Always tint after Brow Lamination.
This is one of the biggest mistakes Brow Artists make when starting with combo brow and lash treatments. The order matters - it actually affects the final color, longevity, and brow hair condition.
Here’s why:
-
-
Lamination lifts and opens the brow hair cuticles, making them more receptive to color. That means when you apply Hybrid Dye after Brow Lamination, the pigment absorbs better and deeper into the hair.
-
If you tint before laminating, the chemical process of lamination can strip the color, making your beautiful tint fade faster.
-
Lamination is already a chemical treatment. Tinting before lamination can lead to the tint being diluted or uneven due to the chemical solutions used in the lamination process.
-
Look at this beautiful Liquid Dye and Lamination combo by @brow_studio_paulabaran
How to combine Brow Lamination and Liquid Dye
Combining Brow Lamination with Hybrid Dye (our Liquid Dye with Keratin) is a total brow game-changer - but only if you do it in the right order. Here’s your go-to routine to get lifted, defined, and long-lasting results that your clients will rave about.
What products do you need:
-
-
Brushes (included in the kits)
-
Cotton pads or dry swabs
Step by step
1. Step: Clean and prepare the brows
Start with a clean base. Remove any makeup, oil, or skincare residue to ensure that the Brow Lamination and Liquid Dye can penetrate effectively.
2. Step: Apply Step 1 - Relaxing Lotion
Brush the brows into the desired shape, then apply the Relaxing Lotion evenly across the brows. Cover with plastic film to enhance processing.
-
Very fine brows: 3–4 minutes
-
Fine or tinted brows: 4–5 minutes
-
Natural healthy brows: 5–6 minutes
-
Coarse healthy brows: 6–7 minutes
Do not exceed recommended processing times. Always monitor the hair condition during the treatment. The lotion will not work better if you leave it longer on the brows! It can do the opposite.
3. Step: Apply Step 2 – The Laminate
After removing Step 1 with a dry cotton pad, apply The Laminate in the same direction.
-
Very fine, fine, or tinted brows: 5 minutes
-
Natural healthy or coarse brows: 6 minutes
4. Step: Prep with Elixir No. 3
Before applying dye, apply a small amount of Elixir No. 3 to the brows. This step preps and nourishes the hair, and helps lock in pigment by softening the cuticle.
PRO TIP: Even if you’re not laminating, Elixir No. 3 is an excellent pre-treatment before applying Liquid Dye or Henna. It prevents the tint from turning too dark and ensures the pigment penetrates the hair evenly.
5. Step: Map and mix Liquid Dye
Use Brow Mapping Paste to outline the desired brow shape. Then mix the Liquid Dye with Keratin and Cream Oxydant in your Mixing Set.
Mixing ratios:
-
-
Brush application: 2 drops Liquid Dye + 1 drop Cream Oxydant
-
Airbrush application: 1 drop Liquid Dye + 1 drop Airbrush Developer
-
6. Step: Apply Liquid Dye
Apply the Liquid Dye within the mapped shape using a Medium Angled Brush (you’ll find it in the Liquid Dye Kit). Keep the layers thin for an even, controlled stain.
-
-
Tail: 6–10 minutes
-
Middle: 4–6 minutes
-
Front: 2–4 minutes
-
Remove the dye gently using lightly damp cotton pads or swabs.
PRO TIP: Use the stamping technique for Instead of brushing the dye back and forth, gently press or "stamp" Liquid Dye into the brows using your brush.
Liquid Dye in Medium Brown + Lamination by amazing @cejasnela.
Aftercare after Tint and Lamination Combo
First 24-48 hours: Let the brows set
The first two days are crucial for the Brow Lamination and Liquid Dye to fully develop and settle. During this time, advise your clients to:
-
-
Avoid water and steam: Keep the brows completely dry. No showers, saunas, swimming, or sweating. Moisture can interfere with the setting process and reduce the longevity of the lamination and tint.
-
Skip oils and makeup near the brow area: Oils can break down the tint and affect retention. Avoid all makeup and oil-based skincare near the brows.
-
Avoid friction: No touching, brushing, or sleeping on the face. Let the brows stay in place without disruption.
-
No active skincare products: That means no exfoliants, acids, or retinols in or around the brow area.
-
Daily maintenance: Keep brows nourished and styled
Once the initial 48 hours are over, the goal is to maintain hydration, brow shape, and tint longevity. Here's how:
-
-
Brush the brows daily using a clean spoolie. This helps maintain the lifted look from lamination and encourages healthy growth direction.
-
Use Elixir No. 3 or castor oil regularly. Elixir No. 3 is packed with conditioning ingredients that strengthen the hairs, prevent breakage, and support overall brow health - especially important after chemical treatments. We love it!
-
Stick to gentle cleansing around the brow area. Use non-stripping, fragrance-free cleansers and avoid scrubbing.
-
When to book your next treatment
To keep brows looking fresh, here’s a general guideline for when to come back:
-
-
Tint refresh: Wait at least 4 weeks, but ideally 6 weeks. Depending on the client’s skin type, lifestyle, and brow hair growth cycle.
-
Lamination touch-up: Every 6–8 weeks to allow the brow hairs to fully regenerate and avoid overprocessing.
-
Remind clients that regular aftercare not only helps maintain results but also keeps their brows healthy between appointments, reducing the risk of dryness, sensitivity, or fading.
PRO TIP: Order Elixir. 3 separately and upsell it to your clients! They can use it between appointments to nourish their brows.
FAQ: Brow Tinting and Lamination combo
Curious about combining Brow Lamination and Liquid Dye in one session? You’re not alone. Below are the most commonly asked questions from Brow Artists and clients - covering the order, timing, and safety of these popular treatments.
Can I tint and laminate on the same day?
Yes - and this is actually the most recommended way to combine the treatments. Just make sure you laminate first, then tint. After Brow Lamination, the hair cuticles are open, allowing the tint to absorb better and last longer. Applying dye before lamination can lead to color fading or uneven results.
Will tint last longer after lamination?
Yes, when applied after lamination, tint tends to penetrate deeper into the hair shaft, especially when using Liquid Dye with Keratin. The open cuticle allows the pigment to lock in more effectively, giving longer-lasting and more intense results - even better when paired with Elixir No. 3 beforehand.
Can I re-tint brows later if the color fades?
Absolutely. It’s safe to re-tint the brows minimum 4 weeks after lamination, depending on the condition of the brow hairs and skin. Just ensure you're using a gentle, professional dye (like our Liquid Dye) and not over-processing the brows.
Can I use henna after brow lamination?
It’s not recommended. Henna is too strong to be combined with Brow Lamination, even if applied afterward. Since Brow Lamination softens and opens the hair cuticle, henna can penetrate too deeply and cause: overprocessing, brittle or damaged hairs, patchy, unpredictable stains on both skin and hair, increased risk of allergic reactions.
If a client requests both, it's best to space them out by 5–7 days, and always perform a patch test before applying henna to previously laminated brows.
What should I avoid after tinting and laminating?
For the first 24–48 hours after treatment, avoid the following:
-
-
Water or steam on the brows
-
Cleansers, oils, and heavy skincare products near the brow area
-
Excessive sun exposure
-
Makeup or exfoliating products on the brow area
-
Brow grooming like waxing or threading
-
These can interfere with the lamination setting or cause the tint to fade prematurely. Always advise clients to keep brows dry and avoid touching them for at least a full day.