


How to mix Liquid Dye colors to create a custom mix?
written byŽaneta Mlčáková
In This Article
Who is Alexandra?
When I first met Alexandra during one of our customer evaluation panels, I was blown away. She just kept going - talking about her favorite blends, the best formulas, and all the little tricks she’s picked up over the years. Her passion for mixing was next level, and I remember thinking: this is some real knowledge! And that’s how the Mixing Masterclass with the Liquid Eyebrow Dye Queen was born!
Alexandra is based in Scottsdale, US, where she’s not only a licensed esthetician and brow educator but also a mom of two super cute kids. She teaches Supercilium classes on eyebrow liquid tint and lamination, so if you’re ever in town, you have to book a class with her!
For this Mixing Masterclass, she spilled everything - from how to pick the right shade for every client to her pro mixing secrets and real client examples that show different blends in action. Keep reading for a little sneak peek into the course!

What is Liquid Dye and Why is It a Game-Changer?
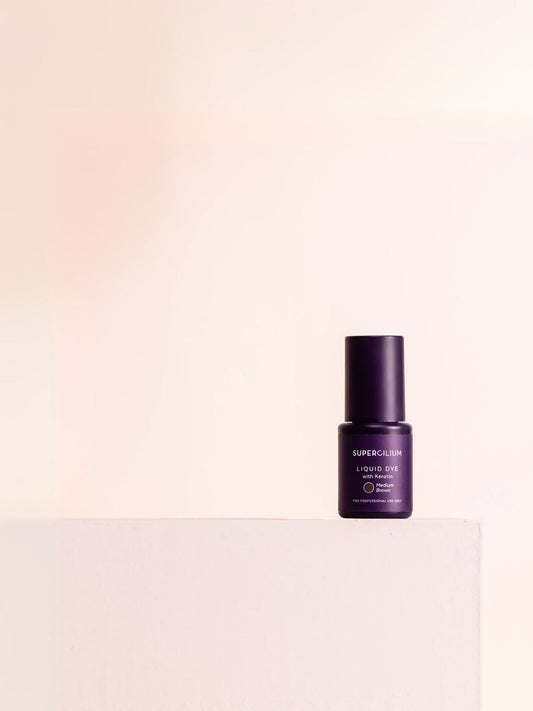
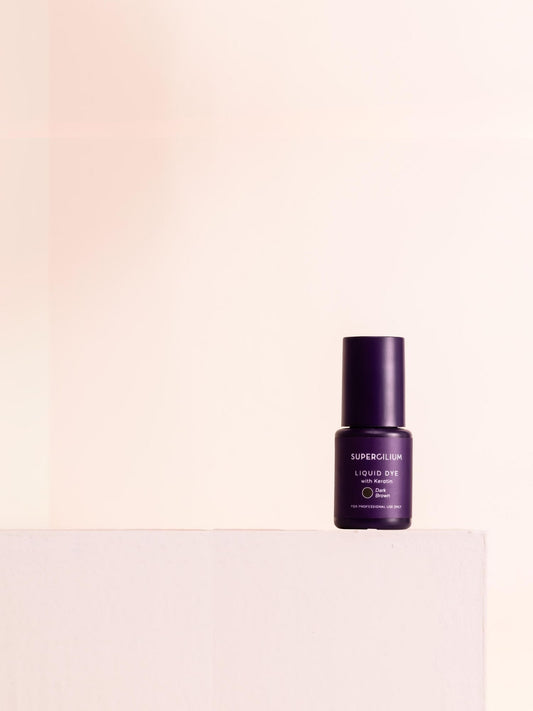
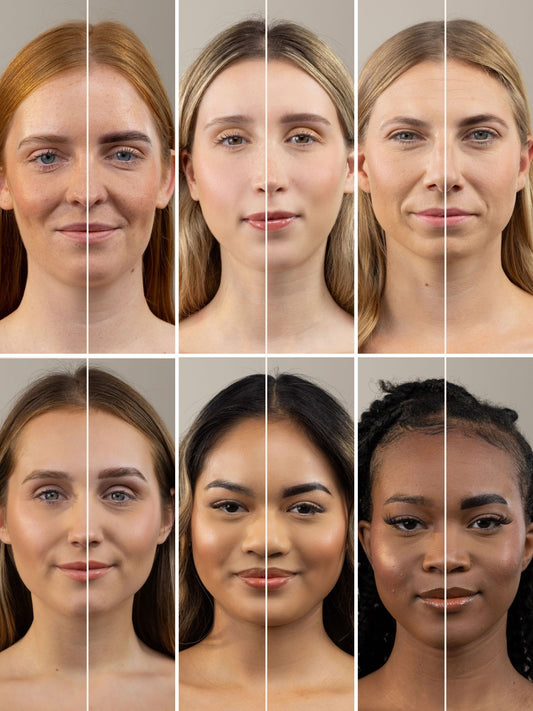
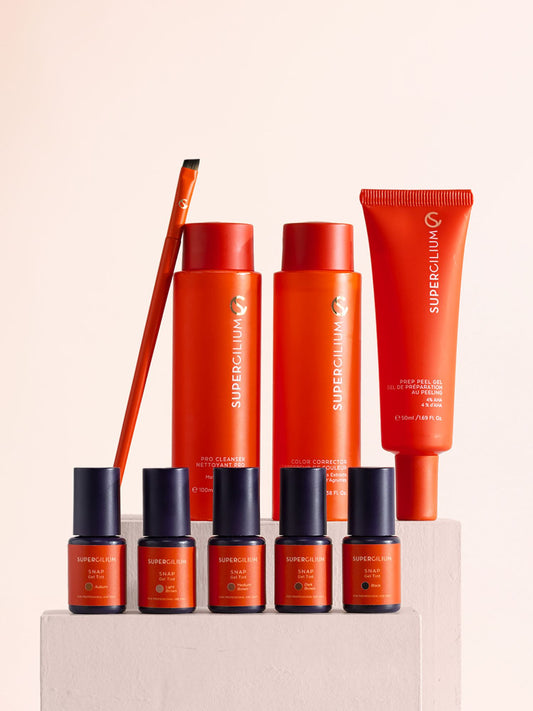
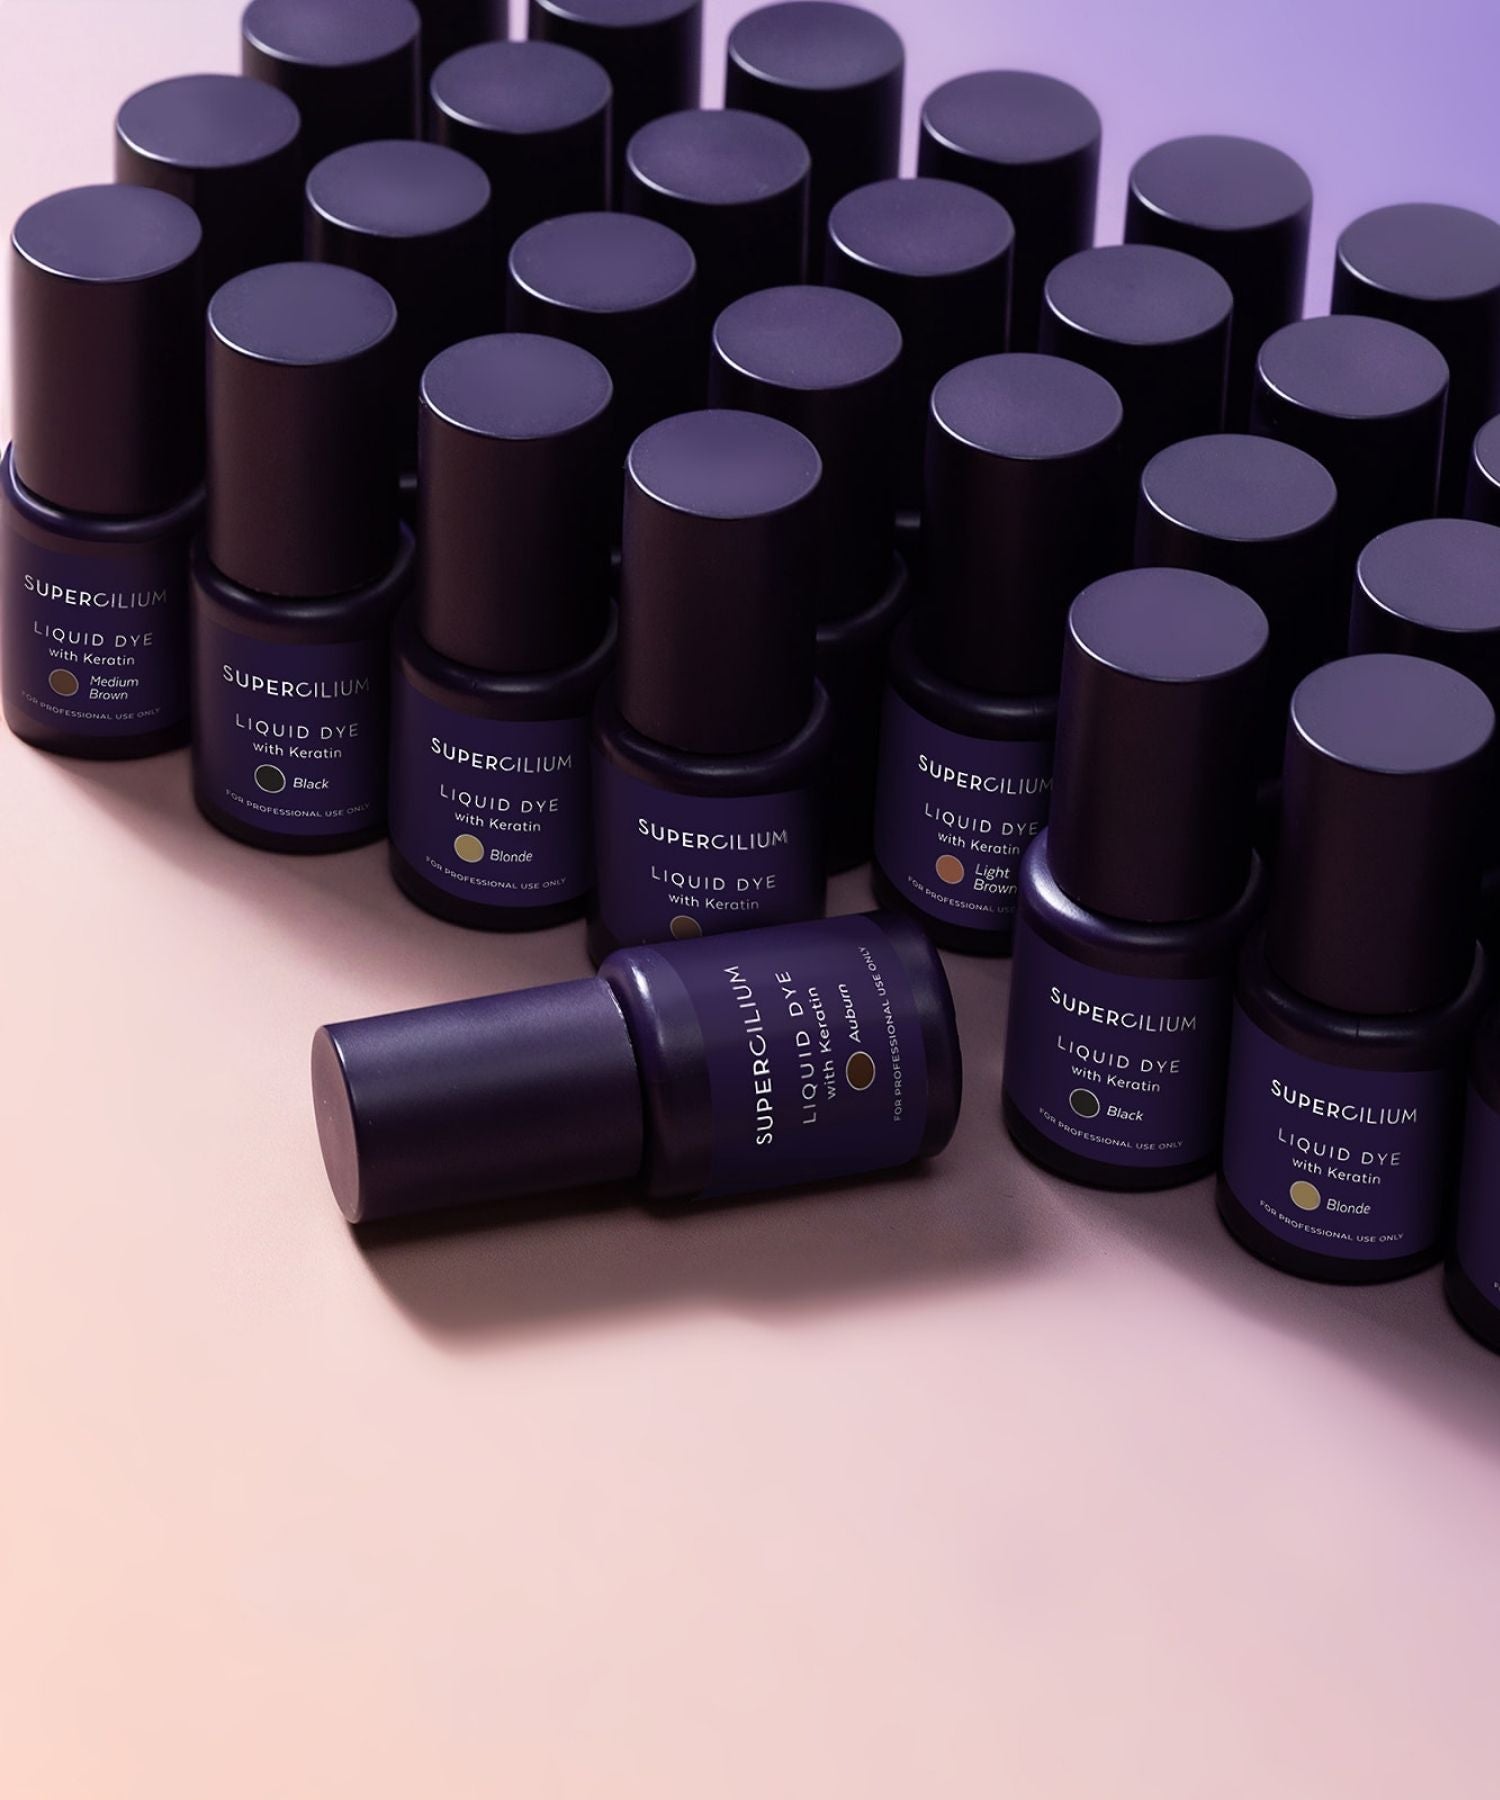
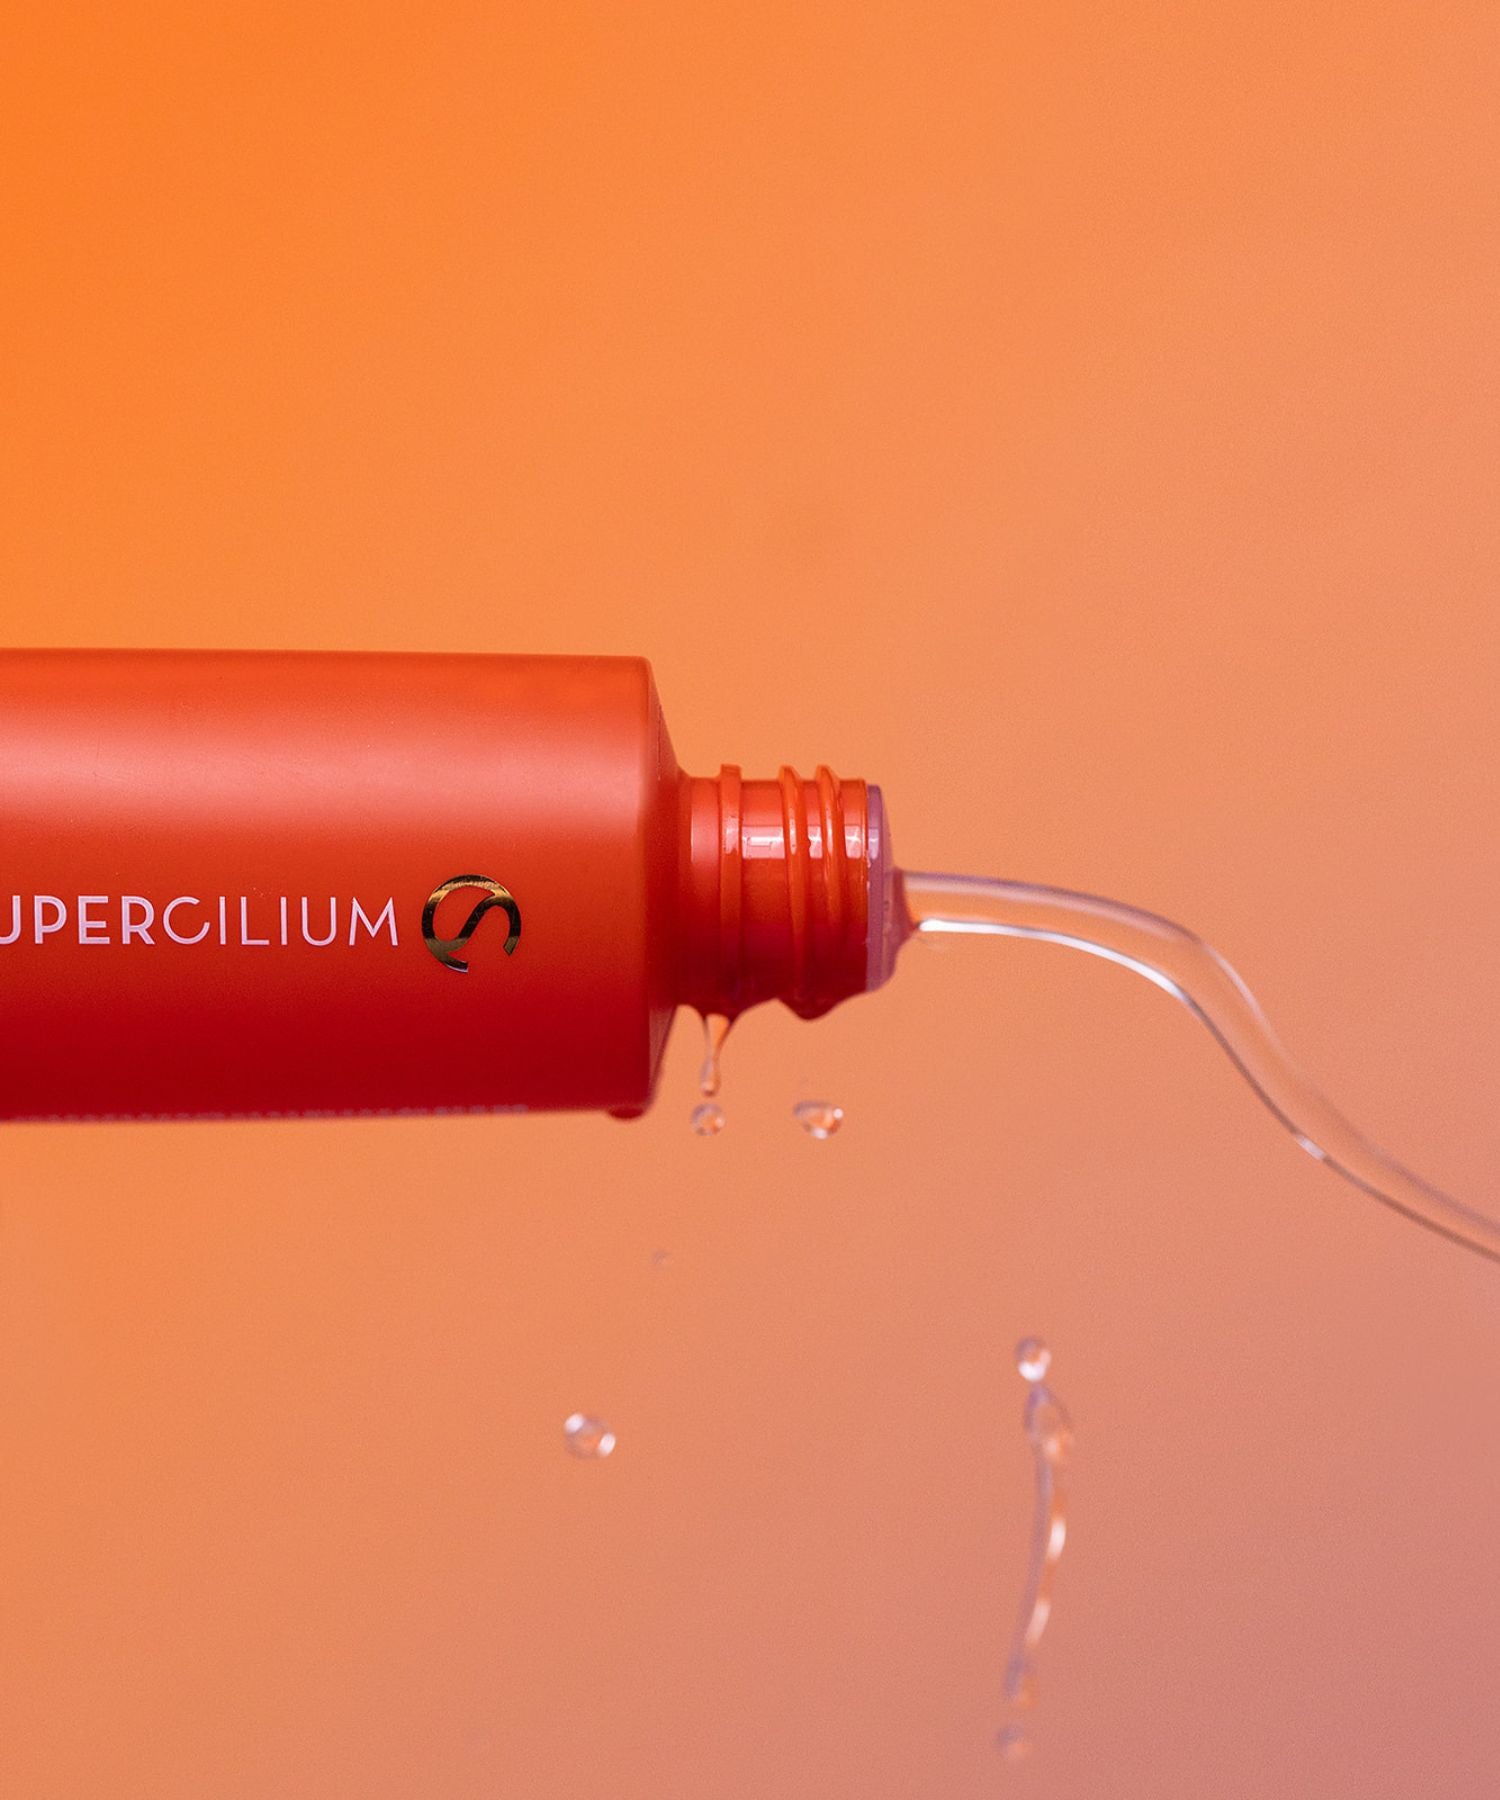
Liquid Dye is a professional brow and lash tint designed for long-lasting, natural-looking results. Infused with Keratin, it not only colors but also strengthens and nourishes the hair. It stains the skin for up to 11 days and brow hairs for up to 6 weeks, making it the perfect choice for defined, fuller-looking brows. Its effortless application, quick processing time, and customizable shades make it a must-have for every Brow Artist! Let’s dive in.
Why should you mix Liquid Dye colors?
We have eight beautiful shades of eyebrow liquid tint - but let’s be real, that’s still not enough to match every client’s unique brow color and features. That’s where mixing comes in!
To create the perfect, custom shade, you have to get creative - and that means daring to mix. We get it, it can feel intimidating at first. But trust us, once you start experimenting, you’ll see how game-changing it is.
That’s exactly why we created this Mixing Masterclass - a step-by-step guide packed with live demonstrations, pro tips, and all the knowledge you need to mix eyebrow liquid tint colors with confidence. We’re here to support you every step of the way, so you can level up your Brow Artistry and start creating custom shades like a pro!

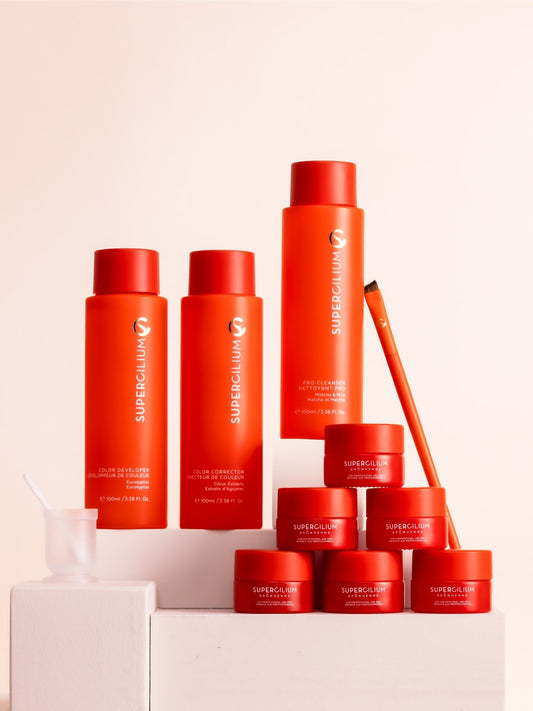
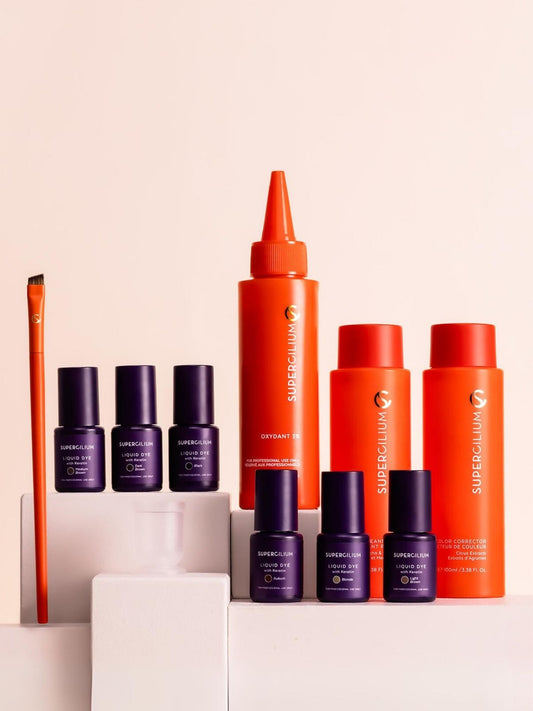
Meet Our Color Palette
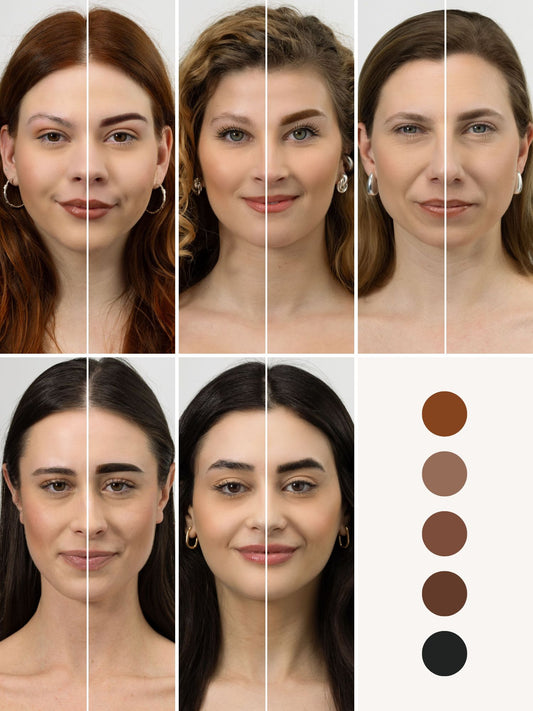
Let’s take a closer look at the eight shades of our eyebrow liquid tint and how you can use them to create the perfect custom blend! We divide them into Base Colors and Mixing Colors to give you full creative control.
Our four base colors include:
These shades are formulated to give stunning results on their own, with slightly cooler undertones compared to our Henna range. But sometimes, you need to tweak a shade to make it just right - and that’s where our mixing colors come in!
Our four mixing colors include:
These mixing shades of liquid brow tint can be used on their own for sophisticated, custom colors, but their real power comes when combined with the base shades.
→ Need to cool down a color? Ash Grey & Ash Blonde are your go-to.
→ Want to warm up a shade? Warm Brown & Auburn will do the trick.

How to choose the right color of eyebrow tint?
-
Step: Analyzing your client’s features
Before mixing, start by assessing your client’s skin undertone, is it warm, cool, or neutral? This is key to choosing the most flattering brow shade. Cool undertones pair best with ash or cooler tones, while warm undertones suit Auburn or warmer shades. Neutral undertones can balance both.
Pro tip: When in doubt, go cooler to avoid unnatural warmth.
-
Step: Identifying your client’s needs
Ask personal questions about their preferences, lifestyle, and skincare routine to understand what they truly want. What look are they going for? Do they have an inspirational photo?
Clients often dream big, but their natural brows may not match their expectations. For example, thin, over-plucked brows won’t magically transform into full, fluffy arches overnight. If a client with ’90s brows wants Cara Delevingne’s look, it’s time for an honest conversation. Setting realistic expectations during the consultation helps prevent disappointment and builds trust.
Want to dive deeper into identifying your client's needs? We cover all the details in the Mixing Liquid Dye Colors Masterclass!
-
Step: The Decision-Making Process
Now it’s time to choose the perfect shades to mix! Based on your client’s undertone, natural features, and preferences, you can start blending the right colors to create their ideal match.
Not sure how to find the best mix? In the Mixing Liquid Dye Colors Masterclass, you can watch Alexandra and Stephanie (our Supercilium Master Trainer) in action, selecting the perfect blend for her model and breaking down her expert process step-by-step!
-
Step: Aftercare Essentials
A flawless application is just the beginning - proper aftercare is what keeps brows looking fresh and long-lasting. Alexandra shares her top tips to help clients maintain their eyebrow liquid tint:
-
- No washing or scrubbing for 24-48 hours (longer for oily skin) to prevent blotchy results.
-
-
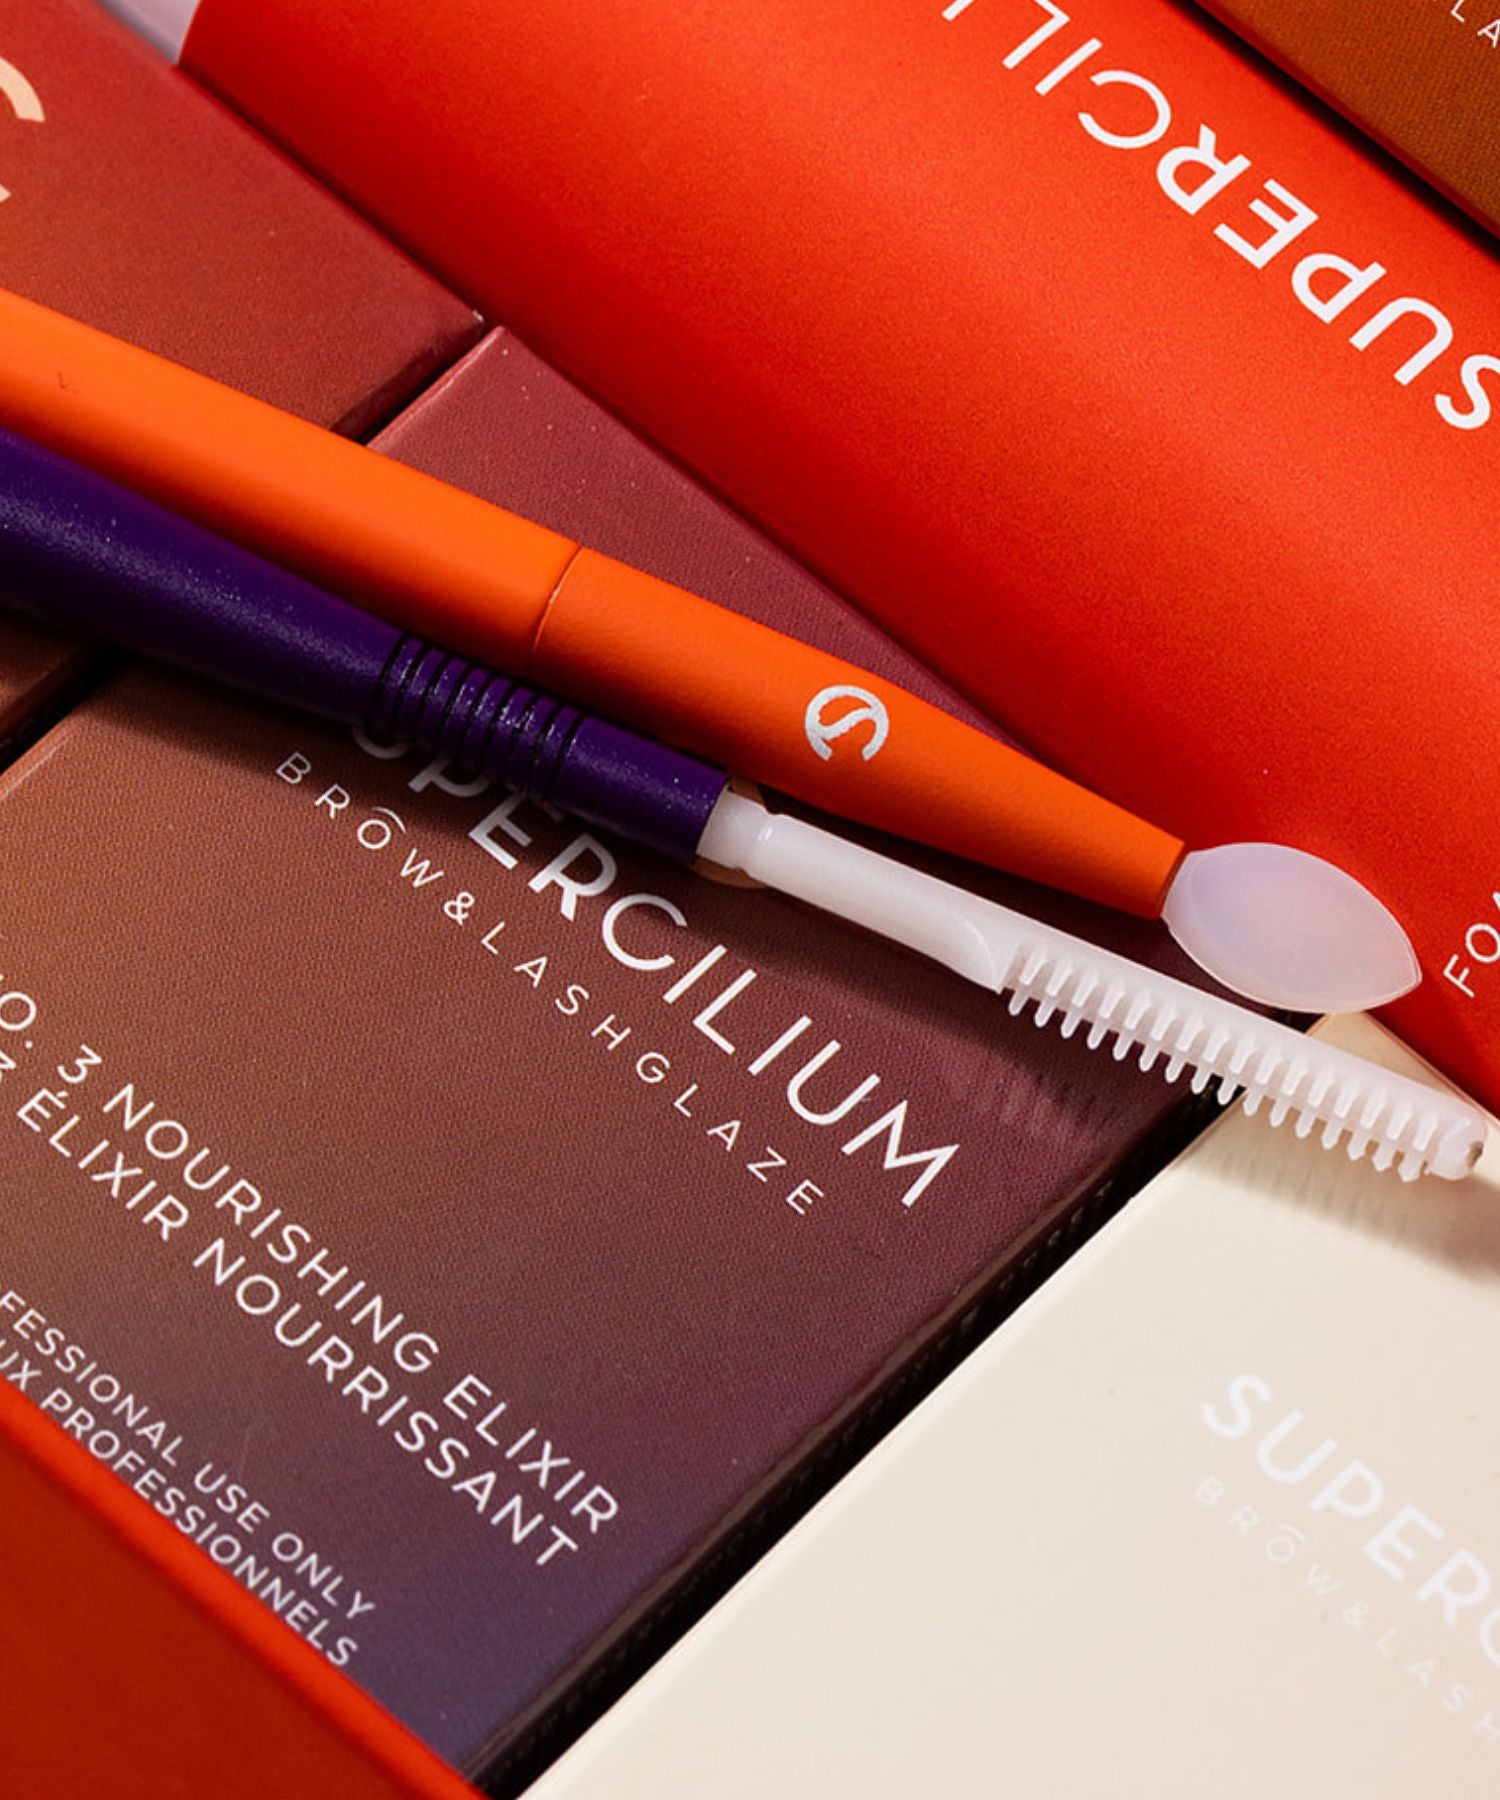
Moisturize nightly with castor oil or Elixir No. 3 to keep brows hydrated and extend the tint.
-
Avoid sweating, steam, and saunas for 48 hours to prevent premature fading.
-
No makeup on brows for 24-48 hours to avoid irritation or interference with the dye.
-
Skip exfoliation, retinol, and fake tan—they can strip the color or cause unwanted tones.
-
Use sunscreen and nourishing balm on brows if exposed to the sun to prevent fading.
-
Following these steps ensures the best possible results for your clients. Want to see Alexandra’s full aftercare breakdown? It’s all covered in the Mixing Liquid Dye Colors Masterclass!
How to mix eyebrow tint and Oxydant Developer
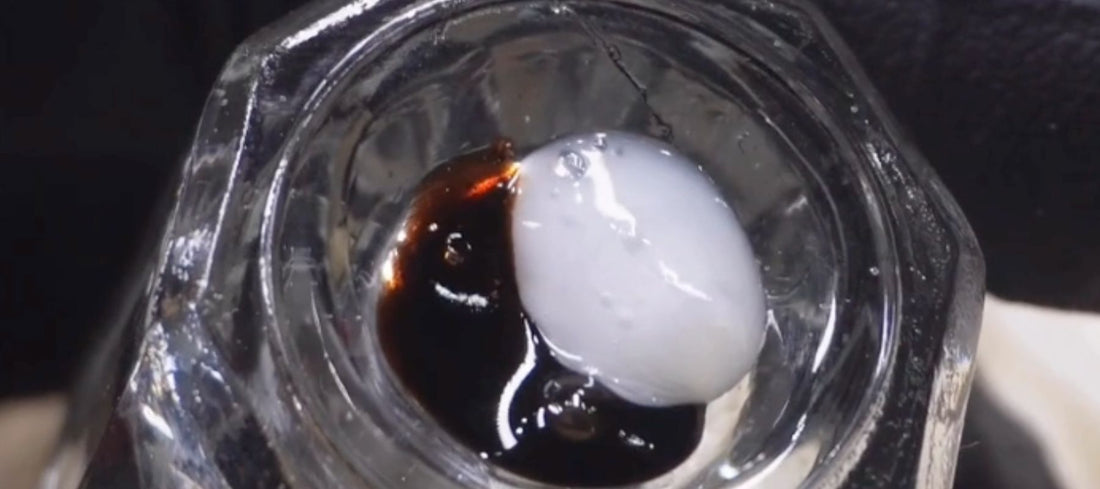
The key to flawless, long-lasting brows starts with the right mixing ratio. The way you mix Liquid Dye and Oxydant determines the intensity and final result. Here are the three main ratios every Brow Artist should know:
-
-
Bold & Intense Look (2:1) – Mix 2 drops of Liquid Dye with 1 drop of Cream Oxydant for a bold and defined look.
-
Soft & Natural Look (1:1) – Mix 1 drop of Liquid Dye with 1 drop of Cream Oxydant for a very natural brow look.
-
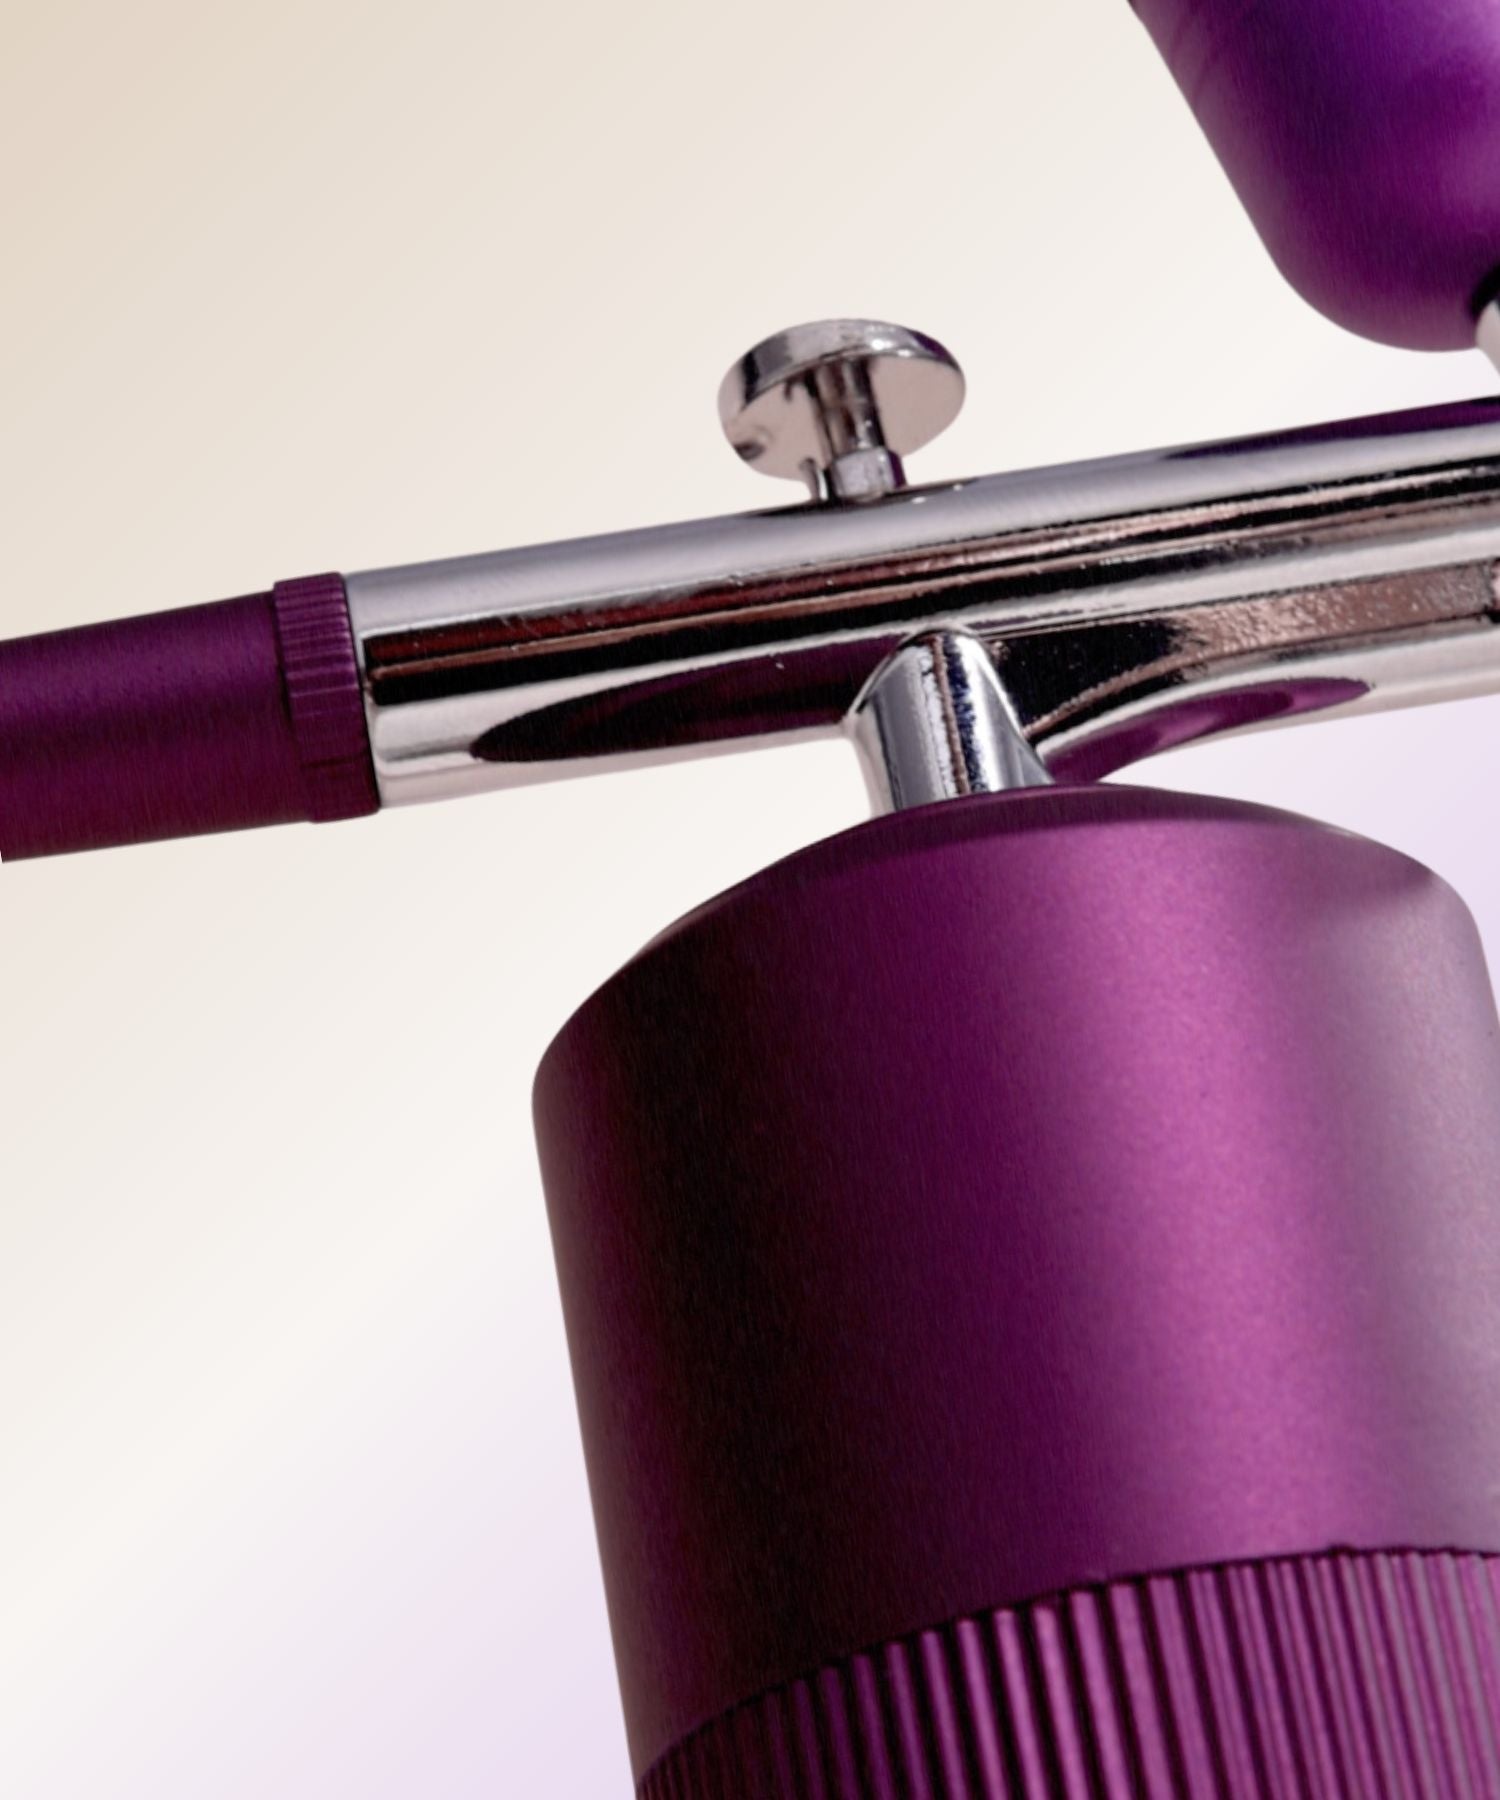
Airbrush Application (1:1) – Combine 1 drop of Airbrush Developer with 1 drop of Liquid Dye for an even, sprayable formula.
-
Want to see exactly how much you need for the perfect blend? Enroll in the Mixing Liquid Dye Colors Masterclass for live demonstrations and expert guidance!
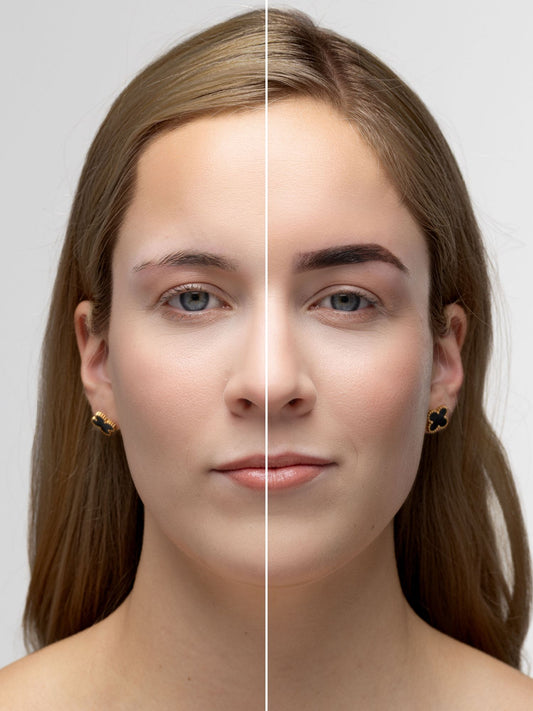
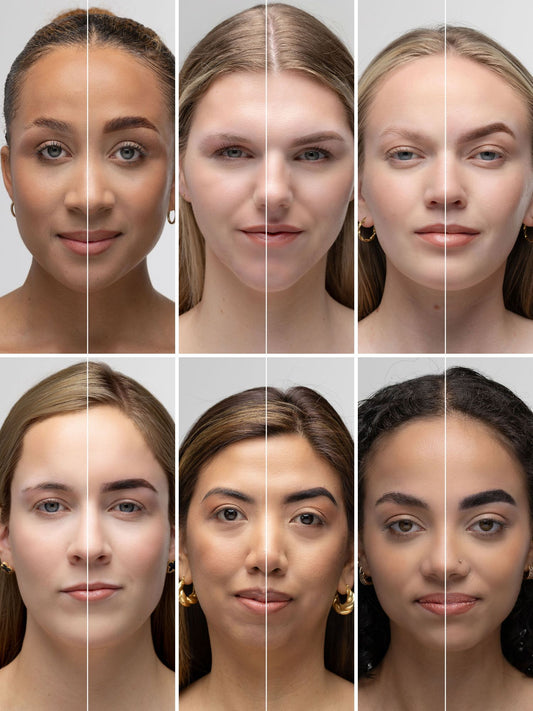
Examples of eyebrow tint blends
In the Mixing Liquid Dye Colors Masterclass, you'll find even more expert blends, real client demonstrations, and a printable, downloadable mixing cheatsheet to keep on hand. Plus, we’ve included a client record sheet so you can track and recreate the perfect blend for each client!
Here’s a sneak peek at some of Alexandra’s go-to blends:
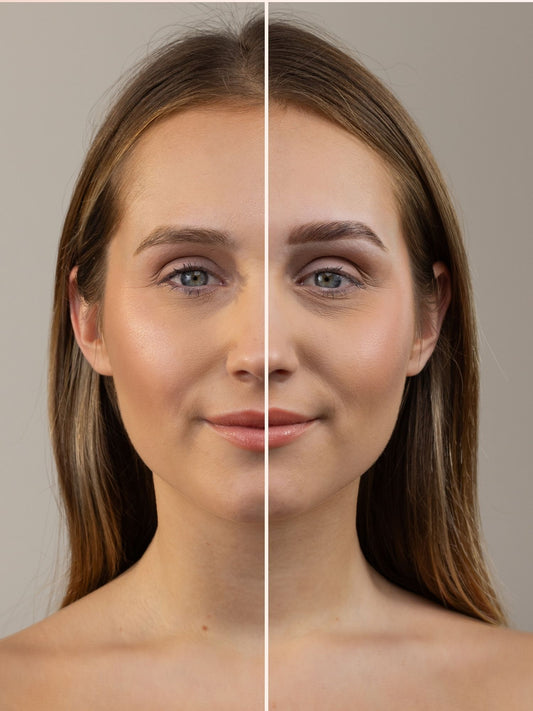
1. Ash Grey ½ + Black ½
"This blend creates a softer, more subtle black stain, perfect for clients who want a darker look without the boldness of pure black. The more Ash Grey you add, the lighter and more natural the result will be!" – Alexandra
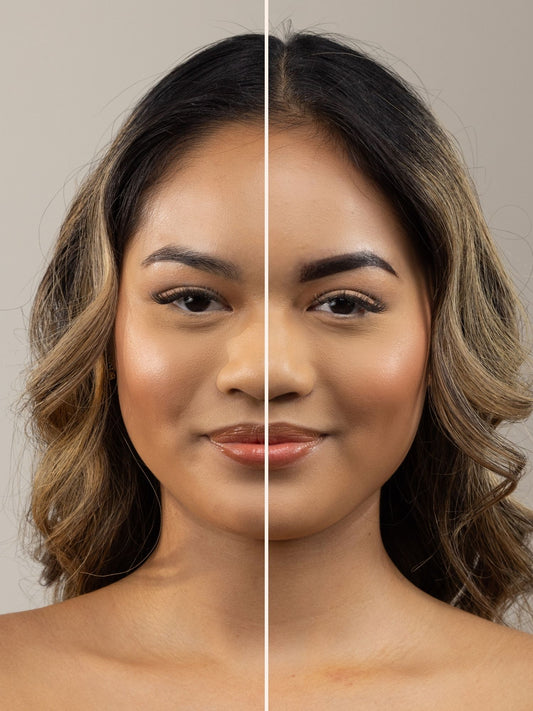
2. Warm Brown ½ + Medium Brown ½
"Medium Brown + Warm Brown creates a rich, warm-toned blend, perfect for redhead clients or those with deep, chocolatey hues. On fair clients, this mix will deliver bold, striking results, adding warmth and definition!" – Alexandra
3. ⅔ Dark Brown + ⅓ Black
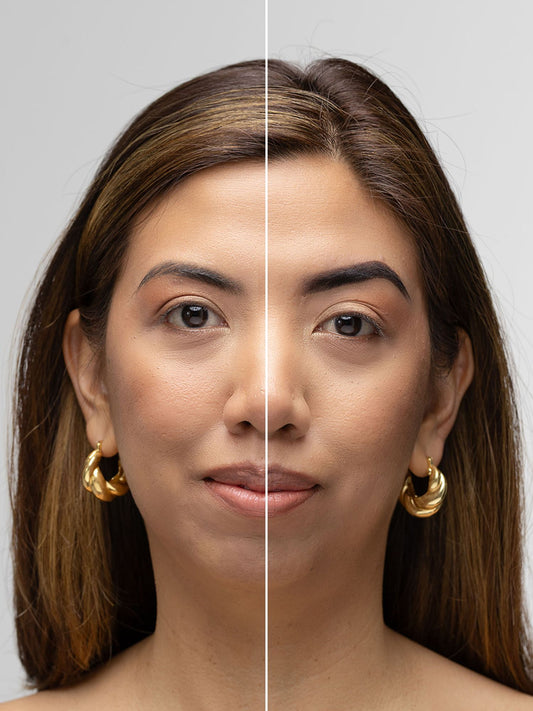
Yes, it’s not just one color! You might think the model in the photo is wearing only Black, but there’s more to it.
"This is my go-to blend for natural black-haired clients. The Dark Brown softens the stain, creating a more natural result than using Black alone. If your client has thinner brow hairs, this mix prevents the brows from looking too bold or overpowering, keeping the look balanced and defined!" – Alexandra

Want even more expert blends, live demonstrations, and Alexandra’s pro tips? Join the Mixing Masterclass and start customizing colors like a pro!
Who is Alexandra?
When I first met Alexandra during one of our customer evaluation panels, I was blown away. She just kept going - talking about her favorite blends, the best formulas, and all the little tricks she’s picked up over the years. Her passion for mixing was next level, and I remember thinking: this is some real knowledge! And that’s how the Mixing Masterclass with the Liquid Eyebrow Dye Queen was born!
Alexandra is based in Scottsdale, US, where she’s not only a licensed esthetician and brow educator but also a mom of two super cute kids. She teaches Supercilium classes on eyebrow liquid tint and lamination, so if you’re ever in town, you have to book a class with her!
For this Mixing Masterclass, she spilled everything - from how to pick the right shade for every client to her pro mixing secrets and real client examples that show different blends in action. Keep reading for a little sneak peek into the course!
What is Liquid Dye and Why is It a Game-Changer?
Liquid Dye is a professional brow and lash tint designed for long-lasting, natural-looking results. Infused with Keratin, it not only colors but also strengthens and nourishes the hair. It stains the skin for up to 11 days and brow hairs for up to 6 weeks, making it the perfect choice for defined, fuller-looking brows. Its effortless application, quick processing time, and customizable shades make it a must-have for every Brow Artist! Let’s dive in.
Why should you mix Liquid Dye colors?
We have eight beautiful shades of eyebrow liquid tint - but let’s be real, that’s still not enough to match every client’s unique brow color and features. That’s where mixing comes in!
To create the perfect, custom shade, you have to get creative - and that means daring to mix. We get it, it can feel intimidating at first. But trust us, once you start experimenting, you’ll see how game-changing it is.
That’s exactly why we created this Mixing Masterclass - a step-by-step guide packed with live demonstrations, pro tips, and all the knowledge you need to mix eyebrow liquid tint colors with confidence. We’re here to support you every step of the way, so you can level up your Brow Artistry and start creating custom shades like a pro!
Meet Our Color Palette
Let’s take a closer look at the eight shades of our eyebrow liquid tint and how you can use them to create the perfect custom blend! We divide them into Base Colors and Mixing Colors to give you full creative control.
Our four base colors include:
These shades are formulated to give stunning results on their own, with slightly cooler undertones compared to our Henna range. But sometimes, you need to tweak a shade to make it just right - and that’s where our mixing colors come in!
Our four mixing colors include:
These mixing shades of liquid brow tint can be used on their own for sophisticated, custom colors, but their real power comes when combined with the base shades.
→ Need to cool down a color? Ash Grey & Ash Blonde are your go-to.
→ Want to warm up a shade? Warm Brown & Auburn will do the trick.
How to choose the right color of eyebrow tint?
-
Step: Analyzing your client’s features
Before mixing, start by assessing your client’s skin undertone, is it warm, cool, or neutral? This is key to choosing the most flattering brow shade. Cool undertones pair best with ash or cooler tones, while warm undertones suit Auburn or warmer shades. Neutral undertones can balance both.
Pro tip: When in doubt, go cooler to avoid unnatural warmth.
-
Step: Identifying your client’s needs
Ask personal questions about their preferences, lifestyle, and skincare routine to understand what they truly want. What look are they going for? Do they have an inspirational photo?
Clients often dream big, but their natural brows may not match their expectations. For example, thin, over-plucked brows won’t magically transform into full, fluffy arches overnight. If a client with ’90s brows wants Cara Delevingne’s look, it’s time for an honest conversation. Setting realistic expectations during the consultation helps prevent disappointment and builds trust.
Want to dive deeper into identifying your client's needs? We cover all the details in the Mixing Liquid Dye Colors Masterclass!
-
Step: The Decision-Making Process
Now it’s time to choose the perfect shades to mix! Based on your client’s undertone, natural features, and preferences, you can start blending the right colors to create their ideal match.
Not sure how to find the best mix? In the Mixing Liquid Dye Colors Masterclass, you can watch Alexandra and Stephanie (our Supercilium Master Trainer) in action, selecting the perfect blend for her model and breaking down her expert process step-by-step!
-
Step: Aftercare Essentials
A flawless application is just the beginning - proper aftercare is what keeps brows looking fresh and long-lasting. Alexandra shares her top tips to help clients maintain their eyebrow liquid tint:
-
- No washing or scrubbing for 24-48 hours (longer for oily skin) to prevent blotchy results.
-
-
Moisturize nightly with castor oil or Elixir No. 3 to keep brows hydrated and extend the tint.
-
Avoid sweating, steam, and saunas for 48 hours to prevent premature fading.
-
No makeup on brows for 24-48 hours to avoid irritation or interference with the dye.
-
Skip exfoliation, retinol, and fake tan—they can strip the color or cause unwanted tones.
-
Use sunscreen and nourishing balm on brows if exposed to the sun to prevent fading.
-
Following these steps ensures the best possible results for your clients. Want to see Alexandra’s full aftercare breakdown? It’s all covered in the Mixing Liquid Dye Colors Masterclass!
How to mix eyebrow tint and Oxydant Developer
The key to flawless, long-lasting brows starts with the right mixing ratio. The way you mix Liquid Dye and Oxydant determines the intensity and final result. Here are the three main ratios every Brow Artist should know:
-
-
Bold & Intense Look (2:1) – Mix 2 drops of Liquid Dye with 1 drop of Cream Oxydant for a bold and defined look.
-
Soft & Natural Look (1:1) – Mix 1 drop of Liquid Dye with 1 drop of Cream Oxydant for a very natural brow look.
-
Airbrush Application (1:1) – Combine 1 drop of Airbrush Developer with 1 drop of Liquid Dye for an even, sprayable formula.
-
Want to see exactly how much you need for the perfect blend? Enroll in the Mixing Liquid Dye Colors Masterclass for live demonstrations and expert guidance!
Examples of eyebrow tint blends
In the Mixing Liquid Dye Colors Masterclass, you'll find even more expert blends, real client demonstrations, and a printable, downloadable mixing cheatsheet to keep on hand. Plus, we’ve included a client record sheet so you can track and recreate the perfect blend for each client!
Here’s a sneak peek at some of Alexandra’s go-to blends:
1. Ash Grey ½ + Black ½
"This blend creates a softer, more subtle black stain, perfect for clients who want a darker look without the boldness of pure black. The more Ash Grey you add, the lighter and more natural the result will be!" – Alexandra
2. Warm Brown ½ + Medium Brown ½
"Medium Brown + Warm Brown creates a rich, warm-toned blend, perfect for redhead clients or those with deep, chocolatey hues. On fair clients, this mix will deliver bold, striking results, adding warmth and definition!" – Alexandra
3. ⅔ Dark Brown + ⅓ Black
Yes, it’s not just one color! You might think the model in the photo is wearing only Black, but there’s more to it.
"This is my go-to blend for natural black-haired clients. The Dark Brown softens the stain, creating a more natural result than using Black alone. If your client has thinner brow hairs, this mix prevents the brows from looking too bold or overpowering, keeping the look balanced and defined!" – Alexandra
Want even more expert blends, live demonstrations, and Alexandra’s pro tips? Join the Mixing Masterclass and start customizing colors like a pro!