


Combine Lamination & Hybrid dye in one treatment
written byLuma Abdelghani
In This Article
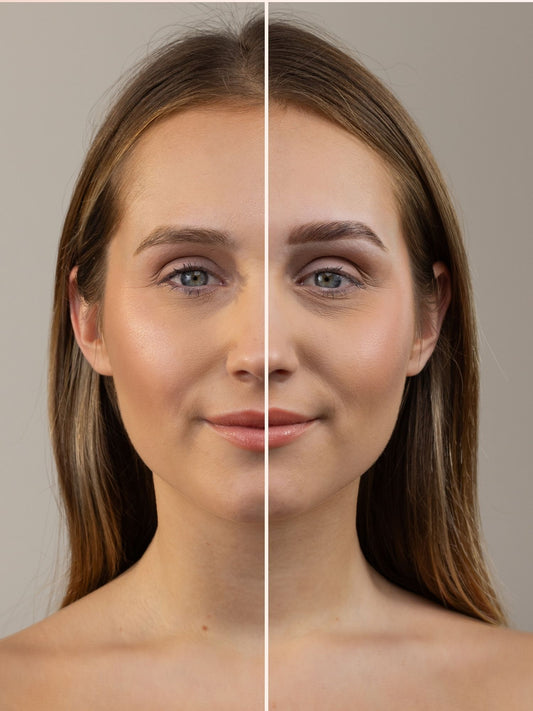
Why combine Lamination and Hybrid Dye?
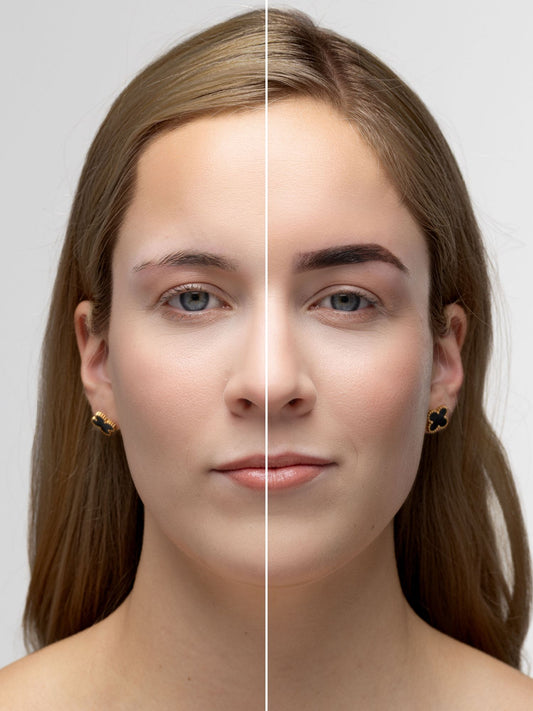
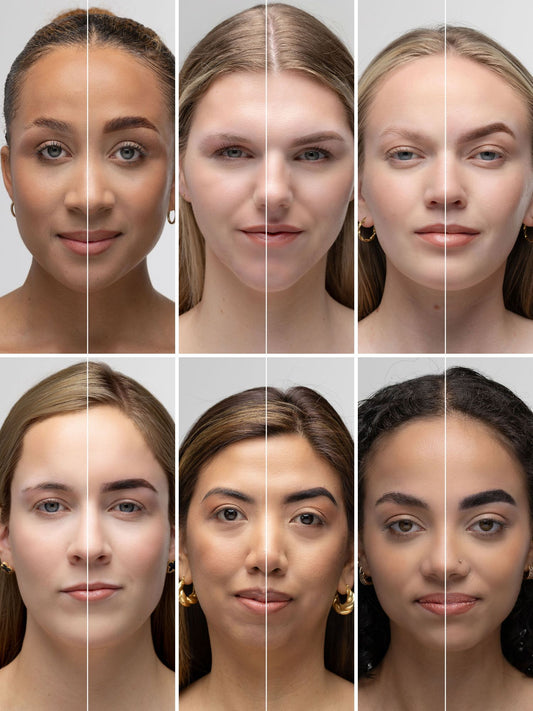
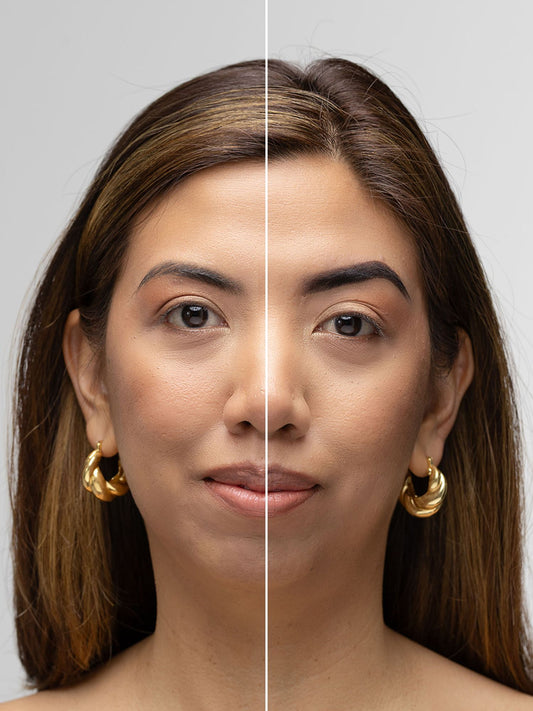
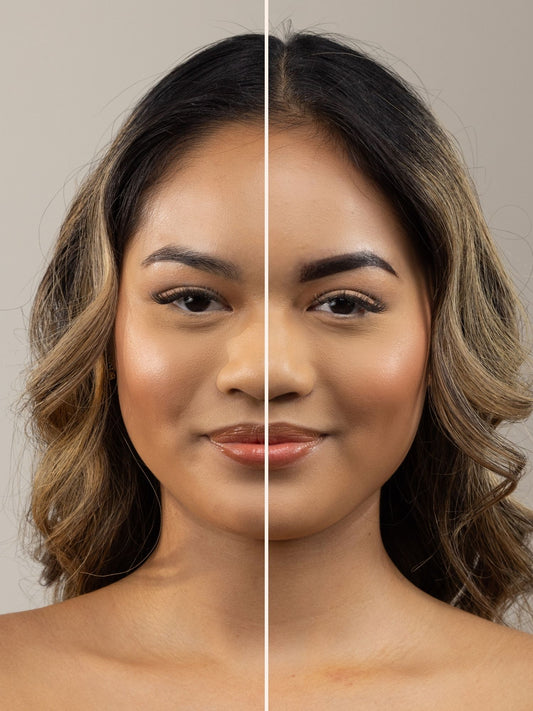
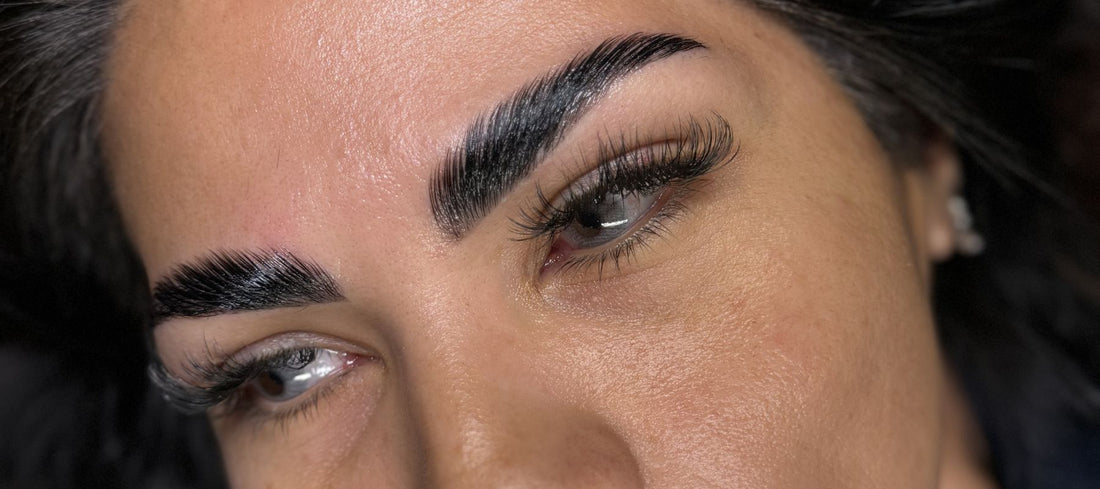
Most of us dream of full, fluffy brows that are beautifully tinted and flawless. By combining a Lamination treatment with a Hybrid Dye treatment, you make sure that the brow hairs and lashes stand up nicely and your eyebrows look fuller, thanks to the Hybrid Dye. And all of that in just one treatment!
 Why is this not possible with Brow Henna?
Don't get us wrong—we absolutely LOVE Brow Henna. But one thing it can't do is combine tinting with Lamination. We've always advised against using Brow Lamination and Brow Henna Dye in the same treatment because it's simply too harsh on the delicate eyebrow hairs. And let’s be honest—healthy brows always come first!
Thankfully, the game has changed with Hybrid Dye! Unlike Henna, the chemicals in Hybrid Dye are gentler, making it completely safe to pair with Brow Lamination. The same goes for Lash Lifting and Hybrid Dye. This is a total breakthrough for Brow Pros everywhere!
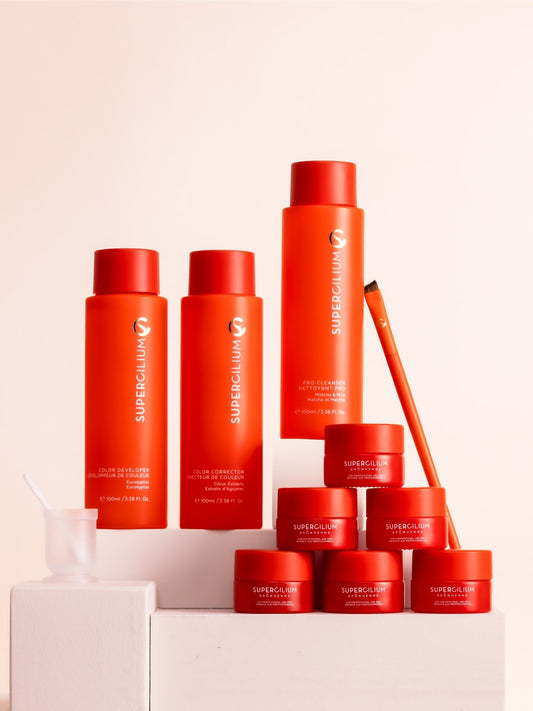
Get to know the products
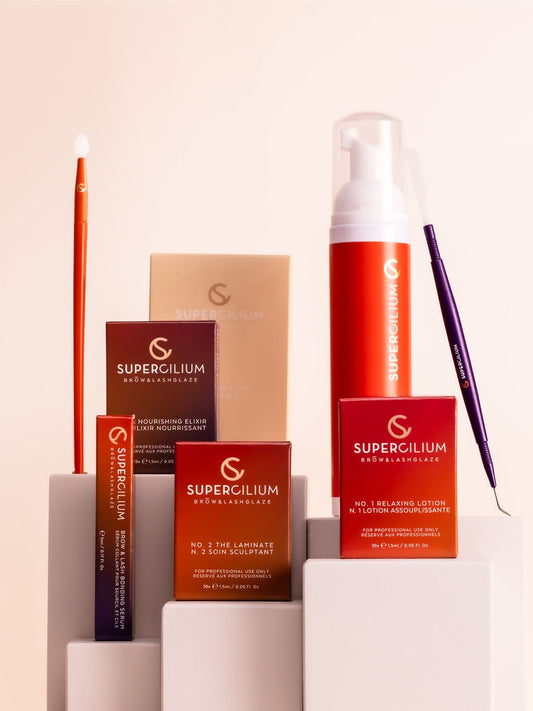
Brow Lamination & Lash Lift Kit
This dual-function kit allows you to create symmetry, fullness, and definition for both brows and lashes. This amazing treatment is semi-permanent, lasting up to 4-8 weeks, and helps restructure brow and lash hairs to achieve the desired shape!
What’s inside the Kit:
- No. 1 Relaxing Solution
- No. 2 The Laminate
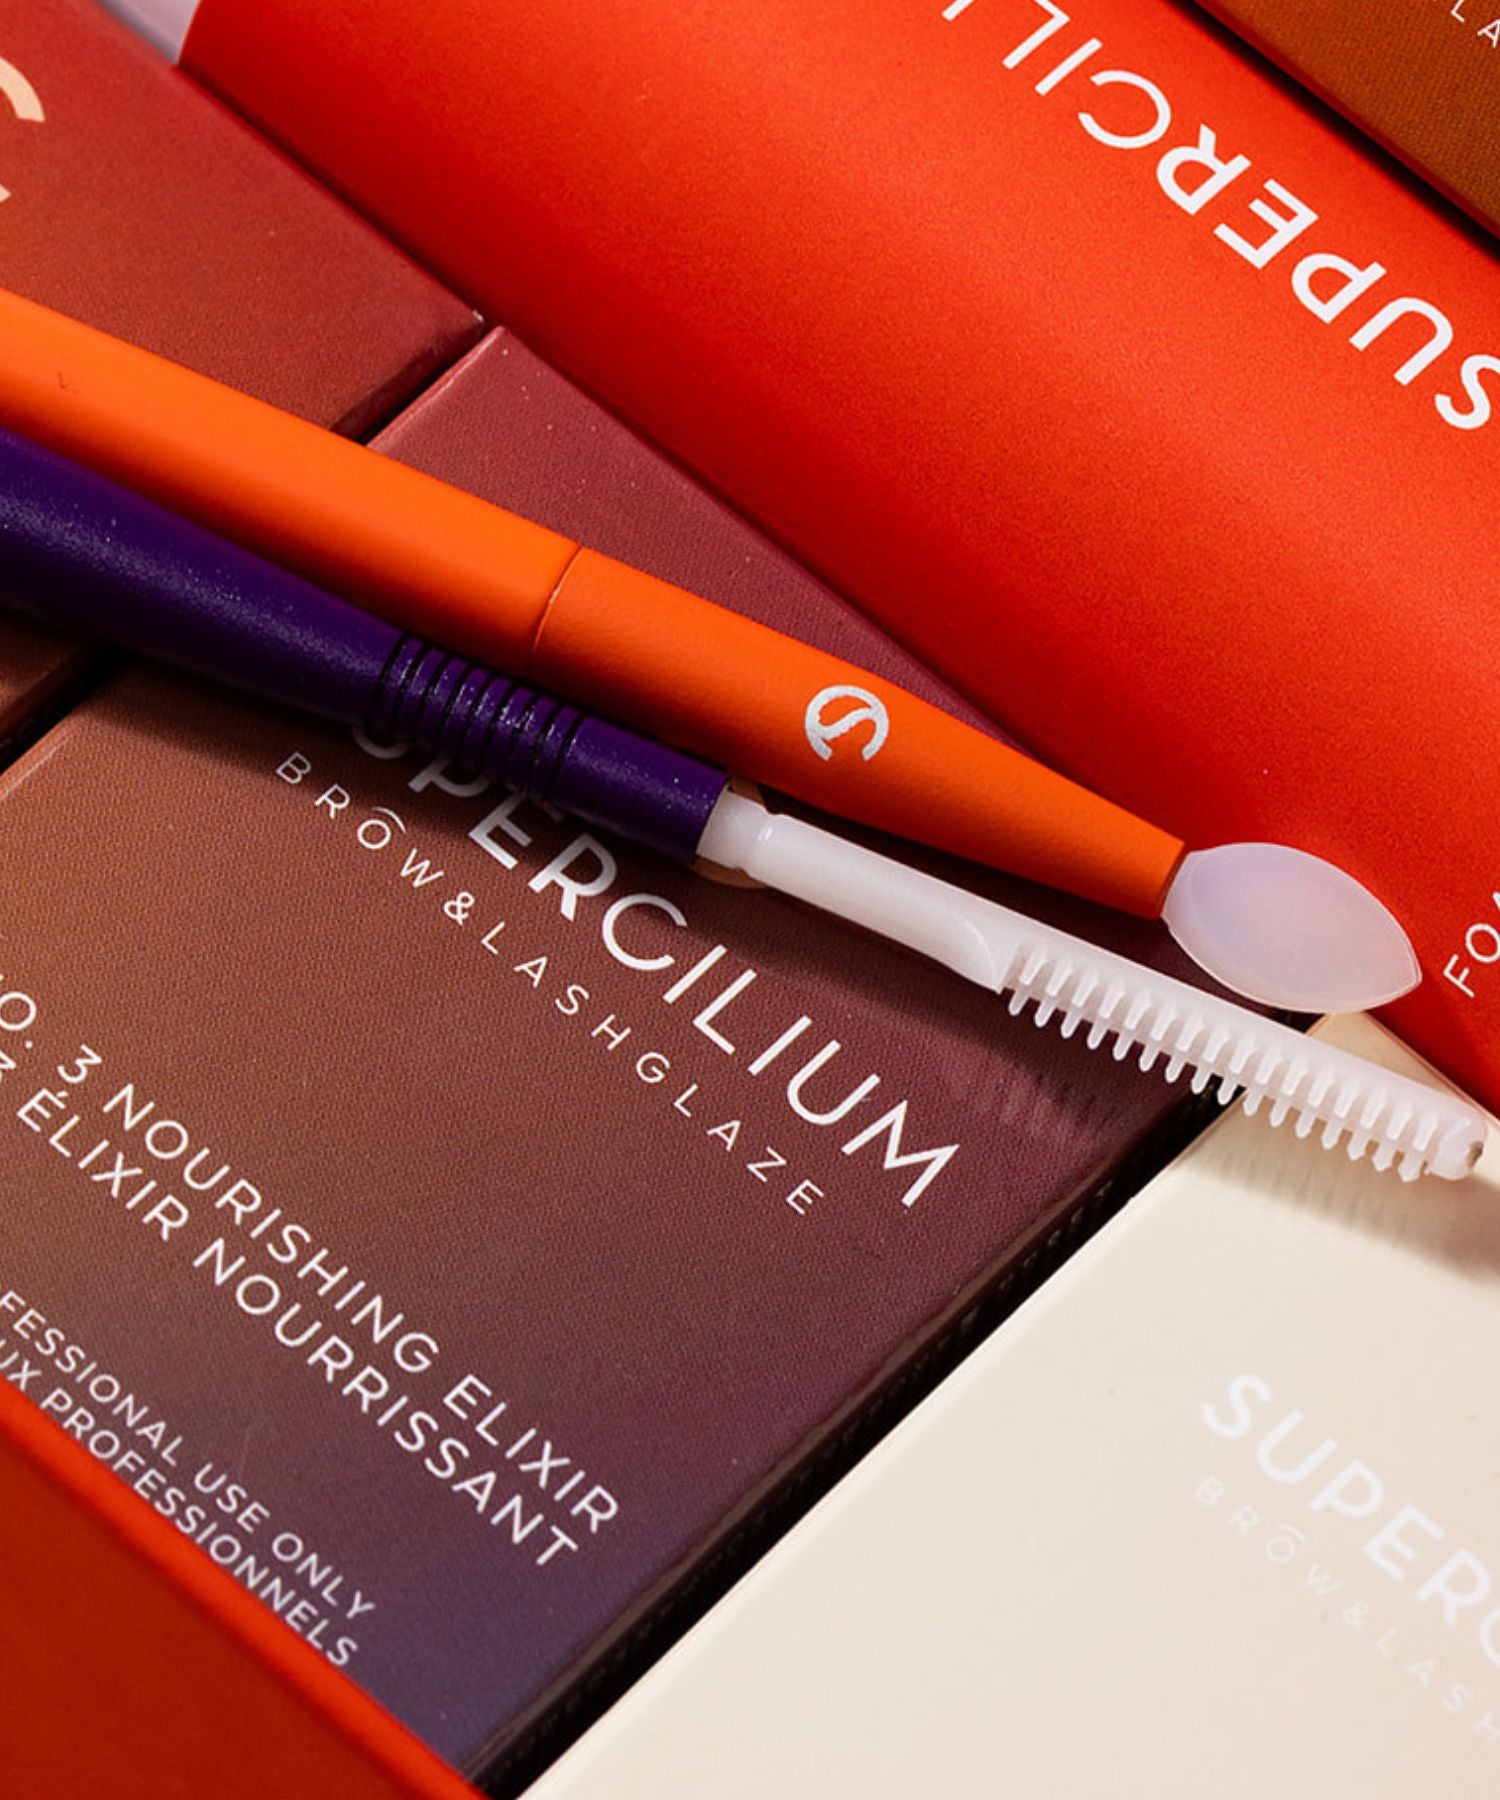
- No. 3 Nourishing Elixir & Bonding Serum
- Lash Lift Tool and Silicone Brush
- Foam Cleanser
- Set of Lash Shields (3 sizes: S, M, L)
Up to 40 treatments:
- Each sachet provides enough solution for up to 4 clients.
- Once opened, a sachet should be used within 48 hours (7 days for patch tests).
Want to learn more about Brow Lamination? Enroll in our Certified courses at Supercilium Academy.

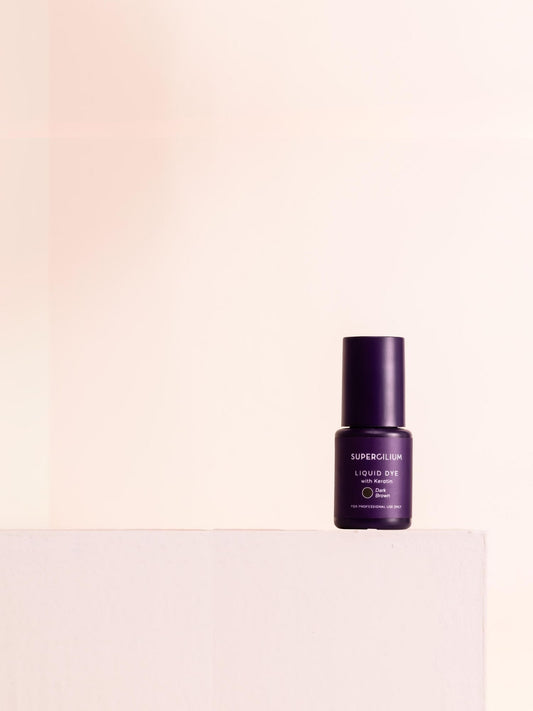
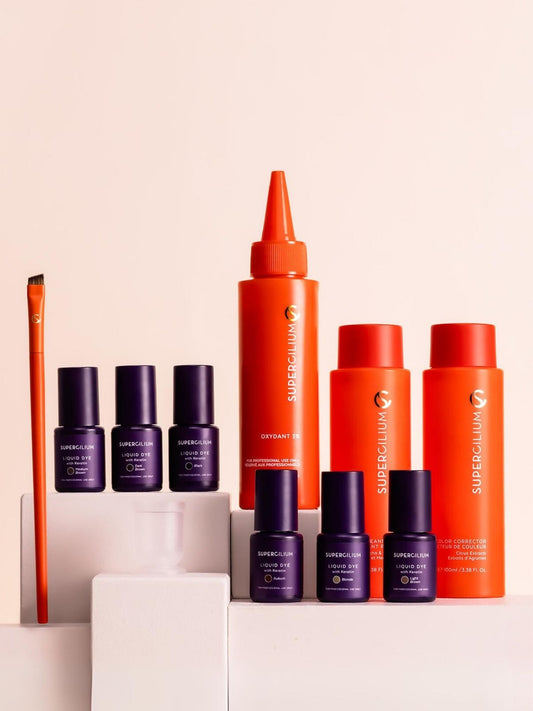
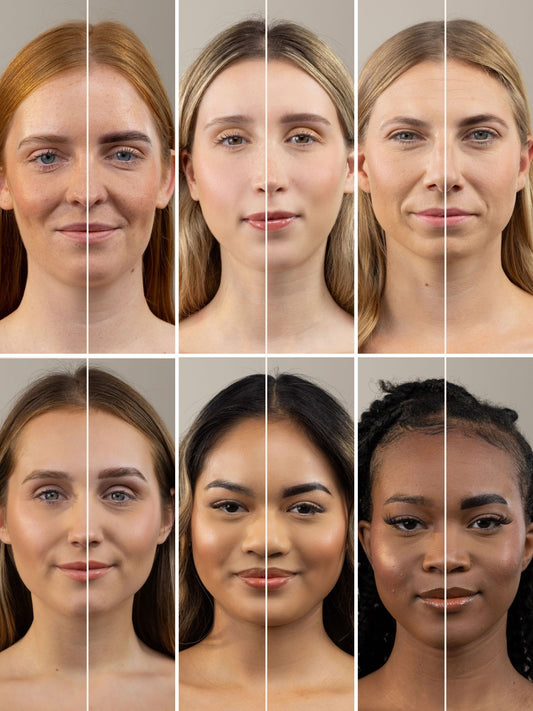
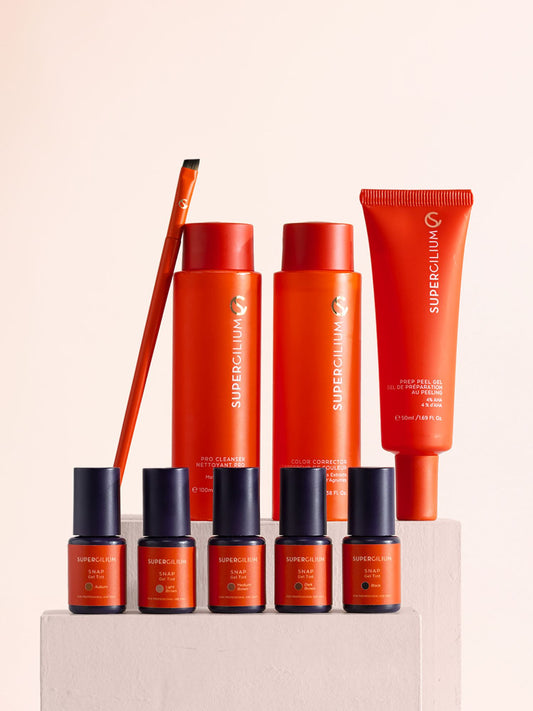
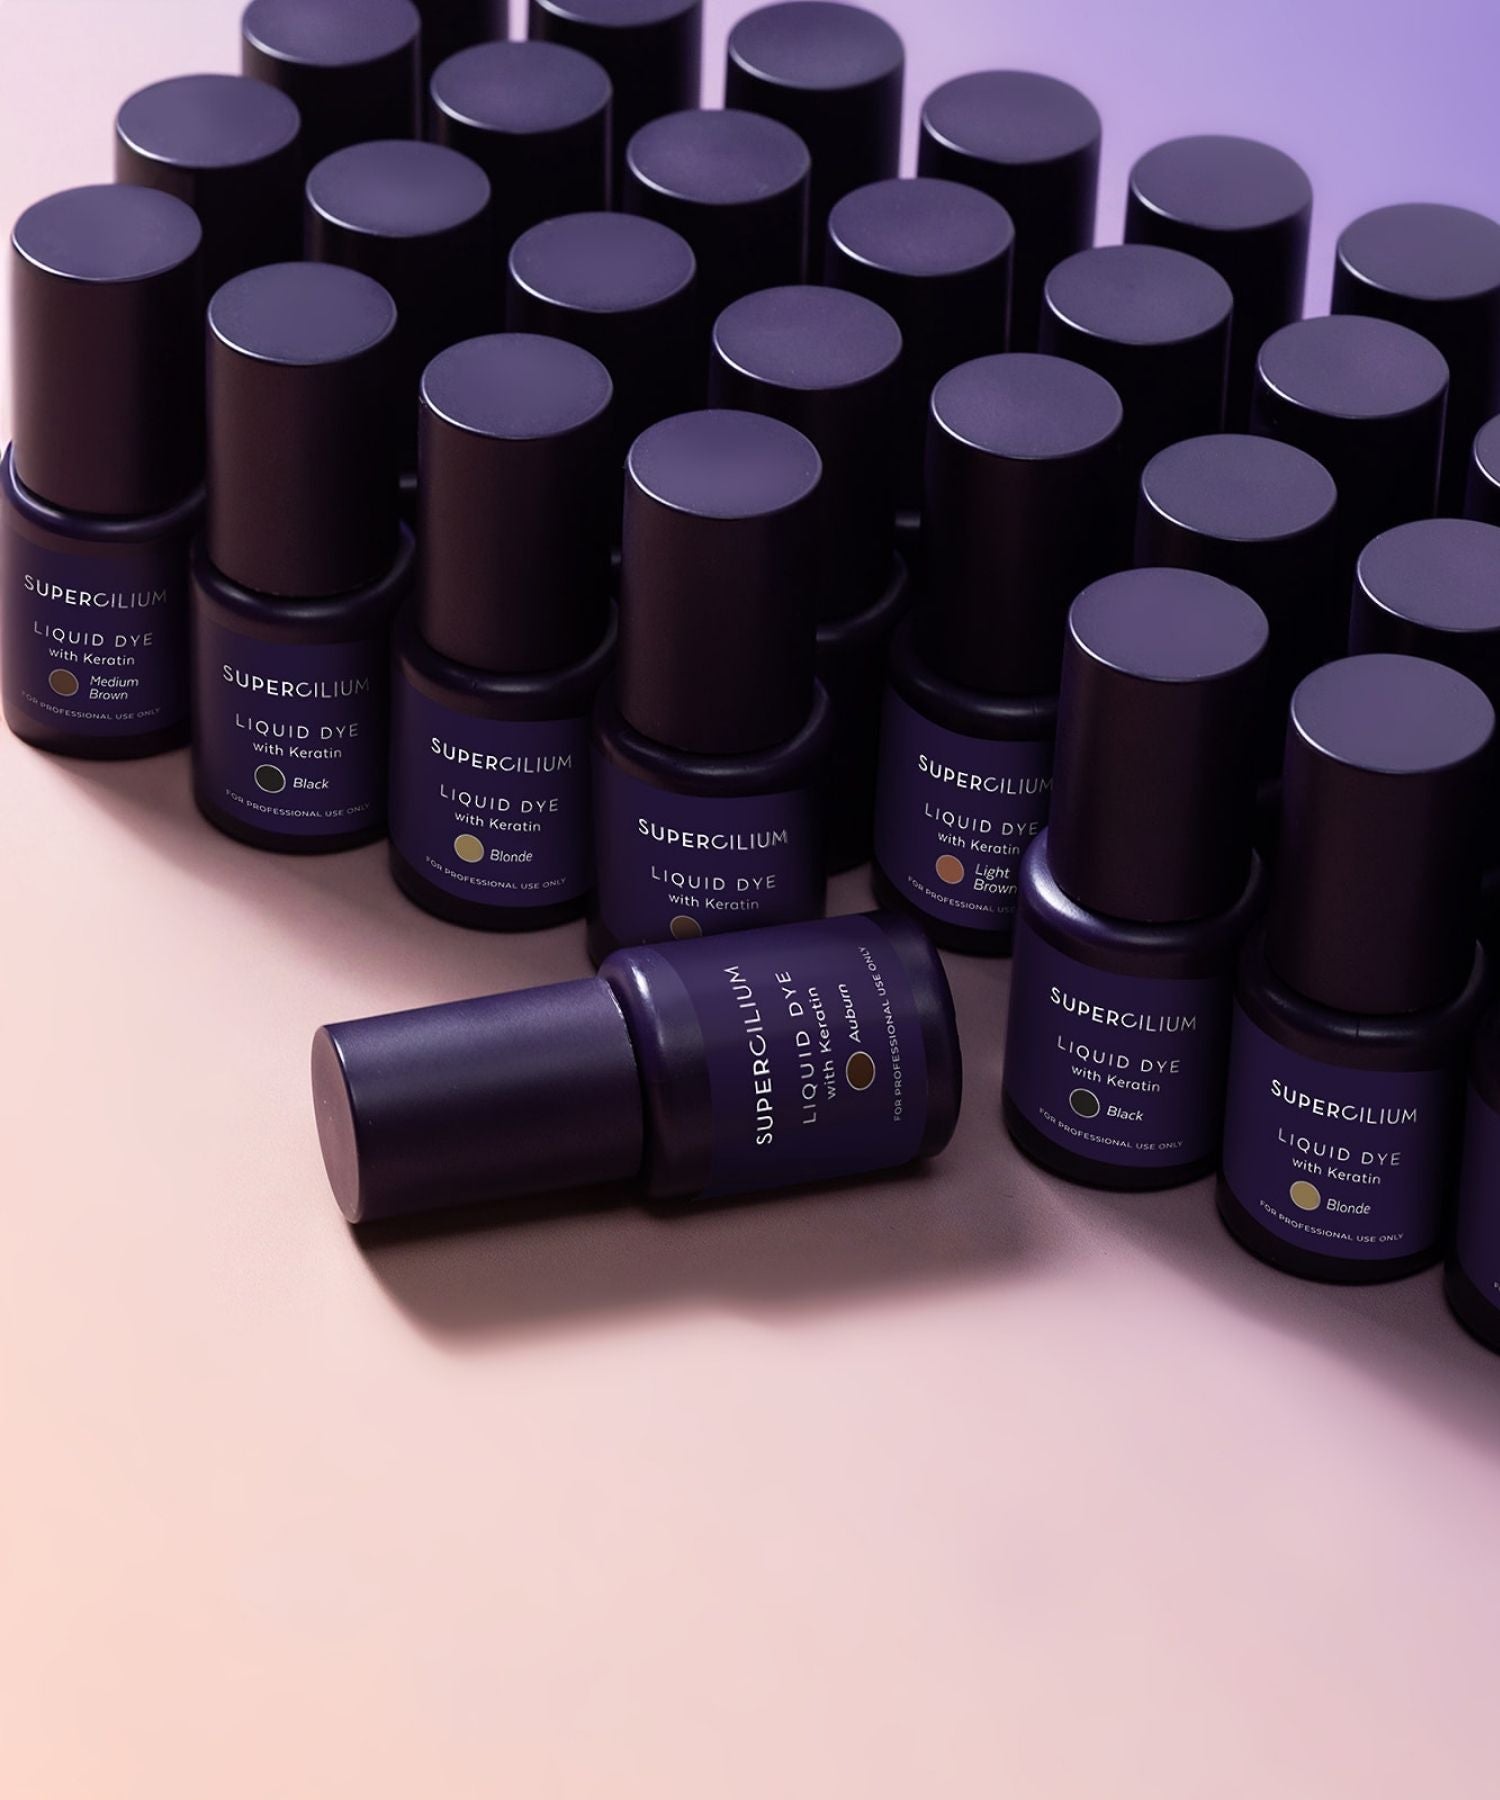
Brow Hybrid Dye Kit
Achieve beautiful, long-lasting tints with the Brow Hybrid Dye Kit. Packed with essentials, this kit is perfect for creating natural or bold brow looks!
Everything you need is inside the kit:
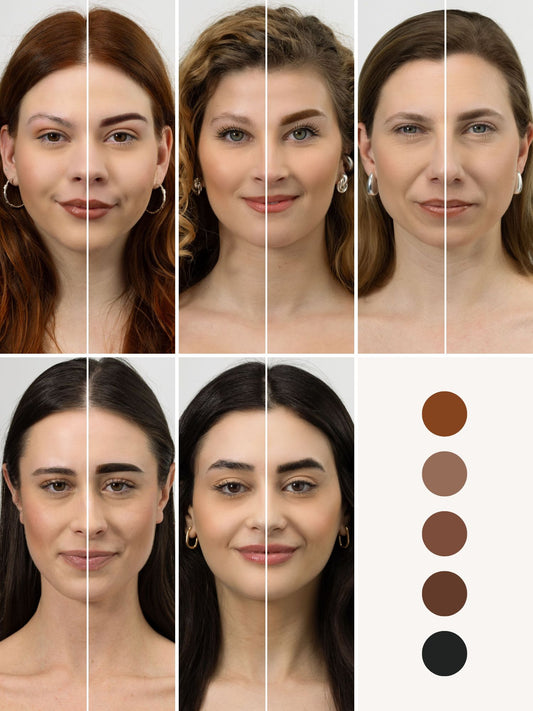
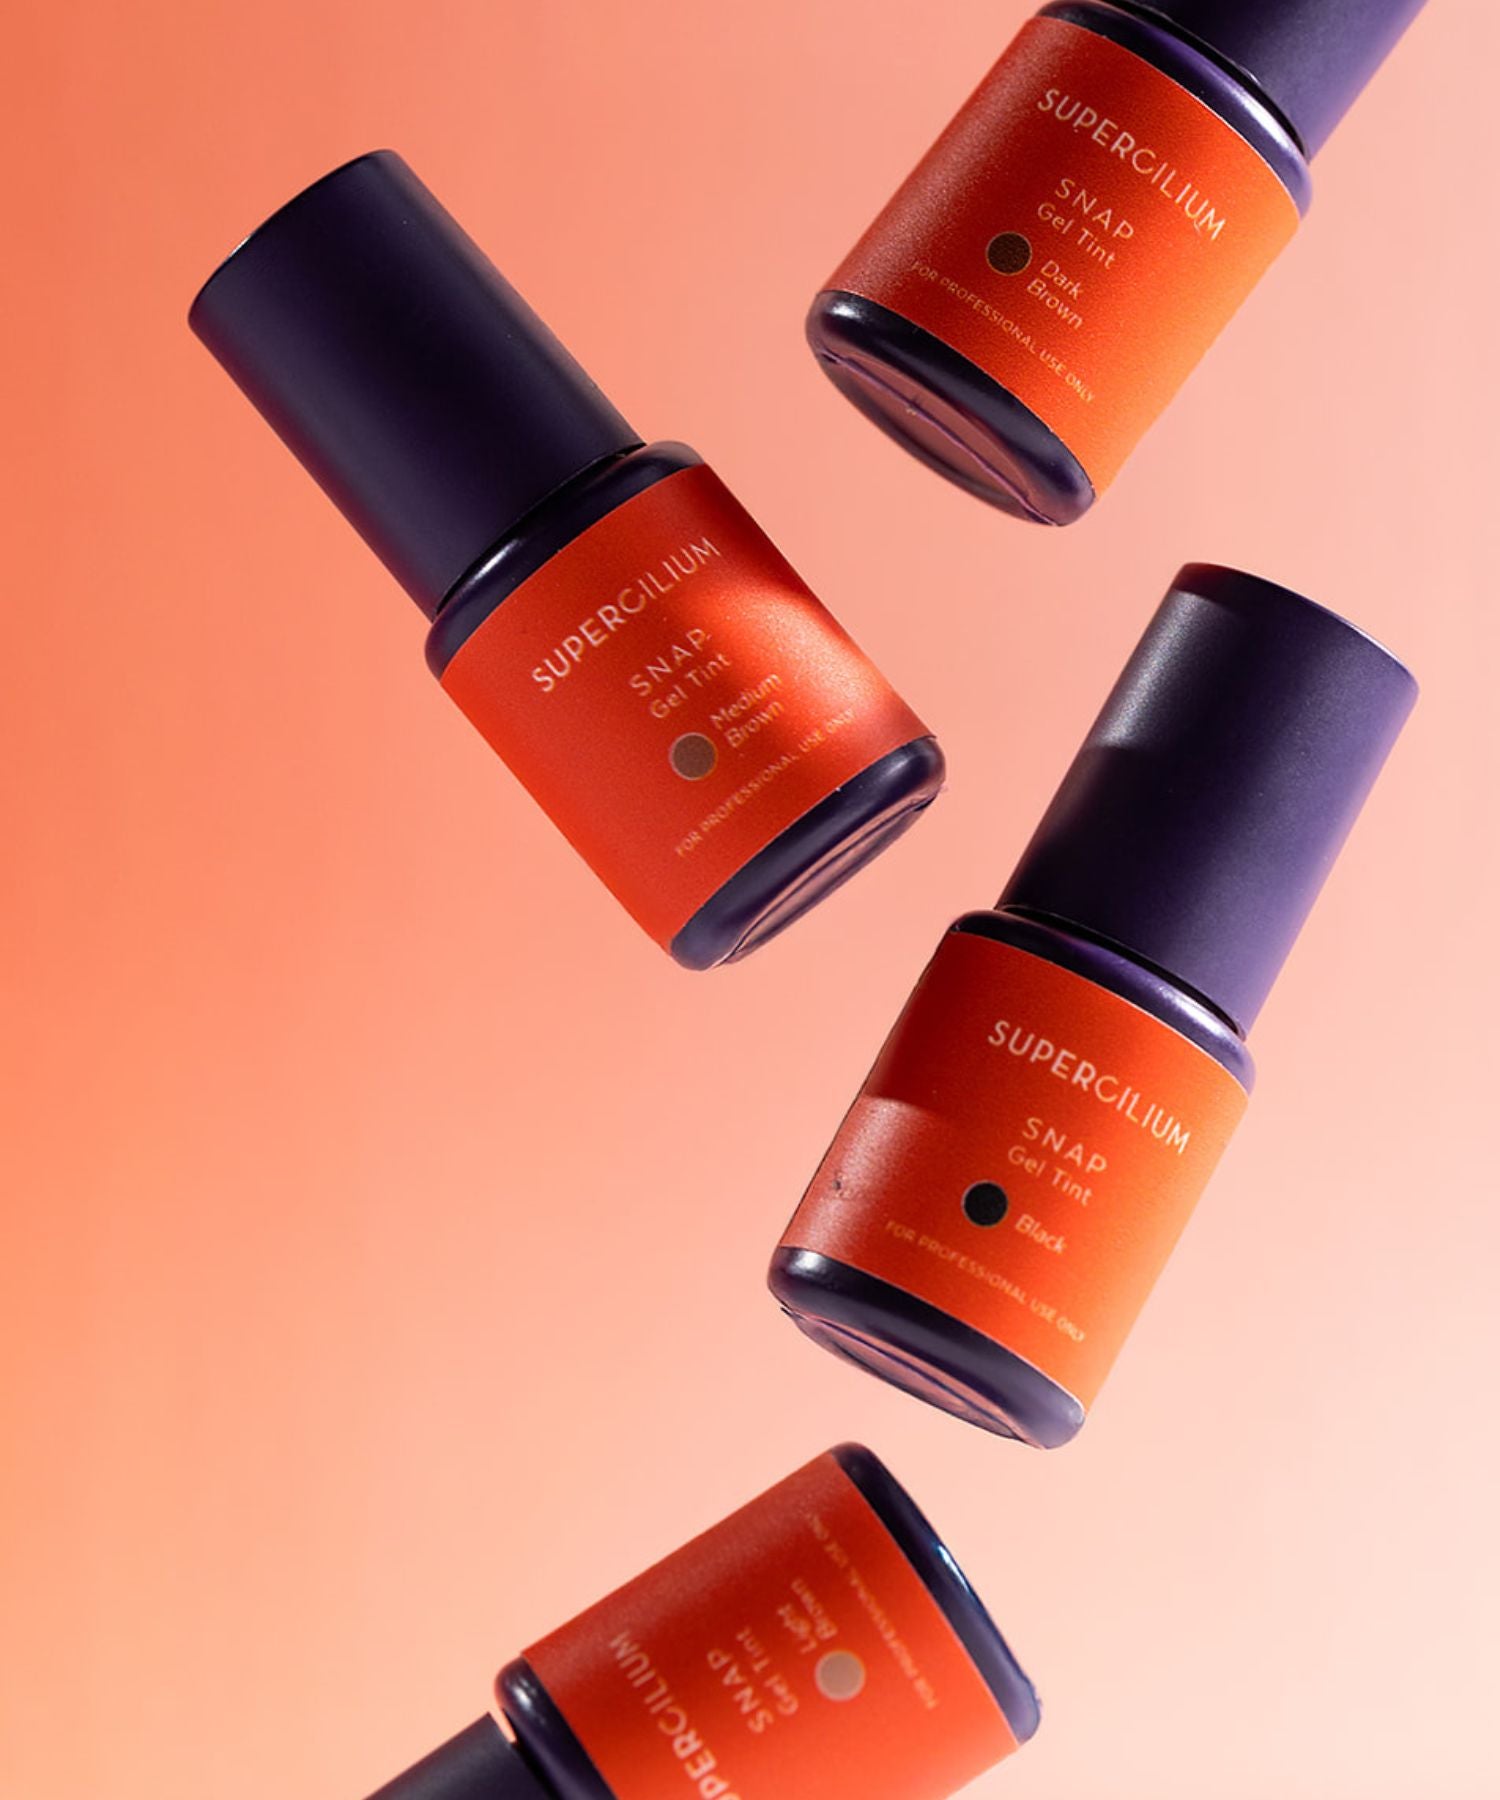
- 6 vibrant shades: Blonde, Auburn, Light Brown, Medium Brown, Dark Brown, Black.
- Cream Oxydant 3%.
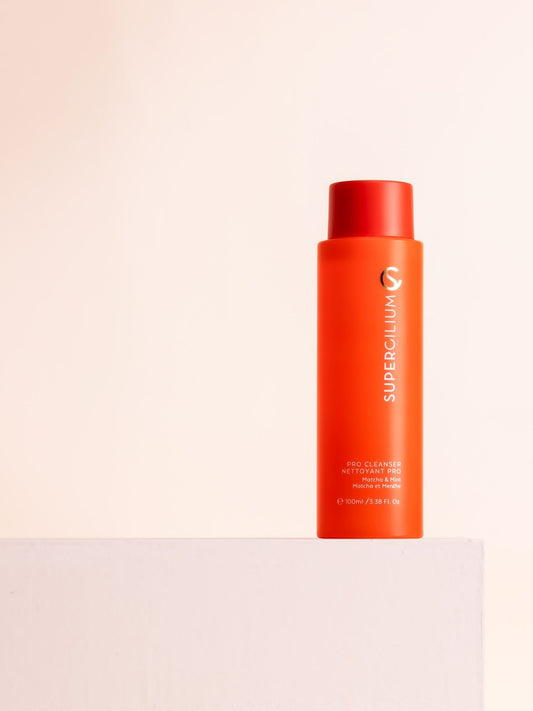
- Pro Cleanser and Color Corrector.
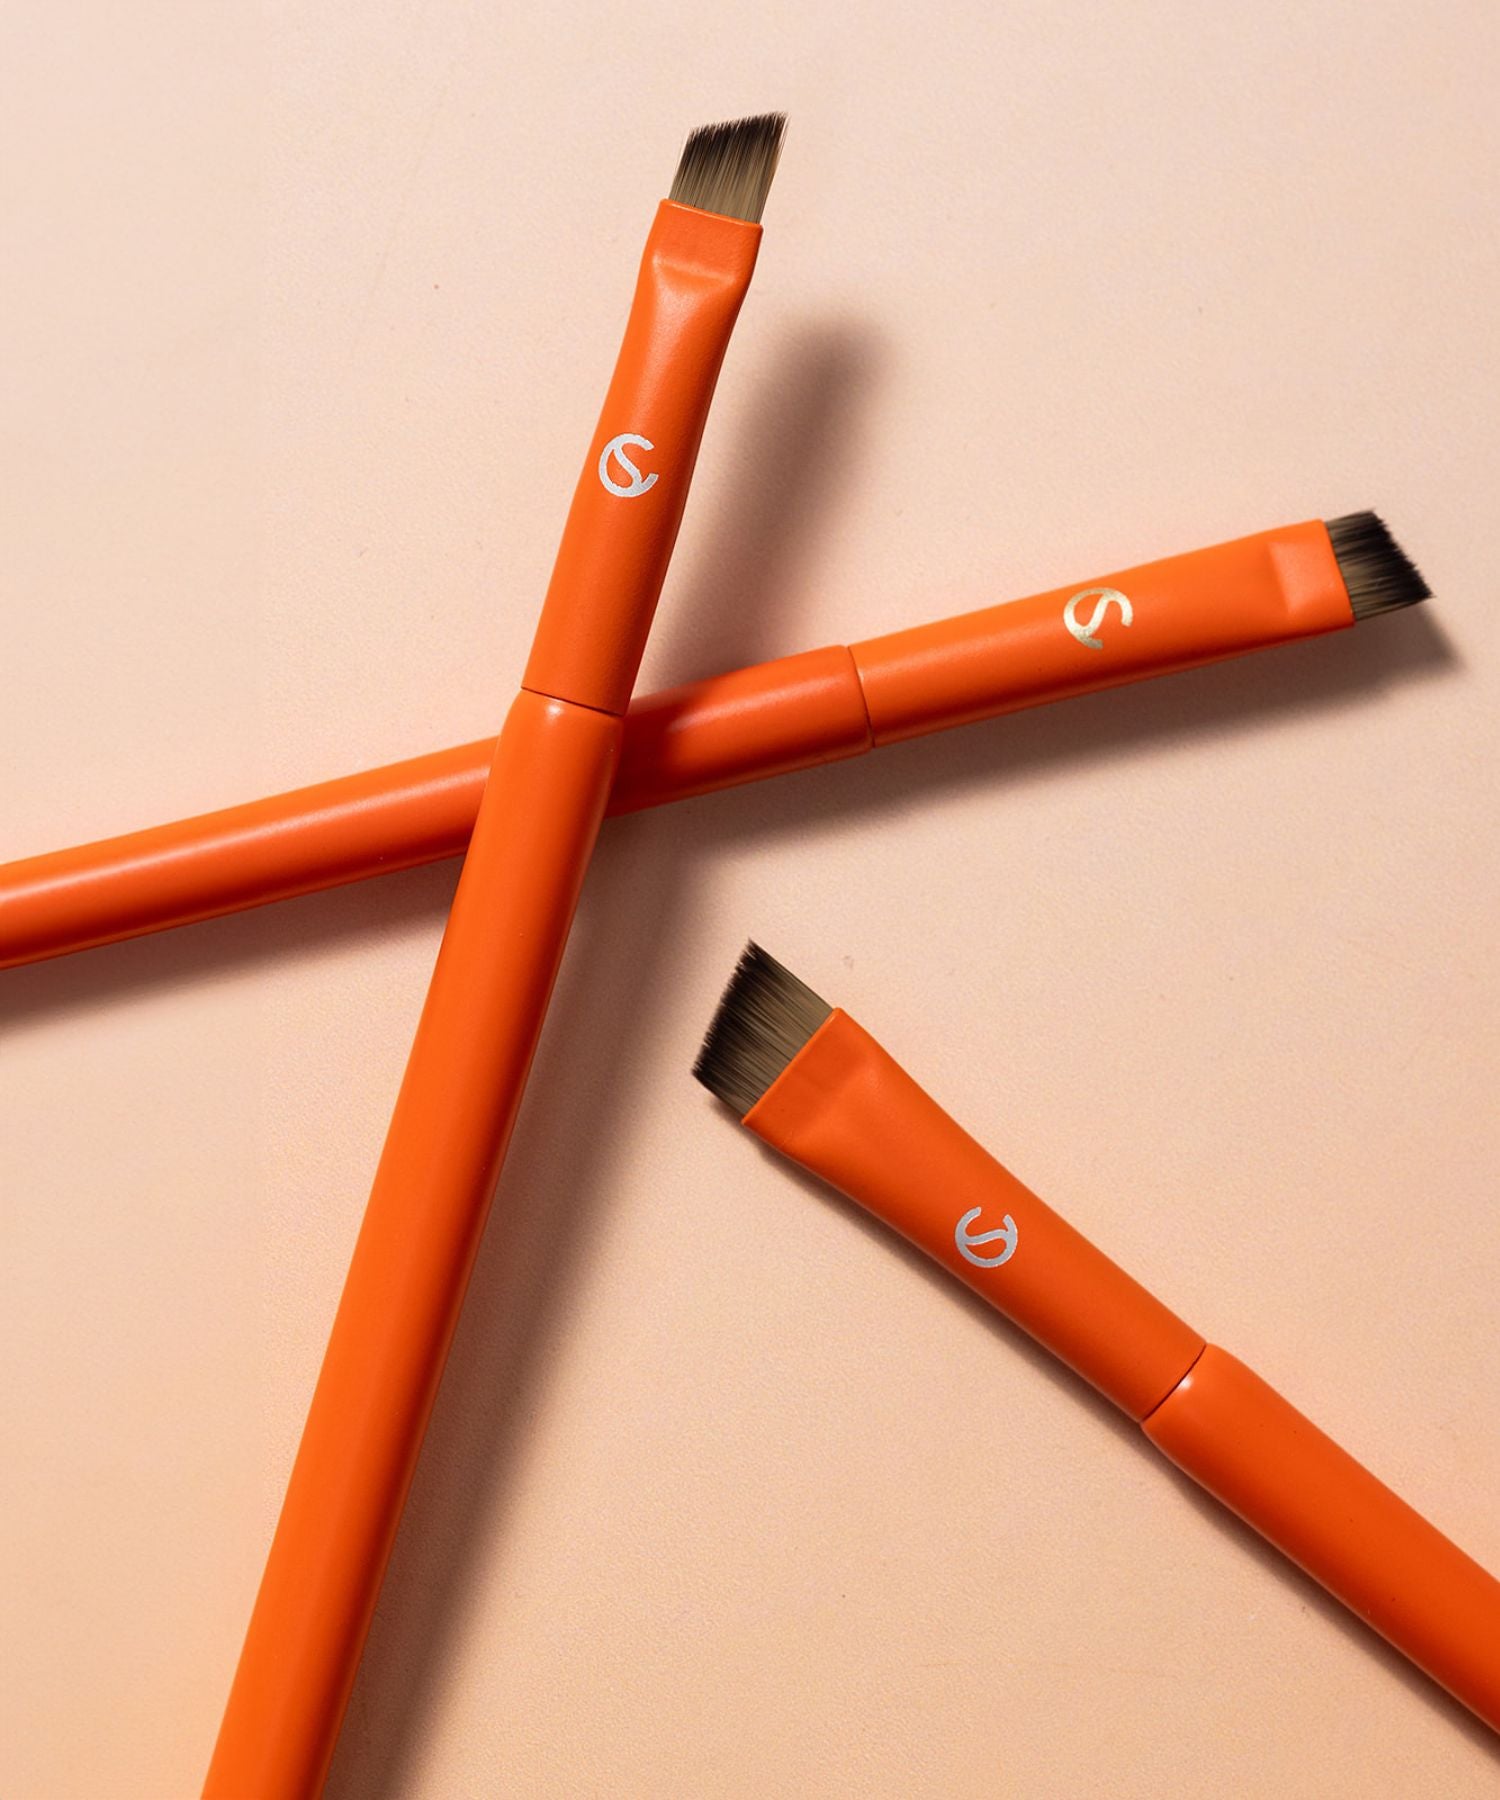
- Medium Angled Brow Brush.
- Mixing Cup
Benefits of Brow Hybrid Dye with Keratin:
- Keratin-Infused Formula: Strengthens and conditions hairs for healthier brows.
- Versatile Shades: Eight colors (6 in the kit, separately Ash Grey and Warm Brown) that can be mixed for customized looks.
- Perfect Pairing: Compatible with lamination for amazing, long-lasting results.
Before You Start: Patch Test
We can’t stress this enough - a patch test is an absolute must for any brow-dyeing treatment. It’s essential to detect potential allergies and ensure your clients walk away with gorgeous brows and zero worries. Even if your client has used similar products before, always perform a patch test at least 48 hours prior, as allergies can develop unexpectedly over time.
How to Conduct a Patch Test:
- Mix 2 parts Brow Hybrid Dye with 1 part Oxydant.
- Apply a small dot behind the ear.
- Rinse with water after 15–20 minutes.
If there’s any itching, redness, burning, or other unusual reactions during the test or within 48 hours, do not proceed with the Brow Hybrid Dye treatment. Safety first, always! If everything is good, you're safe to go!
How to Combine Lamination and Brow Hybrid Dye
Step 1: Prep and Cleanse
Brush the brows upward and thoroughly clean both the brows and the surrounding area using the Pro Cleanser and a cotton pad. For the eye area, grab the Foam Cleanser, which is more gentle as it doesn't contain alcohol as Pro Cleanser.
Step 2: Assess Hair Type
Evaluate your client’s hair type to determine the correct processing time. This ensures optimal results tailored to their unique brows.
Step 3: Apply Relaxing Solution
Apply No. 1 Relaxing Solution to the brow hairs, and carefully remove any excess solution from the skin with a precision swab. Set a timer based on hair thickness and density. Once processed, remove the solution using a clean, dry cotton pad. Check the brow shape and adjust it by brushing hairs into the desired direction with a spoolie brush.
Step 4: Laminate Application
Next, apply No. 2 The Laminate to the brows. Adjust the timer based on hair thickness and density. When the time is up, remove the solution completely to prepare for the next step.

Step 5: Prepare the Hair Cuticle
Apply No. 3 Nourishing Elixir to prepare the hair cuticle for the dye. Let it develop for 3 minutes, then remove it with the Pro Cleanser. This prevents the hairs from absorbing too much dye, as the lamination process makes them more porous.
Step 6: Apply Brow Hybrid Dye
Mix your chosen Brow Hybrid Dye shade and let it stand for 1 minute before application. Apply the dye in thin layers for precise, even coverage and quicker skin staining. For a natural ombre effect, remove the dye from the front of the brows after 1–2 minutes. Complete the process by removing the dye with a dry cotton pad after approximately 8 minutes.
PRO TIP: Use stamping motions with your brush for clean, defined lines and a polished finish.
Step 7: Make the brows POP
Add the finishing touch with the Brow Micro Concealer. Use it to highlight and define the brows for an ultra-polished look. Draw a precise line at the bottom of the brow, blend it with a Blending Brush, and watch your client’s brows truly pop! We promise you, they will come for more!
Aftercare
Advise your clients to avoid moisture, saunas, and oil-based products for 24–48 hours post-treatment. For long-term brow care, provide them with a take-home portion of Step No. 3 to nourish and maintain their brows after 48 hours. Read more about aftercare for laminated brows here.
Want to know more? Watch step by step video!
We invited some of the biggest Brow Pros to the Netherlands to create the ultimate Hybrid Eyebrow Dye course: the Certified Liquid Dye Course. Featuring Barbie (BROWAHOLICS), Zoe (CARVD ACADEMY), Manouk (founder of Supercilium), and Anastasia Biskopchuk, this course covers everything you need to know about mastering Liquid Brow Dye and combining it seamlessly with Brow Lamination. Plus, it includes an in-depth step-by-step video to guide you every step of the way. Don’t wait—enroll now and elevate your skills!