How to dye your brows in the comfort of your home
written byLuma Abdelghani
In This Article
DIY eyebrow tinting
Here you can find a step-by-guide on how to dye your eyebrows at home!
How to dye your brows at home
Why you can't skip a patch test
Remember to always perform a patch test 48H before the treatment.
Performing a patch test is very important as some individuals might be allergic to the ingredients of the dye. To guard against this, perform a patch test 48h before the treatment by mixing the products in our Eyebrow Dye and applying a pea-sized amount on the inside of your elbow. After 10-20 minutes you can remove the dye with a damp cotton pad. If no allergic reaction appears after 24h, then you are safe to go ahead with the dye treatment!
Setting the base
To start of your eyebrow dying procedure you have to clean your brows. All you need for this is a cotton pad and a couple drops from your favorite cleanser.
Our Advise: Follow the cleaning of your brows with a couple drops of peeling gel. Massage a small amount of it with a cotton pad or clean fingers on your brows for 20 seconds. The gel will help exfoliate any remaining dead skin cells and will give you the smoothest base ever to make your dye last up to 9 days on your skin.
Supercilium's Tip: A exfoliation gel removes dead skin cells. This ensures an even skin that allows the dye to penetrate the skin better. which extends the longevity of the shade on the skin
Preparing the dye
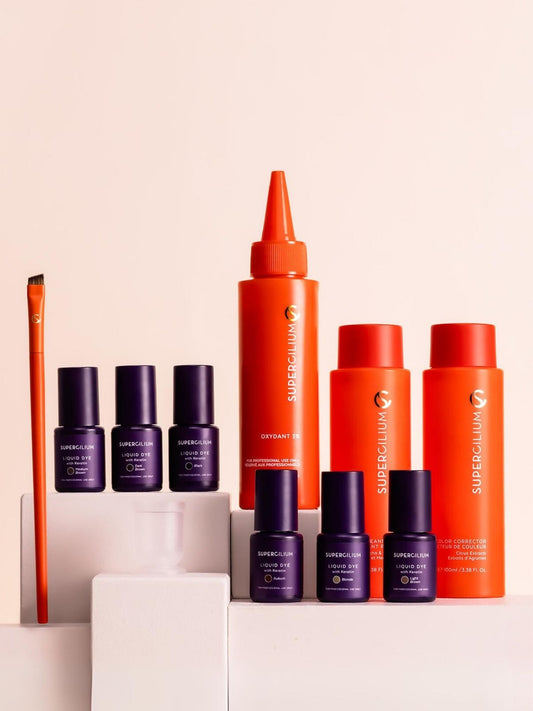
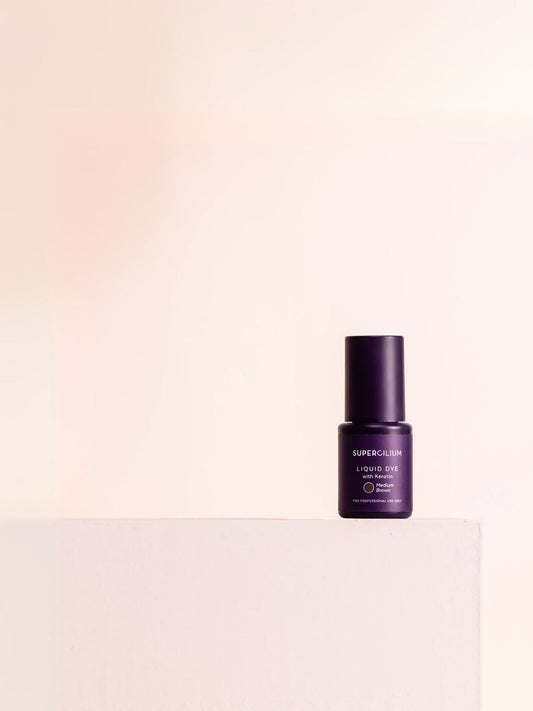
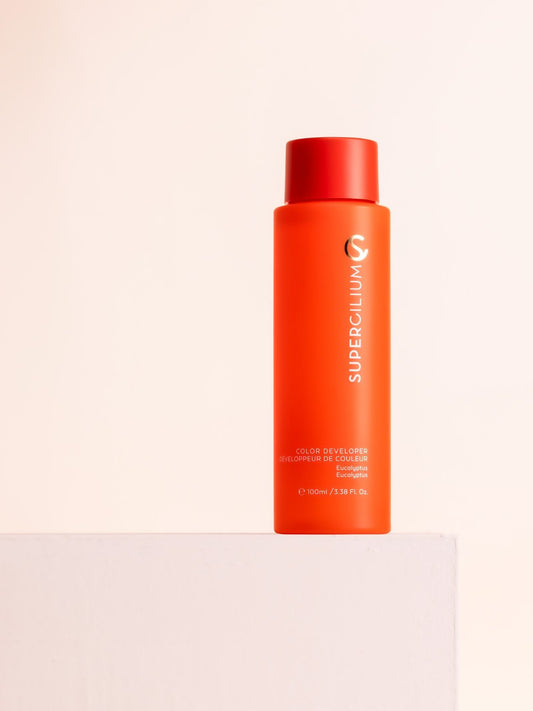
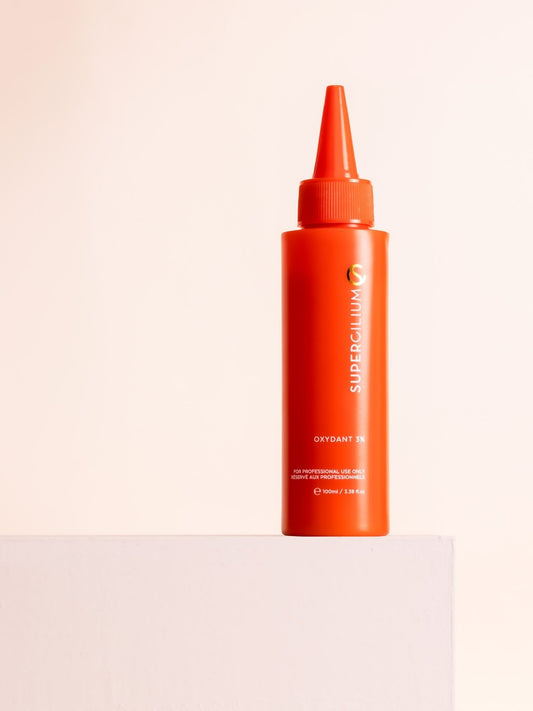
Prepare the Eyebrow Dye as directed on our instructions. In a non-metallic tare, simply mix our Oxydant Developer and the Dye in a ratio of 1:1 until a smooth consistency appears. Then, let your dye oxidize for a minute. This is an important step as the dye color develops during this time.
Applying the dye
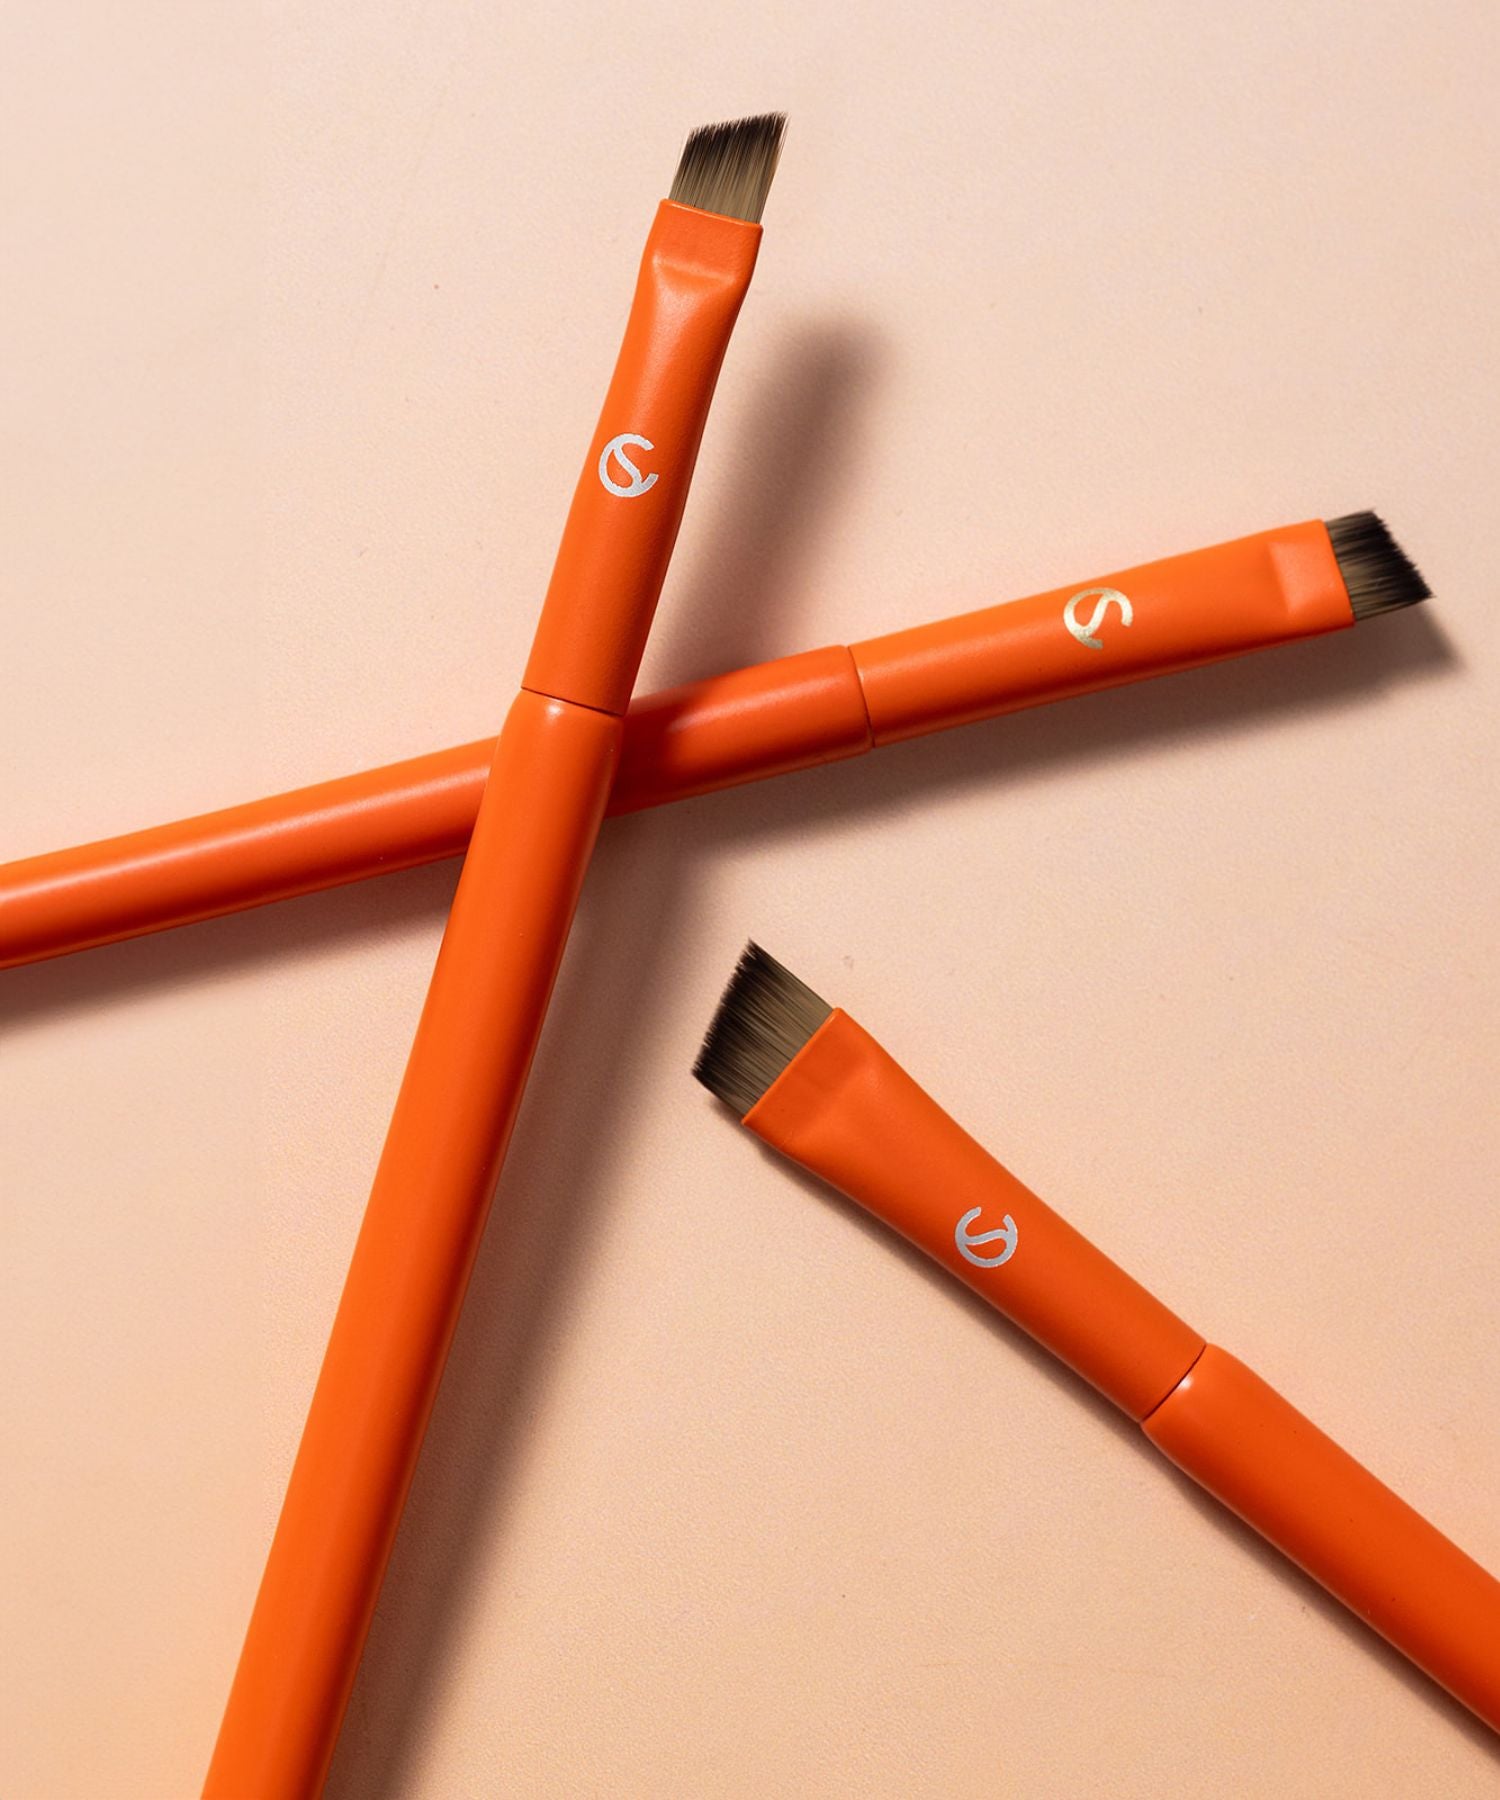
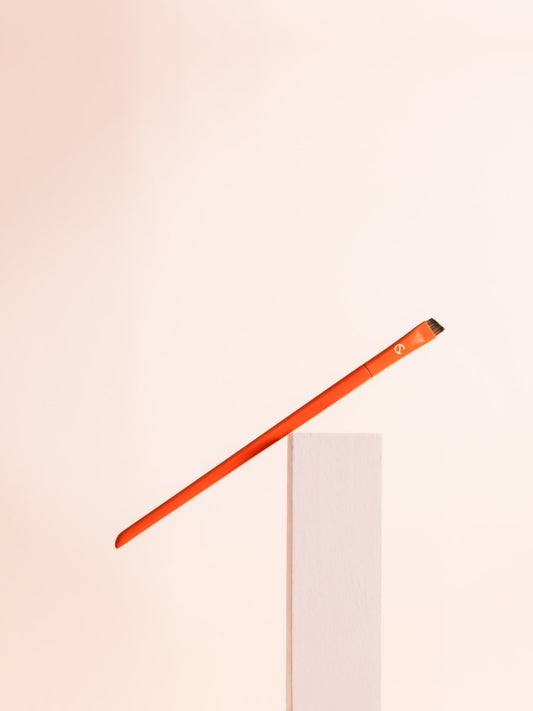
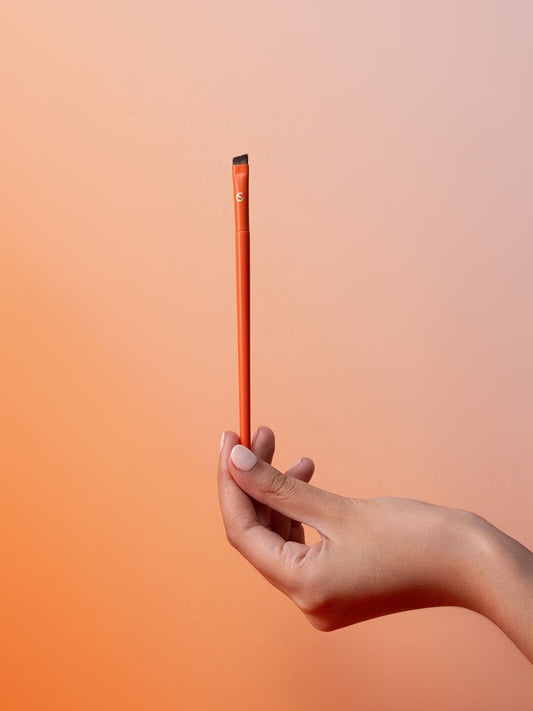
Apply the dye with the mini angled brush by creating a bottom line onto your eyebrow, just like you would do with an eyebrow pencil. Then create an upper line, however, be careful not to start at the beginning of the eyebrow but rather a bit further down (1 cm after the beginning of your eyebrow) for a more natural look. After this, you can fill in the rest of the eyebrows. Repeat this process until the eyebrows are completely covered with the dye. You can correct any small mistakes with our Color Corrector and a Q-tip.
Supercilium's Tip: Always use a little bit of dye on your brush. This prevents you from taking too much tint and reduces the chance of mistakes.
Processing Times
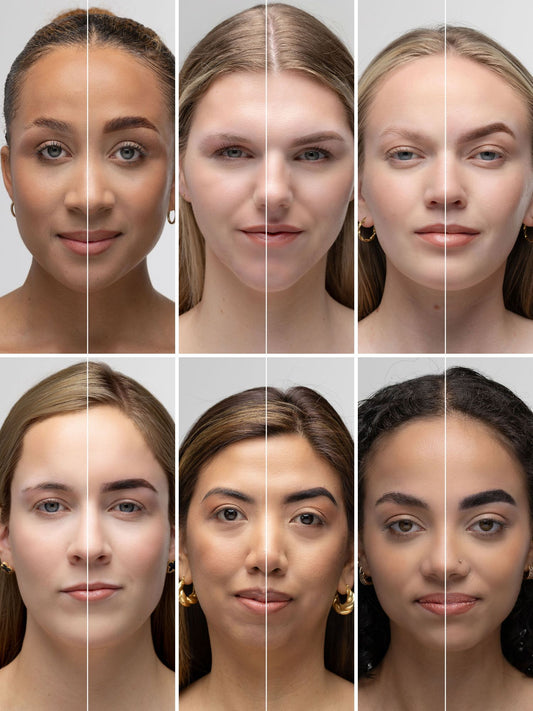
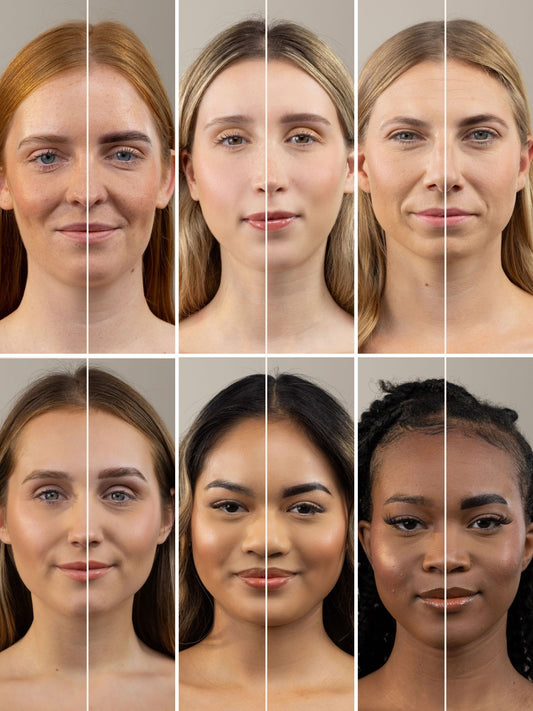
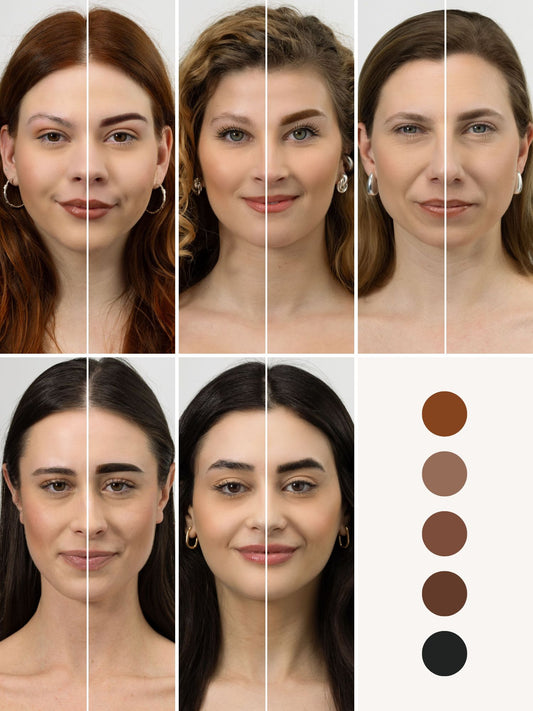
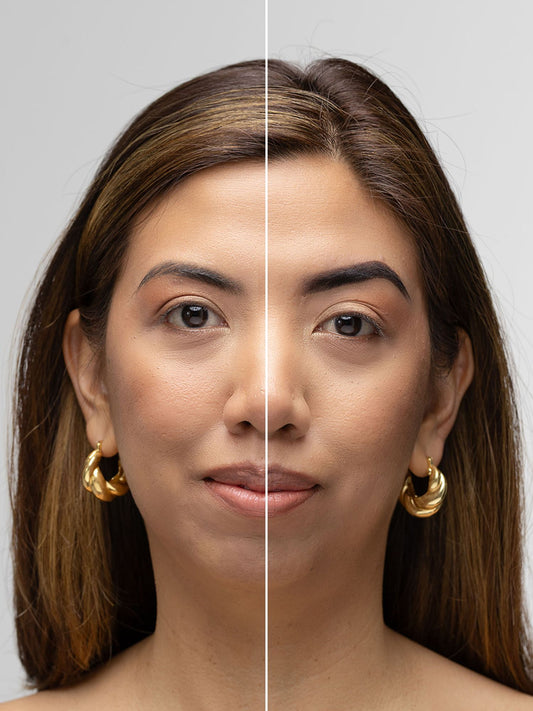
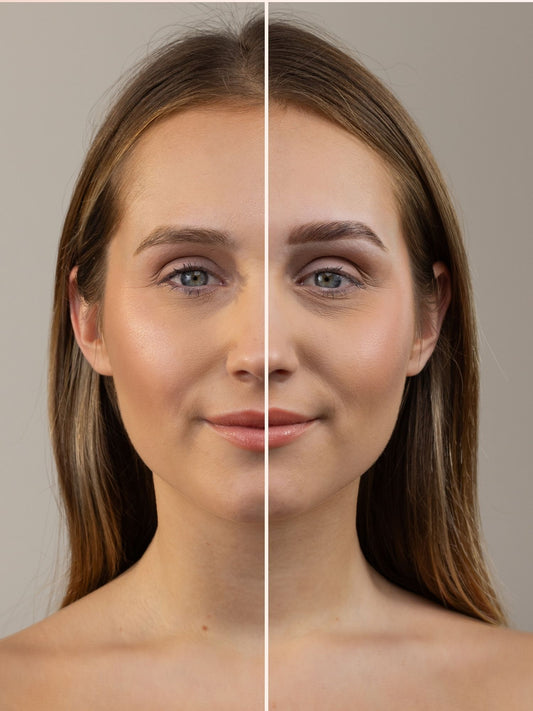
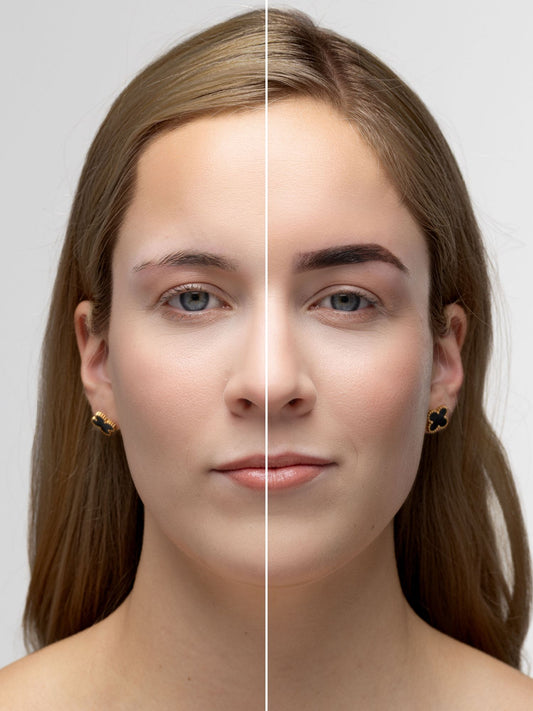
How long you leave the dye on your brows will affect the outcome of your brow look. The processing time for eyebrows is 8-20 minutes depending on the desired result. If you desire a more intense shade and tinting effect we advise you to give the dye more time to absorb into your hair and skin. For an ombré effect, you can remove the dye at the beginning of your eyebrow after 2-4 minutes.
Supercilium's Tip: The ombre look is also the perfect trick to check how well the dye develops on your skin. Is the dye already quite dark? Then you know that you can quickly remove the rest of the tint. Is the base still light? Then you can leave it on for a bit longer.
Gentle effect: For a gentle tint effect, remove the rest of the dye after 8-10 minutes to give your brows a softer and more natural look.
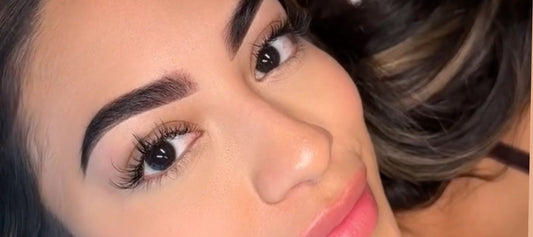
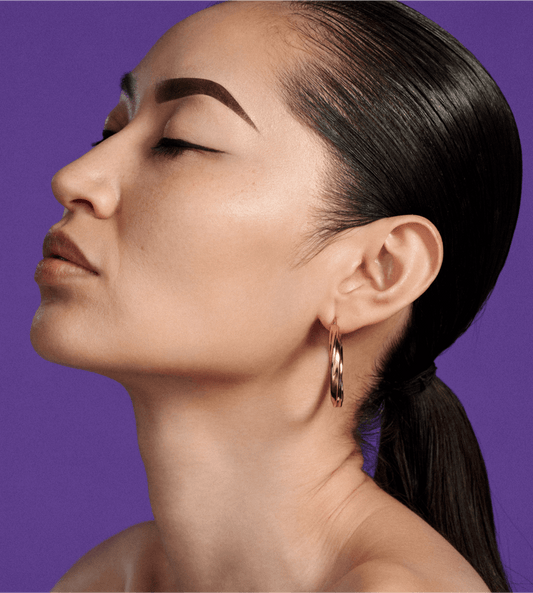
Statement look: If a stronger, more statement look is what you desire then remove the remaining dye after 10-15 minutes.
Extra bold: Finally for brow-lovers who want the full tattooed, bold brow effect then remove the dye after the maximum processing time of 15-20 minutes.
What products do you need?
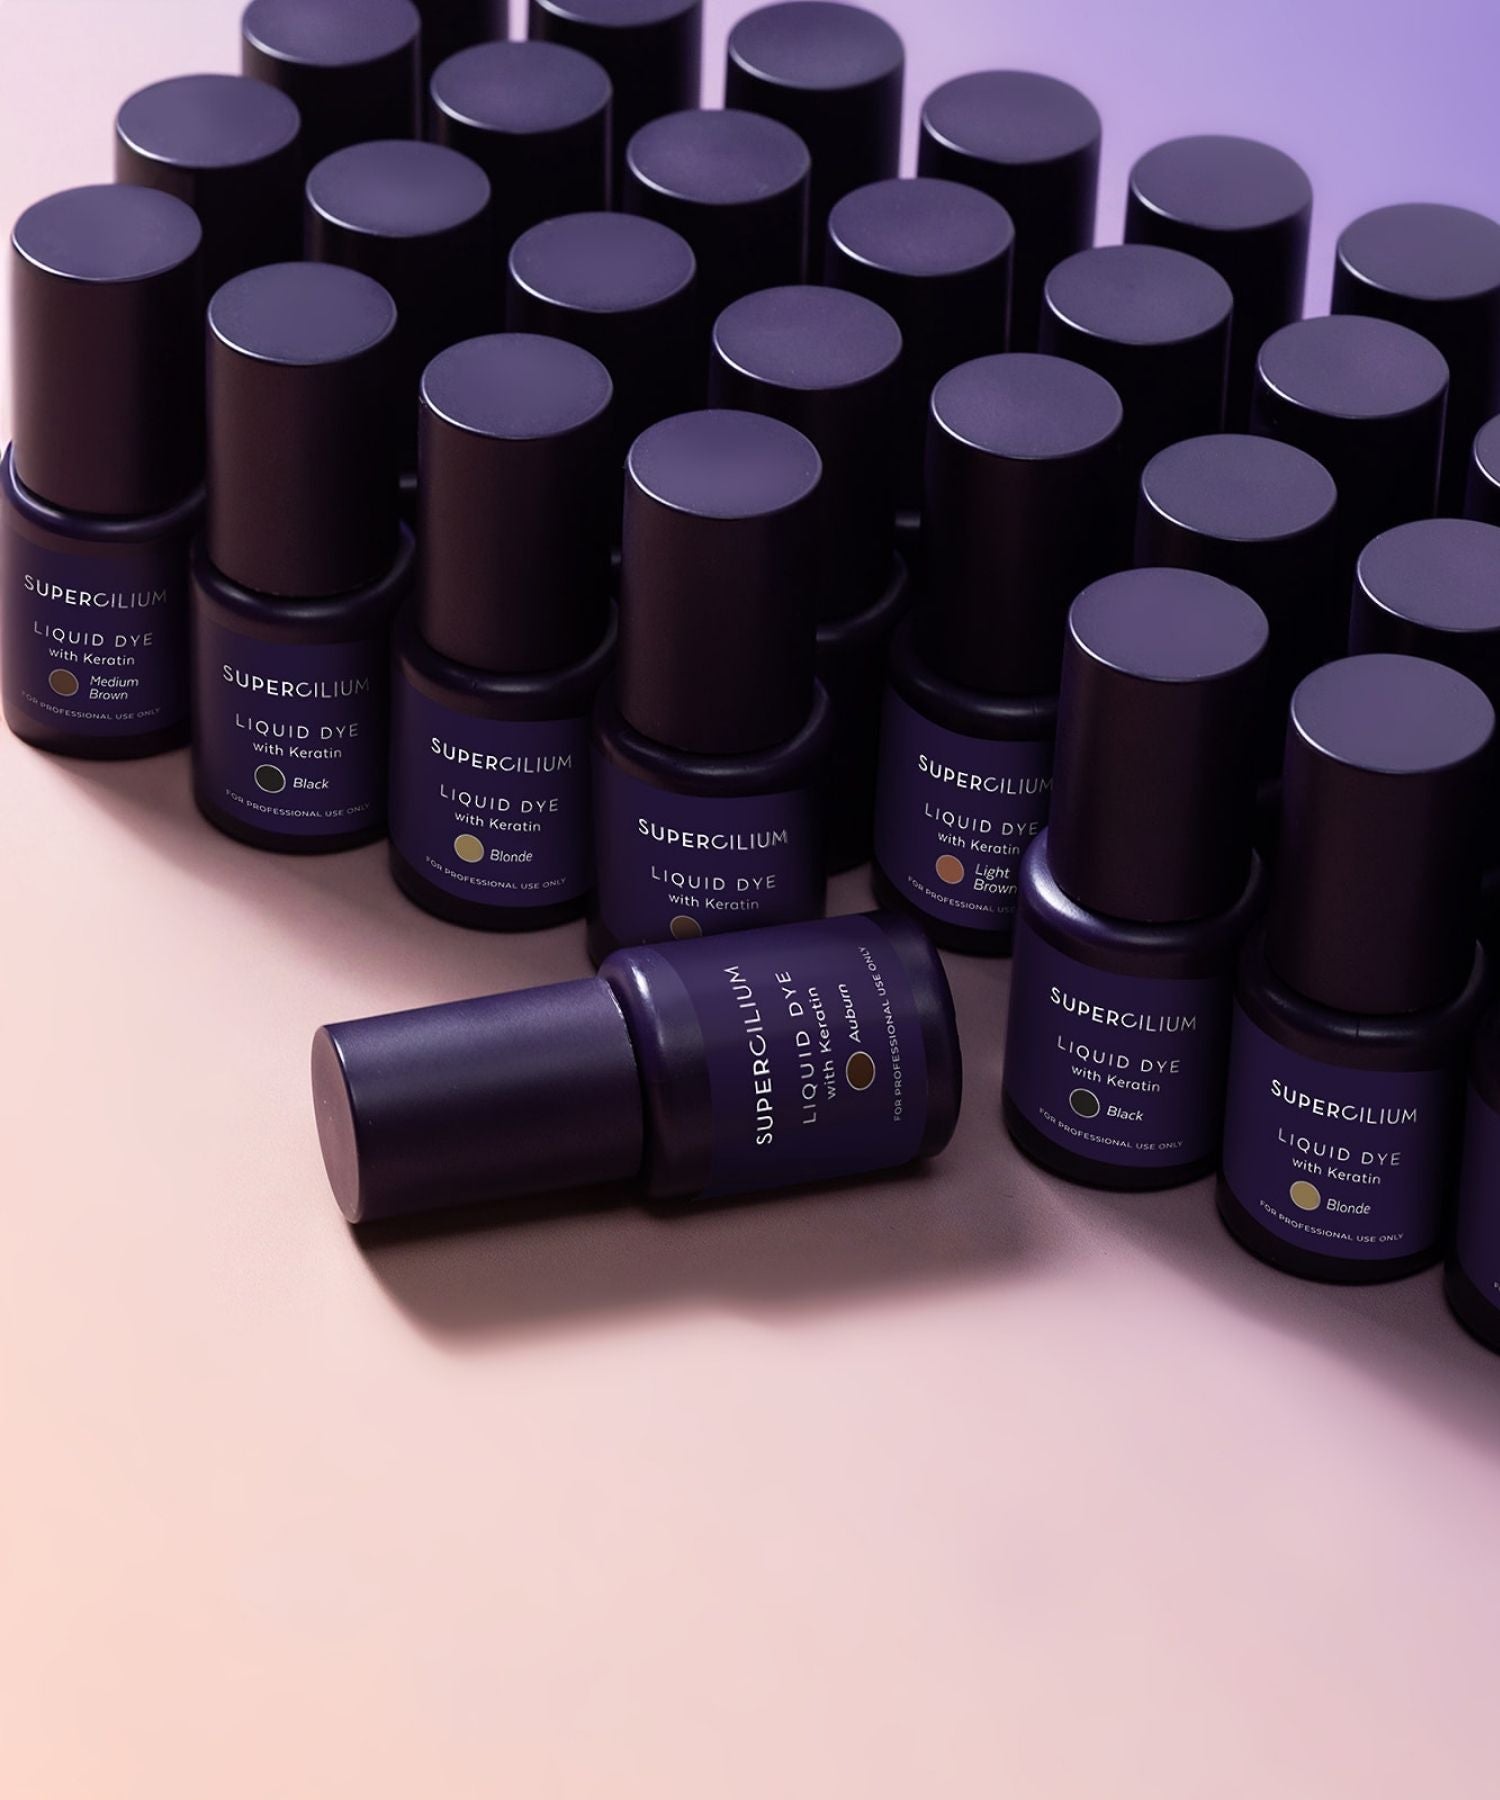
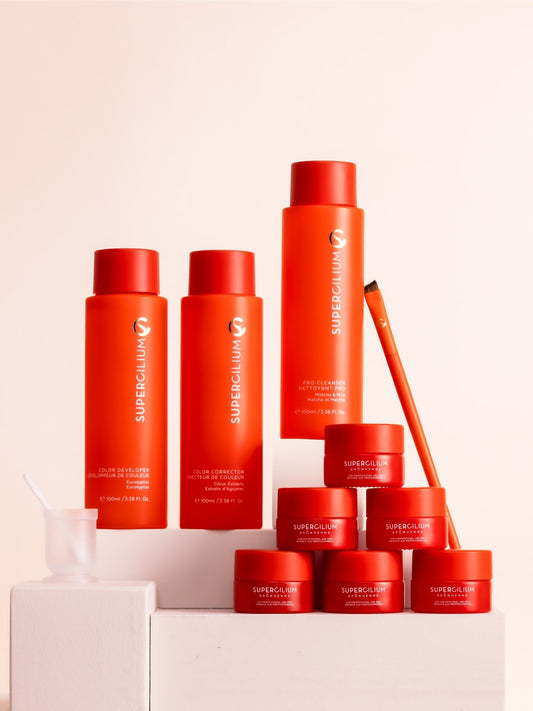
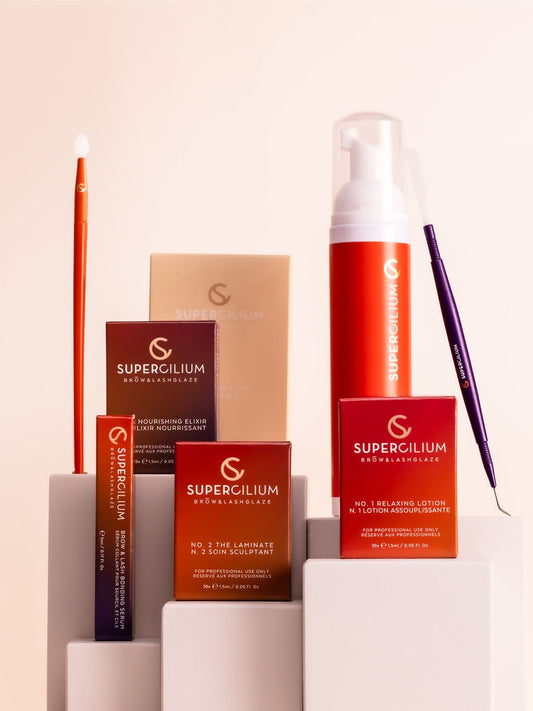
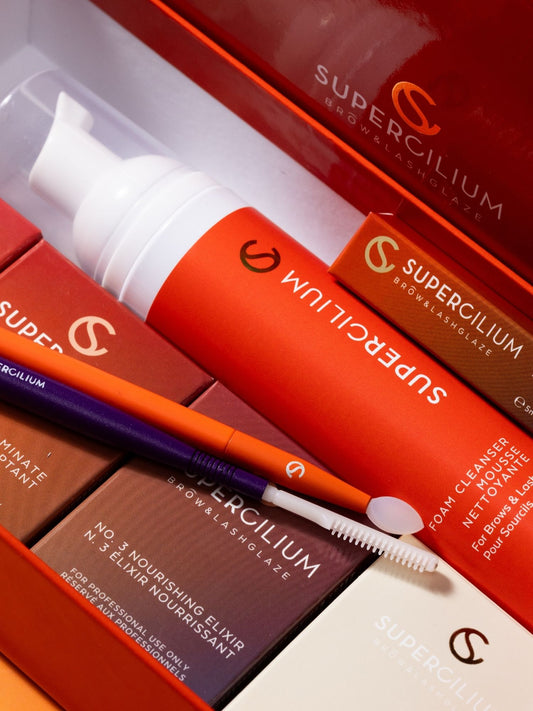
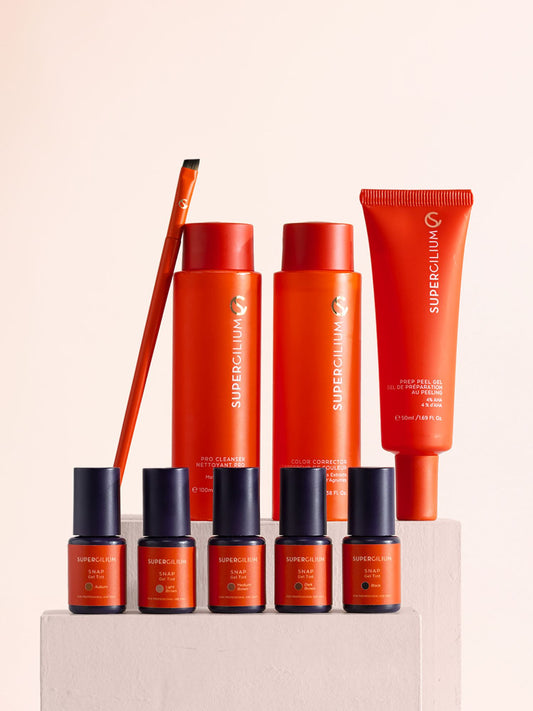
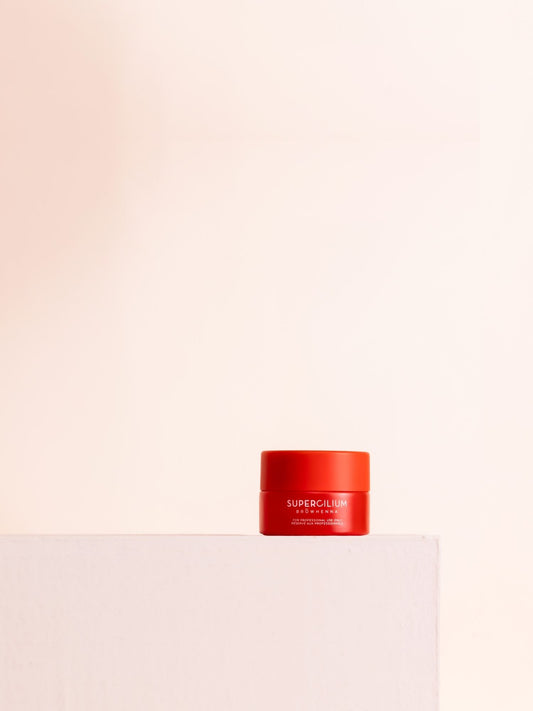
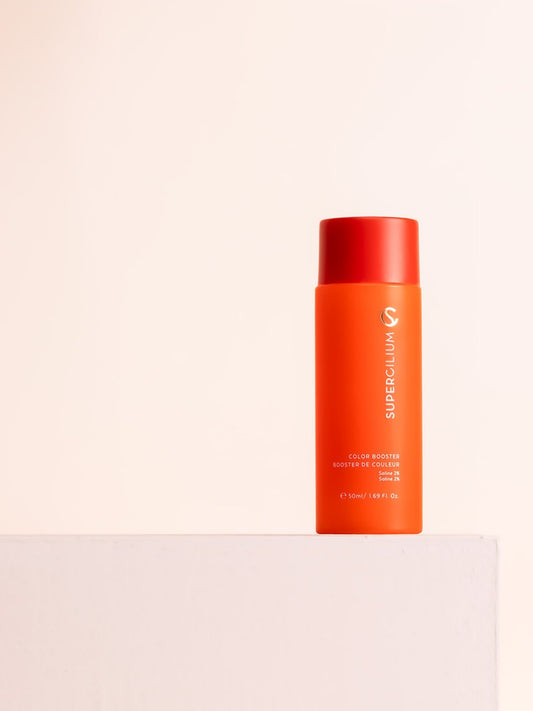
The Eyebrow Dye DIY Kit contains everything you need to start the eyebrow tinting process. The kit contains one dye tube, one Oxydant Developer and a mini angled brush. Made a mistake? Our Color Corrector will safe you.

